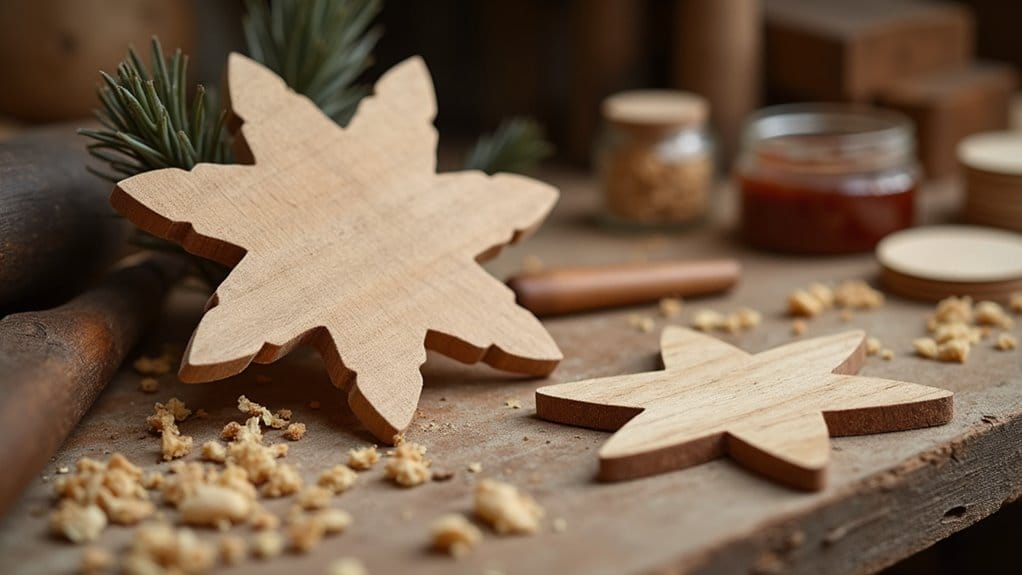
You’ll find that cutting wood into shapes isn’t as daunting as it might seem once you’ve got the right tools and technique. From selecting the proper wood to making those final finishing touches, each step matters in achieving professional results. Let’s explore the essential methods for how to cut wood into shapes.
Key Takeaways
- Create a template of your desired shape and trace it onto the wood surface using a pencil.
- Secure the wood to a stable work surface using multiple clamps positioned away from the cutting line.
- Cut along the marked outline using a jigsaw with a fine-tooth blade, maintaining hands at least 6 inches from blade.
- Remove excess material with a chisel and smooth all edges using progressively finer grits of sandpaper.
- Apply multiple thin coats of paint or finish, allowing each layer to dry completely before the next application.
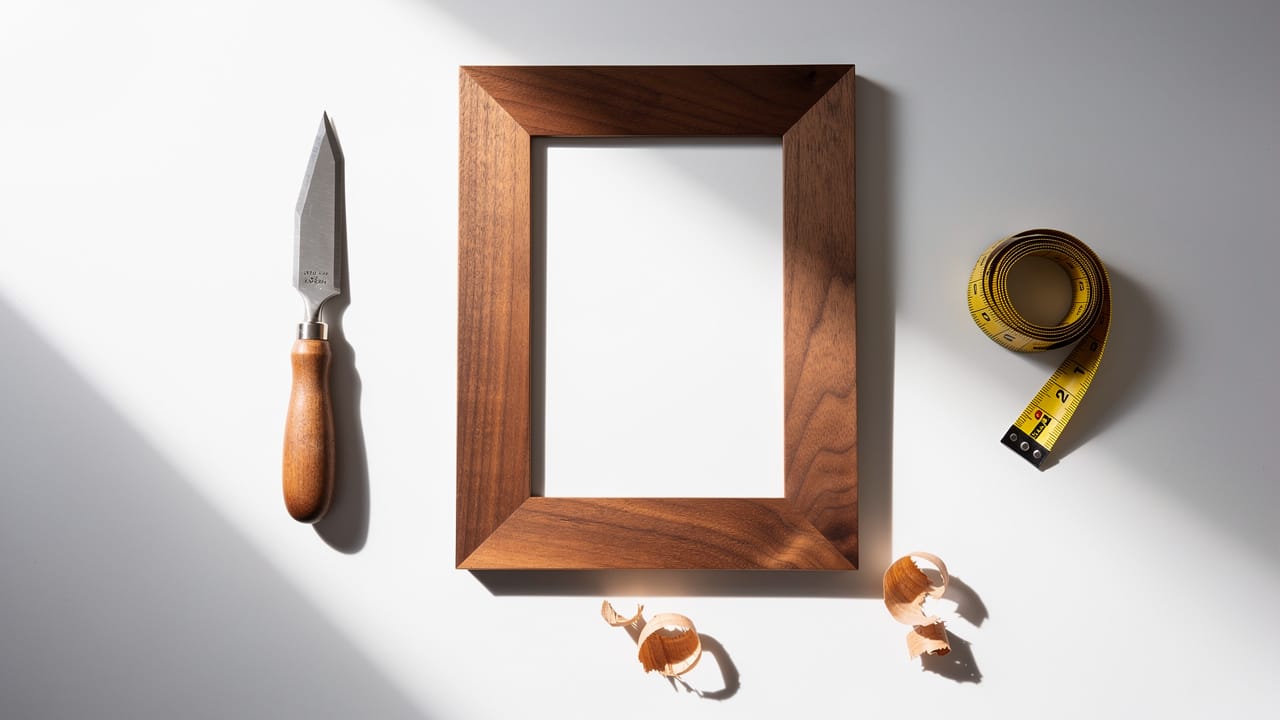
Gather Materials and Tools for Cutting Shapes
Before beginning any wood-cutting project, gathering the right materials and tools is essential for success. You’ll need a wood piece suitable for your project, along with a jigsaw for cutting curves and a chisel for detail work. Keep sandpaper on hand to smooth rough edges and customize it with acrylic paint.
Wood Piece
Choose your wood piece, selecting softer varieties like basswood or balsa for easier cutting and shaping. Prepare your wood piece by sanding away any rough spots or splinters. This step ensures cleaner cuts and a smoother finish.
Jigsaw
Preparing the jigsaw becomes the next step in your cutting process. Install a fine-tooth blade that’s suitable for detailed woodwork, ensuring it’s firmly locked in place.
You’ll want to adjust your jigsaw’s speed setting based on your wood’s characteristics – lower speeds for hardwoods and higher speeds for softer varieties. Remember to keep the tool’s base plate flat against the work surface while cutting to achieve clean, accurate results.
Chisel
When working with detailed woodworking shapes, selecting the right chisel and accompanying tools is crucial for precise results. Choose a high-quality chisel that matches your wood type and project intricacy. As you work, tap the chisel gently with a mallet while maintaining steady control.
Sandpaper
Selecting three essential grades of sandpaper forms the foundation of your wood-shaping toolkit. You’ll need coarse-grit for initial shaping and material removal, medium-grit for smoothing rough surfaces, and fine-grit for finishing touches.
When you’re working on detailed areas, fold your sandpaper into smaller sections or wrap it around a sanding block for better control. Always sand toward the wood grain to prevent unwanted scratches.
Acrylic Paint
Before cutting wood into shapes, gather high-quality acrylic paint or spray paint. Select paints specifically planned for wood surfaces, and don’t skip the primer – it’s essential for proper adhesion and vibrant colors on your board.
How to Cut Wood into Shapes Easily
There is a basic tutorial on how to cut wood into shapes easily.
Step 1: Cut a template and trace the design around the wood.
When crafting a template for your wood shape, start by selecting a durable material like cardstock that won’t bend or tear during tracing. Cut your template to match your desired design, ensuring clean edges and precise angles.
Firmly secure the template to your wood surface to prevent any movement. You’ll trace around the template using a sharp pencil or marker, maintaining steady pressure for consistent lines. For complex designs, you might find it helpful to use transfer paper to enhance visibility while you trace.
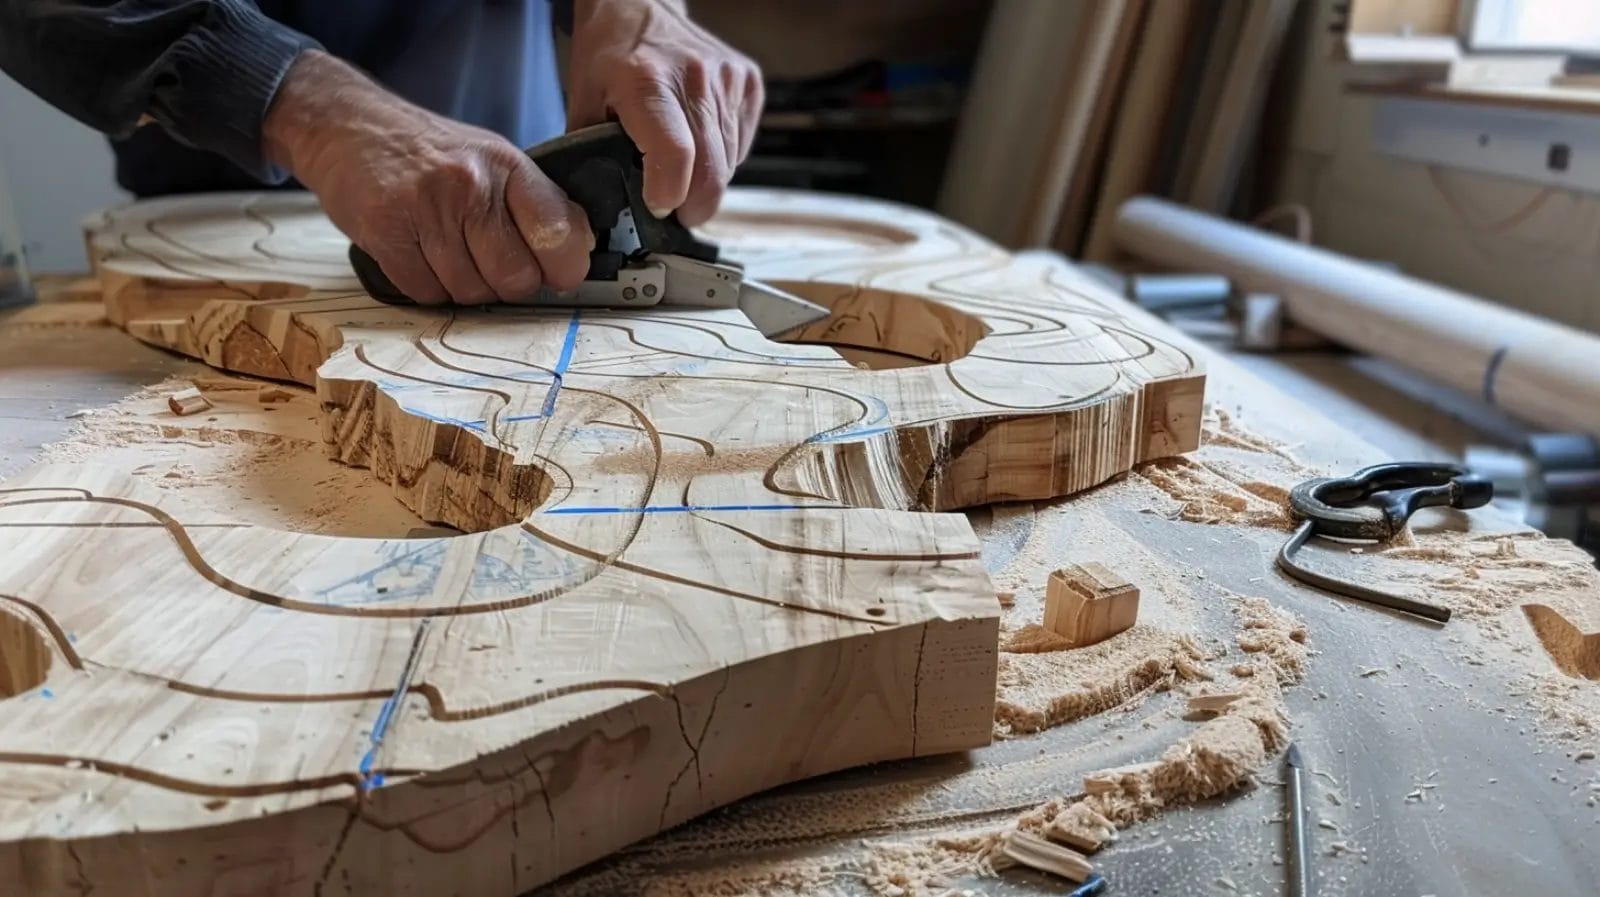
Step 2: Cut around the outside of your shape with a jigsaw.
You’ll need a jigsaw equipped with a fine-tooth blade to cut along your traced outline. When cutting shapes with internal curves, drill a pilot hole first to insert your blade.
Let the jigsaw do the work as you follow the marked line, maintaining steady pressure without forcing the tool. Keep a consistent pace while guiding the blade smoothly around corners and curves. Don’t rush the process, as this could lead to rough edges or mistakes.
Step 3: Knock off the waste part with a chisel.
Once you’ve completed the initial cutting, grab a sharp chisel and mallet to remove the waste wood along your marked lines. Position your chisel at a slight angle against the waste piece, ensuring you’re working away from the shape you want to keep. Tap the chisel gently with your mallet, making controlled cuts to avoid splitting the wood.
Work in small, manageable sections as you remove the excess material. Once you’ve knocked off all the waste wood, smooth the edges to create a clean, professional finish.
Step 4: Sand all rough edges of the wood shape.
After completing the rough cuts and chisel work, you’ll need to smooth all edges of your wood shape using sandpaper. Begin sanding toward the wood grain to maintain a consistent texture. Pay special attention to corners and edges where splinters or rough spots might remain from cutting.
For intricate areas, fold your sandpaper or use a sanding block to reach tight spaces effectively. Run your fingers along each edge to check for any remaining rough spots. Continue sanding until all surfaces feel uniformly smooth to the touch.
Step 5: Paint your wood shapes.
Before applying any paint, prepare your wood shapes with a quality primer to ensure optimal paint adhesion and a professional finish. Once the primer has dried completely, use spray paint to achieve even coverage on your shapes, especially for detailed areas where brush strokes might be visible.
Apply multiple thin coats rather than one thick layer, allowing each coat to dry thoroughly. Between coats, lightly sand the surface to maintain smoothness. This technique will help eliminate imperfections and create a more polished look.
Finally, protect your painted shapes with a clear topcoat for long-lasting durability.
Safety Tips When Using a Jigsaw in DIY Woodworking Projects
Before starting your jigsaw project, take caution in these safety tips.
Prepare safety glasses to protect your eyes.
Proper safety glasses are essential when operating a jigsaw for woodworking projects. You’ll need glasses to protect against flying wood chips and debris. Make sure they fit snugly around your eyes and provide complete coverage for maximum protection.
Before starting any cutting operation, check your safety glasses for scratches or damage. If you find any issues, replace them immediately to maintain clear vision and proper protection.
Secure the wood piece with clamps to avoid movement.
With your safety glasses in place, the next critical step is securing your workpiece with sturdy clamps. Position multiple clamps around your wood piece, keeping them away from the planned cutting line to prevent blade interference.
You’ll want to disperse the pressure by spacing the clamps strategically across the surface. Check each clamp’s tightness to ensure they’re providing adequate grip without damaging the wood.
Don’t over-tighten, as this can dent or mar the surface. Periodically verify that your clamps remain secure throughout the cutting process, as vibrations can cause them to loosen.
Stay away from the blade.
Maintaining a safe distance from the jigsaw blade is crucial for preventing serious injuries during operation. While cutting, keep your hands at least 6 inches away from the blade to avoid accidental contact and potential cuts.
Before making any blade adjustments or changes, always turn off and unplug the jigsaw to prevent accidental activation.
Conclusion
You’ll find cutting wood into shapes becomes easier with practice and proper technique. Keep your workspace organized, maintain sharp tools, and always prioritize safety with protective equipment. After completing your cuts, take time to sand thoroughly for professional results. Clean your tools and store them properly for your next project.