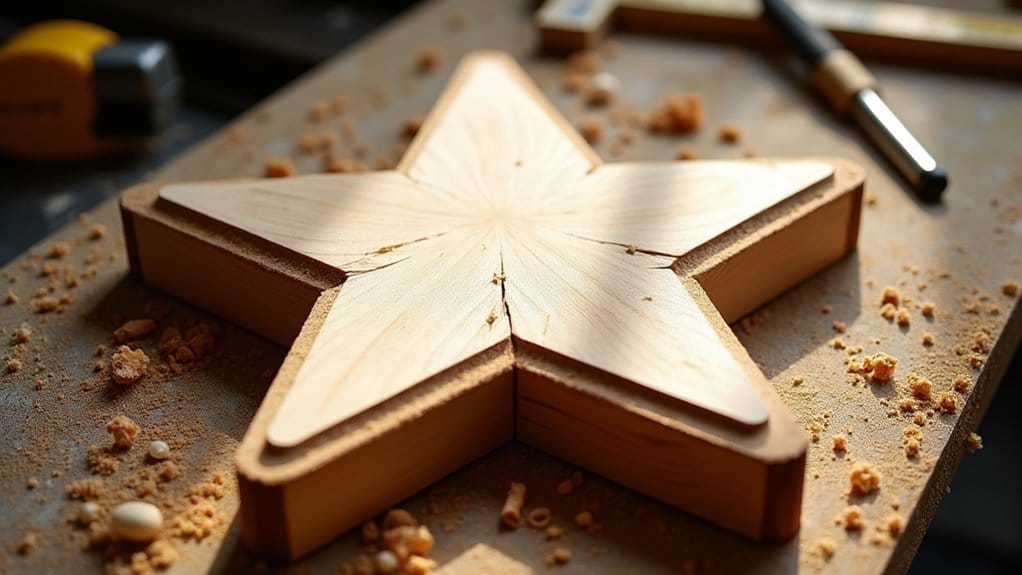
You’ll need precise measurements and specific tools to create professional-looking rustic wood signs that last for years. Before you start, selecting the right lumber is crucial – a pine board offers optimal results for signs. While many crafters rush to paint immediately, proper wood preparation and sealing techniques make the difference between an amateur project and a gallery-worthy piece. Let’s explore the essential steps to craft these timeless decorative elements.
Key Takeaways
- Select smooth pine or cedar boards with minimal knots, ensuring one side is planned smooth for writing and painting.
- Apply stain with a foam brush, letting it penetrate for 5-10 minutes to achieve the desired rustic appearance.
- Create vinyl letter stencils using adhesive-backed vinyl, maintaining proper spacing of letter height for readability.
- Paint the board with exterior-grade acrylic paint in thin coats, then remove vinyl letters carefully after drying.
- Protect the finished sign with sealer, applying two coats perpendicular to each other for durability.
Gather Your Supplies
Before starting your rustic sign project, you’ll need to purchase some products like a wooden board, adhesive vinyl letters and transfer paper rated for wood surfaces.
Wood Board

Selecting the right wood board forms the foundation of your rustic sign project. Look for boards with minimal knots and warping to ensure an even paint surface.
Vinyl Letters
Creating professional-looking letters requires specific vinyl materials and tools for optimal results. Size your vinyl letters proportionally to your wood surface.
Vinyl Transfer Paper
Transfer paper serves as the crucial bridge between your vinyl letters and wood surface. Cut your transfer tape larger than your vinyl design on all sides. Remove the backing and position it carefully over your letters, using a scraping tool to ensure complete adhesion.
Spray Sealer
To protect your finished wood sign, you’ll need a high-quality spray sealer. This sealer creates a durable barrier against moisture, UV rays, and daily wear while preserving your sign’s handcrafted charm.
Acrylic Paint
Quality acrylic paint forms the foundation of your rustic wood sign project. Select beautiful art acrylics, ensuring coats will provide adequate coverage. Black, white, and earth tones typically offer the best coverage and align with rustic aesthetics.
How to Make a DIY Rustic Wood Sign
I’ll share a detailed tutorial for making a family wood sign. According to the description, you’ll make this rustic wood sign easily. You’ll learn how to create wooden signs that not only enhance your home decor but also serve as a memorable family keepsake. With a few simple materials and techniques, you’ll be able to personalize your sign to reflect your family’s unique style. Let’s dive into the step-by-step process and get started on this fun project!
Step 1: Stain the wood board.
Start by applying your chosen wood stain to the wood board using a clean foam brush. Work in long, even strokes along the wood grain, ensuring complete coverage. Wipe off excess stain with a clean cloth, moving toward the grain.
Step 2: Make and cut the vinyl letters.
Prepare your vinyl lettering using a digital cutting machine. Select a font that complements your rustic aesthetic. Load adhesive vinyl into your cutting machine and adjust blade depth.
After cutting, carefully weed excess vinyl from around your letters using precision tweezers. Leave letters attached to transfer tape for easy application in the next step.
Step 3: Transfer the letters onto the wood using transfer paper.
Position your transfer tape with vinyl letters face-down on the stained wood surface, centering the design according to your measurements.
Using firm pressure, burnish the letters onto the wood with a plastic scraper. This transfer technique ensures even adhesion across all characters.
Step 4: Spray paint the wood board.
Apply the spray paint on the surface and apply even, overlapping strokes. Apply two thin coats rather than one thick coat to prevent drips and ensure uniform coverage.
Step 5: Remove the vinyl.
Carefully peel back one corner of the vinyl lettering to begin the removal process. Maintain steady pressure while pulling the vinyl away from the painted surface.
For intricate DIY designs, remove small vinyl pieces individually to prevent paint damage. Work from the outside edges toward the center of each letter.
Use tweezers to lift delicate sections. If vinyl residue remains, dab the area with rubbing alcohol on a microfiber cloth, waiting 30 seconds before wiping clean.
Step 6: Seal the wood sign.
Protect your completed wood sign by applying two thin coats of water-based sealer. This sealer will protect your sign from moisture, UV damage, and daily wear while maintaining its rustic charm.
Conclusion
Now you’ve finished a rustic wooden sign. By patience and attention to detail, you’ll find it is easy to make this masterpiece. With a bit of creativity, you can customize your sign to reflect your unique style. Additionally, if you’re interested in expanding your project, consider exploring wholesale wooden sign options that offer a variety of shapes and sizes to enhance your decor. The possibilities are endless as you bring your ideas to life with each new piece you create. Once you have your sign ready, you’ll want to consider how to display it. Research on how to hang a wood sign to ensure it complements your space beautifully. Whether you choose to mount it on a wall or incorporate it into your outdoor decor, finding the right hanging method can elevate your masterpiece even further.