You’ll find that decorating wooden craft shapes offers countless creative possibilities for both beginners and experienced crafters. Whether you’re working with simple circles, stars, or intricate cutouts, the right techniques can transform plain wood into stunning home decor. From classic paint treatments to unexpected embellishments like glitter and natural materials, each method brings its own unique charm. Let’s explore these versatile decoration techniques that’ll help you bring your wooden crafts to life.
Key Takeaways
- Sand and prime wooden surfaces thoroughly to create a smooth base for paint and decorations.
- Apply acrylic or chalkboard paint using stencils secured with painter’s tape for clean, professional designs.
- Add sparkle with fine or chunky glitter, then seal with clear varnish.
- Embellish with natural materials like pebbles and twigs for a rustic look.
- Decorate with layers of Washi paper, ribbon, or lace, securing edges with strong adhesive for lasting results.
How to Decorate Wooden Craft Shapes with Paint

Painting is an easy way to decorate and custom wood shapes. Prepare your wooden craft shape before you paint.
Step 1: Sand the wood surface and wipe the dust away.
To achieve a flawless painted finish, start by smoothing your wooden craft shapes with fine-grit sandpaper. Work the sandpaper gently over all surfaces of your unfinished wood, paying special attention to rough spots and edges. For detailed areas, wrap sandpaper around a dowel or use a sanding sponge to reach tight corners.
Once you’ve thoroughly sanded the surface, take a damp cloth or tack cloth and wipe away all dust particles. Let the wood dry completely before moving on to painting.
Step 2: Seal the wood surface with a coat of primer.
Now that your wood surface is smooth and dust-free, priming marks the next key step in your painting journey. Apply a thin, even coat of water-based primer across the wood surface, ensuring complete coverage. This essential layer seals the wood and creates the perfect foundation for your paint.
Let the primer dry for 1-2 hours before lightly sanding with fine-grit sandpaper to remove any raised wood fibers. You’ll notice the surface becomes incredibly smooth, ready for paint.
The primer not only helps your colors appear more vibrant but also ensures they’ll stick better and last longer.
Step 3: Paint the wood and add your design with a stencil.
When you’re ready to bring your wooden craft shapes to life, select high-quality acrylic paint that matches your vision. Position your stencil firmly on the wood surface, securing it with painter’s tape to prevent shifting.
Using a stencil brush or sponge, dab the paint gently to create clean lines and avoid bleeding underneath. Let each layer dry completely before adding additional colors or design elements.
How to Decorate Unfinished Wood Crafts with Other Embellishments
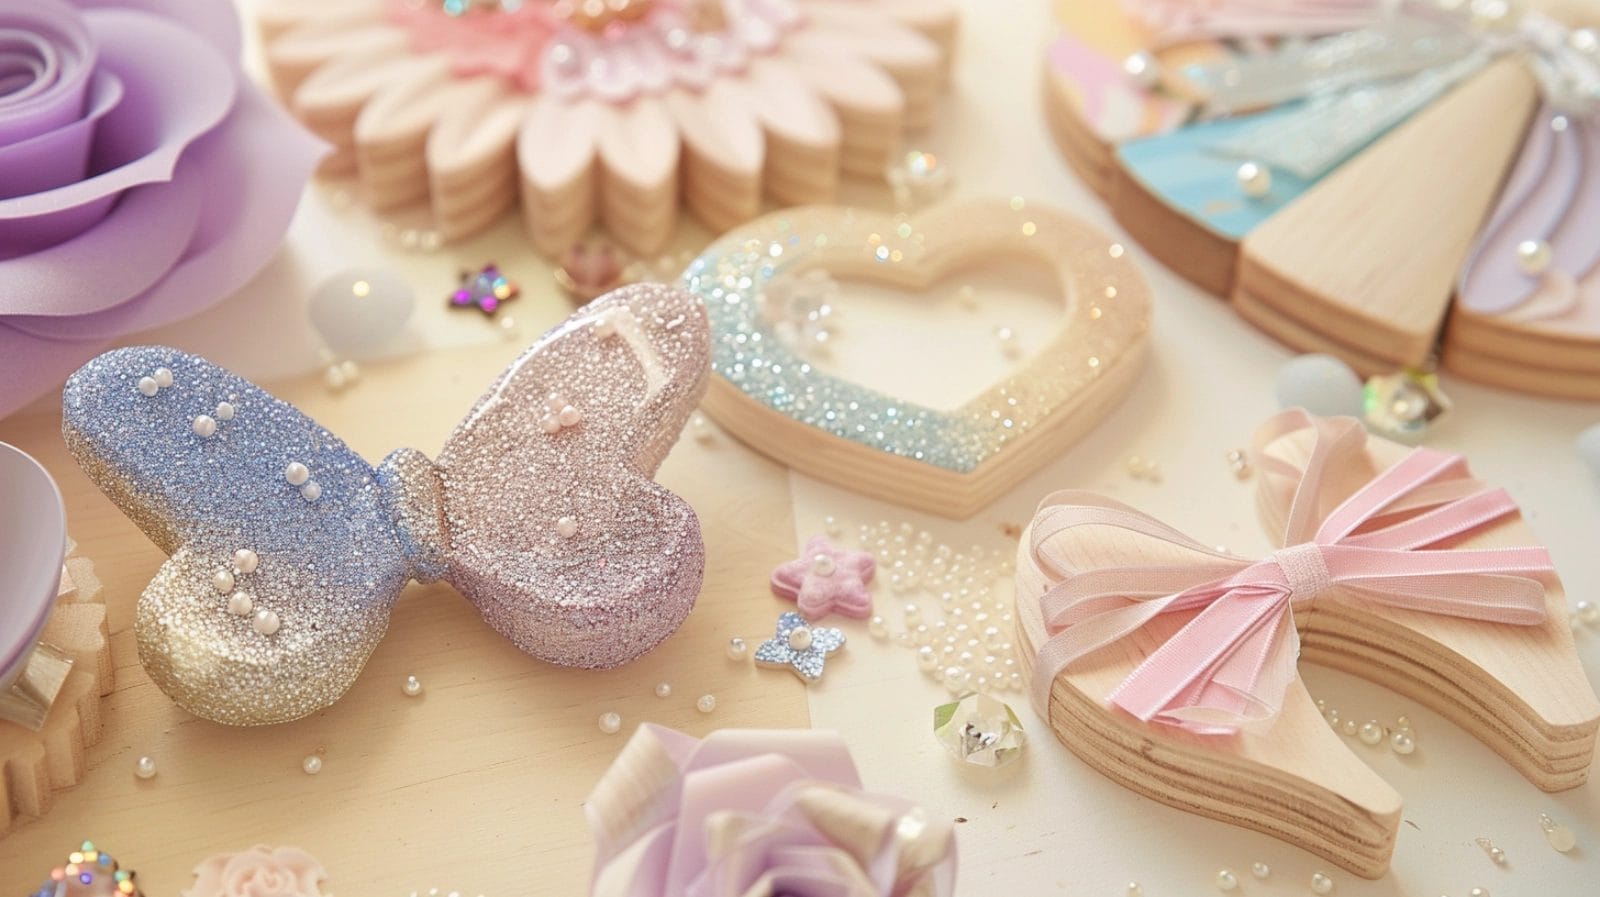
Decorate your unfinished wood craft projects with a sparkling coat of glitter, or add natural elements like tiny pebbles for an earthy, organic feel. Get creative by mixing these elements for truly unique pieces.
Add glitter into wood shapes.
Adding sparkle to wooden shapes starts with a smooth application of craft glue. Once you’ve covered the surface evenly, sprinkle your chosen glitter over the entire area. You’ll want to tap off excess glitter onto a paper plate to save for future projects.
For different effects, try fine glitter for a sleek shimmer or chunky glitter for bold texture. Create stunning ombre patterns by blending multiple glitter colors together.
Use natural materials like pebbles to decorate your wood crafts.
Natural pebbles bring an organic, tactile element to wooden craft projects while creating stunning dimensional effects. Collect smooth stones from beaches or riverbeds, then arrange them in patterns or clusters on your wood crafts.
Apply glue using a toothpick to secure each pebble firmly in place. For added visual interest, combine pebbles with other natural materials like twigs, shells, or moss to create layered, nature-inspired designs.
Make unique DIY wood cutouts with Washi paper.
When you’re looking to elevate simple wood cutouts, Washi paper offers endless creative possibilities with its delicate patterns and vibrant designs.
Start by trimming your chosen Washi paper to match your wood cutout’s shape, leaving a small border for precise fitting. Apply glue to the wood surface and carefully position the paper, smoothing out any air bubbles. Layer different Washi paper patterns to create depth and visual interest.
Add complementary embellishments like beads or painted accents to enhance your design. Finally, seal your decorated wood cutouts with a clear protective coating. Experiment with different color palettes and textures to make your project stand out. If you’re unsure where to begin, there are plenty of tutorials available online that teach you how to create wood cutouts step by step. The right combination of materials and techniques can bring your vision to life, making each piece uniquely yours. Additionally, consider exploring wholesale wooden cutout options to find unique shapes and sizes that can further personalize your projects. These bulk choices allow for greater creativity and experimentation without breaking the bank. By incorporating these elements, you can create stunning, custom pieces that reflect your personal style and creativity.
Apply ribbon or lace to your wood shapes.
Ribbon and lace can transform simple wooden shapes into elegant, sophisticated crafts with a professional finish. Choose complementary colors and patterns that enhance your design, then secure your trim using a strong adhesive or hot glue.
Wrap the ribbon or lace carefully around the perimeter, ensuring it lies flat against the surface for a clean appearance. For added dimension, layer delicate lace over painted or stained surfaces to create vintage-inspired texture.
Conclusion
Decorating wooden craft shapes lets you unleash your creativity while making unique, personalized pieces. When using paint, glitter, natural elements, or decorative papers, remember to prepare your surface and seal your finished work. Don’t be afraid to mix techniques – combine painted backgrounds with glitter accents or layer Washi tape with ribbon details. Your wooden crafts will become stunning decorative pieces that reflect your artistic vision.