
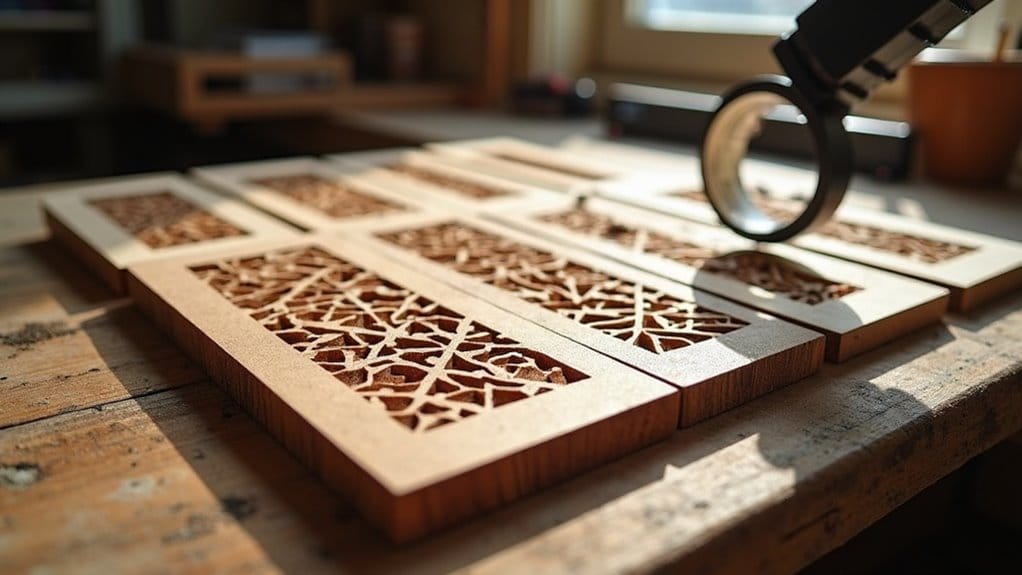
When you’re working with wood blanks for laser engraving, precision isn’t just helpful—it’s essential. You’ll need to master three critical elements: material thickness (ranging from 2mm to 6mm), size tolerances (±0.5mm), and wood type selection. Each parameter directly impacts your engraving’s depth, detail, and overall quality. While these specifications might seem demanding, they’ll determine whether your project achieves professional results or falls short of expectations. Let’s examine how these factors work together to create exceptional laser-engraved pieces.
Key Takeaways
- Wood blanks between 3-4mm thickness provide optimal engraving results, balancing sufficient depth with smooth surface finish.
- Size tolerances should remain within ±0.5mm for precision engraving, as larger variations can cause inconsistent burn depths.
- Hardwoods require 20% more power than softwoods, with birch offering consistent density ideal for intricate designs.
- Progressive sanding from 120-grit to 220-grit ensures uniform surface finish, essential for quality laser engraving results.
- Store wood blanks in environments with 35-45% humidity and maintain moisture content below 12% for optimal engraving performance.
Understanding Thickness of Wood Blanks

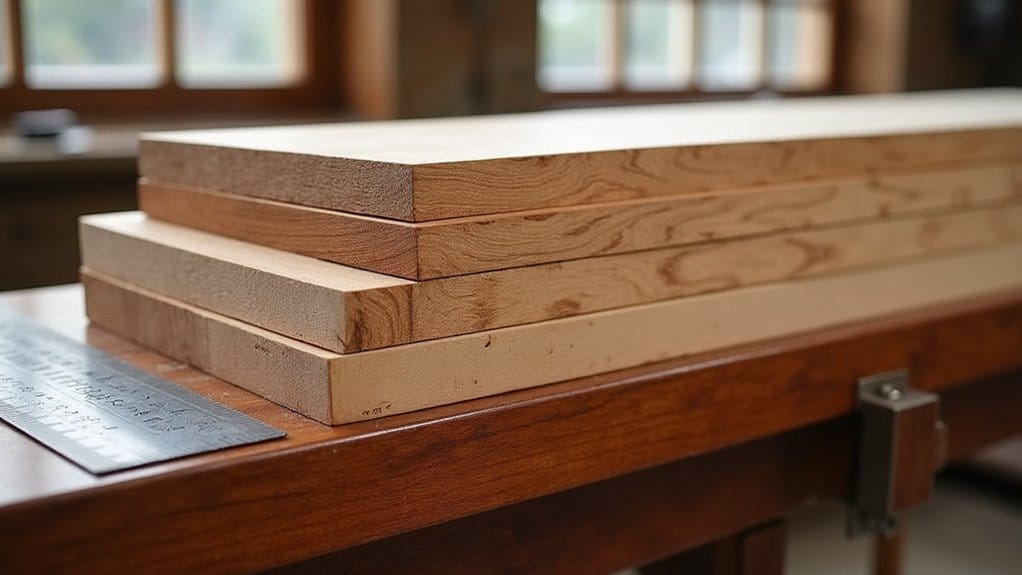
Wood blanks for laser engraving commonly range from 2mm to 6mm in thickness, with each measurement offering distinct advantages for specific project requirements and machine capabilities.
Your laser’s focal depth directly correlates with the wood’s thickness, as thicker materials require more concentrated beam power and adjusted focal points to achieve ideal engraving results.
When you’re working with varying thicknesses, you’ll need to carefully control temperature and power settings to guarantee proper beam penetration without burning through or leaving insufficient marks on the material.
Common Thickness Options: 2–6 mm
Selecting the right thickness for laser engraving blanks starts with understanding the standard ranges of 2-6 mm.
These dimensional options provide you with versatility across different project requirements, from thin wood applications to more substantial thick pieces.
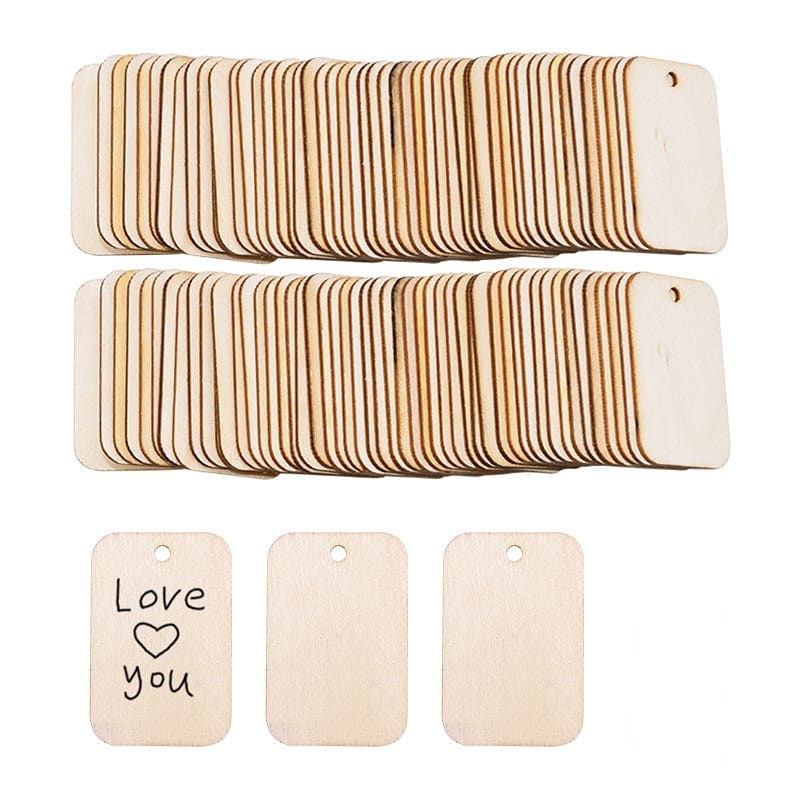
- 2mm (1/16 inch thick) plywood – Ideal for intricate designs and delicate ornaments
- 3mm (1/8 inch thick) wood blanks – Perfect balance for most general engraving projects
- 4mm (5/32 inch thick) – Offers enhanced durability while maintaining detail quality
- 6mm (1/4 inch thick) – Provides maximum stability for larger pieces and deep engraving
The thickness you choose directly impacts your laser’s focusing requirements and cutting depth capabilities.
How Thickness Affects Laser Engraving Outcomes
When choosing wood blank thickness for laser engraving, you’ll need to contemplate how material depth directly influences your final results.
Thicker wood requires much power from your laser engraving machine, potentially causing deeper burn marks and less precision around edges.
For flawless engraving, you’ll find that 3-4mm thick blanks often provide ideal results, offering enough depth for dimensional designs while maintaining a smooth surface finish.
The thinner your wood, the faster and cleaner your cuts will be, but you’ll sacrifice structural integrity. Conversely, wood blanks over 5mm may require multiple passes, increasing project time and risking inconsistent engraving depth.
Focal Depth and Its Relationship with Wood Thickness
Understanding focal depth proves essential as it directly correlates with your laser’s ability to maintain precise focus across varying wood thicknesses. When using laser engraving machines, the focal point must align perfectly with the wood’s surface for ideal results.
- Your laser’s focal depth typically ranges from 1-2mm, requiring precise thickness control of wood blanks.
- Wood thickness variations beyond 0.5mm can greatly impact engraving quality at the focal point.
- Multi-focal-point systems allow deeper engraving on thicker wood pieces up to 12mm.
- Use a calibration tip to maintain consistent focal depth across different wood thicknesses, especially when switching between materials.
The relationship between focal depth and material thickness determines your engraving’s precision and detail retention.
Penetration and Temperature Control in Laser Engraving
The precise control of laser penetration depth and temperature management stands critical for achieving ideal wood blank engravings.
You’ll need to adjust your laser’s power settings based on whether you’re working with hardwood like maple and walnut or softer varieties. Hardwoods typically require 20-30% more power for the same mark depth.
Temperature control directly impacts grain definition and burn quality. You’ll achieve cleaner marks by maintaining temperatures between 150-200°C for soft woods and 180-230°C for hardwoods.
Monitor your laser’s focal point adjustment to guarantee consistent penetration depth across varying wood densities and grain patterns.
Size Tolerances in Wood Blanks

Precise size tolerances in wood blanks guarantee your laser engraving projects maintain consistent quality and fit properly within your machine’s fixtures.
You’ll need blanks within ±0.5mm of specified dimensions to prevent shifting during engraving and assure accurate alignment with your laser’s focal point.
Working with wood blanks that meet industry-standard tolerances of ±1/32 inch (0.8mm) for length and width will optimize your workflow and reduce material waste.
Importance of Size Tolerances for Precision Engraving
When selecting wood blanks for laser engraving, upholding consistent size tolerances of ±0.5mm across all dimensions becomes critical for achieving professional results.
Your engravable surface must remain uniform, especially when working with precision-dependent materials like birch.
- Thickness variations beyond ±0.5mm can cause focal point shifts, resulting in inconsistent burn depths.
- Uneven blank surfaces may lead to incomplete engraving patterns or irregular line weights.
- Size inconsistencies affect material positioning in laser bed, potentially causing alignment errors.
- Precise thickness control fortifies consistent power settings across multiple production runs.
You’ll find that upholding strict size tolerances directly impacts your engraving quality and production efficiency.
Matching Size Tolerances with Fixtures for Laser Engraving Machines
Since laser engraving fixtures must accommodate wood blanks precisely, maintaining consistent size tolerances guarantees optimal alignment with your machine’s jig system.
When selecting custom laser engraving blanks, you’ll need ±0.5mm tolerance for perfect fixture fit.
MDF blanks are perfect for laser applications due to their dimensional stability. You’ll find they maintain +0/-0.2mm thickness variance, ensuring consistent Z-axis focus.
For quality laser results, match your design specifications to fixture requirements: standard 12″x24″ beds need blanks sized at 11.75″x23.75″ for proper edge clearance.
Laser cutting or engraving demands precise blank-to-fixture matching to prevent positioning errors.
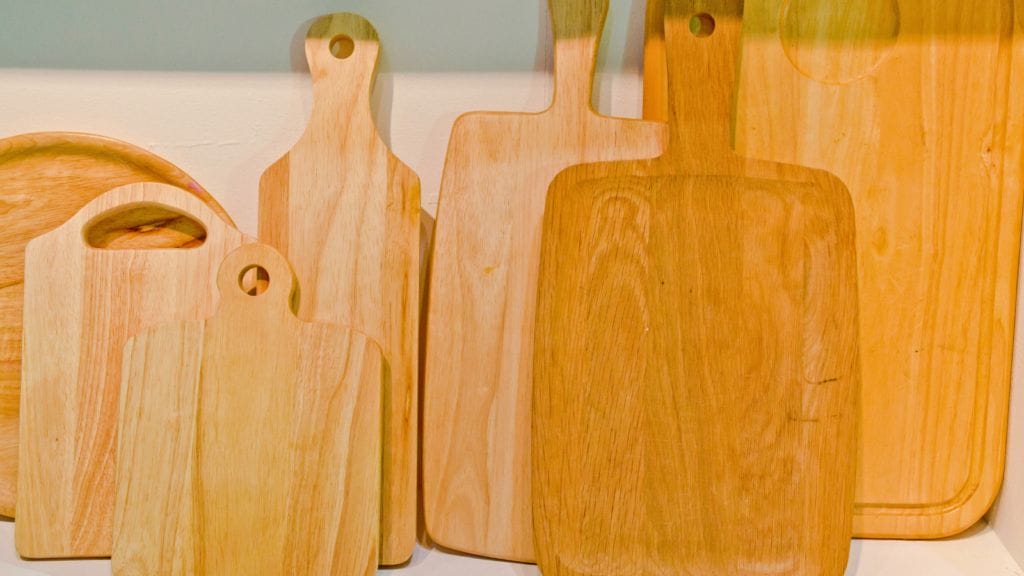
Selecting the Right Wood for Laser Engraving

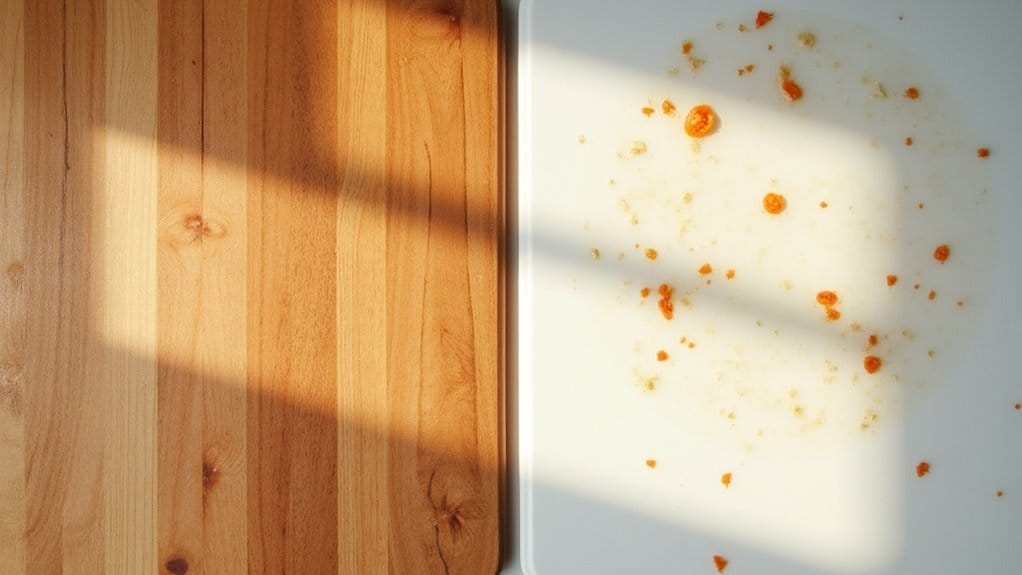
When selecting wood blanks for laser engraving, you’ll find that hardwoods like Maple and Walnut provide crisp, high-contrast results while softer options like Basswood engrave more quickly at lower power settings.
MDF offers consistent engraving performance due to its uniform density, though it lacks the natural grain patterns found in solid woods like Cherry and Oak.
Birch plywood presents an economical choice for multi-layer projects, featuring stable core layers and a smooth surface veneer that responds well to both cutting and engraving operations.
Popular Choices: Maple, Walnut, Birch, MDF, Cherry, Basswood, and Oak
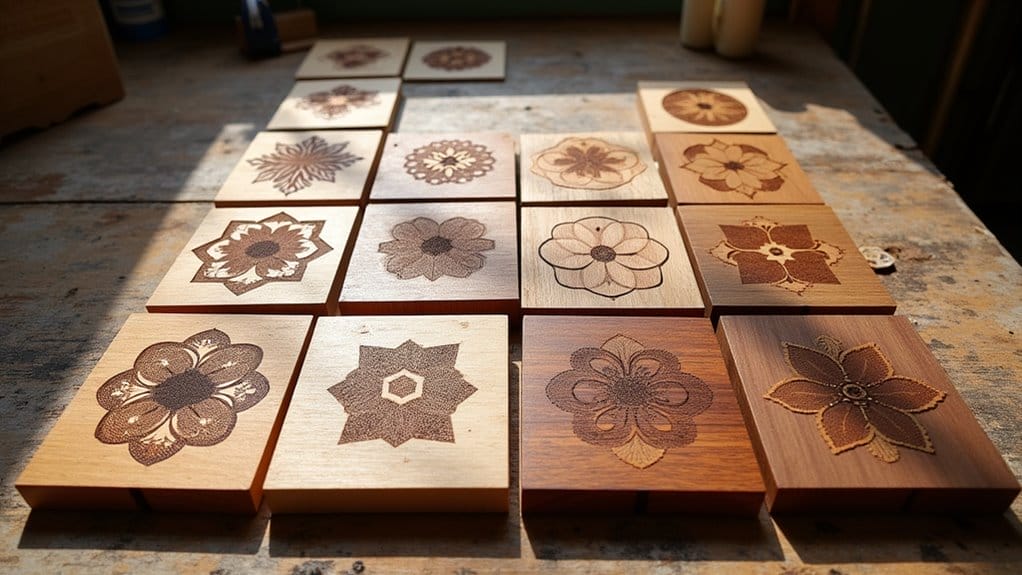
The selection of wood species greatly impacts your laser engraving results, with each type offering distinct characteristics for specific applications.
When choosing laserable blanks, consider these essential properties:
- Maple and cherry provide smooth, uniform texture ideal for detailed engravings, with cherry darkening beautifully under laser heat.
- Basswood offers low density (0.4-0.5 g/cm³) perfect for intricate plaque work and rapid cutting.
- Oak’s prominent grain pattern (160-190 Janka hardness) creates distinctive board aesthetics.
- MDF maintains consistent density throughout, ensuring uniform engraving depth at 700-720 kg/m³.
Each species requires specific power settings and speed adjustments for peak results.
Characteristics of Each Wood Type for Engravable Projects
Understanding specific wood characteristics enables precise laser engraving outcomes across different project requirements.
You’ll find Maple offers exceptional durability and fine-grain patterns ideal for detailed laser etching.
Walnut’s dark tones create striking contrast when engraved.
Birch provides consistent density and smooth surface texture, perfect for intricate craft projects.
MDF guarantees uniform etching depth but lacks natural grain.
Cherry develops rich patina while maintaining precise customization detail.
Basswood’s soft composition allows deep, clean cuts for personalized items.
Oak’s prominent grain pattern requires adjusted laser settings but delivers distinctive results for durable projects.
Tips for Using Laser Engraving Machines with Wood Blanks

To achieve ideal laser engraving results, you’ll need to sand your wood blanks to a 220-grit finish and guarantee the moisture content remains below 12%.
You’ll find that hardwoods like maple and walnut require 20% more power than softwoods, typically needing 80-100 watts for a 2mm depth at 100mm/second speed.
When working with lighter woods such as pine or birch, adjust your focal length to 50.8mm (2 inches) from the surface to prevent scorching while maintaining crisp edges.
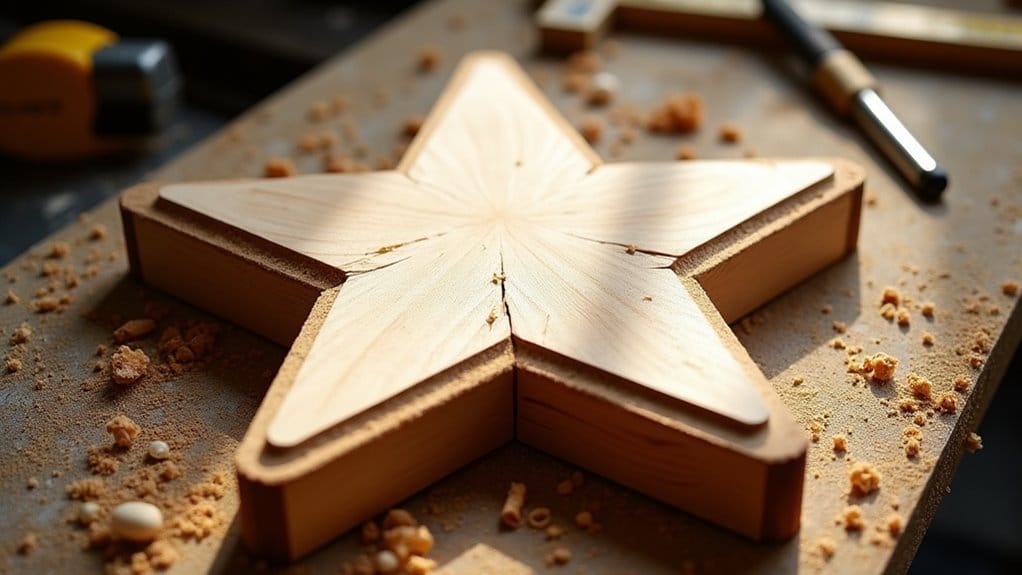
Preparing Your Wood Blanks for Optimal Results
Proper preparation of wood blanks guarantees consistent, high-quality laser engravings every time.
As a hobbyist or craft supplies enthusiast, you’ll want to ascertain your versatile materials are ready for peak results.
- Sand your wood blanks progressively (120-grit to 220-grit) until achieving a smooth, uniform surface.
- Clean the surface thoroughly with compressed air, removing all dust and debris.
- Store bulk materials in a climate-controlled environment (35-45% humidity) to prevent warping.
- Test your settings on a sample piece from the same supply batch to verify material thickness and power requirements.
Your creativity deserves properly prepared blanks for professional results.
Best Practices for Engraving on Different Wood Types
While each wood species responds differently to laser engraving, mastering the ideal power settings and feed rates for specific types will maximize your results.
For hardwoods like maple or oak, you’ll need higher power settings (65-85%) to achieve deep, long-lasting marks ideal for gift items. Pine and cedar require lower settings (45-60%) to prevent scorching.
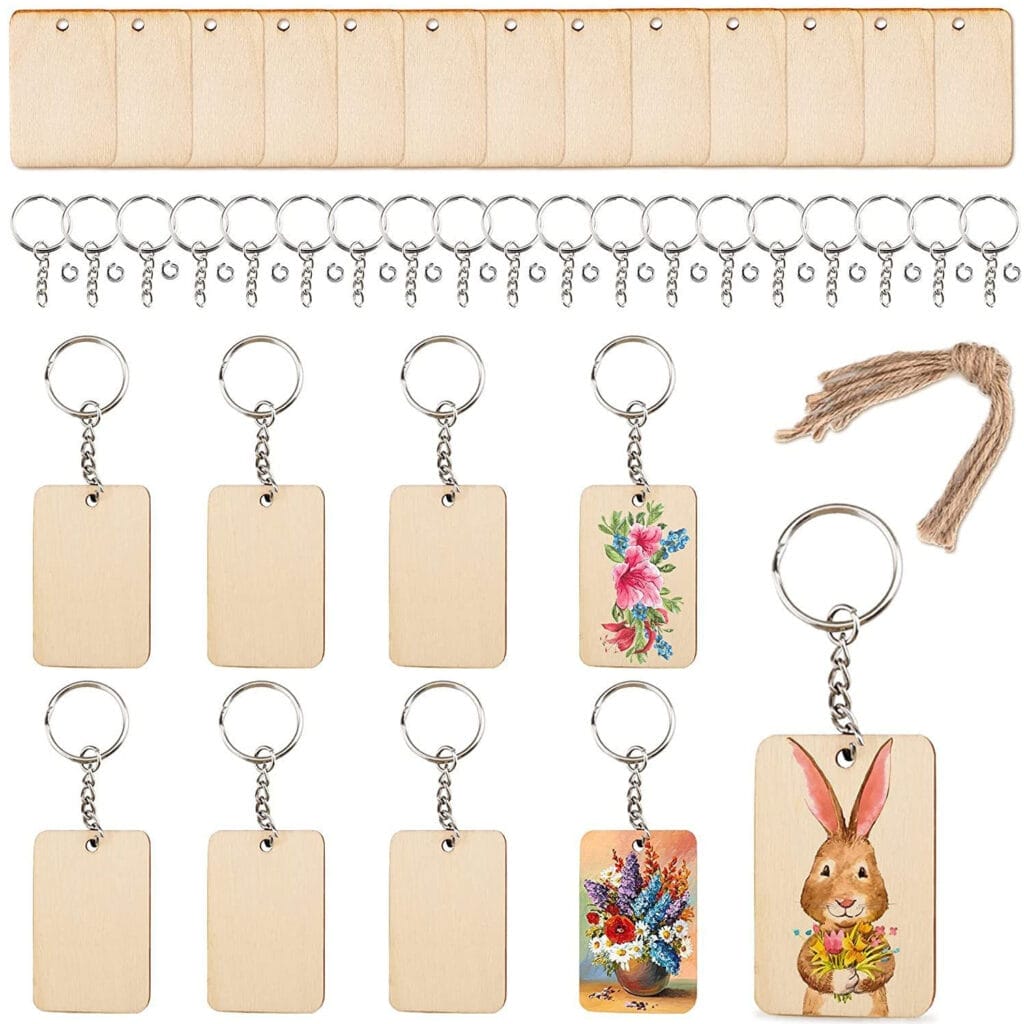
When creating custom wood tags or shape designs, match your material thickness to your laser’s focal length.
Keep a handy reference chart of tested settings – it’ll save time when switching between species. For contrast comparable to metal engraving, select lighter-colored woods like birch or basswood.
Frequently Asked Questions
How Do I Prevent Smoke Stains on the Wood During Laser Engraving?
You’ll minimize smoke stains by using masking tape (2-inch width), setting your air assist to 30+ PSI, and maintaining laser speed above 350mm/s. Clean residual marks with isopropyl alcohol post-engraving.
Can I Use Reclaimed or Salvaged Wood for Laser Engraving Projects?
You can use reclaimed wood if it’s clean, dry (8-12% moisture content), and free from metal/chemicals. Mill surfaces flat within ±0.2mm tolerance and test your settings first on scrap pieces.
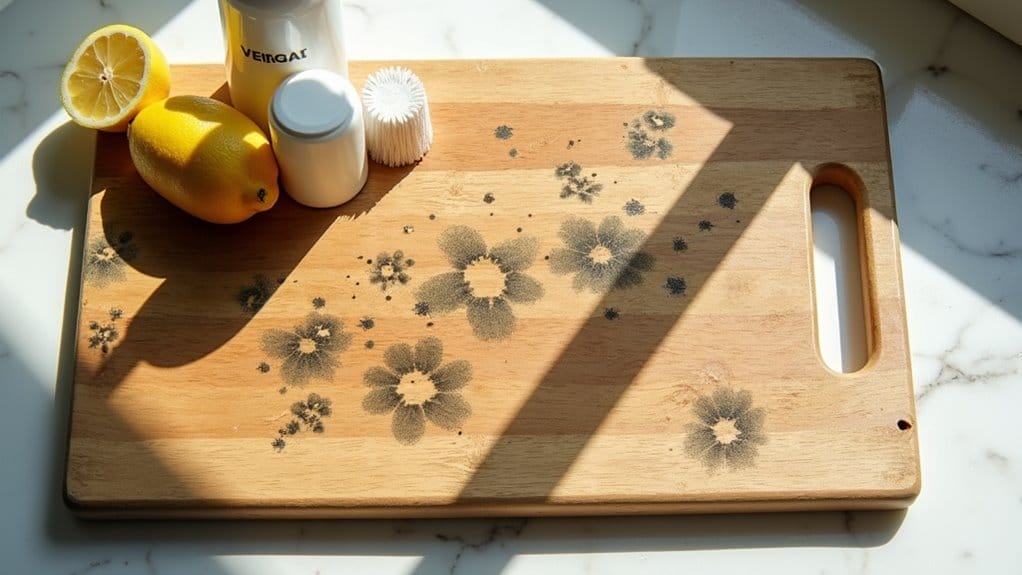
What’s the Best Way to Store Wood Blanks to Prevent Warping?
Store your wood blanks flat at 45-55% relative humidity, 70-75°F. Stack them horizontally with spacers between layers, and don’t place directly on concrete. Use weight distribution to maintain even pressure across surfaces.
Does Wood Grain Direction Affect the Quality of Laser Engraving?
Yes, grain direction matters. You’ll get cleaner engraving when cutting parallel to wood grain, as it reduces charring. For best results, align your design’s primary lines with the grain’s natural flow pattern.
How Long Should Wood Blanks Acclimate Before Laser Engraving?
You’ll need to let your wood blanks acclimate for 48-72 hours in your workspace environment. Maintain room temperature (68-72°F) and 35-45% relative humidity to prevent warping and guarantee consistent engraving results.
Conclusion
When you’re selecting wood blanks for laser engraving, you’ll need to maintain strict thickness parameters of 2-6mm (±0.5mm tolerance) for best results. You’ll achieve the best detail with 2-4mm blanks, while 6mm provides enhanced stability. Choose your wood type based on laser compatibility – walnut and birch respond exceptionally well to CO2 lasers at 60W-80W power settings. Always verify material specifications before beginning your engraving process.


