Are you curious about how to decorate a wood box? You’ll start by selecting the right wood type and sanding your surface smooth before applying decoration. Classic techniques include staining for natural depth, hand-painting intricate designs, or wood-burning custom patterns.
For commercial applications, consider laser engraving for precision detailing or UV printing for vibrant, full-color graphics. You can combine materials like metallic accents, fabric linings, or vinyl decals to create Instagram-worthy results.
Whether you’re crafting one-off gifts or planning bulk B2B orders, understanding preparation steps, finish compatibility, and production methods will transform standard containers into premium brand ambassadors that command attention.
Key Takeaways
- Choose wood type strategically and sand surfaces thoroughly before applying any decorative finishes to ensure proper adhesion and desired results.
- Apply staining and waxing in multiple thin coats using foam brushes, then buff paste wax to achieve rich depth and sheen.
- Consider modern techniques like laser engraving for intricate designs or UV printing for vibrant, durable colors on wooden surfaces.
- Avoid over-decoration that hides natural wood grain; balance decorative elements with the wood’s inherent texture and quality.
- Plan decoration methods early in the design process to control costs and ensure techniques align with the project budget and timeline.
Why Decorated Wood Boxes Matter in B2B Markets?

You’re not just decorating a box—you’re transforming basic packaging into a brand ambassador that speaks volumes before your customer even opens it.
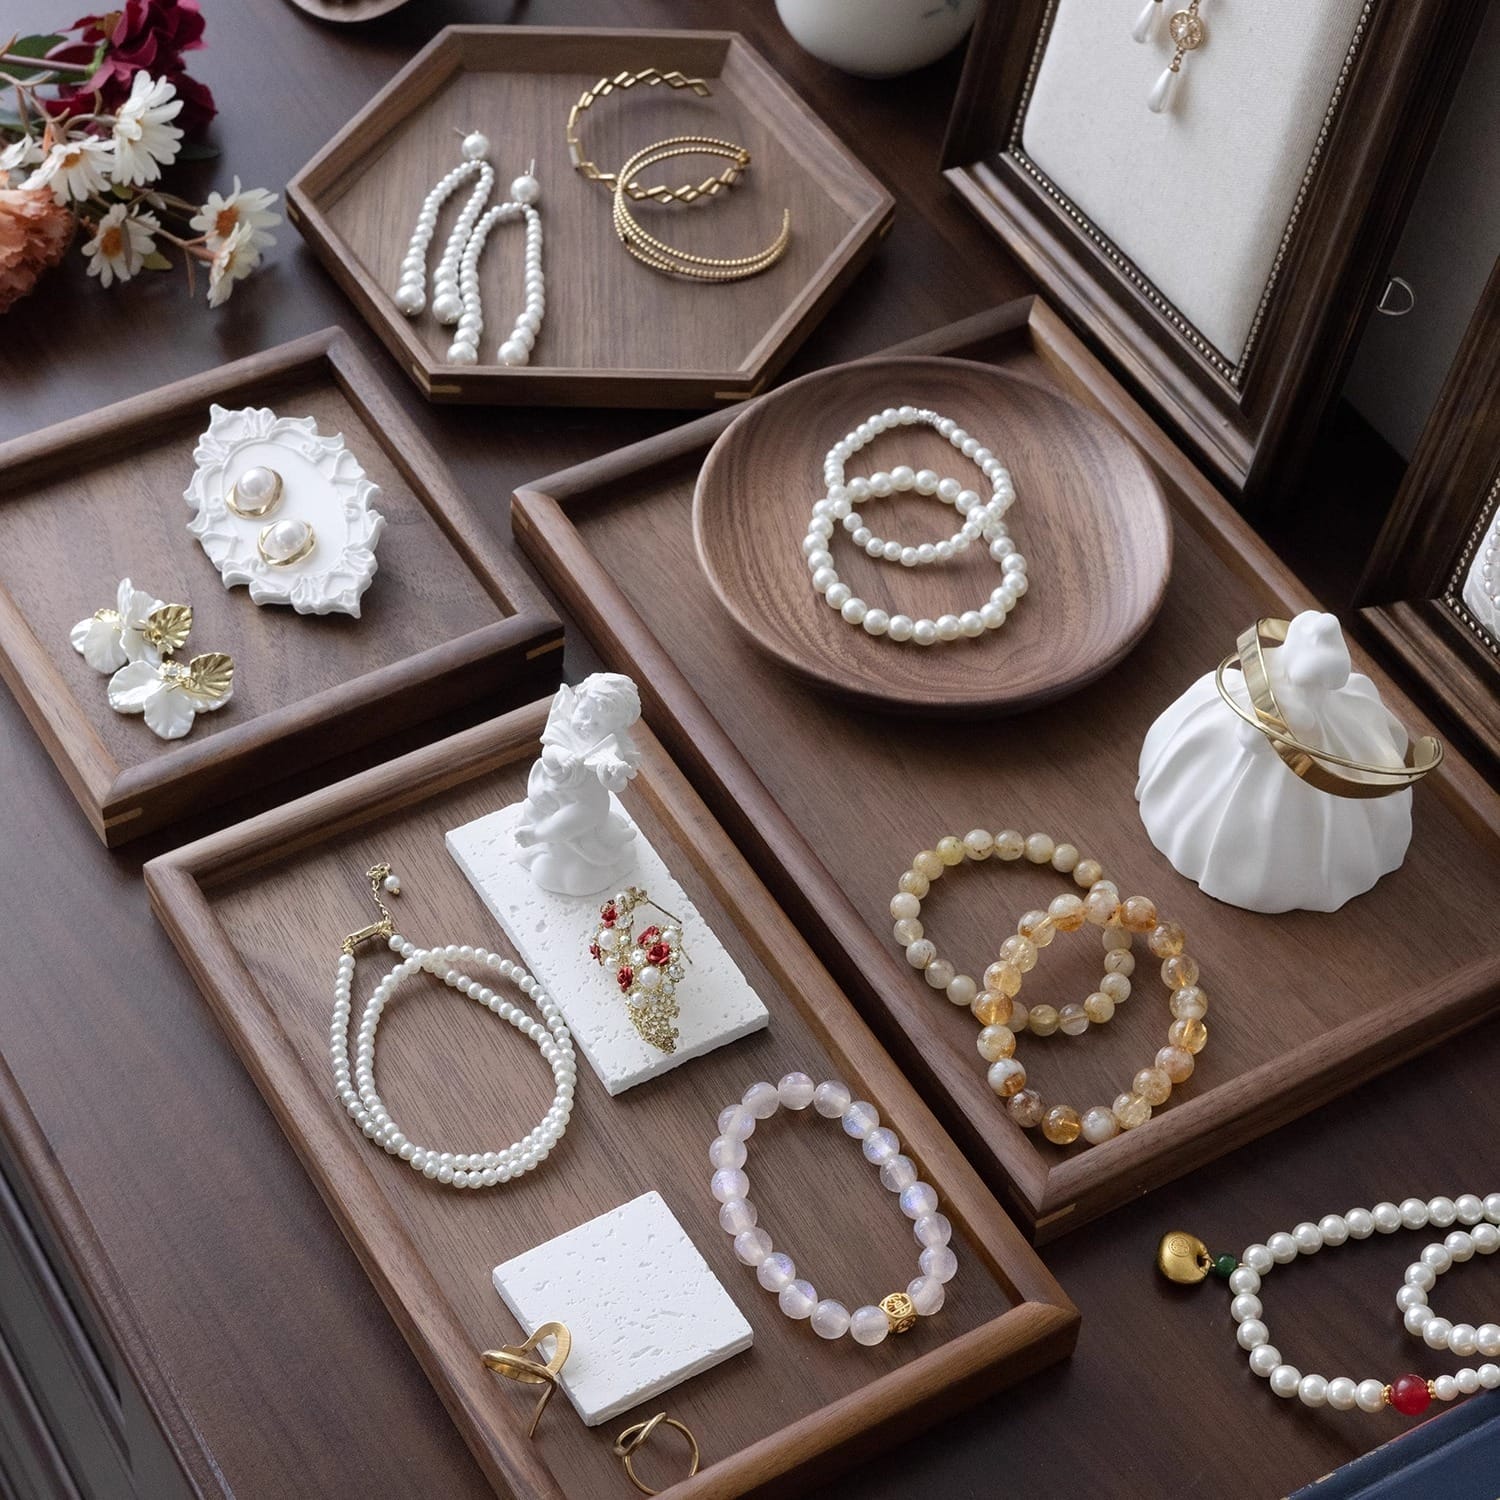
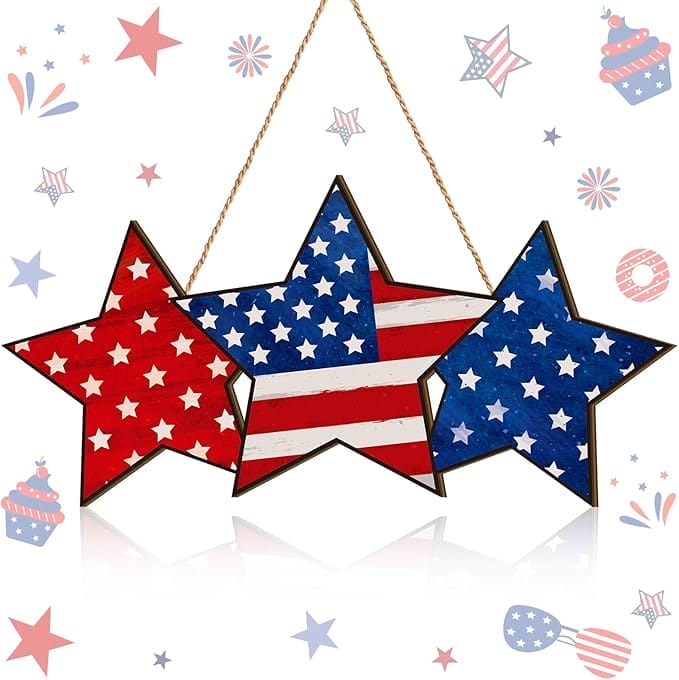
Custom-decorated wooden boxes elevate products across gift, food, cosmetics, and lifestyle sectors, turning functional containers into Instagram-worthy experiences that demand premium pricing.
In today’s crowded B2B marketplace, your decoration choices become the visual handshake that separates scroll-past sameness from “we need this for our line” moments.
From Packaging to Product: Wood Boxes as Value Carriers
When your wooden box transforms from mere packaging into a branded statement piece, it crosses a threshold that B2B buyers immediately recognize—and often pay premium prices to acquire.
Decorative finishes elevate these vessels into centerpiece-worthy items that recipients won’t discard. You’ll find rustic textures and vintage-style treatments dominating current trade shows, where buyers seek containers that create a unique unboxing experience.
Smart suppliers now invest in laser etching, hand-painted details, and metallic accents that turn functional boxes into keepsakes. Your packaging becomes the product itself—a strategic asset that generates repeat orders and strengthens brand recall.
Applications Across Industries: Gift, Food, Cosmetics, Lifestyle
Strategic versatility defines the decorated wooden box‘s role across B2B sectors, where a single design framework adapts to wildly different commercial needs.
You’ll transform standard containers into premium jewelry boxes for retail, artisan food packaging that communicates craft authenticity, or cosmetics housing that elevates brand perception.
The same box used to store tea becomes a beautiful centerpiece in lifestyle markets.
Consider how your decoration technique positions products: laser-engraved patterns signal luxury, hand-painted florals suggest artisanal quality, and minimalist branding appeals to contemporary home decor buyers.
Each industry demands distinct visual storytelling through your finishing choices.
Custom Decoration as a Differentiation Tool for Brands
Because commodity packaging floods today’s B2B landscape, your wooden box’s surface becomes the battleground where brand identity wins or disappears.
Custom decoration transforms plain containers into memorable brand assets. You’ll decorate through laser engraving for intricate designs, UV printing for photorealistic logos, or stencil applications for that trending farmhouse aesthetic.
Smart brands leverage DIY decorative box techniques at scale—hand-brushed finishes, burnt wood accents, metallic foiling—creating tactile experiences competitors can’t replicate.
When clients unbox your product, distinctive decoration triggers instant brand recognition, converting functional packaging into marketing real estate that commands premium positioning and customer loyalty.
Choosing the Right Wood Box Before Decoration

Before you grab your paints and embellishments, you’ll want to select a box that matches your decorative vision.
The wood type you choose—whether it’s smooth basswood, richly grained oak, or rustic pine—will dramatically influence how your chosen techniques appear on the surface.
Don’t overlook practical elements like hinges, lid styles, and compartments, as these structural features can either enhance or limit your creative possibilities once you’ve prepped the surface.
Common Wood Types and Their Decorative Behavior
While pine offers a forgiving canvas for beginners, understanding your wood’s personality transforms good decoration into stunning art. Each type of wood responds differently to embellishments. Unfinished wood and raw wood absorb paint and wood stain uniquely based on grain density.
| Wood Type | Decorative Behavior |
|---|---|
| Pine | Absorbs stain unevenly; seal first |
| Oak | Dense grain holds detail beautifully |
| Birch | Smooth surface accepts paint flawlessly |
Before starting, examine the surface of the wood. Sand rough patches, test your chosen technique on scrap pieces, and embrace each wood’s natural character for Instagram-worthy results.
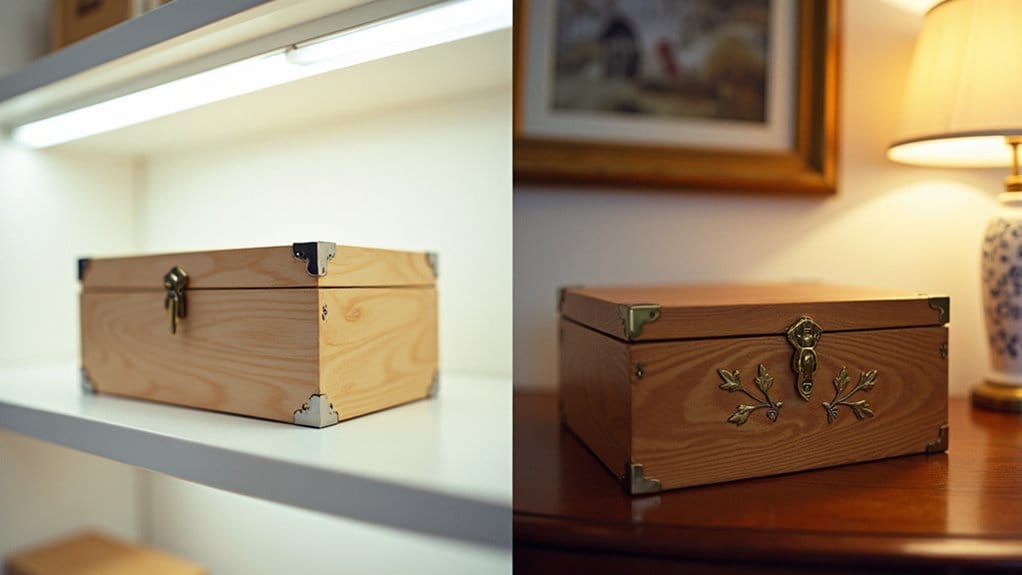
Box Structure: Hinges, Lids, Compartments
Your wood choice matters, but the box itself deserves equal attention.
Examine the hinge quality—rusty hardware on old wooden boxes creates authentic vintage appeal. Check the inside of the box for smooth surfaces that accept paint or fabric. Inspect the bottom of the box for stability before adding weighted embellishments.
Different types of boxes offer unique decorating opportunities: lift-lid styles showcase interior designs, while compartmented boxes let you create contrast between sections.
Consider removing damaged hinges for modern minimalist looks, or highlight ornate hardware as focal points in your design scheme.
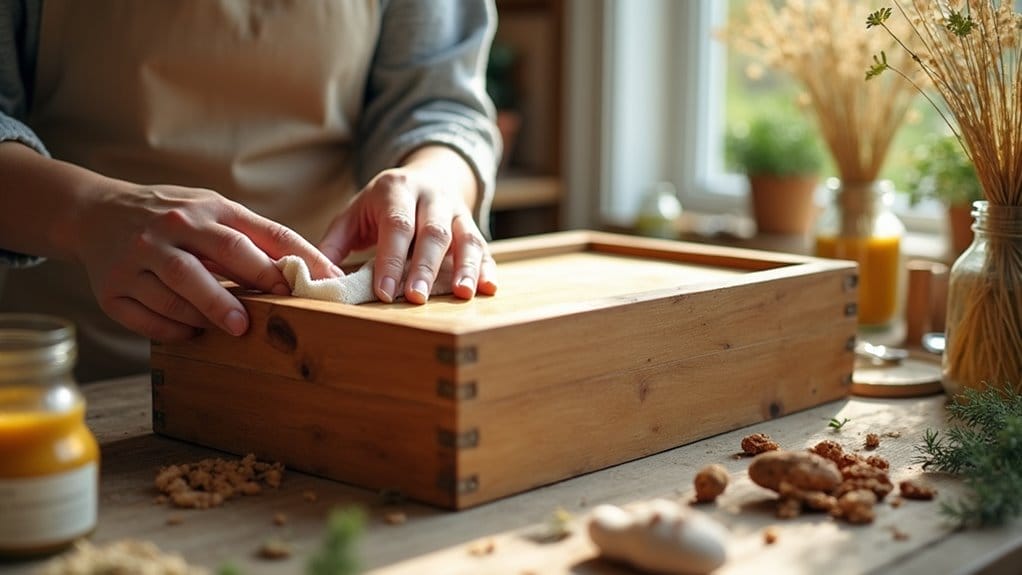
Surface Preparation: Sanding and Base Coating
Start with 120-grit sandpaper and work your way to 220-grit for a surface that’ll grip your chosen finish like a dream.
Sand along the wood grain to create a smooth, professional canvas—never fight against nature’s direction.
Wipe away dust with a tack cloth before applying primer, ensuring paint adheres properly to every curve and corner.
Your first coat of paint becomes the foundation for Instagram-worthy results, so don’t rush this step.
Consider tinted primers that complement your final color palette, saving time while achieving that coveted depth modern crafters crave.
Classic Ways for How to Decorate a Wood Box
You’ll transform your wooden box from plain to stunning using time-tested techniques that celebrate both creativity and the wood’s natural character.
1. Painting Techniques: Solid Color, Gradient, Hand-Painted Motifs
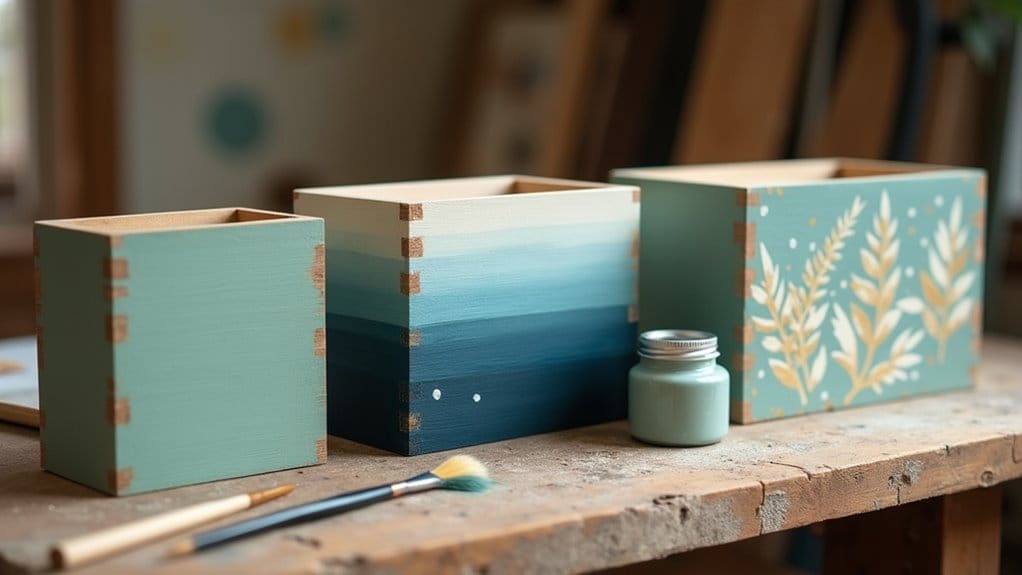
While modern embellishments certainly have their place, painting remains the most versatile and transformative way to personalize a wooden box. Start with a solid base—your first coat establishes coverage. Chalk paint offers excellent adhesion, while craft paint provides vibrant color options.
Once you’ve mastered how to paint the box uniformly, experiment with gradients by blending wet pigments. Hand-painted motifs add personality; try botanical designs, geometric patterns, or abstract brushstrokes. Each coat of paint builds dimension. Sand between layers for professional results.
Your technique choices—from minimalist monochromes to intricate illustrations—reflect current design trends while creating something uniquely yours.
2. Wood Burning (Pyrography) for Handmade Appeal
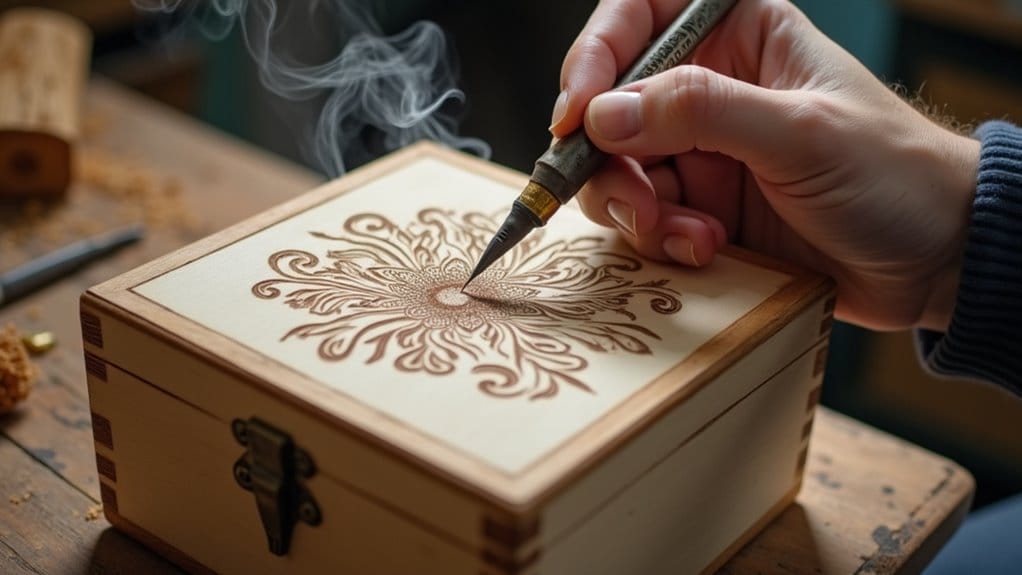
For lasting impact that can’t wash or chip away, pyrography burns designs directly into wood grain. This DIY project transforms your unfinished wooden canvas into heirloom-quality art.
You’ll need a pyrography pen with variable temperature settings—start with simple patterns on scrap wood before tackling your wooden box.
Popular trends include botanical line drawings, geometric patterns, and personalized monograms that give your rustic wood box authentic character. The technique is easy and fun once you master heat control.
Shade by adjusting pressure and speed, creating dimensional effects that highlight wood’s natural texture beautifully.
3. Staining and Waxing to Highlight Natural Grain

When you want the wood itself to become the decoration, strategic staining and waxing creates depth that paint simply can’t match.
Test your chosen stain on the box’s underside first to guarantee the wood accepts color evenly. Apply with the grain using foam brushes, building intensity through multiple thin coats rather than one heavy application.
Once dry, buff paste wax across the surface of the box in circular motions, then buff to your preferred sheen—glossy for drama or matte finish for understated elegance.
This technique transforms the color of the box while celebrating its natural character.
Modern & Commercial Decoration Methods
If you’re scaling up production or want razor-sharp precision, modern decoration methods deliver professional results that hand techniques can’t match.
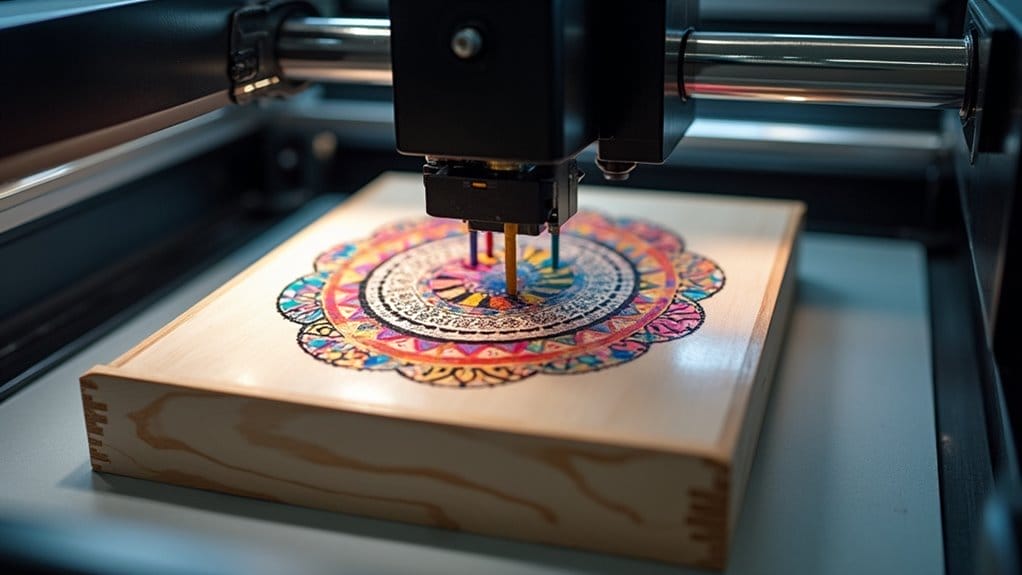
4. Laser Engraving for Logos and Patterns

Laser engraving transforms wooden boxes into professional-grade pieces with crisp, permanent designs that hand techniques can’t replicate.
You’ll find commercial laser services at your local craft store, or rent equipment for DIY wood box projects. Upload vector graphics for precision—logos, geometric patterns, or typography work beautifully.
The laser burns controlled depths into wood, creating dimensional effects impossible with paint. For decorating a wooden box with commercial appeal, combine engraving with staining; burned areas absorb color differently, producing stunning contrast.
These great ideas elevate handmade pieces to retail quality, perfect for branding products or creating memorable gifts.
5. UV Printing for Full-Color Designs
UV printing brings photographic-quality images to wooden surfaces with color vibrancy that traditional methods can’t match.
This technology cures specialized ink instantly using ultraviolet light, creating durable, scratch-resistant designs across the box surface.
You’ll find professional services offer this type of paint application for complex artwork, gradients, and detailed photographs.
While it’s challenging to make a diy UV setup due to equipment costs, exploring commercial options reveals fun ways to decorate with unlimited color possibilities.
Consider UV printing for product packaging, personalized gifts, or artistic projects where easy ideas meet professional-quality results that won’t fade or chip over time.
6. Mixed Materials: Leather, Fabric, Metal Accents

Contemporary designers transform ordinary wooden boxes into statement pieces by layering contrasting textures—supple leather corners, woven fabric panels, and gleaming metal hardware create depth that paint alone can’t achieve.
You’ll discover innovative ways to decorate by combining materials strategically. Adhere leather strips along edges using contact cement for durability. This simple DIY approach elevates any project instantly.
Wrap fabric around lids, securing with mod podge for an easy DIY transformation. Add brass corners or vintage latches to make DIY pieces feel professional.
These mixed-material techniques create sophisticated results that showcase your creative vision perfectly.
Decorating Wood Boxes for Specific Use Cases
Your wooden box decoration approach should shift dramatically based on its final purpose. A holiday gift box demands entirely different visual treatment than a minimalist jewelry organizer.
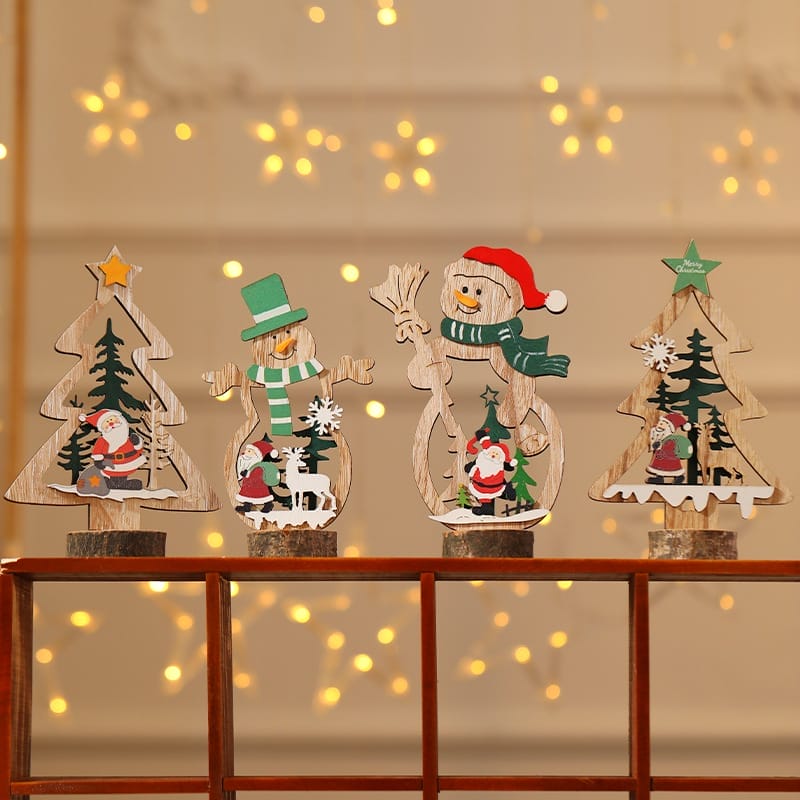
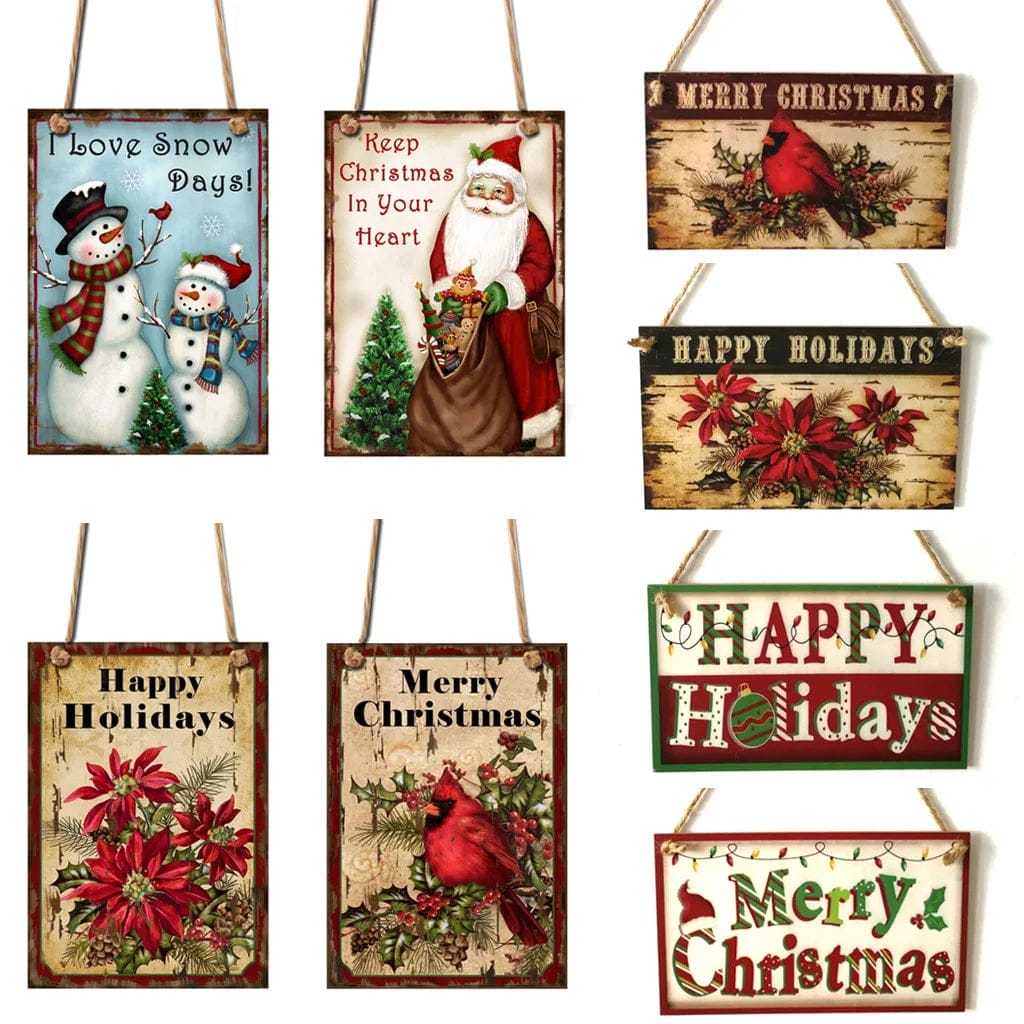
7. Gift and Seasonal Boxes (Christmas, Weddings, Corporate Gifts)

Wooden boxes transform into memorable gifts when you tailor their decoration to specific occasions and recipients.
Master the decoupage technique using festive napkin patterns and Mod Podge for Christmas designs. Layer seasonal greenery motifs for wedding keepsakes that’ll impress couples.
Seasonal Decoration Ideas:
- Apply metallic gold leaf accents for corporate gift boxes that convey professionalism
- Use decoupage with vintage holiday napkin designs for nostalgic Christmas presentations
- Incorporate fresh greenery sprigs and ribbons for rustic wedding favors
- Personalize with laser-engraved monograms for upscale corporate branding
- Layer tissue paper transfers for trendy, Instagram-worthy seasonal themes
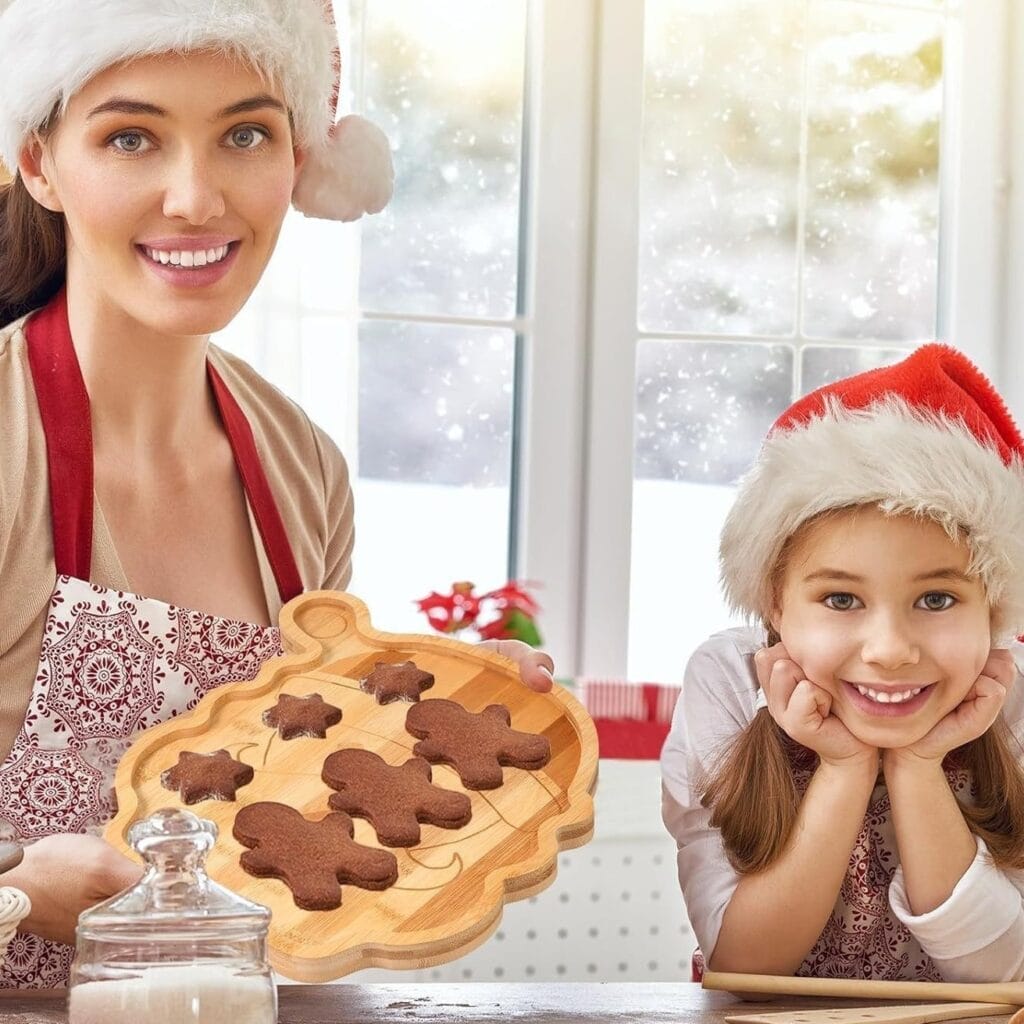
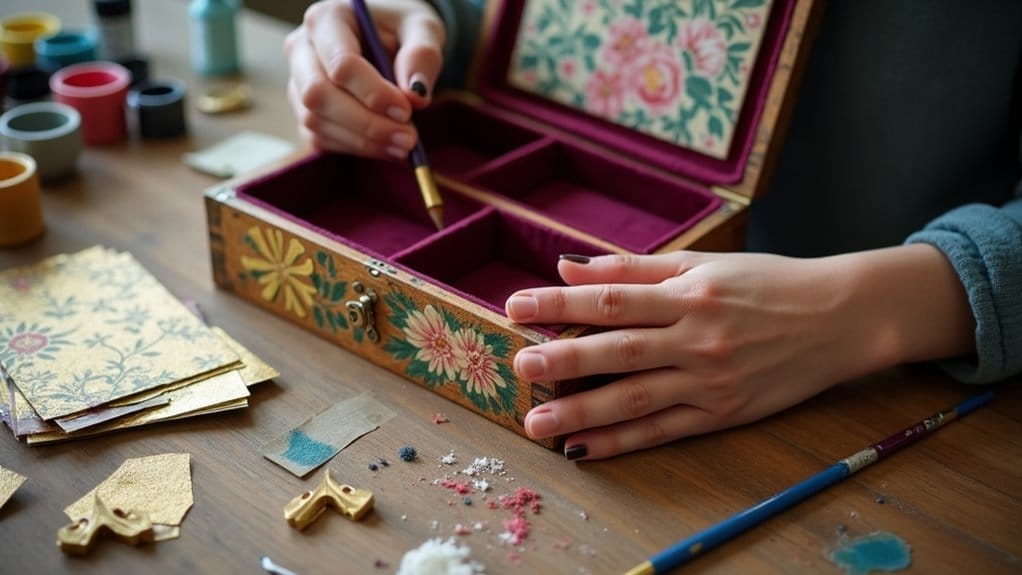
8. Functional Boxes: Storage, Tea, Jewelry, Keepsakes
Beyond celebrating special occasions, decorated wooden boxes serve practical purposes in your daily life while maintaining their aesthetic appeal.
Learn how to make storage boxes featuring bold geometric patterns using painter’s tape and contrasting colors. Transform little wood boxes into tea organizers with compartment dividers and vintage labels. Create jewelry boxes with velvet-lined interiors and metallic leafing on exterior surfaces.
Repair imperfections with wood filler before applying decoupage techniques for keepsake boxes. Each DIY box to make becomes both functional and decorative—mint-green herb storage boxes, monogrammed memory boxes, or leather-handled desk organizers showcase your personal style while organizing belongings efficiently.
9. Retail Display Boxes vs. End-User Storage Boxes
While both serve containment purposes, retail display boxes and end-user storage boxes demand distinctly different decorating approaches that align with their ultimate functions.
Retail displays require bold graphics and branded elements that catch eyes from across the room. Apply vibrant decoupage glue techniques with product imagery directly onto the wood, creating instant visual impact. Contemporary trends favor minimalist designs with metallic accents.
End-user storage boxes prioritize personalization and durability. Layer protective finishes, allowing each box to dry completely between coats.
Consider practical embellishments like chalkboard labels or geometric patterns that complement existing décor while withstanding daily handling and environmental exposure.
| Comparison Aspect | Retail Display Boxes | End-User Storage Boxes |
|---|---|---|
| Primary Purpose | Attract attention and drive sales | Long-term storage for everyday use |
| Target Audience | Shoppers in retail environments | Individual consumers or households |
| Design Focus | Visual impact and brand recognition | Practicality, durability, and personalization |
| Decorative Style | Bold graphics, bright colors, branded elements | Subtle designs that match interior décor |
| Decorating Techniques | Vibrant decoupage with product imagery; metallic accents | Multiple protective finish layers, fully dried between coats |
| Current Trends | Minimalist layouts with metallic highlights | Geometric patterns and reusable design elements |
| Functional Add-ons | Mostly visual; limited functional features | Chalkboard labels, clear category markings |
| Durability Needs | Moderate, suitable for short-term display | High, built for frequent handling and environmental exposure |
| Typical Lifespan | Short-term or promotional use | Long-term, repeated use |
Sustainability Considerations When Decorating Wood Boxes
When you’re decorating your wooden box, choosing eco-friendly materials like water-based paints and natural oil finishes lets you create stunning designs
Water-Based Paints and Natural Finishes
Eco-conscious crafters are transforming wooden box decoration by choosing water-based paints and natural finishes that protect both their projects and the planet.
You’ll discover acrylics deliver vibrant colors without toxic fumes, while milk paint creates trending vintage aesthetics with zero VOCs. Seal your artwork using beeswax polish or plant-based oils like tung and linseed—they’re biodegradable yet durable.
Modern water-based varnishes now rival traditional polyurethanes in protection while cleaning up with simple soap and water.
You’re not sacrificing quality when going green; you’re accessing innovative formulas that dry faster, resist yellowing, and keep harmful chemicals from your workspace and waterways.
Minimal Decoration for Maximum Longevity
Because every layer you add shortens your box’s lifespan, strategic restraint becomes your most powerful design tool.
Consider monochrome palettes—they’re trending precisely because they age gracefully. Single accent burns, selective wax applications, or minimal geometric stamps create visual impact without overwhelming wood’s natural character.
Skip trendy metallics that oxidize unpredictably. Instead, embrace negative space—let untreated sections breathe.
Your box’ll withstand decades of handling when you’re not constantly renewing flaking embellishments.
Think Scandinavian minimalism: one thoughtful detail outperforms five competing elements. Less decoration means more longevity, and that’s genuinely sustainable design.
Reusable and Refillable Box Design
The gap between single-use and heirloom hinges on how you design for reinvention. Choose removable vinyl decals over permanent paint—they transform seasonally without damaging wood grain.
Install magnetic closure panels that hide interchangeable inserts, letting one box serve multiple purposes. Chalkboard paint creates erasable labeling zones perfect for gift-giving or pantry storage.
Consider modular compartments with sliding dividers you’ll rearrange as needs evolve. Avoid trendy color combinations that’ll date quickly; instead, use timeless neutrals with swappable ribbon accents.
Design with tomorrow’s function in mind, ensuring your decorated box adapts rather than becomes obsolete.
Common Mistakes to Avoid When Decorating Wood Boxes

Even the most stunning decoration techniques can backfire when you’re working against the wood’s natural beauty rather than with it.
Over-Decoration That Hides Wood Quality
Layers of paint, stickers, and embellishments can transform your carefully selected wooden box into a plastic-looking craft project that screams “garage sale reject.”
When you’ve invested in quality wood—whether it’s rich walnut, elegant cherry, or rustic reclaimed pine—smothering those beautiful grain patterns under heavy decoration defeats the entire purpose.
Instead, embrace minimalist techniques like strategic decoupage on lid corners only, leaving sides bare.
Try translucent wood stains that enhance rather than conceal. Use metallic leafing as delicate accents along edges.
Contemporary design favors showcasing natural textures, so let your wood’s inherent beauty shine through thoughtful, restrained decoration.
Ignoring End Use and Environment
While restraint preserves wood’s natural appeal, your decorative choices must also align with where and how you’ll actually use the box.
- Bathroom storage demands waterproof finishes and moisture-resistant embellishments—skip paper decoupage here.
- Kitchen boxes need food-safe sealants if they’ll contact edibles.
- Outdoor decorative pieces require UV-protective topcoats and weather-resistant adhesives, or your carefully applied mosaic tiles will detach within months.
- Children’s toy boxes shouldn’t feature sharp metal studs or delicate glass accents.
- Consider temperature fluctuations, humidity levels, and handling frequency.
- Instagram-worthy designs fail when they’re impractical for their intended environment.
- Function informs sustainable decoration.
Choosing Decoration Methods Too Late in the Design Process
Before you sand that first surface or select your wood stain, map out your complete decorative strategy—waiting until after preparation stages locks you into limited options.
Pyrography requires raw wood, while decoupage adheres best to sealed surfaces. Planning ahead prevents costly do-overs.
Sketch your vision first: Will you incorporate trending geometric burns, layer resin pours, or apply metallic leaf? Each technique demands specific surface preparation.
Consider combining methods—perhaps branded patterns with watercolor washes or carved details highlighted by contrasting stains. Your preparation sequence directly impacts which contemporary decoration styles you can successfully execute on your finished piece.
Cost, MOQ, and Production Planning for Decorated Wood Boxes

Before you commit to a decoration technique, you’ll need to crunch the numbers—handcrafted details like hand-painting or wood burning cost more per unit but offer flexibility with lower minimum order quantities, while machine-based methods like laser engraving or UV printing require higher MOQs to offset setup costs.
Your production timeline hinges on whether you’re ordering custom samples (expect 2-4 weeks for handcrafted prototypes versus 1-2 weeks for machine samples) and the complexity of your chosen design.
Smart planning means balancing your budget against order volume, lead time requirements, and the visual impact you’re targeting for your finished boxes.
Handcrafted vs. Machine-Based Decoration: Cost Comparison
When you’re planning your decorated wooden box project, the choice between handcrafted and machine-based methods will directly impact your wallet, timeline, and creative possibilities.
Hand-painting and wood-burning cost less upfront—you’ll spend $50-200 on tools—but require significant time investment.
Laser engraving and CNC routing demand higher initial costs ($2,000-10,000), yet they’ll slash production time and guarantee consistency across batches.
For small runs under 50 boxes, handcrafted techniques shine economically.
Beyond 100 units, machines become cost-effective.
Consider trending hybrid approaches: machine-cut stencils paired with hand-applied finishes blend efficiency with artisanal appeal while optimizing your budget.
| Comparison Aspect | Handcrafted Decoration | Machine-Based Decoration |
|---|---|---|
| Typical Methods | Hand-painting, wood-burning | Laser engraving, CNC routing |
| Initial Tool Cost | $50–200 | $2,000–10,000 |
| Time Investment | High; labor-intensive per box | Low per unit after setup |
| Production Speed | Slow, depends on skill and time | Fast, suitable for batch production |
| Design Consistency | Varies by maker and piece | Highly consistent across all units |
| Best Production Volume | Small runs (under 50 boxes) | Medium to large runs (100+ boxes) |
| Cost Efficiency | More economical for limited quantities | More cost-effective at scale |
| Creative Flexibility | Very high; easy to customize each box | Moderate; changes require reprogramming |
| Learning Curve | Skill-based, improves with practice | Technical setup and software knowledge required |
| Hybrid Approach | Hand finishes on machine-cut stencils | Machines handle precision; hands add character |
MOQ Impact on Decoration Choices
Minimum order quantities reshape your decoration strategy from the ground up, forcing you to balance artistic vision against supplier requirements.
Screen printing demands 100+ units, making it ideal for product lines rather than one-offs. Laser engraving offers flexibility with lower MOQs, perfect for testing trending geometric patterns before committing. UV printing sits between these extremes, requiring 50-piece minimums while delivering Instagram-worthy gradients and photorealistic details.
Calculate your production timeline against decoration capacity—hand-painted finishes scale poorly, while vinyl application lets you pivot quickly when maximalist florals suddenly dominate social feeds.
Choose techniques matching both your volume and market responsiveness needs.
Lead Time and Sampling for Custom Decoration
Unless you account for sampling cycles upfront, your launch timeline will miss critical market windows by weeks or months.
Budget 2-3 weeks for initial decoration samples, then another 10-14 days for revisions. Request photo documentation at each stage—lighting angle and color accuracy matter enormously for laser engraving depth and paint matching.
Pin down your supplier’s current queue before committing; peak seasons (Q3-Q4) can double standard lead times.
Smart decorators order sample sets showing multiple techniques side-by-side, letting you pivot quickly when one aesthetic outperforms others. Visual proof beats assumptions every time.
Conclusion
You’ve got the blueprint—now it’s time to make those wood boxes pop. Whether you’re laser-etching minimalist logos or hand-painting bold patterns, the key is matching technique to market. Don’t skimp on samples; test finishes, colors, and durability before committing to production runs.
Stay flexible with trends, but keep sustainability front and center. Your decorated boxes aren’t just containers—they’re brand statements that’ll sit on shelves and Instagram feeds alike.
Frequently Asked Questions
Can Decorated Wooden Boxes Be Safely Stored in Humid Environments Long-Term?
You’ll risk warping, mold, and peeling finishes if you store decorated wooden boxes in humid spaces long-term. Instead, use climate-controlled areas, apply marine-grade sealants, or add silica gel packets inside for moisture protection.
How Do I Remove Old Decoration From a Wooden Box?
You’ll want to sand away paint or stain using progressively finer grits, or try a heat gun for stubborn embellishments. For decoupage, apply warm water and gently scrape. Always test your method on inconspicuous areas first.
What Permits Are Needed to Sell Decorated Wooden Boxes Commercially?
You’ll typically need a business license, sales tax permit, and possibly a home occupation permit if working from home. Check your local regulations—some areas require special permits for handmade goods or craft sales.
Can Decorated Wooden Boxes Be Repaired if Damaged During Shipping?
Yes, you can repair most shipping damage! Touch up paint chips with matching colors, reglue loose embellishments, sand scratches smooth, or apply fresh varnish. Document damage immediately for insurance claims and customer satisfaction.
How Long Does Decoration on Wooden Boxes Typically Last Outdoors?
You’ll get 1-2 years max with regular finishes outdoors. For extended life, apply marine-grade sealant or outdoor varnish—it’s trending now and can push longevity to 3-5 years with proper maintenance and UV protection.