You’re about to discover how to transform simple wood pieces into stunning, wearable art with earrings you can make. As you begin crafting wooden earrings, you’ll need to master essential techniques like precise cutting, proper wood selection, and safe finishing methods. While the process requires attention to detail and proper safety measures, even beginners can create professional-looking pieces. Let’s explore the step-by-step process that will take you from raw materials to finished jewelry that’s sure to draw compliments.
Key Takeaways
- Select hardwoods like maple or walnut at 1/8 to 1/4 inch thickness, ensuring proper drying to prevent warping and splitting.
- Sketch your design on paper, focusing on lightweight patterns between 1-2.5 inches long for comfortable wear.
- Cut shapes using a scroll saw, then drill small holes with 1/16″ bit for attaching jewelry findings.
- Sand progressively with 150 to 400-grit sandpaper, moving with the wood grain for a smooth, splinter-free finish.
- Apply epoxy resin in thin, even coats for protection and attach hypoallergenic earring hooks using jump rings.
Materials Needed

You’ll need several key materials to make earrings, including hardwoods like maple, walnut, or cherry that resist warping and splintering, along with essential tools such as a scroll saw, sandpaper (150-400 grit), and a drill with small bits.
Your workspace must be equipped with safety gear including protective eyewear, a dust mask, and hearing protection when operating power tools.
For an enhanced finish, consider optional materials like epoxy resin, wood sealant, hypoallergenic earring hooks, and wood stains that are skin-safe and non-toxic.
Types of Wood for Earrings
The selection of appropriate wood types is essential for creating durable and attractive wooden earrings. Choose hardwoods like walnut and maple for their strength and beautiful grain patterns.
Basswood offers excellent workability for intricate designs. When selecting materials, opt for wood that’s 1/8 to 1/4 inch in thickness to guarantee your earrings aren’t too heavy.
Wood veneer and thin plywood provide lightweight alternatives and are less likely to split or warp. Verify all wood is properly dried and sealed to prevent moisture damage.
Always sand with the grain and test wood for potential allergic reactions before wearing your completed earrings.
Tools Required for Making Wooden Earrings
Before beginning your wooden earring project, gather essential tools including a scroll saw or jeweler’s saw for precise cuts, a drill with small bits (1/16″ to 1/8″), and proper safety equipment like protective eyewear and a dust mask.
You’ll need various grits of sandpaper (150-400) for smooth finishing, needle-nose pliers for jewelry findings, and a sharp blade for detail work.
Optional but useful tools include a diode laser engraver for intricate patterns and designs. Keep your tools organized and well-maintained – dull blades can cause splintering.
Always check that safety guards are in place on power tools before starting your project.
Optional Materials: Resin and Finishing Supplies
While wooden earrings can be stunning on their own, incorporating resin and specialty finishes elevates them to professional-quality pieces.
You’ll need epoxy resin, hardener, and protective gloves for creating unique inlays. Consider acrylic paint or wood stains for adding color, and choose either spray lacquer or brush-on polyurethane for the final protective finish.
For achieving ultra-smooth surfaces, you’ll want fine-grit sandpaper (220-400 grit) and polishing compounds. Keep wood glue handy for repairs or layered designs.
Remember to work in a well-ventilated area when using resin or spray finishes, and always wear appropriate safety gear, including a respirator mask and eye protection.
Designing Your Wooden Earrings

Begin your design process by examining established wood earring patterns from reputable craft sites and identifying elements you’d like to incorporate into your own unique pieces.
When sketching your design, consider that lightweight wooden earrings typically range from 1 to 2.5 inches in length to guarantee comfort and wearability.
Select geometric shapes, organic curves, or nature-inspired forms that will complement your chosen wood species while accounting for its grain pattern and structural integrity.
Inspiration for DIY Wood Earring Designs
Drawing inspiration for wooden earring designs opens up endless creative possibilities while helping you develop a clear vision for your project.
Let your creativity flow by exploring these design categories:
- Geometric shapes – Create modern looks using triangles, hexagons, and interlocking circles for a bold statement.
- Natural elements – Incorporate leaf patterns, wood grain texture, and organic curves found in nature.
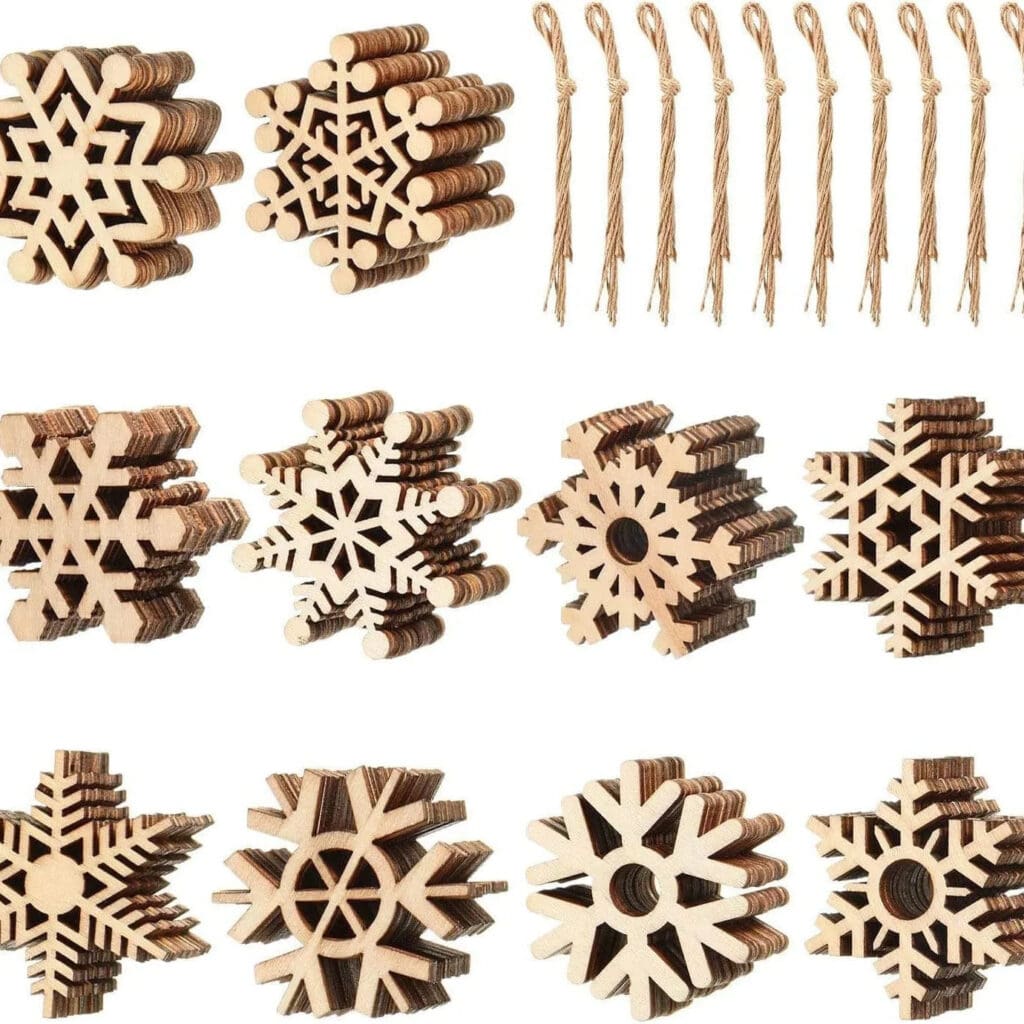
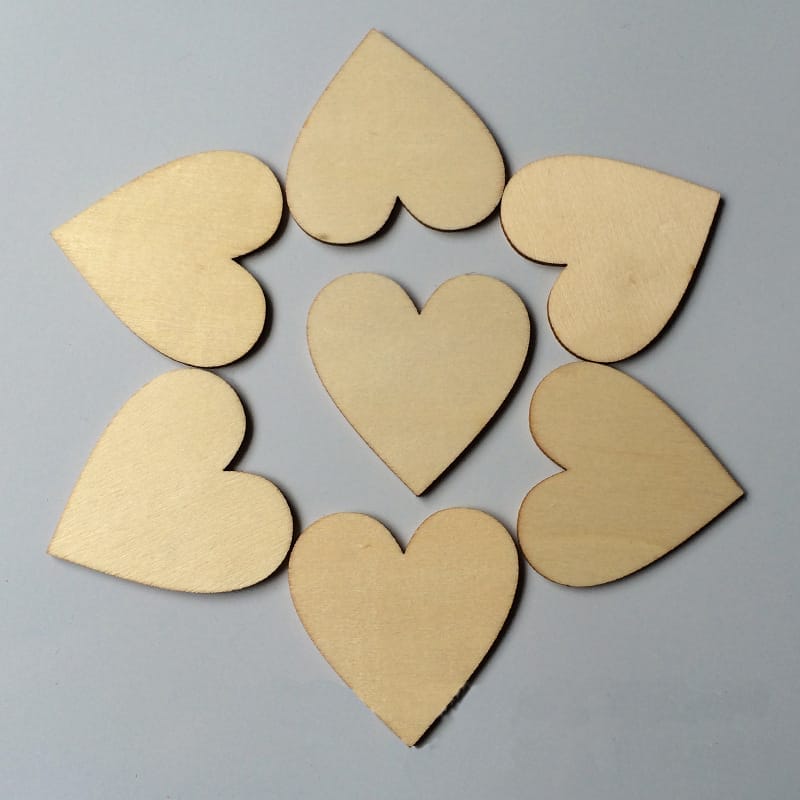
- Holiday themes – Design seasonal pieces featuring snowflakes, hearts, or autumn leaves.
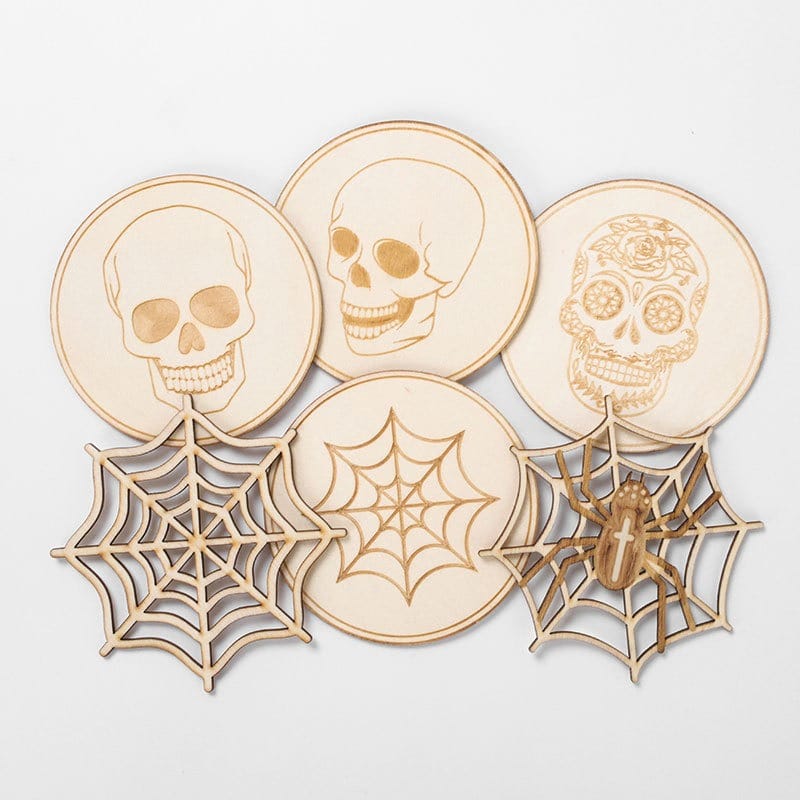
- Intricate patterns – Experiment with Celtic knots, mandalas, or Art Deco-inspired designs.
Consider sketching your ideas first and testing different combinations before cutting the wood to guarantee your vision translates effectively to the medium.
Choosing the Right Size and Shape
Once you’ve gathered design inspiration, selecting appropriate dimensions and proportions for your wooden earrings becomes your next key consideration.
Create a paper template to test different sizes against your earlobe – most wood earrings work best between 1-2 inches in length. For delicate studs, stick to circles under 1/2 inch diameter.
When planning dangle styles, remember that wood piece weight affects comfort and durability. Keep the thickness between 1/8 to 1/4 inch to prevent strain on ear piercings.
Test your template’s movement and balance by holding it up to verify it hangs properly before cutting your wood.
How to Make Wood Earrings By Laser Cutting

Laser cutting offers unmatched precision when creating wooden earrings, allowing you to achieve intricate designs with clean, professional edges at 1/64-inch accuracy.
You’ll need access to a laser cutting machine and appropriate safety gear, including protective eyewear and a ventilation system to handle wood smoke.
If you don’t have access to a laser cutter, you can achieve similar results using a Cricut machine for simpler designs, or traditional hand-cutting methods with a jeweler’s saw for basic shapes.
Using a Laser Cutter for Precision
When working with a laser cutter, you’ll need to prepare your digital design file in a vector format compatible with your machine’s software, typically .SVG, .AI, or .DXF.
For ideal laser cut wood earrings using wood veneer material:
- Set your diode laser power between 10W – 40W, adjusting speed to prevent burn marks.
- Position material at the focal point (usually 2-3mm from laser head).
- Conduct test cuts on scrap pieces to calibrate settings.
- Use air assist if available to minimize charring and improve edge quality.
Remember to properly ventilate your workspace when laser cutting wood, as the process produces smoke and fumes.
Alternative Methods: Cricut and Hand Cutting
While laser cutting offers precision, you can also create beautiful wooden earrings using a Cricut machine or manual cutting tools.
For Cricut projects, upload your earring design file and use a strong grip mat with thin wood veneer or 1/8″ basswood. Set your machine to custom material settings for wood.
If you’re hand cutting, transfer your pattern onto 1/8″ plywood using carbon paper. Secure the wood in a vise and cut carefully with a scroll saw or coping saw.
Always wear safety glasses and maintain blade tension. Sand edges thoroughly before attaching earring hooks. Both techniques require practice but offer unique DIY wood crafting experiences.
Tips for Working with Wood Veneer

Working with wood veneer requires careful attention to detail as you assemble your earring components, attach metal findings, and smooth any rough edges with fine-grit sandpaper.
You’ll need to securely bond your veneer layers using wood glue while maintaining proper alignment, and install earring hooks using jump rings or pre-drilled holes for maximum durability.
For a professional finish, seal your completed wooden earrings with clear epoxy resin, which not only enhances the wood’s natural grain but also provides lasting protection against moisture and wear.
Assembling Your Earrings
Before you begin assembling your wooden veneer earrings, it’s vital to prepare your workspace and understand the material’s unique properties.
When making wooden earrings, proper assembly guarantees durability and professional results.
- Apply double-sided tape to join your veneer pieces together, pressing firmly for secure adhesion.
- Drill small pilot holes for jump rings using a 1/16″ bit at marked locations.
- Attach jump rings with needle-nose pliers, confirming rings are completely closed.
- Add earring hooks by connecting them to the jump rings while maintaining proper orientation.
Always wear safety glasses during drilling and handle sharp tools with caution.
Test the assembled earrings for stability before wearing.
Attaching Earring Hooks and Components
The four essential steps for attaching components to wood veneer earrings require careful attention to prevent splitting or damage to your delicate materials.
First, drill pilot holes using a 1/16″ bit at the setting marked for your jewelry findings.
Next, apply a tiny drop of wood glue to reinforce the area where you want to add components.
Then, insert eye pins or jump rings using needle-nose pliers, being careful not to crack the veneer.
Finally, attach your chosen earring hooks by connecting them to the findings.
Test the stability of different materials before wearing your DIY earrings to guarantee they’re secure.
Finishing Touches: Filing and Smoothing Edges
After securing all components, proper edge finishing will guarantee your wooden earrings are both safe and comfortable to wear. The smoothing process requires careful attention to achieve professional results.
- Begin with a fine-grit sandpaper (220-grit) to file down any rough spots or splinters along the edge of your wood sheet.
- Apply medium pressure in one direction when smoothing to prevent tearout damage.
- Use progressively finer grits (320, then 400) to refine the surface texture.
- Finish by gently rubbing the edges with 0000 steel wool for a silky-smooth feel.
Always wear a dust mask and work in a well-ventilated area when sanding wood earrings.
Applying Resin for a Glossy Finish
Achieving a flawless glossy finish requires careful preparation when applying epoxy resin to your wooden earrings.
If you want to make your custom pieces shine, you’ll need a primary tool needed: high-quality two-part epoxy resin.
Before you explore this maker technique, purchase a respirator mask and work in a well-ventilated area.
Mix your resin according to manufacturer ratios, and use a clean brush to apply a thin, even coat.
Let each layer cure completely before adding subsequent coats. This idea creates depth and prevents bubbles.
Make something unique by experimenting with colored resins or embedding small elements between layers.
Frequently Asked Questions
How Long Do Wooden Earrings Typically Last With Regular Wear?
You’ll get 2-5 years from wooden earrings with proper care. To extend their life, store them in a dry place, avoid water exposure, and regularly treat them with mineral oil or beeswax for protection.
Can Wooden Earrings Get Wet in the Shower or Pool?
You shouldn’t expose wooden earrings to water, as moisture can cause warping, swelling, and deterioration. Remove them before showering or swimming to prevent damage to the wood and potential growth of mold or mildew.
What Types of Wood Are Safest for Sensitive Ears?
For sensitive ears, you’ll want to use hypoallergenic hardwoods like maple, birch, or bamboo. These woods are less likely to cause reactions and won’t leach chemicals. Avoid exotic woods that may contain irritating oils.
How Do You Prevent Wooden Earrings From Warping Over Time?
You’ll prevent warping by sealing your wooden earrings with multiple coats of water-resistant finish, storing them in a humidity-controlled environment, and avoiding direct moisture contact. Don’t leave them in bathrooms or hot cars.
Can I Paint or Stain Wooden Earrings After They’re Made?
Yes, you can paint or stain finished wooden earrings. Apply non-toxic acrylic paint or wood stain, then seal with clear polyurethane or food-grade mineral oil to protect the finish and guarantee skin-safe wear.
Conclusion
Whether you’re using laser cutting or traditional woodworking methods, you’ll need to seal your finished wooden earrings with food-grade mineral oil or polyurethane to protect against moisture. Don’t forget to test the weight balance before finalizing your design. Always wear appropriate safety gear, including protective eyewear and a dust mask, when cutting or sanding wood. Store your completed earrings in a dry environment to prevent warping.


