Our wood engraving technology showcases exactly how to engrave wood with precision and artistry. By combining traditional craftsmanship with cutting-edge laser techniques, we create personalized gifts, custom signage, and artistic pieces that stand out.
From selecting the perfect wood grain to fine-tuning laser settings, our expertise turns ordinary lumber into extraordinary engraved masterpieces. Let us show you how our advanced engraving techniques bring wood to life with stunning detail and lasting beauty.
Key Takeaways
- Select dry wood with 6-8% moisture content and prepare the surface by sanding until smooth and free of imperfections.
- Create a design using digital software. Then, transfer it to the wood using digital upload.
- Set up the engraving equipment with proper ventilation and calibrate the power settings based on the type of wood and the desired depth.
- Secure the wood firmly to prevent movement during engraving and maintain consistent pressure and temperature throughout the process.
- Clean the engraved surface with a soft brush, and sand if necessary. Apply a protective finish for long-lasting results.
Material Selection and Preparation

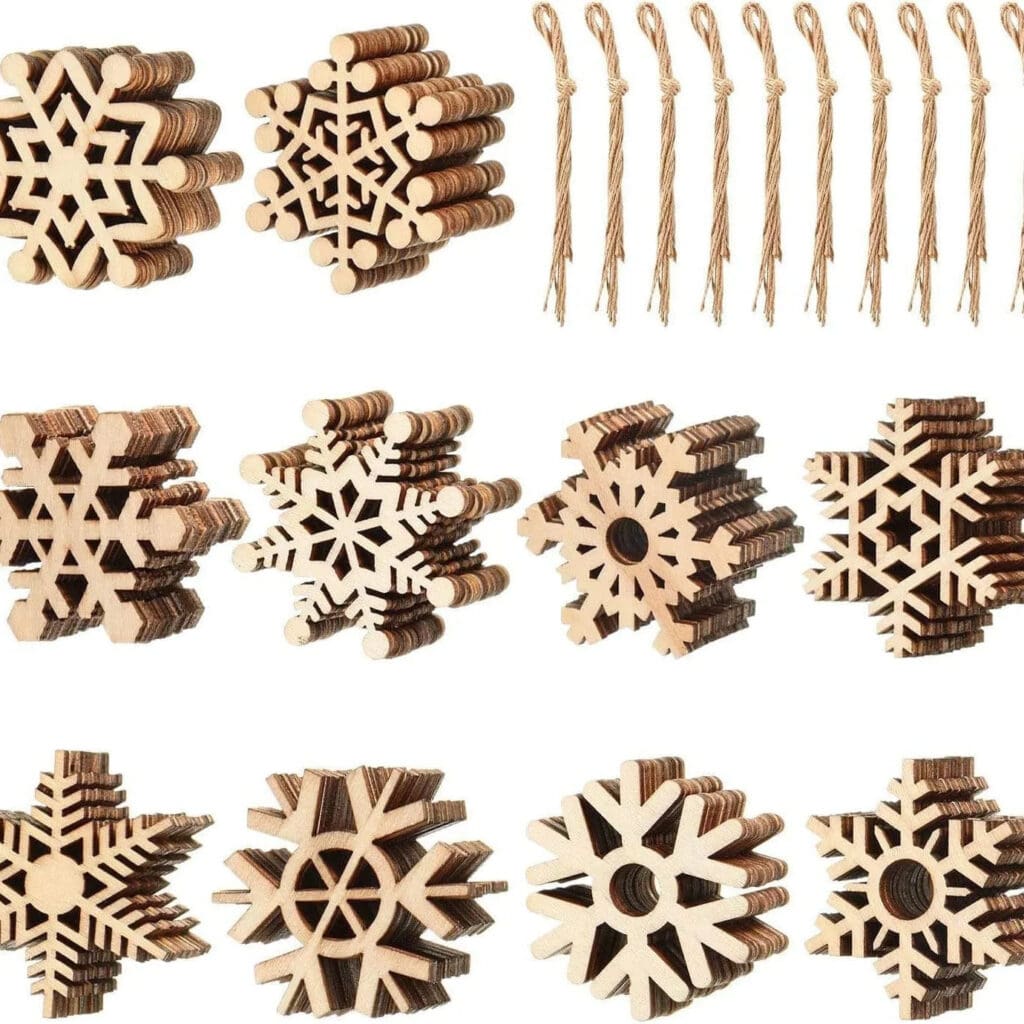
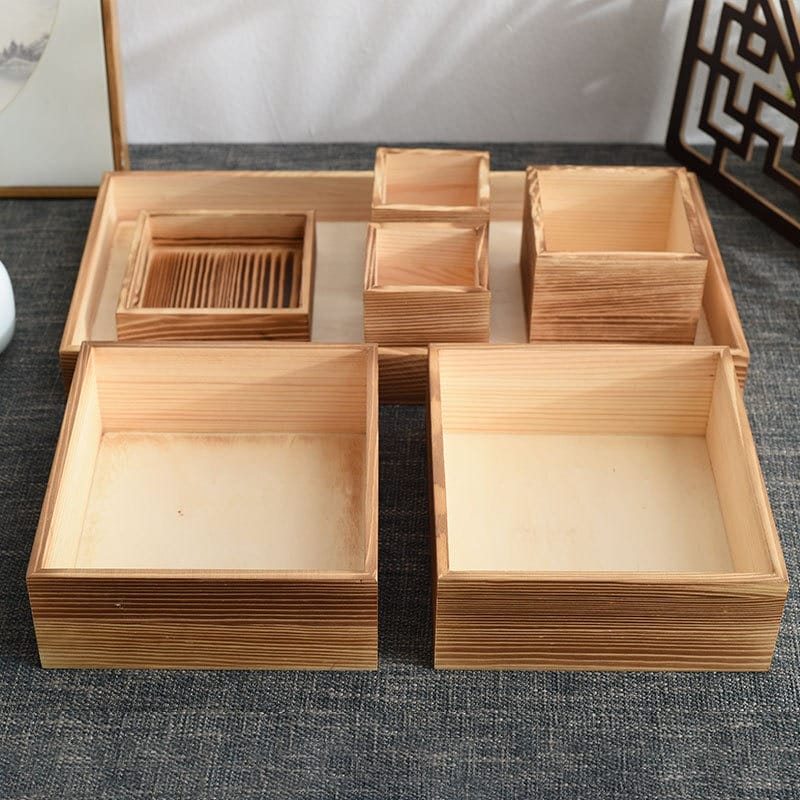
Successful engraving on wood starts with choosing the right material and preparing it properly. As a specialized wood products manufacturer, we carefully select wood types such as alder, basswood, pine, birch, cherry, and maple for our custom wholesale orders. Alder’s light color and minimal streaking make it particularly suitable for the engraving projects we undertake.
Before engraving, we ensure the wood’s moisture content is between 6% and 8% to prevent warping and maintain product stability. We use wood pieces at least ¼ inch thick to guarantee durability.
Surface preparation is a crucial step in our process. All wood is cleaned and smoothed to eliminate imperfections. For every project, we test the chosen finish on scrap pieces to observe its effect on the final engraved appearance, ensuring the highest quality for our clients.
Design Planning and File Setup

We emphasize careful design planning to ensure your vision comes to life perfectly. Our process begins with sketching concepts, either by hand or using design software, to refine every detail.
For laser cutting or CNC engraving, we convert your artwork into vector files fully compatible with our advanced laser cutter.
Before transferring any design onto the wood, we make sure the surface is properly prepared—cleaned and smoothed—to achieve the best engraving results.
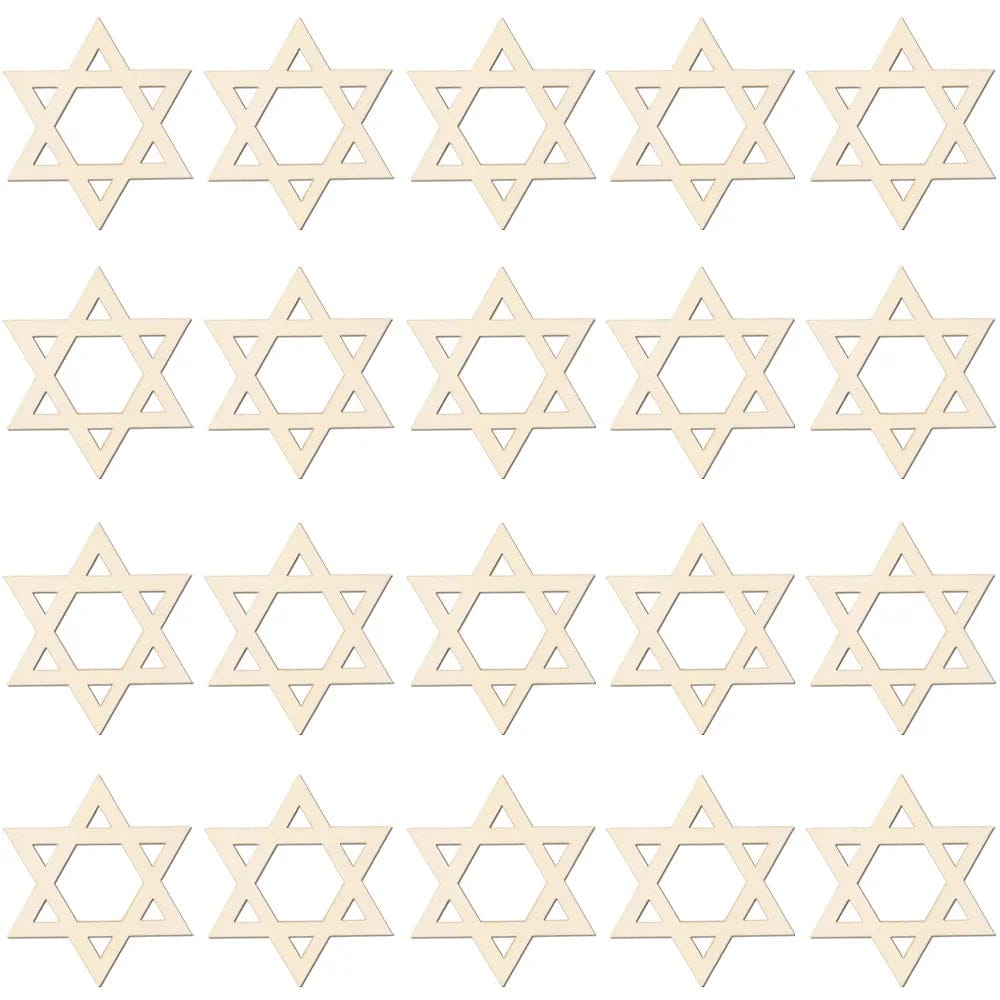
We recommend starting with simple designs that focus on basic geometric shapes or clear motifs to ensure precision.
Additionally, we always run tests of the design and machine settings on scrap wood. This step helps us optimize the process, minimize errors, and deliver high-quality finished products to our clients.
Laser Equipment Calibration

Before starting any wood engraving project, we carefully calibrate our laser equipment. So we ensure optimal results tailored to each wood type and desired engraving depth.
Power and Speed Settings
To laser engrave wood effectively, we carefully adjust power and speed settings according to the wood type and thickness.
We adjust the laser’s power between 10% and 100%, depending on the wood species and thickness. Speed settings range from 10 to 400 mm/s. Slower speeds produce deeper engravings, while faster speeds suit lighter etching.
For thin woods, lower power combined with higher speed minimizes surface damage, whereas thicker materials need higher power and slower speeds. To avoid burning or smoke marks, we always conduct test engraving on scrap wood before production.
Focus Point Adjustment
Precision in focus point positioning is crucial for sharp, well-defined engravings. We measure the distance between the laser lens and the wood surface, typically ranging from 2 to 10 mm. This depends on the machine model, and use focusing gauges to confirm accuracy.
This step is repeated whenever material type or thickness changes to maintain consistent quality without burn marks or uneven depths.
Material Height Calibration
Accurate material height calibration ensures the laser beam maintains the correct focal distance, usually about 1/8 to 1/4 inch above the wood surface. We use focus gauges or pre-measured spacers to verify this distance before each run.
Our modern laser machines often include built-in height sensors that automate this process, improving efficiency and precision across all custom orders.
Engraving Process and Techniques
To ensure high-quality wood engraving, we properly set up our laser engraving equipment in a well-ventilated workspace, with all materials securely fixed for stable and accurate engraving.
Laser Engraving Equipment Setup
Proper setup of wood laser engraving machines is crucial for achieving precise and professional results on wood surfaces. Our standard procedure includes:
| Setup Step | Action Required |
|---|---|
| Machine Placement | Place on a stable, level surface with good ventilation |
| Wood Preparation | Clean and smooth wood surface; securely clamp material |
| Software Setup | Upload vector design files; adjust dimensions to fit wood size |
| Laser Settings | Set optimal power, speed, and resolution based on wood type |
For example, using the LaserPecker 4 with its Design Space software, we fine-tune parameters to achieve ideal engraving depth and detail. A test engraving on scrap wood is always performed before final production to ensure quality.
Manual Wood Burning Methods
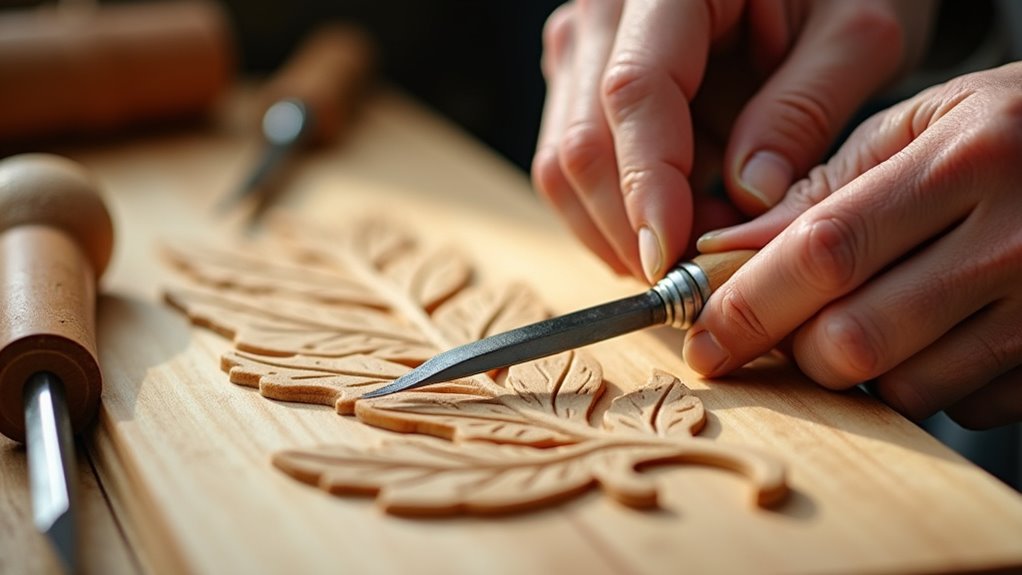
Besides laser engraving, we also use hand tools such as a rotary tool for detailed manual carving and artistic effects. This method provides artists with detailed control through heated pens featuring interchangeable tips, allowing for varied line effects.
We recommend practicing on softwoods like basswood or pine to master pressure, temperature control, and shading techniques. After completing the design, a protective finish is applied to enhance contrast and durability.
Pattern Transfer Techniques
Accurately transferring your design onto wood is essential for successful engraving. We use multiple methods depending on project needs:
- Carbon Transfer: Place carbon paper between the design and wood, then trace the pattern.
- Freehand Drawing: Skilled artists can draw directly on the wood surface.
- Stencil Application: Secure pre-cut stencils for consistent, repeatable patterns.
- Projector Tracing: Use projectors to display designs for precise tracing.
- Transfer Paper: For clear outlines that guide engraving paths.
These techniques enable us to cater to the diverse needs of our customers. So we ensure that every custom wholesale order meets exacting standards.
Quality Control and Surface Finishing

As a specialized manufacturer of custom wood products, we maintain rigorous quality control. We ensure every engraved piece meets high standards for smoothness, clarity, and durability.
Surface Smoothness Standards
Before engraving, we sand all wood surfaces to at least 220 grit to create an ideal foundation for clean and precise engraving. This ensures the surface is free from rough patches or splinters that could affect engraving quality.
After engraving, we carefully inspect the surface for any raised fibers or irregularities. If necessary, extra sanding is performed with consistent pressure to avoid uneven areas. All dust is removed using a soft brush before finishing.
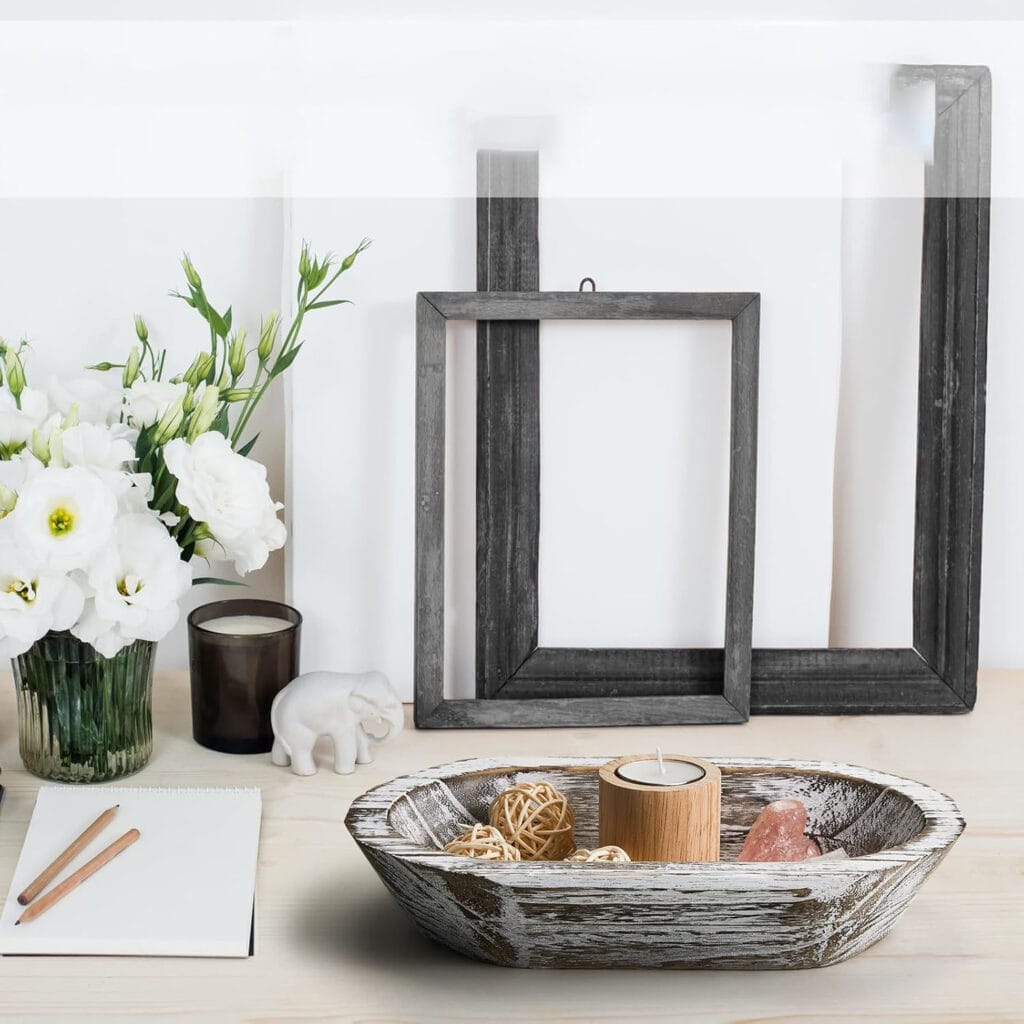
To enhance durability and visual appeal, we apply protective finishes such as polyurethane or wood oil. These finishes smooth any remaining rough edges while highlighting the engraved design, ensuring long-lasting beauty.
Post-Engraving Finish Inspection
Upon completion, each engraved product undergoes a thorough inspection. We check that all design lines are sharp, consistent in depth, and free from defects.
Before applying the final finish, we test it on scrap wood to verify compatibility and appearance. The right finish protects the engraving from moisture and wear while enhancing its contrast and detail.
Additionally, we regularly inspect and maintain our tools to guarantee consistent engraving quality and finish excellence in every batch.
Final Words: How to Engrave Wood
We always select high-quality wood with the proper moisture content to ensure the best material foundation. We carefully prepare designs and precisely calibrate our equipment to guarantee accuracy in every detail.
Whether using a laser engraver or traditional pyrography, we maintain consistent pressure and speed to achieve clear and uniform results.
After engraving, we thoroughly inspect each piece and apply protective finishes to enhance durability and appearance. With these professional processes, we are committed to delivering beautiful and satisfying wood engravings to our customers.
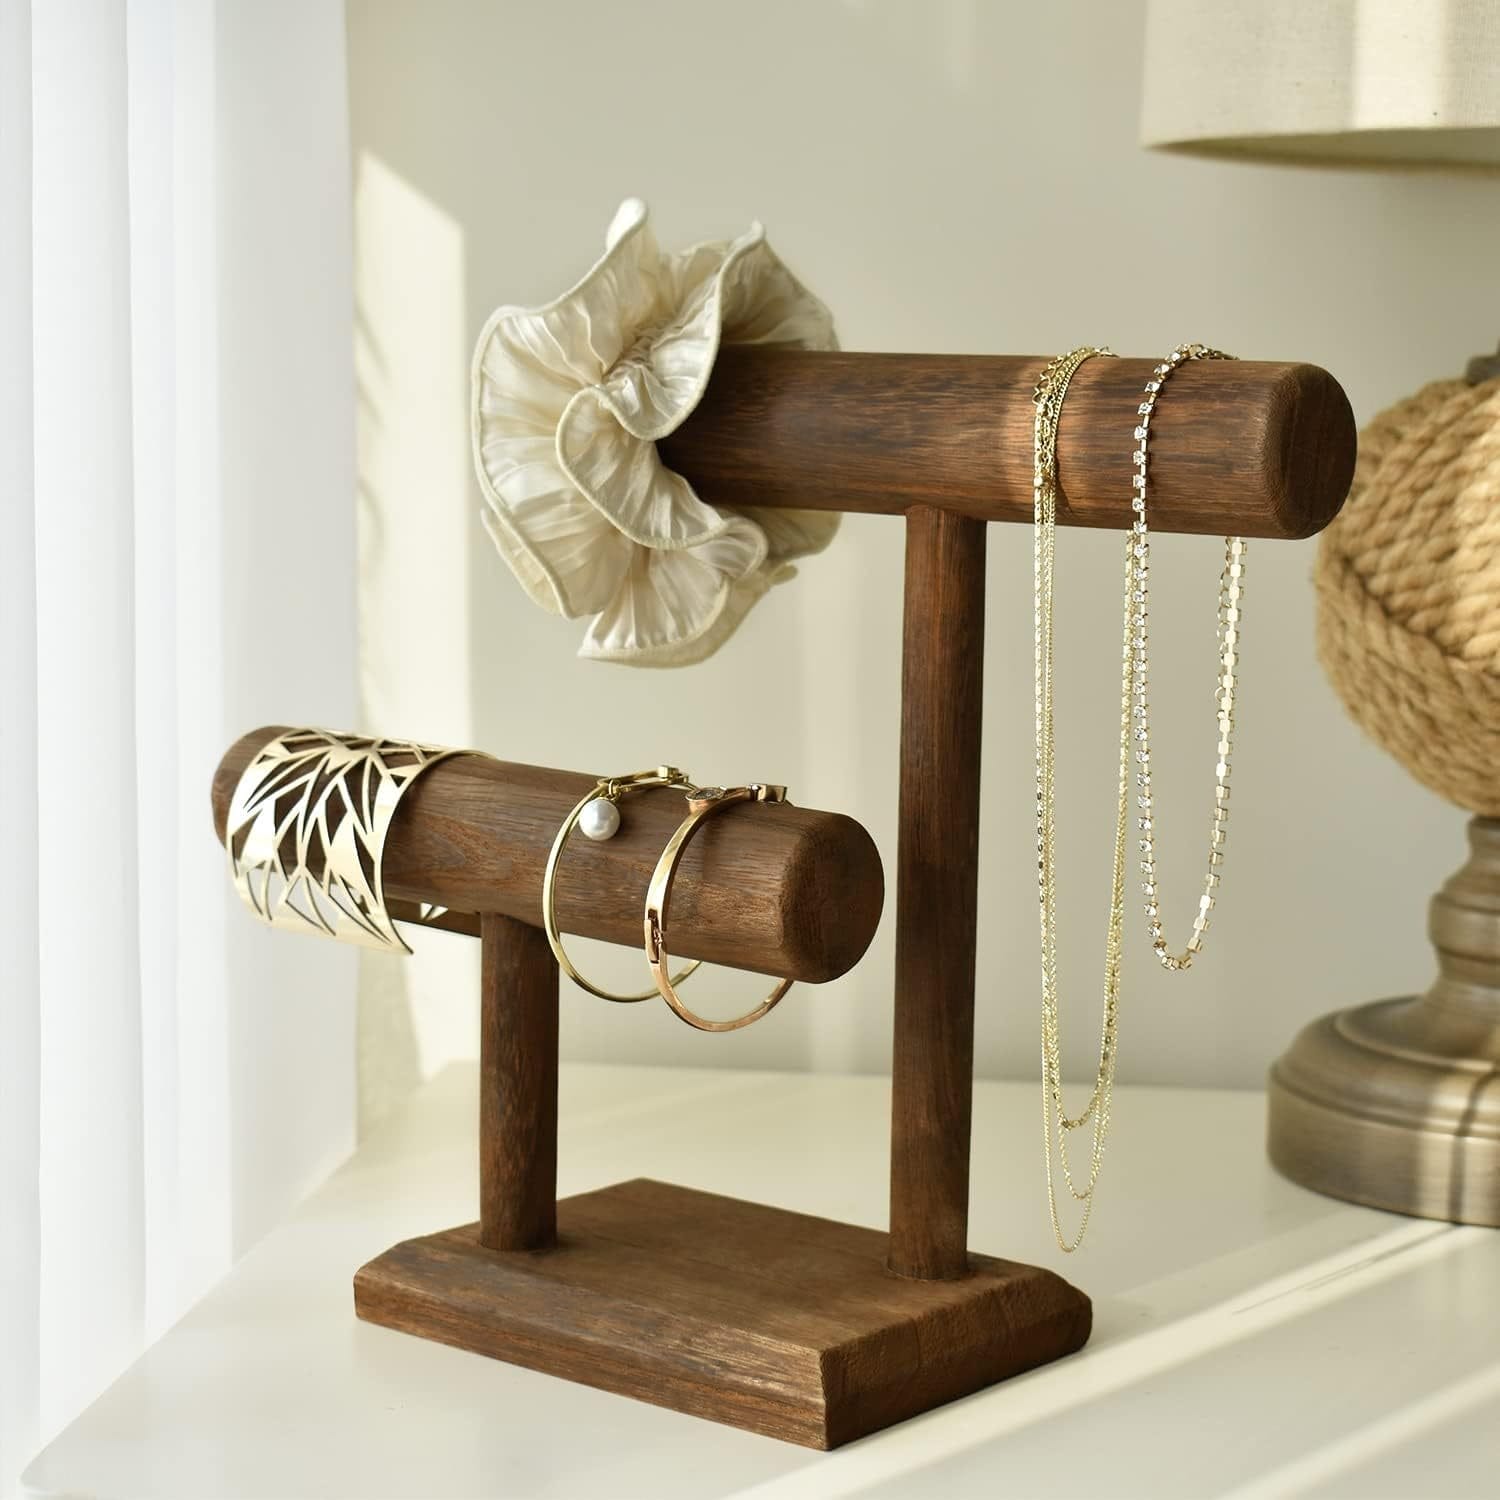
For those who want to engrave custom wood objects, we provide tailored solutions from material selection to finishing. Reach out to us for further details.