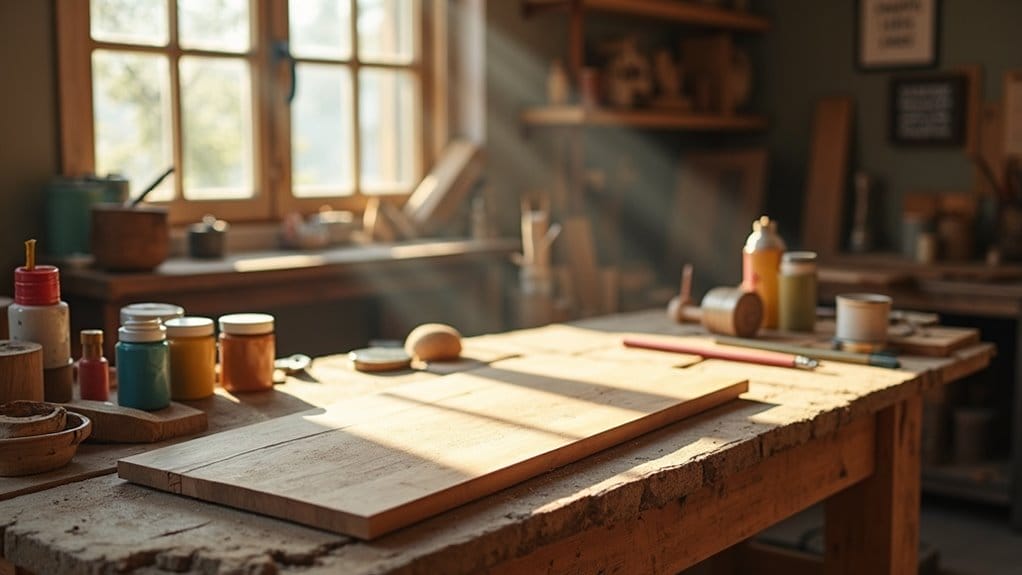
Dyeing wooden beads transforms ordinary craft supplies into stunning statement pieces for decorative garlands or necklace designs. Whether we’re creating custom orders for clients or refreshing our product line, using the right dyeing technique allows us to turn simple wooden components into professional-grade materials.
From selecting the perfect wood type to achieving consistent color saturation, every step is important in our process. Let’s share the essential techniques for how to dye wooden beads.
Key Takeaways
- Sand unfinished wooden beads with 320 grit sandpaper and wipe with a damp cloth to ensure even dye absorption.
- Soak beads in warm water for 30 minutes to expand wood fibers before dyeing.
- Mix dye solution using 1/2 tablespoon of dye per 1/2 cup of hot water and submerge beads for 15-20 minutes.
- Rinse the beads in cold water until the water runs clear. Then, place them on absorbent towels to dry for 24 hours.
- Choose porous woods like maple, birch, or pine for the best dyeing results.
Selecting the Right Wooden Beads

We choose lightweight woods like birch or pine as our raw materials. Because they absorb dye easily and simplify the crafting process.
When selecting raw wood, we prioritize pieces with smooth textures and consistent grain. This ensures the final beads will have an even surface and be easy to work with during dyeing and shaping.
Wood Types Suitable for Dyeing
When selecting raw wood for our dyeing projects, we prefer porous woods like maple, birch, and pine because they deliver the best results. These woods absorb dye effectively, producing vibrant colors that last. We choose larger pieces when possible to ensure deeper color penetration and more uniform coverage in the final beads.
| Wood Type | Dye Absorption | Best For |
|---|---|---|
| Maple | Excellent | Bold colors |
| Birch | Very good | Even tones |
| Pine | Good | Light shades |
We always avoid treated or varnished wood, as coatings block proper dye absorption. Before starting the process, we make sure the wood is clean and free from dust. We can achieve consistent coloring throughout the dyeing process.
Sourcing Sustainable and Quality Materials
We understand that sourcing eco-friendly wood doesn’t have to be difficult when you know where to look. We prioritize FSC-certified natural wood to ensure sustainable forestry practices.
We select unfinished wood without chemical treatments. This makes it ideal for safe and effective dyeing. For durability and consistent dye absorption, we often choose hardwoods like maple or oak.
When sourcing materials, we look for uniform, smooth pieces to ensure our finished products have a polished appearance.
Preparing Beads for Dyeing

Before dyeing our wooden beads, we lightly sand them using 320-grit sandpaper to create an even surface that readily accepts dye.
Next, we wipe each bead thoroughly with a damp cloth to remove dust particles. This ensures consistent dye absorption across the surface.
These preparation steps help us create uniform porosity throughout the beads, resulting in better and more consistent color outcomes in the dyeing process.
Cleaning and Sanding
Proper preparation of our wooden beads is essential for achieving even, vibrant color results. We sand them lightly using 320-grit sandpaper before cleaning.
| Step | Action | Purpose |
|---|---|---|
| 1 | Sand beads | Smooth surface |
| 2 | Wipe with damp cloth | Remove debris |
| 3 | Let dry completely | Guarantee even dyeing |
To protect our work surface, we use appropriate coverings. We then gently sand each bead to create a smooth surface. After sanding, we thoroughly clean the beads with a damp cloth to remove any dust. We make sure they dry completely before moving on to the dyeing process.
Ensuring Uniform Porosity
To achieve consistent dye results, we carefully prepare our wooden beads to ensure uniform porosity. We begin by confirming that all the beads are made from the same type of wood. Mixing different varieties can cause uneven dye absorption.
After sanding and removing any dust, we soak the beads in warm water for 30 minutes to expand the wood fibers. Before dyeing the entire batch, we test a few beads first to check their porosity and adjust the dye concentration as needed.
Choosing the Best Dyes for Wood

When selecting dyes for our wooden beads, we consider both synthetic options and natural alternatives.
Natural dyes are eco-friendly and non-toxic, but require more preparation time. Synthetic dyes work quickly and provide consistent colors, but may contain harsh chemicals.
Comparison: Natural vs. Synthetic Dyes
When deciding between natural and synthetic dyes, we weigh several important factors.
Natural dyes offer eco-friendly options but tend to produce subtler colors. But synthetic dyes deliver vibrant, consistent results. Synthetic dyes offer immediate color payoff and simplified preparation, but they contain artificial chemicals.
We carefully consider our desired color intensity and the time investment required. Natural dyes require longer soaking times and mordant preparation. But they are chemical-free and often locally available.
Synthetic dyes guarantee uniform coloring and are easy to find at craft stores.
Ultimately, our choice balances color intensity, preparation effort, and environmental impact.
Safety and Environmental Considerations
Safety and environmental responsibility are key factors in our selection of dyes. We choose non-toxic, water-based dyes to protect both our health and the planet. When crafting products intended for children, we make sure the dyes are specifically labeled as child-safe.
| Safety Measure | Why It Matters |
|---|---|
| Patch Testing | Prevents material damage |
| VOC Levels | Affects air quality |
| Disposal Method | Protects waterways |
Before starting any project, we always test dyes on a small wood sample. After finishing, we follow local guidelines for responsible disposal to prevent environmental harm. We prefer natural dyes derived from plant sources whenever possible. They offer the safest option and minimize our environmental impact.
How to Dye Wooden Beads: Step-by-Step Dyeing Process

We start by mixing our dye solution using ½ tablespoon of professional-grade dye per ½ cup of hot water in large stainless steel containers to ensure ideal color saturation.
Next, we fully submerge the wooden beads in the dye bath for 15-20 minutes. We use automated systems or conveyor belts to guarantee even coverage, flipping the beads periodically.
After dyeing, we rinse the beads thoroughly at industrial stations until the water runs clear. Then, we spread the beads across industrial drying racks with fans for 24 hours to achieve maximum color vibrancy and stability.
Mixing Dye Solutions
The success of our large-scale wooden bead dyeing depends heavily on proper dye solution preparation. We mix ½ tablespoon of dye per ½ cup of hot water for a basic dye bath, adjusting the ratio for lighter shades when needed.
For factory-scale production, we utilize larger containers to handle higher volumes and maintain separate vessels for each color to prevent cross-contamination.
We ensure that the dye powder is thoroughly stirred until it is completely dissolved. During soaking, we monitor the beads closely, ensuring they are fully submerged and stirred regularly to achieve uniform coloring.
Immersion, Agitation, and Timing
Once we have prepared our dye solutions, proper immersion techniques are critical to achieving consistent results across large batches of wooden beads.
| Process Step | Duration | Key Action |
|---|---|---|
| Initial Immersion | 5 min | Full submersion |
| Active Agitation | 10-15 min | Gentle rotation |
| Color Setting | 5 min | Static soak |
| Final Rinse | Until clear | Cold water wash |
To ensure ideal results, we guarantee complete immersion of the beads in the dye bath. We use a rotating drum to maintain consistent agitation throughout the dyeing cycle. This mechanical movement prevents clumping and promotes even color distribution.
After dyeing, we thoroughly rinse the beads under cold water until the runoff becomes clear.
Drying and Curing
After completing the dyeing process, proper drying and curing are crucial for maintaining the vibrancy of the color and preventing damage to our wooden beads.
First, we rinse the beads thoroughly in cold water until it runs clear to remove any excess dye. The colors may appear lighter while the beads are still wet.
We then place the beads on absorbent towels or paper towels, allowing them to dry evenly for 24 hours.
If we need to speed up the process, we have two quick-dry options: placing the beads in direct sunlight for under an hour or using a blow dryer on a low setting for immediate use in our projects.
Quality Control: Ensuring Consistency

We begin our quality control process by testing small batches of wood beads with our chosen dye mixture and documenting the results. This helps us establish baseline standards for color consistency.
We perform color fastness tests by exposing sample beads to light, heat, and friction to ensure the dye remains stable under various conditions.
Regular batch testing throughout production allows us to catch and correct any deviations from our established color standards before they affect larger quantities.
Batch Testing
Before starting large-scale bead dyeing, we conduct thorough batch testing to ensure consistent and predictable results. We begin by creating test samples using measured dye liquid and plain wooden beads, keeping the dye concentration identical across all batches.
| Test Factor | What to Monitor |
|---|---|
| Measurements | Dye-to-water ratio |
| Time | Soaking duration |
| Environment | Temperature/humidity |
| Wood Type | Bead material |
| Results | Color saturation |
We carefully track soaking time and document the outcomes of each batch. Testing small samples first allows us to adjust our formula based on the results. Since environmental conditions and wood type affect dye absorption, we maintain consistent testing conditions to ensure reliable comparisons.
Color Fastness Tests
We test our dyed wooden beads for color fastness to ensure our finished pieces maintain their vibrant appearance over time.
First, we soak a bead in cold water for 10-15 minutes to check for color bleeding. We gently rub the dyed wood against a white paper towel to detect any color transfer.
To assess lightfastness, we expose the beads to direct sunlight for several hours and monitor any color changes.
We also perform a wash test using mild detergent. We keep detailed records of these test results to improve our dyeing process and make necessary adjustments to our techniques.
Customization for Our Clients

We meet our clients’ branding needs by precisely matching their corporate colors through custom dye formulations and thorough testing processes.
We offer extensive packaging solutions that incorporate their logos and brand elements directly onto bead containers or display materials.
We also create sample kits showcasing various finish options and color combinations, making it easier for our clients to visualize how the customized wooden beads will integrate with their product lines.
Matching Corporate Colors
Matching corporate colors for our B2B clients requires precise attention to detail and careful planning. We start by obtaining exact color codes from our clients and use Pantone swatches to identify the right tones for our dyed beads.
| Process Step | Tools Needed | Key Considerations |
|---|---|---|
| Color Match | Pantone Guide | Brand Guidelines |
| Test Batch | Craft Supplies | Dye Concentration |
| Production | Quality Dyes | Consistency |
| Finishing | Sealant | Color Protection |
We test small batches to perfect our dye mixture before scaling up production. When needed, we layer colors to achieve complex corporate shades. Finally, we always seal our finished beads to maintain vibrancy and protect the professional appearance of our craftsmanship.
Branding and Packaging Options
Building on our precise color matching, we offer professional branding and packaging solutions to support successful bead production.
We offer customizable labels that allow our business clients to personalize products for their customers. We also consider eco-friendly packaging options using biodegradable materials to appeal to environmentally conscious buyers.
We maintain consistent design elements across all packaging sizes, from individual pouches to bulk containers. This versatility, combined with the ability for clients to add their own logos and designs, creates a comprehensive branding solution that meets diverse business needs.
Final Words
After we complete dyeing our wooden beads, we carefully inspect them for color consistency and proper absorption. We let them dry completely for 24-48 hours before sealing or using them in our projects. We also make sure to store any leftover dye properly for future use.
With these techniques mastered, we are ready to create stunning, custom-colored wooden beads that meet our exact specifications and satisfy our clients’ needs. These beads can be used in various projects, from jewelry making to home décor. Understanding how to use wooden beads effectively can elevate the quality of your creations and inspire new designs. By experimenting with different colors and textures, we can further enhance the appeal of our custom beads, ensuring they stand out in any application. By sharing our knowledge on how to create wooden beads, we can empower others to explore their creativity and bring their visions to life. Workshops and tutorials can serve as wonderful platforms for teaching techniques that allow makers to customize their own designs. As we build a community around our craft, the possibilities for collaboration and innovation become endless.
We offer a wide variety of wooden beads, perfect for bulk orders and custom designs. Contact us for more information.
FAQs
Can Wooden Beads Be Dyed?
Yes, we can dye wooden beads using liquid dyes, watercolors, or stains. We soak the beads in our chosen dye solution and shake them periodically to ensure even coverage. Afterward, we rinse and dry them thoroughly.
How to Dye Wooden Beads With Rit?
Mix 1/2 tbsp Rit liquid dye with 1/2 cup hot water. Soak the beads for 15-20 minutes, flipping occasionally. Rinse until water’s clear, then let them dry for 24 hours.
How to Dye Wooden Beads With Vinegar?
Mix equal parts vinegar and water with the chosen dye in a bowl. Soak the wooden beads for 30+ minutes, then rinse them in cold water. Let them dry completely before use.
What Kind of Paint Is Good for Wooden Beads?
Acrylic craft paint is durable, easy to use, and dries quickly. For extra protection, don’t forget to seal the DIY painted beads with a clear finish.