You’ve probably noticed that custom wooden signs are everywhere — from rustic home décor to professional business displays. So, do you want to learn how to make a wooden sign with words?
For us, making wooden signs isn’t just a cost-effective alternative; it’s an opportunity to craft pieces that feel uniquely personal. Whether we’re producing a single sign for a customer’s home or manufacturing multiple signs for a retail or corporate order, we rely on essential techniques and materials to transform raw wood into durable, attractive artwork.
Key Takeaways
- Choose 3/4-inch birch plywood for its durability and create a design using software like Adobe Illustrator to ensure proper scaling.
- Sand the wood surface progressively from 80-grit to 220-grit sandpaper to achieve optimal smoothness for lettering.
- Transfer the lettering design onto wood using graphite paper and secure printouts with painter’s tape for accuracy.
- Apply words through engraving, laser etching, or UV printing, with engraving being the most durable for outdoor use.
- Finish with multiple protective coats. Use eco-friendly options like water-based finishes for enhanced longevity and weather resistance.
Choosing the Right Wood Material

Choosing the right wood for our sign projects lays the groundwork for a successful product. We prefer 3/4‑inch birch plywood. It offers an ideal balance of strength and a smooth surface that accepts paint and finishes well.
Why we use 3/4‑inch birch plywood:
- Durable and stable: resists warping, so framed signs stay true.
- Smooth finish: makes lettering and paint look clean and crisp.
- Convenient sizes: available in sheets suitable for small to large signs.
Practical tips from our workshop:
- Use 3/4-inch birch plywood for a sturdy sign that securely holds hardware and frames.
- Avoid 1/4‑inch plywood for framed or hung signs. It’s too thin for reliable attachment.
- Select woods with a clean, tight grain to facilitate painting and applying vinyl or stencils more easily.
Design Preparation: From Concept to Blueprint
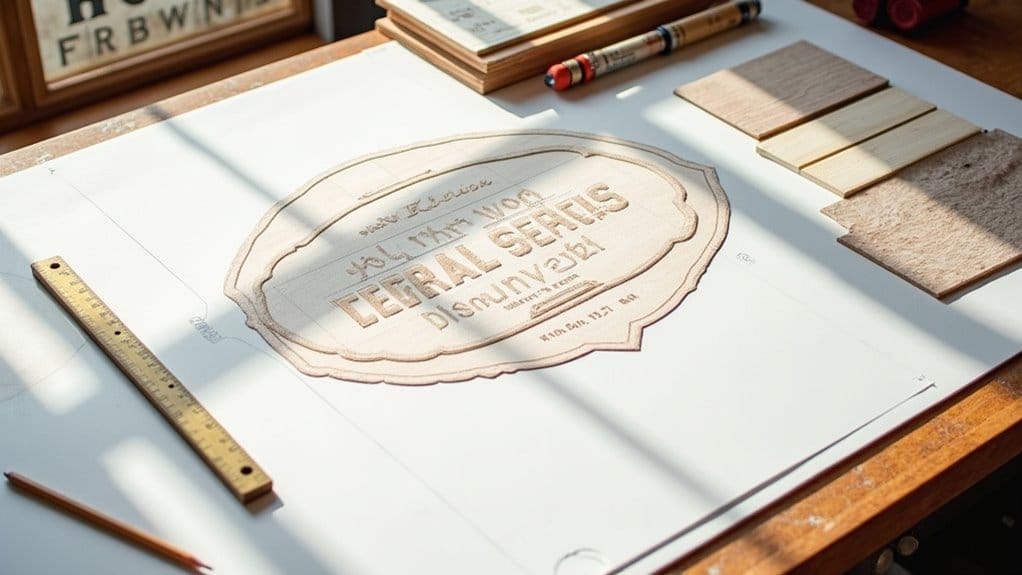
With our wood selected, we move on to mapping out the sign’s design. We start by deciding the message, choosing a font style, and determining sizing to achieve the best visual balance.
How we prepare the design:
- Create a digital design in software like Adobe Illustrator, save it as a PDF, and print in poster mode to reach the correct scale.
- Secure the printout to the wood with painter’s tape so it won’t shift during transfer.
- Place graphite transfer paper under the printout and carefully trace the lettering and artwork onto the wood surface.
- Before tracing, we double-check alignment and spacing so the finished sign looks professional and evenly placed.
Following this concept-to-blueprint process helps us transfer precise, production-ready designs onto the wood.
Precision Cutting and Shaping

When choosing between CNC and laser cutting for our beautiful signs, we consider that CNC offers deeper carving capabilities while laser cutting excels at intricate surface details.
CNC vs. Laser Cutting
Modern precision cutting gives us two powerful options for producing wood signs: CNC routing and laser cutting. Each method offers distinct advantages, depending on the project.
Why we use CNC:
- CNC cutting excels at creating 3D effects and handling thicker materials. But it runs more slowly.
- Provides excellent depth control for dimensional designs, relief carving, and textured finishes.
- Ideal when signs require routed channels, raised lettering, or robust structural elements.
Why we use laser cutting:
- Laser cutting shines for intricate designs and fine lettering on wood signs.
- Faster for many jobs and delivers crisp, clean edges perfect for complex patterns and delicate cutouts.
- Works well for thin substrates, precise inlays, and detailed surface etching.
Integration and choice:
- Both technologies integrate with our design software for reliable, repeatable results.
- We select laser cutting for delicate detail work and CNC routing when we need substantial depth, texture, or to work with thicker stock.
Quality control measures for mass production
To maintain consistent quality across our mass-produced wood signs, we implement robust quality control measures for precision cutting and shaping.
What we do:
- Use CNC machines to ensure uniform dimensions across batches.
- Regularly inspect cut edges with calipers and micrometers to verify tight tolerances.
- Set up jigs and fixtures as part of our standardization process to maintain consistent profiles and repeatable results.
- Maintain a systematic feedback loop to compare finished DIY signs against our established standards and make prompt adjustments when needed.
- Regularly calibrate cutting tools and perform preventive maintenance to prevent wear-related issues and keep tolerances accurate.
These measures ensure a smooth assembly process, reduce rework, and help us maintain product quality throughout production.
Adding Words: Techniques for Lettering

When we add lettering to our custom signs, we consider durability, precision, and production efficiency.
Engraving, Laser Etching, and UV Printing
When we make a DIY wood sign, choosing the right lettering technique can make or break the project. We weigh the benefits of each method based on the sign’s purpose and the resources available.
- For outdoor signs, we prefer weather-resistant methods, such as engraving, to ensure long-term durability.
- For detailed indoor signage, we often select laser etching for fine detail or UV printing when full‑color graphics are required.
| Technique | Best For |
|---|---|
| Engraving | Durable finish, outdoor use, tactile results |
| Laser Etching | Intricate designs, precise details, custom fonts |
| UV Printing | High-resolution images, vibrant colors, fast production |
| Weather Resistance | Engraving best; UV printing effective with protective coating |
| Cost & Time | UV fastest; engraving most labor-intensive |
Special Considerations for Multi-Language or Custom Fonts
Multi-language signs and custom fonts bring challenges beyond basic lettering techniques.
How we handle multilingual and custom-font projects:
- Use professional design software to arrange multi-language text and check line breaks, kerning, and alignment before transfer.
- For precise lettering, we rely on stencils or vinyl masks for repeatable results, especially with intricate scripts.
- If hand-lettering is requested, we begin with pencil outlines and carefully measure spacing to maintain consistent alignment and legibility.
- Prototype complex scripts at final scale to confirm stroke widths and character spacing; adjust font weight or engraving depth as needed for readability.
Finish and protection:
- Apply durable paints and exterior‑grade sealers to protect colors and surfaces, especially for outdoor signs.
- Test adhesion and durability when combining techniques (e.g., UV print over engraved surfaces) to ensure the finish holds up in the intended environment.
Surface Treatment and Finishing
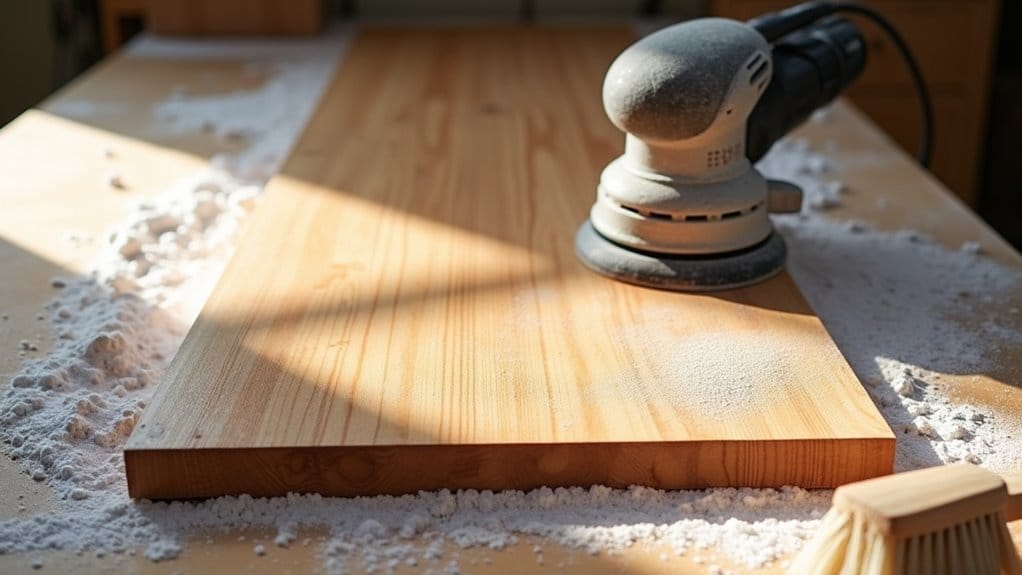
The final appearance of our signs depends on careful surface preparation. We start with thorough sanding, working through progressively finer grits until the wood feels smooth and ready for finishing.
Sanding, Staining, Painting, and Protective Coatings
The smooth glide of sandpaper marks the beginning of transforming raw wood into a polished masterpiece.
We start with 80-grit sandpaper and work our way up to 220-grit for an ideal wood surface that will welcome staining or painting.
We choose between water-based stains for quick drying and oil-based stains for deeper color penetration. We apply at least two coats for a professional look, letting each layer dry completely.
Once we’re satisfied with the color, we seal the wood sign with a clear protective coating like semi‑gloss polyurethane.
For an extra touch of sophistication, we sometimes add tinted wax to enhance depth and further protect the piece.
Eco-Friendly Finishing Options
Traditional wood finishes can release harmful chemicals into the environment. We choose eco-friendly alternatives that offer both sustainability and stunning results.
When making wood signs, we use several natural options that protect and beautify our DIY projects.
- Consider water-based finishes like acrylic polyurethane for a durable protective layer.
- Use natural oils such as linseed or tung oil to enhance the wood’s character.
- For non-toxic, biodegradable protection, we sometimes mix beeswax with oil.
- We can create a homemade wood polish using vinegar and olive oil for light maintenance, and we also use shellac when a glossy, sustainable finish is desired.
We always test finishes on scrap wood to confirm appearance and compatibility before applying them to production pieces.
Quality Assurance and Bulk Order Logistics
Maintaining consistent quality becomes crucial when producing DIY wooden signs in large quantities. To streamline our production process, we use pre-made templates and stencils to guarantee uniformity across bulk orders.
We also establish a reliable supply chain for materials like birch plywood and paint to prevent delays.
- We implement a thorough quality assurance system that includes regular inspections during the painting and finishing stages.
- We check each sign’s dimensions, lettering accuracy, and finish quality before shipping.
- We gather customer feedback to refine our production methods and improve efficiency.
This systematic approach helps us maintain high production quality while meeting deadlines for large-scale wood sign orders.
Final Words: How to Make a Wooden Sign With Words
We’re now equipped to make signs that will stand the test of time. We prioritize wood quality, design precision, and proper finishing techniques. We never skip the protective coating steps — they’re essential for durability.
Whether we’re making a custom piece or handling bulk production, these fundamentals ensure our signs deliver both visual impact and lasting quality for years to come.
We offer a wide range of wooden signs, available for bulk orders and custom designs. Contact us for more details. Whether you’re looking for a charming addition to your home or unique gifts for special occasions, we have something for everyone. Explore our easy rustic wood sign ideas to inspire your next project, and let your creativity shine. Our team is here to help you bring your vision to life with personalized touches. Whether you’re a beginner or an experienced crafter, we provide resources and guidance on how to make wooden signs that will enhance your space. Our tutorials are designed to make the process fun and accessible, ensuring that you can create pieces that truly reflect your personality. Join our community of craft enthusiasts and share your creations with us!
FAQs
How to Put Lettering on Wood Signs?
We get perfect lettering by using stencils or vinyl templates for consistent spacing. We trace the design with a pencil first, then fill in with oil‑based paint pens. We finish by sealing it for protection.
How to Make Easy DIY Wood Signs?
Here is a simple tutorial on how to make a sign. We first cut the plywood to size and sand it smooth. We paint the background color and let it dry. We create the design, transfer it onto the wood, paint the details, and seal it for protection.
How Do You Put Words on a Piece of Wood?
Here is an easy tutorial. You can transfer words onto wood using stencils, pencil tracing of printed designs, or oil-based paint pens. For lasting results, try routing letters directly into the wood after sanding the surface to a smooth finish.