If you want décor that feels personal, reusable, and budget-friendly, wooden letter ideas for weddings and parties are your best friend as an event planner. From large statement backdrops to tiny place cards, wooden letters help you tell each client’s story without adding a lot of waste or setup stress.
Because they’re easy to customize, wooden letters work across themes—boho barn weddings, black-tie hotel receptions, backyard birthdays, baby showers, and more. Once the event is over, your clients can take them home as keepsakes instead of tossing them out with the rest of the décor. That simple switch cuts down on single-use décor and keeps more of your budget invested in pieces that last.
Now you’ll find five polished, planner-ready DIY wooden letter ideas for weddings and parties, plus guidance on choosing the right letters, finishing them, and keeping everything safe and eco-conscious for your clients.
Why Wooden Letters Belong In Your Event Decor Plan
Before diving into specific projects, it helps to think about why wooden letters deserve a place in your standard décor toolkit:
- Highly customizable: You can match fonts, finishes, and colors to invitations, signage, and the venue style.
- On-brand storytelling: Initials, names, dates, and phrases let you design décor that feels personal to each couple or client.
- Reusable and eco-minded: Quality wood pieces can be repurposed for home décor, birthdays, anniversaries, and holidays.
- Scalable: The same concept works at different sizes—from 2″ place cards to 4′ photo props.
- Easy to transport and store: Flat or freestanding letters pack well in bins and can be used across multiple events.
When you standardize a few wooden letter ideas for weddings and parties in your planning process, you save time on design while still delivering something that feels custom for every client.
5 DIY Wooden Letter Ideas For Weddings And Parties
These five concepts are designed for you as an event planner: they scale easily, photograph beautifully, and can be prepped ahead of time in your studio.
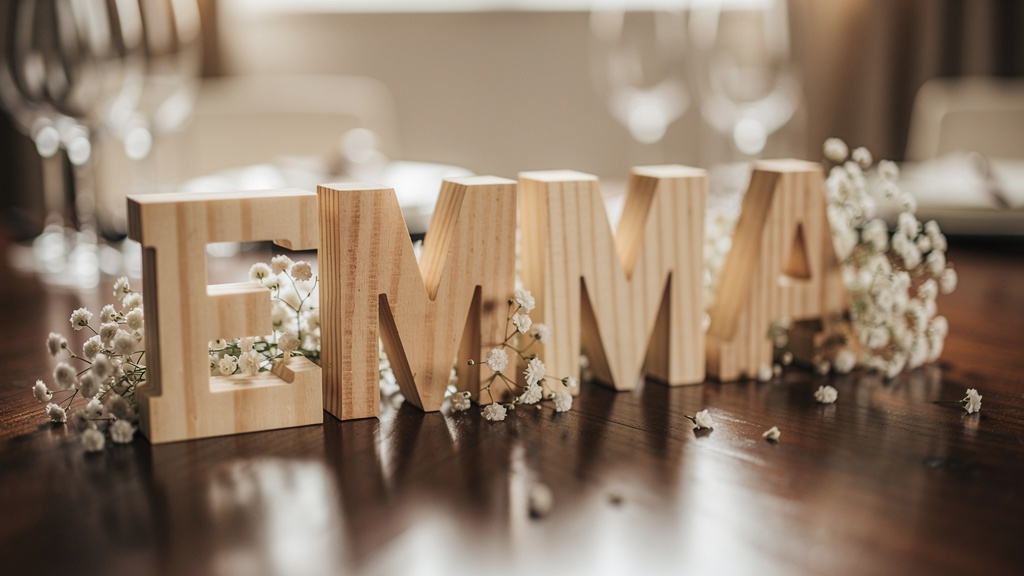
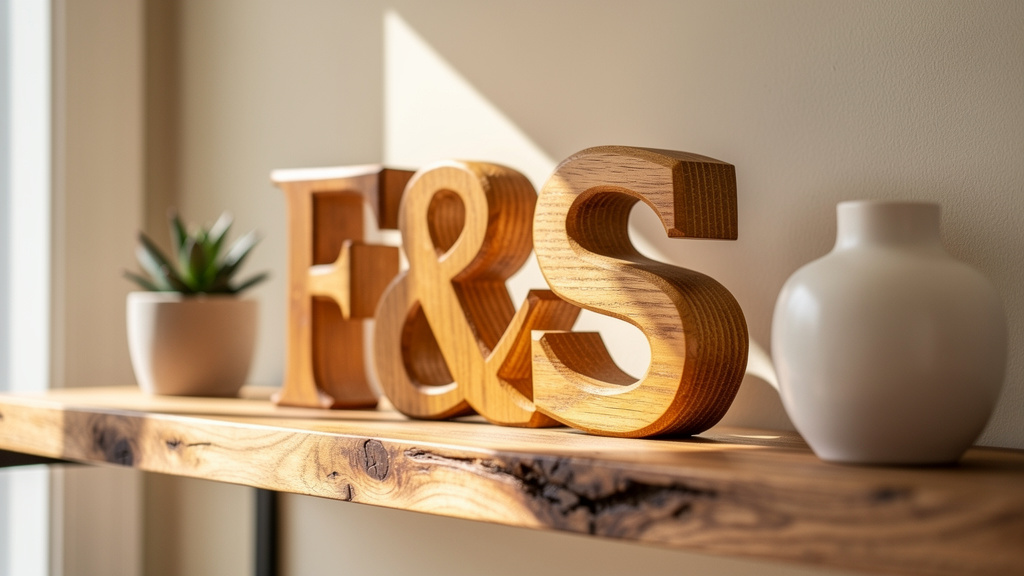
Signature Wooden Letter Centerpieces
A personalized centerpiece is one of the easiest wooden letter ideas for weddings and parties to sell to clients.
How to use it:
- Feature the couple’s initials, shared last initial, or a word such as LOVE, JOY, or CHEERS.
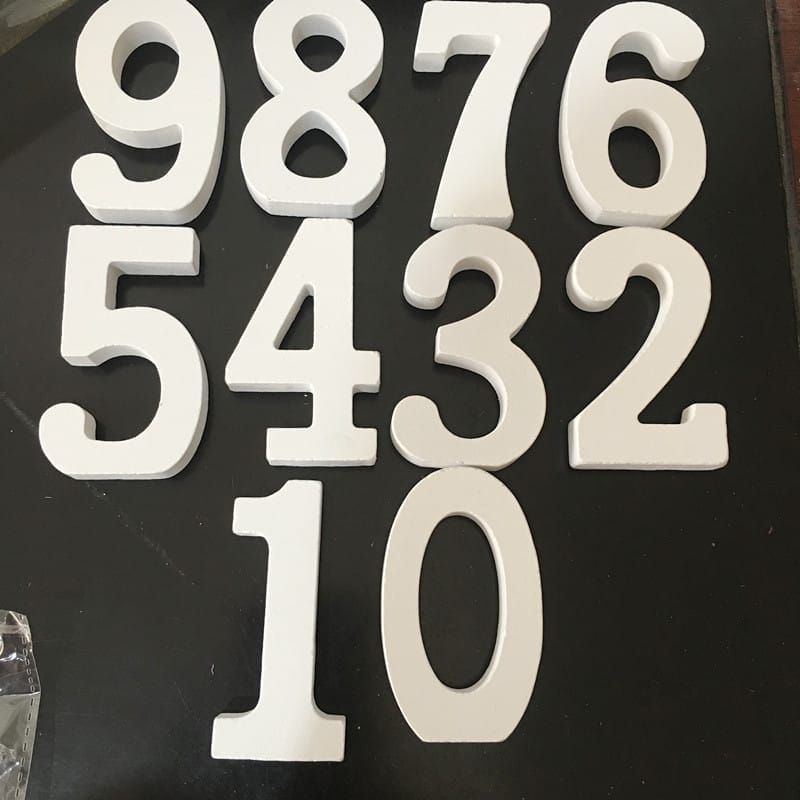
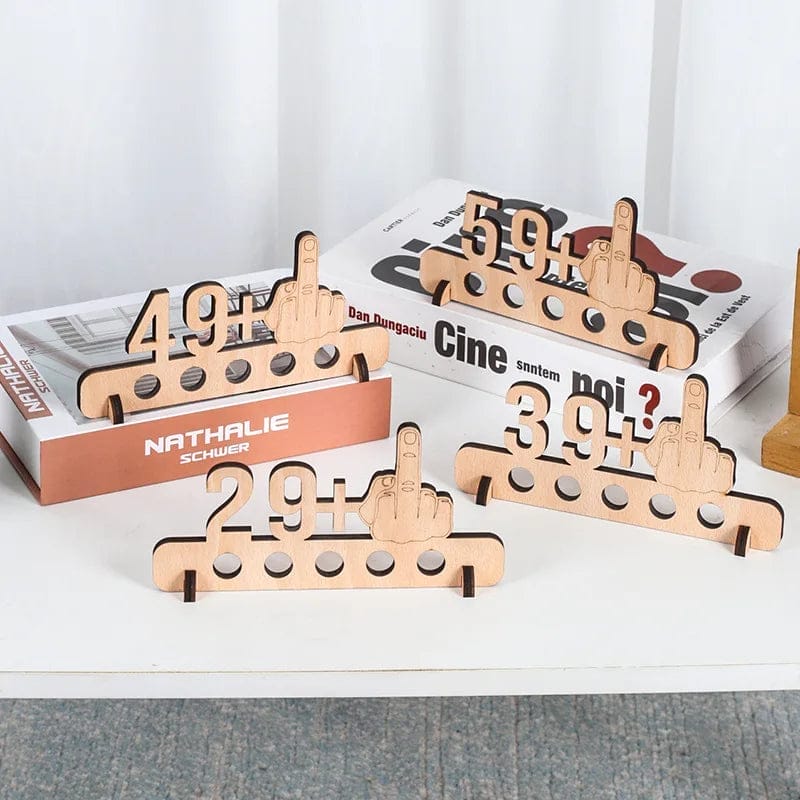
- For birthdays or anniversaries, use the honoree’s name or age spelled out in letters or numbers.
- Place letters on the sweetheart table, dessert table, gift table, or on each guest table for smaller events.
Planner tips:
- Choose freestanding block letters at least ¾”–1″ thick so they stand securely on tabletops.
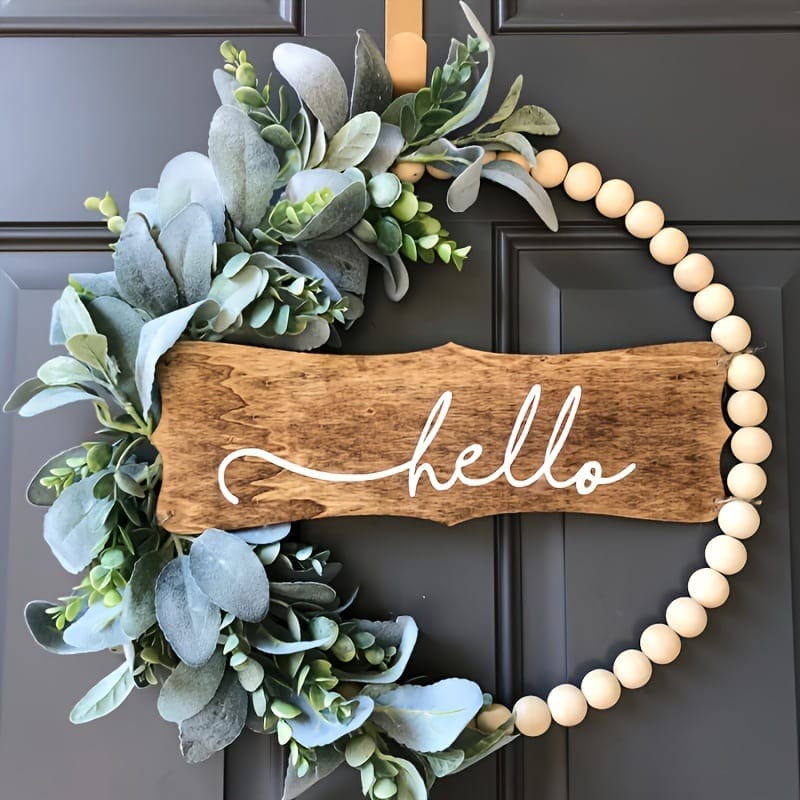
- For rustic themes, keep the wood natural and add twine, lace, or greenery.
- For modern or glam themes, use high-gloss paint, metallic finishes, or a controlled glitter ombre.
- Anchor the letters with low florals or votives so photo angles stay clean but interesting.
Because the letters are portable, clients can later move them to a mantel, bookshelf, or entry table at home.
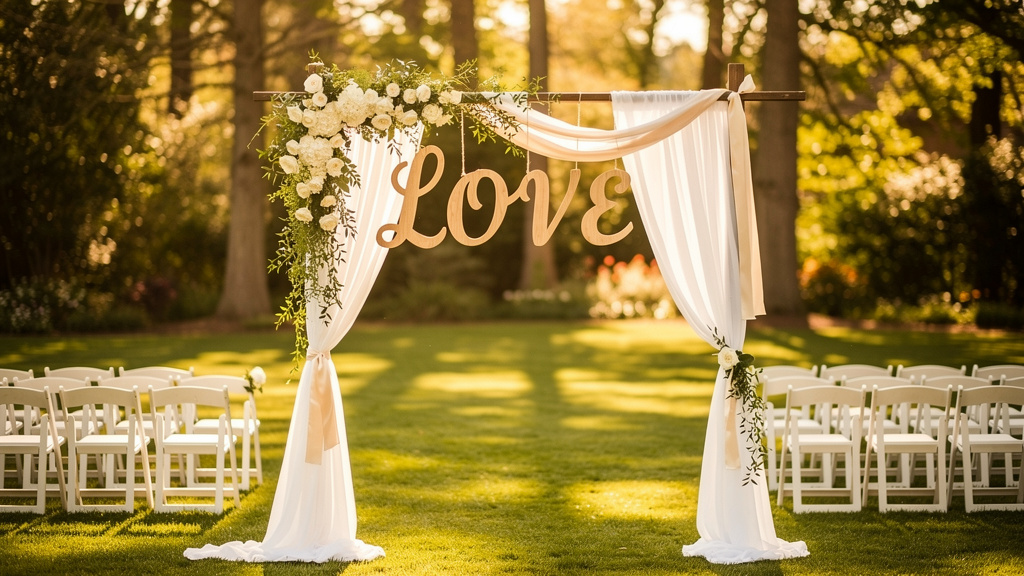
Personalized Wooden Letter Wall Or Backdrop

Turn an empty wall into a photo-ready focal point with a wooden letter backdrop that doubles as event branding.
Great placements:
- Behind the head table or sweetheart table
- At the ceremony altar or vow area
- Framing the cake or dessert display
- As a dedicated photo booth or selfie spot
Design ideas:
- Spell out the couple’s names, a shared last name, or a phrase like HAPPILY EVER AFTER.
- Use script fonts for romantic weddings and block fonts for clear, bold messages like BAR or PHOTO BOOTH.
- Mount thinner letters (⅛”–¼”) onto:
- Boxwood or floral walls
- Draped fabric backdrops
- Wooden planks or pallets
Styling details:
- Add silk florals along the edges of letters for a soft, romantic feel.
- Highlight the display with fairy lights, spotlights, or candles in front to make it pop in evening photos.
This idea works especially well when you’re planning social-media-forward events—guests will naturally pose in front of the backdrop.
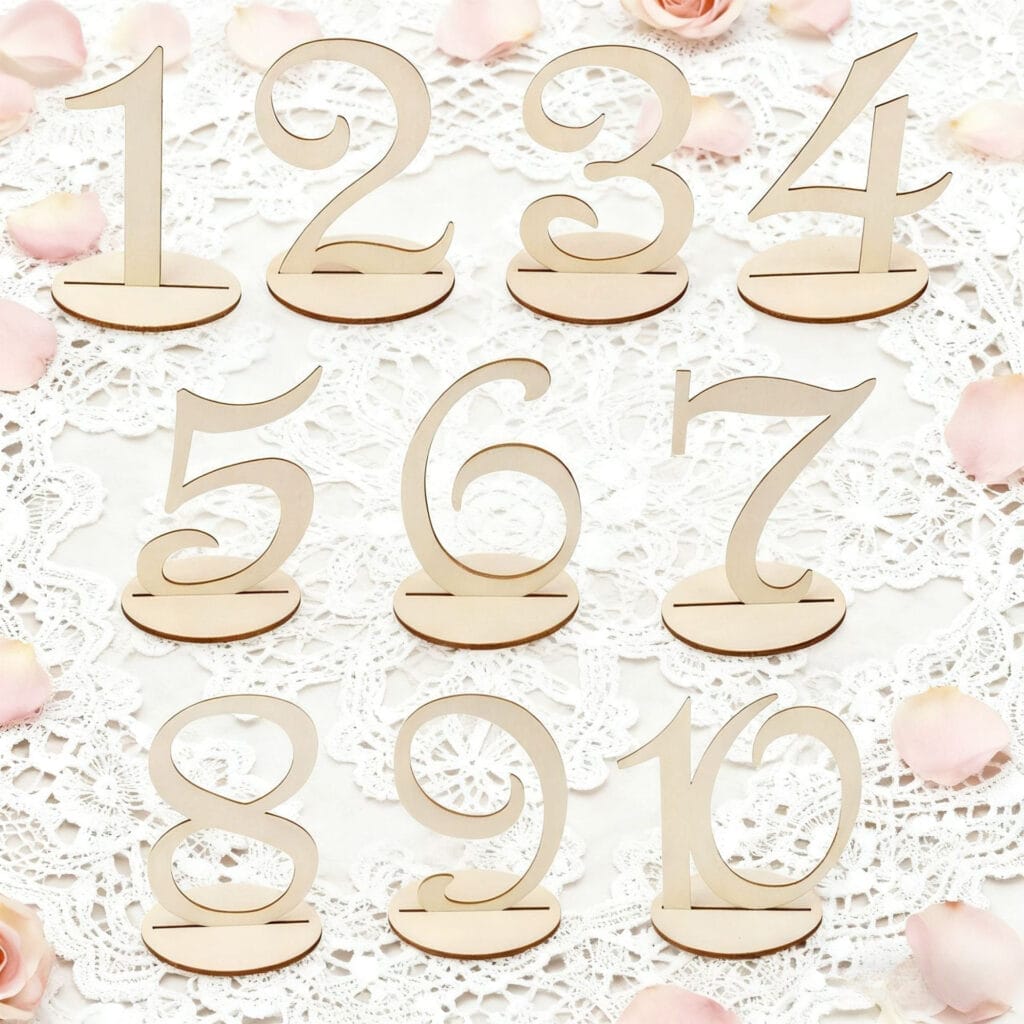
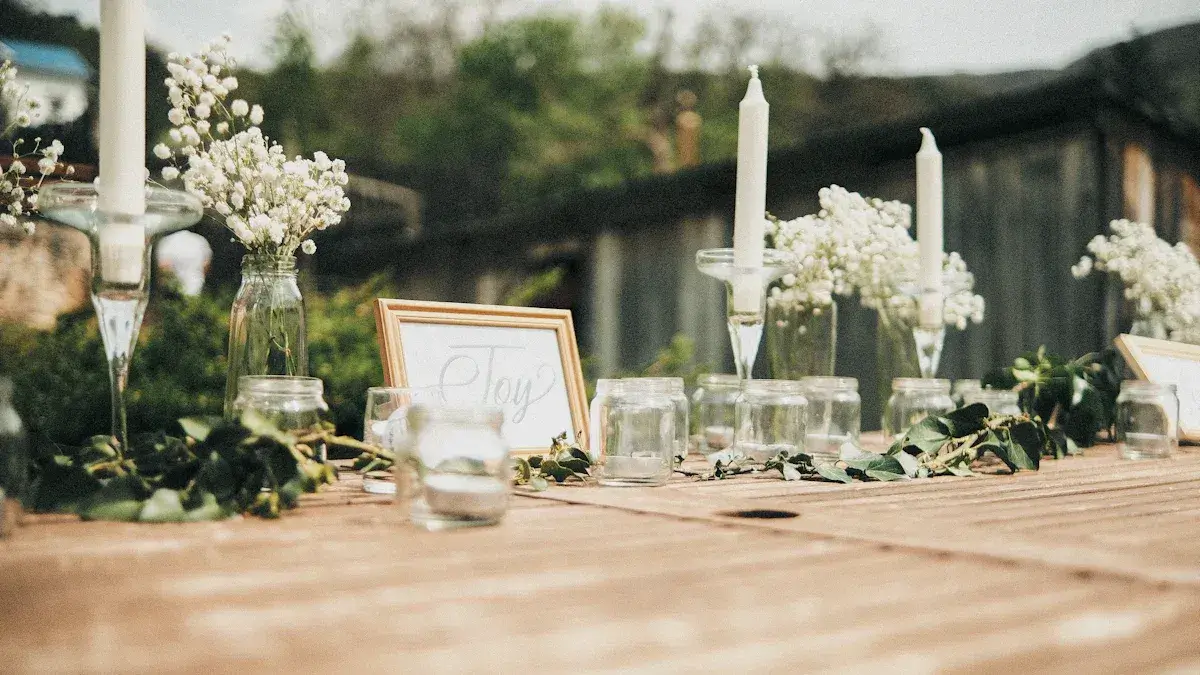
Wooden Letters As Table Markers And Seating Aids
Table numbers don’t have to be paper. Wooden letters and numbers can mark tables while reinforcing the overall design story.
Ways to use them:
- Lettered tables: Use A, B, C… instead of numbers for a playful twist. This is handy when you’re coordinating multiple room layouts and want flexible labeling.
- Spelled-out numbers: Use words like One, Two, Three in script or block fonts.
- Named tables: Name each table for places, songs, or themes tied to the couple and display a coordinating wooden word sign on each.
Practical considerations:
- Choose freestanding numbers or letters for simple setups, or pieces with integrated bases if the font is delicate.
- Aim for 4″–8″ height so the markers are visible above florals without blocking face-to-face conversation.
- Coordinate fonts with the invitation suite and other signage to keep everything cohesive.
By standardizing a few table marker styles in your inventory, you gain a repeatable wooden letter idea for weddings and parties that feels custom every time.
Wooden Letter Photo Props And Hashtag Backdrops
Photo experiences are a must-have for most clients. Wooden letters make them both interactive and on-theme.
Concepts to pitch:
- Oversized initials or a large monogram for the dance floor or lounge area.
- A statement word like LOVE, PARTY, or the event hashtag in big letters near your photo booth.
- Individual letters or words guests can hold for candid photos.
Build details:
- For floor displays, think large-scale: 24″–36″ high letters in ¾”–1″ thickness or mounted securely on a base.
- Outline letters with fairy lights or wrap them with greenery for texture and depth.
- Combine wood with other materials (balloon garlands, draping, neon signs) for layered backdrops that photograph well from multiple angles.
These installations not only entertain guests but also give you and your photographer reliable “hero shots” of the event.
Hanging Wooden Letter Garlands And Chair Signs
Hanging pieces add vertical interest without eating up table real estate.
Where to hang wooden letter garlands:
- Across the front of the head table or dessert table
- Above doorways or along entry points
- Between posts, rafters, or tent supports
- On the backs of the Bride and Groom (or other title) chairs
Design options:
- String together small letters on ribbon, jute, or velvet to spell phrases like HAPPILY EVER AFTER, BABY, or GRAD.
- Create individual chair signs such as Mr & Mrs, Bride & Groom, or titles for guests of honor.
- Paint letters in your client’s palette or wrap them with fabric or twine for added texture.
Hanging elements are especially effective in small rooms or tight floor plans, where you want visual impact without cluttering surfaces.
How To Choose The Right Wooden Letters For Each Event
To make these wooden letter ideas for weddings and parties work smoothly at scale, you need the right base materials. A few standards in your kit will cover most projects.
Freestanding Vs. Hanging Letters
- Freestanding letters
- Cut from thicker wood (typically ¾”–1″).
- Best for centerpieces, bar signs, dessert tables, and floor displays.
- Look for flat bottoms or add small bases for tricky shapes like S or P.
- Hanging or mounted letters
- Thinner (⅛”–¼”) and lighter.
- Ideal for walls, backdrops, chair signs, and garlands.
- Mount with removable adhesive strips, hooks, or ribbon depending on the surface.
Fonts And Style
- Script fonts
- Romantic and flowing; perfect for names, “Mr & Mrs,” and phrases.
- Watch for legibility from a distance, especially on long names or words.
- Block / sans-serif fonts
- Clean and easy to read.
- Excellent for functional signage: BAR, GIFTS, PHOTO BOOTH.
- Serif fonts
- Classic and formal.
- A good choice for traditional weddings and timeless family name signs.
Materials And Finishes
- MDF
- Smooth and great for painting.
- Best for indoor use only.
- Baltic birch plywood
- Durable with attractive grain.
- Works well painted, stained, or left natural.
- Solid hardwoods (oak, walnut, etc.)
- Premium look and feel.
- Ideal for keepsake pieces like guest book letters or heirloom family signs.
- Outdoor-rated woods or boards
- Needed for lawn signs and outdoor ceremonies.
- Pair with exterior-grade sealant for weather protection.
Size And Thickness Guidelines
As a quick reference:
- 1″–4″ high: Place cards, small garlands, favor tags.
- 5″–12″ high: Table numbers, chair signs, small backdrops.
- 18″–36″ high: Photo backdrops, entrance décor, large monograms.
Thicker letters (¾”–1″) work best when you need them to stand on their own. Thinner letters shine on walls, boards, and backdrops.
DIY Decoration Techniques To Match Any Theme
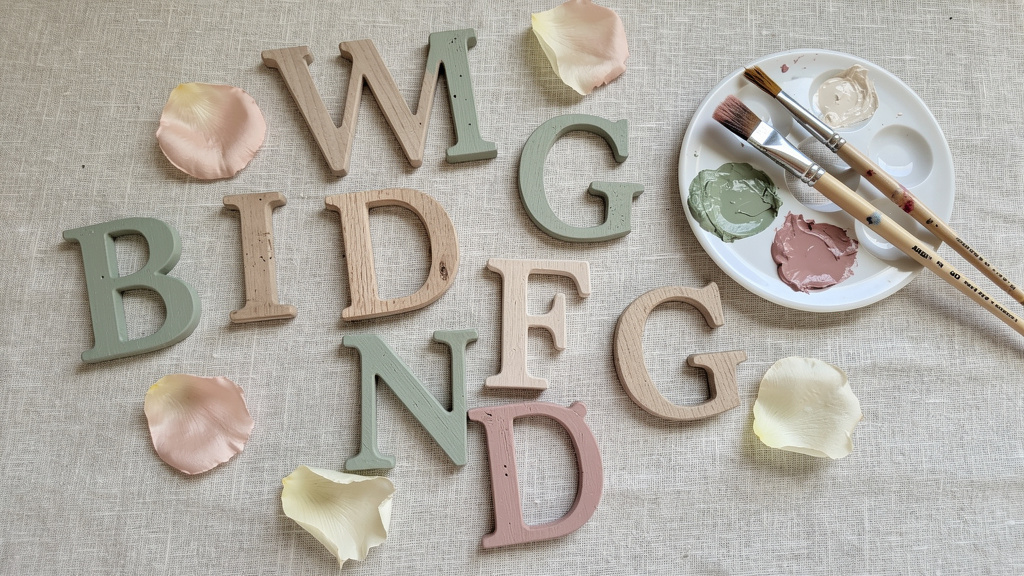
Once you’ve chosen the right letters, the finish is what ties everything into the event design. As an event planner, you can standardize a few surface treatments that adapt to almost any palette.
For more inspiration, consider exploring fun wooden letter decoration ideas, then customize the concepts for your own clients and venues.
Paint, Stain, And Faux Finishes
- Solid paint colors
- Use acrylic craft paint for coverage.
- Wood stain
- Ideal for rustic, boho, or nature-inspired décor.
- Highlights grain on birch or hardwood.
- Ombre effects
- Blend from dark to light along the letter for modern, eye-catching pieces.
- Distressed finishes
- Paint then sand edges lightly for a vintage, farmhouse feel.
- Faux metal looks
- Use metallic paints (copper, gold, pewter) and patina products to mimic aged metal on wood.
Texture, Florals, And Natural Elements
- Yarn or twine wrapping
- Adds softness and warmth, especially for fall and winter events.
- Silk florals and greenery
- Attach with hot glue for romantic, garden, or boho weddings.
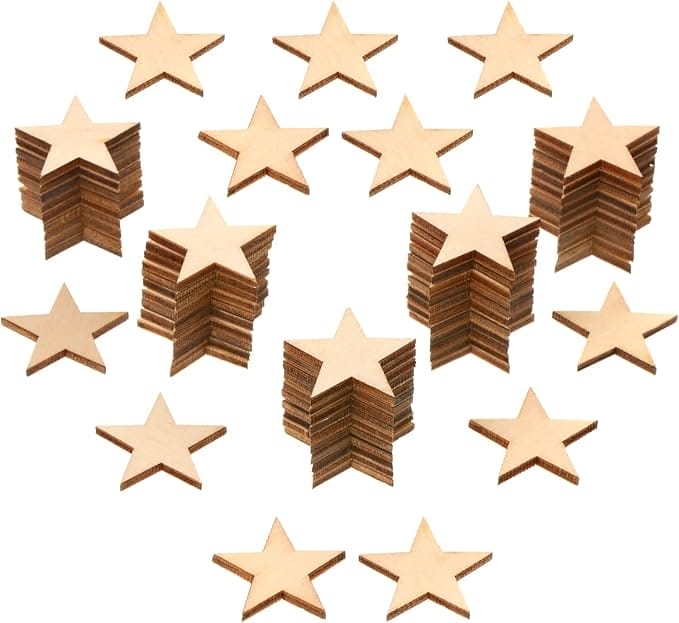
- Moss, twigs, shells, or other natural items
- Great for woodland, beach, or seasonal themes.
- Rhinestones, pearls, or beads
- Perfect for glam weddings, quinceañeras, and milestone birthdays.
By mixing these methods, you can take the same base letter shape and adapt it for a long list of clients and styles, making your inventory work harder for you.
Planning, Safety, And Sustainability Tips
As a planner, you’re responsible not just for style but also for safety, durability, and reuse.
Event-Ready Finishing
- Always lightly sand raw wood before painting or staining for a smooth surface.
- After decorating, apply a clear sealant:
- Matte or satin for guest books and high-touch pieces
- Exterior-grade spray for outdoor signs
- Let everything cure completely before packing for the event to avoid smudges or sticking.
Safe Installation
Use removable adhesive strips on smooth walls and backdrops when you need easy teardown that won’t damage the venue. For heavier pieces, rely on D-rings, sawtooth hangers, or sturdy hooks. On tabletops, add discreet mounting putty or bases to keep letters from tipping if a guest bumps the table.
Reuse And Storage
Encourage clients to keep key wooden letter pieces as décor for their home office, nursery, entryway, or mantel. For your own inventory:
- Store letters flat or upright in labeled bins.
- Wrap delicate finishes in tissue or bubble wrap.
- Group by size and font style so you can quickly pull sets for future events.
Pro Tip: Test On Scrap Wood And Buy Smart
Test every finish on scrap wood before committing to your main pieces. This simple step prevents last-minute surprises with color, coverage, or ink behavior.
When you’re ready to scale projects across multiple events, consider ordering wholesale wooden letters for crafts from QlycheeCrafts or your preferred supplier, so you always have a variety of sizes and fonts on hand. Bulk purchasing keeps costs in check while giving you enough “blank canvases” to develop new wooden letter ideas for weddings and parties without rushing to source materials for every booking.
FAQ: Wooden Letter Ideas For Weddings And Parties
How Do You Choose The Right Size Wooden Letters?
Think about viewing distance and purpose:
- Centerpieces and table markers: 4″–8″ high
- Chair signs and small backdrops: 8″–16″ high
- Photo backdrops and entrances: 18″–36″ high
If guests need to read text from across a room or in photos, go bigger and use simple, clear fonts.
Can Wooden Letters Be Reused After The Event?
Yes, and that’s one of the biggest advantages of these wooden letter ideas for weddings and parties. Letters can be:
- Hung in the couple’s home as wall art
- Moved to a nursery or kids’ room after a baby shower
- Reused for future parties and holidays
- Repurposed in your own décor inventory for other clients with a fresh coat of paint
Just be sure to seal finishes properly so they stand up to handling and storage.
What Is The Best Way To Decorate Wooden Letters For Events?
You have several reliable options:
- Paint or stain in the event’s color palette
- Add glitter or metallic touches for sparkle
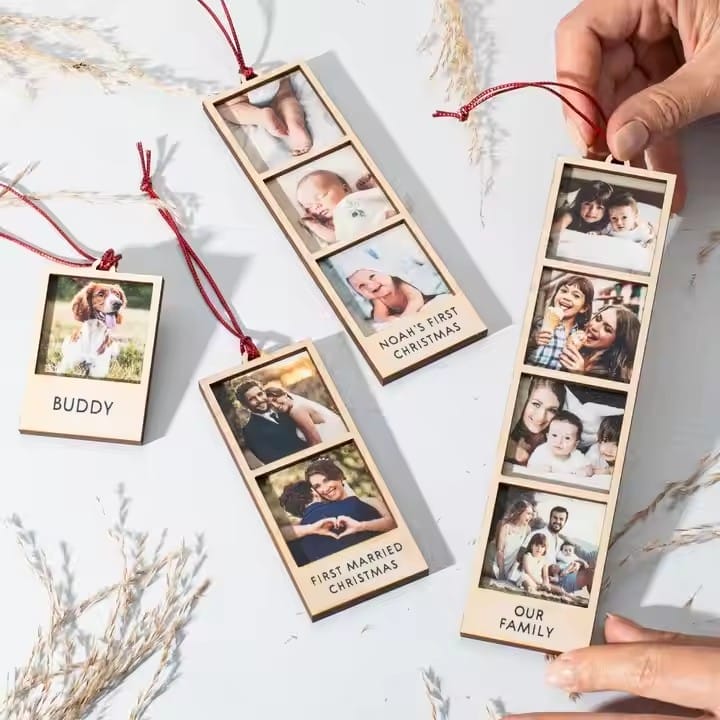
- Use decoupage with themed paper or photos
- Wrap parts or all of each letter in yarn, ribbon, or twine
- Add florals, greenery, or natural textures like moss and twigs
Match the technique to the event style and your client’s taste, then keep finishes consistent across different letter projects for a polished look.
How Can You Keep DIY Wooden Letter Projects On Budget?
Plan ahead and standardize:
- Keep a stock of frequently used sizes and fonts, ideally sourced as wholesale wooden letters for crafts from your go-to supplier.
- Reuse base shapes and simply change finishes from event to event.
- Test colors and products on scrap wood before committing so you don’t waste materials on failed experiments.
Conclusion
Wooden letters are a great way to make decorations special. Whether your event is rustic or modern, wooden letters add style and fun. Try these ideas to make your event one-of-a-kind! Incorporating fun wooden letter decoration ideas can elevate your décor effortlessly.