You’re about to transform plain laser-cut wood earrings into wearable works of art that’ll catch everyone’s eye. As a unique canvas for your creativity, these wooden pieces offer endless possibilities for customization through careful painting techniques. With the right materials and proper preparation, you’ll master the essential steps to create stunning jewelry that reflects your personal style. Let’s learn how to bring your designs to life while ensuring professional, long-lasting results.
Key Takeaways
- Sand wooden earrings progressively with different grits (120-400) following the grain direction until achieving a silky-smooth surface.
- Apply a thin base coat of paint evenly across the wood surface, allowing adequate drying time before additional layers.
- Create intricate designs using fine-tipped brushes for details, ensuring steady hand control and proper paint consistency.
- Seal finished designs with 2-3 thin layers of clear, water-resistant sealant on all surfaces including edges.
- Experiment with different paint types and color combinations while testing techniques on scrap wood before final application.
Materials Needed for Painting Laser Cut Earrings

You’ll need several key materials to successfully paint your laser cut wood earrings, starting with the raw wood pieces themselves and fine-grit sandpaper for smoothing any rough edges.
For paint options, choose between acrylic paint, which offers vibrant colors and durability, or chalk paint, which provides excellent coverage and a matte finish.
Essential tools include small detail brushes for precise application, foam brushes for even coverage, and a palette or paint tray for mixing colors.
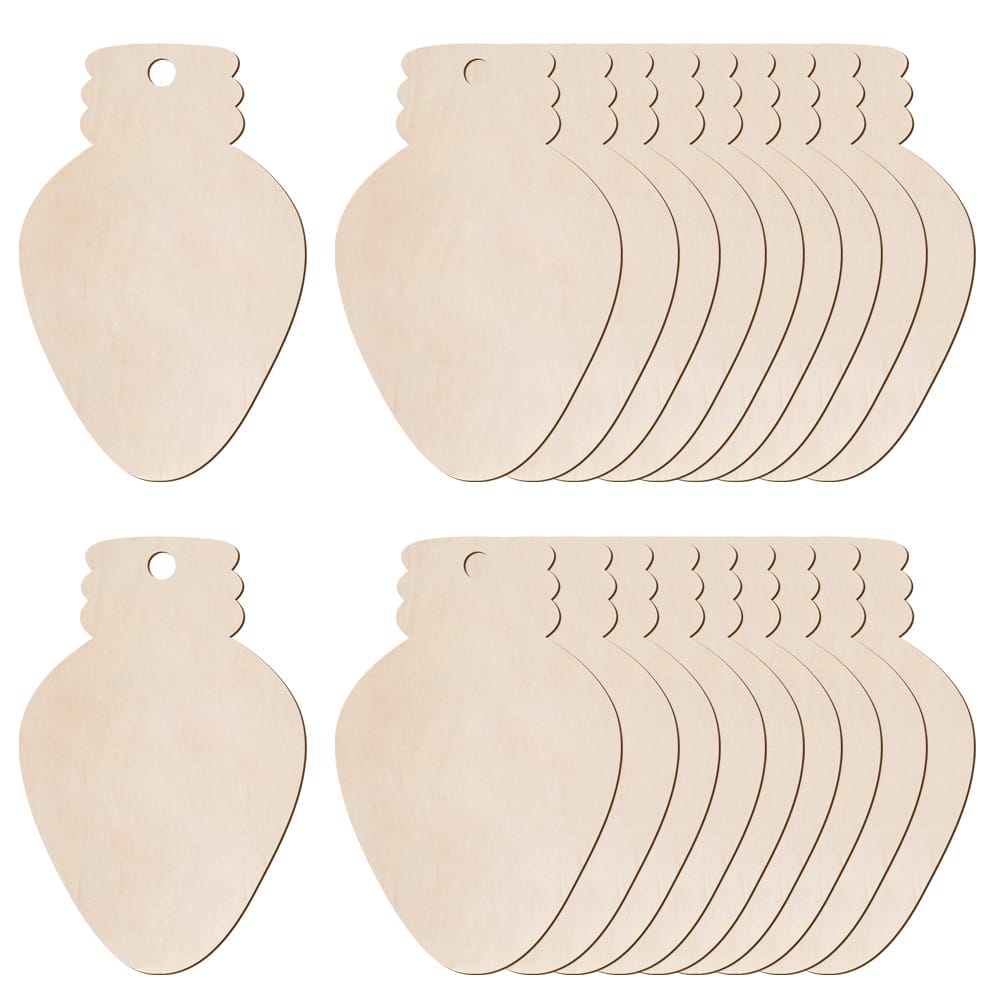
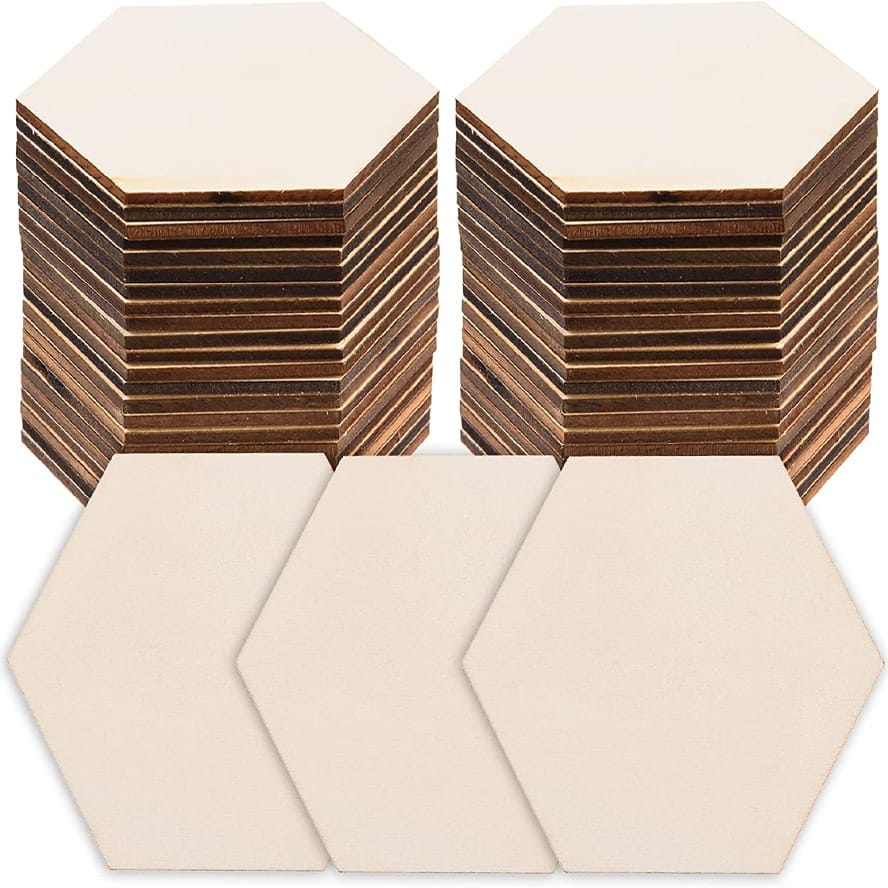
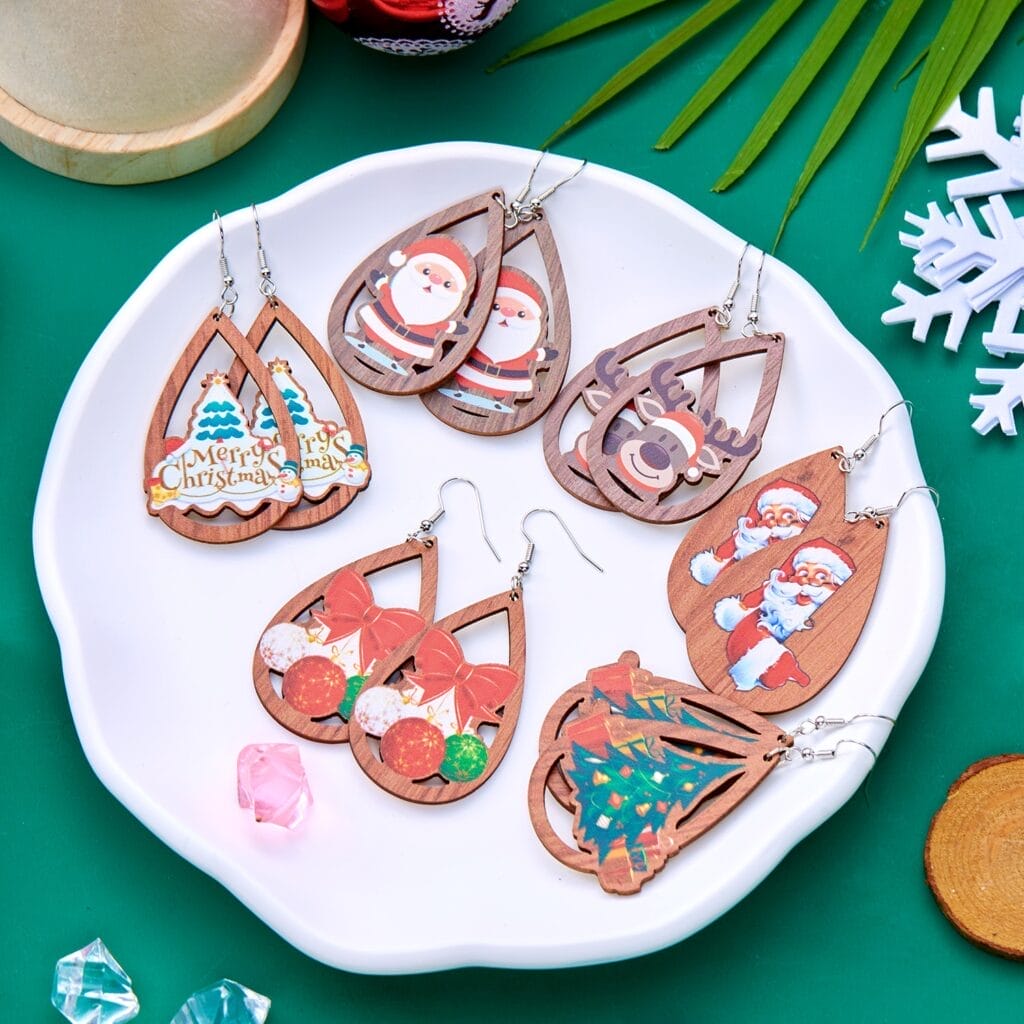
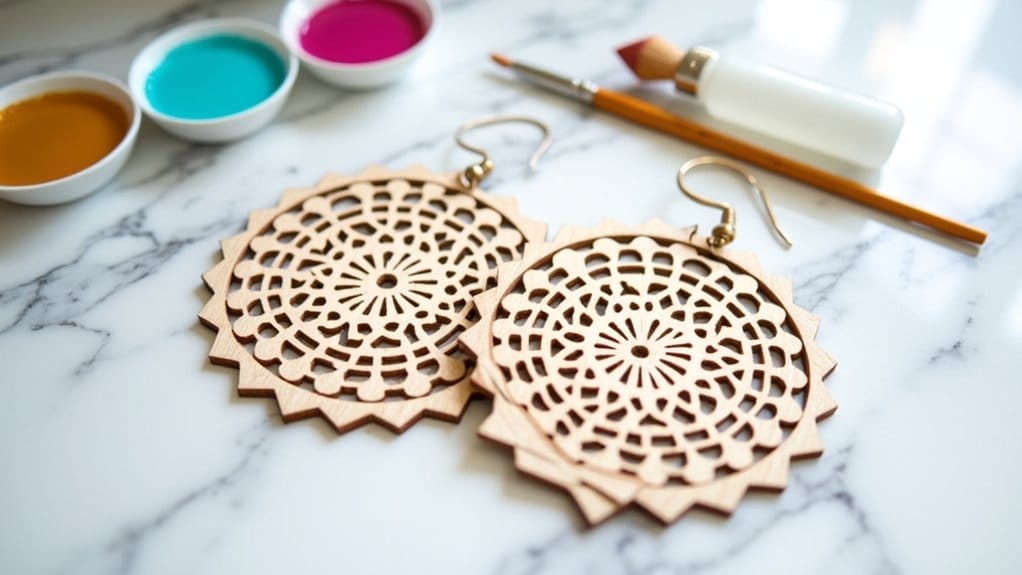
Laser cut wood earrings
Creating beautifully painted laser cut wood earrings requires a specific set of materials to attain professional results.
You’ll need high-quality wooden blanks that have been precision laser cut to your desired shapes. These earrings serve as the perfect canvas for handpainted designs.
Select lightweight hardwoods like birch, maple, or bamboo that won’t warp when paint is applied. Look for smooth, splinter-free surfaces and clean-cut edges.
The thickness should be between 1/8 to 1/4 inch to guarantee your jewelry remains lightweight and comfortable.
Choose pieces free from burns, scorch marks, or rough areas that could affect paint adhesion.
Paint options (e.g., acrylic, chalk)
When selecting paints for laser cut wood earrings, acrylic and chalk varieties stand out as top choices due to their excellent adhesion properties and durability.
| Paint Type | Best For | Application Method |
|---|---|---|
| Craft Acrylic | Detail Work | Fine Brush |
| Chalk Paint | Coverage | Foam Brush |
| Spray Paint | Even Finish | Aerosol |
You’ll find craft acrylic paint perfect for intricate designs, while chalk paint offers superior coverage on unfinished wood surfaces. Spray paint provides consistency but requires proper ventilation.
Brushes and tools
Selecting the right brushes and tools makes all the difference in achieving professional results on laser cut wood earrings.
You’ll need fine-tipped brushes (sizes 0-3) for detailed work and small flat brushes (1/4 inch) for broader coverage. A set of microbrushes helps access tight corners. Include craft tweezers to hold pieces while you paint, and foam-tipped applicators for smooth backgrounds.
Keep paper towels, a water cup, and palette handy for your paint process. For handmade precision, add dotting tools and a cleanup brush for edges.
Store your brushes upright in a holder to maintain their shape between craft sessions.
Sandpaper for smoothing edges
Before painting laser cut wood earrings, you’ll need various grits of sandpaper to achieve perfectly smooth edges and surfaces. To protect the delicate wood and make your finished pieces look professional, start with coarser grit and work your way to finer options.
- Use 120-grit sandpaper to initially smooth rough cut edges.
- Switch to 220-grit to refine the surface and remove any remaining scratches.
- Follow with 320-grit to create an ultra-smooth finish perfect for painting.
- Finish with 400-grit sandpaper to achieve a silky surface that’ll make your paint application flawless.
Remember to sand in the direction of the wood grain to prevent scratches.
How to Paint Laser Cut Wood Earrings: A Step-by-Step Tutorial
You’ll transform plain laser cut wood earrings into wearable art by following these essential steps, starting with workspace preparation and sanding the edges for a smooth finish.
The process continues with selecting your design concept and applying an even base coat of paint to create a solid foundation for your artwork.
Once your base coat dries completely, you’ll add intricate details and patterns using fine brushes or specialized tools to achieve your desired artistic vision.
Step 1: Prepare Your Workspace
A clean, well-organized workspace forms the foundation for painting laser cut wood earrings successfully.
You’ll need a clear, flat surface where you can work without interruption and guarantee your design details stay pristine.
- Set up a well-ventilated area with adequate lighting to see the intricate laser cut patterns.
- Cover your work surface with kraft paper or newspaper to protect against paint spills.
- Arrange your tools and materials within easy reach, keeping paint bottles, brushes, and water nearby.
- Create a designated drying area away from dust and debris where your painted pieces can cure undisturbed.
Step 2: Sand the Edges of the Earrings
Laser cutting leaves slight burn marks and rough edges on wooden earrings that need addressing before paint application.
Use fine-grit sandpaper (220-grit or higher) to carefully sand each pair of earrings. Work in gentle, circular motions along the edges and surface until they’re smooth to the touch.
In this DIY step, pay special attention to the cut edges where burn marks are most visible. Follow this guide by sanding both sides evenly to maintain the earrings’ symmetry.
Test the smoothness with your fingertip – you shouldn’t feel any roughness. Clean off any dust with a soft brush before moving to the next step.
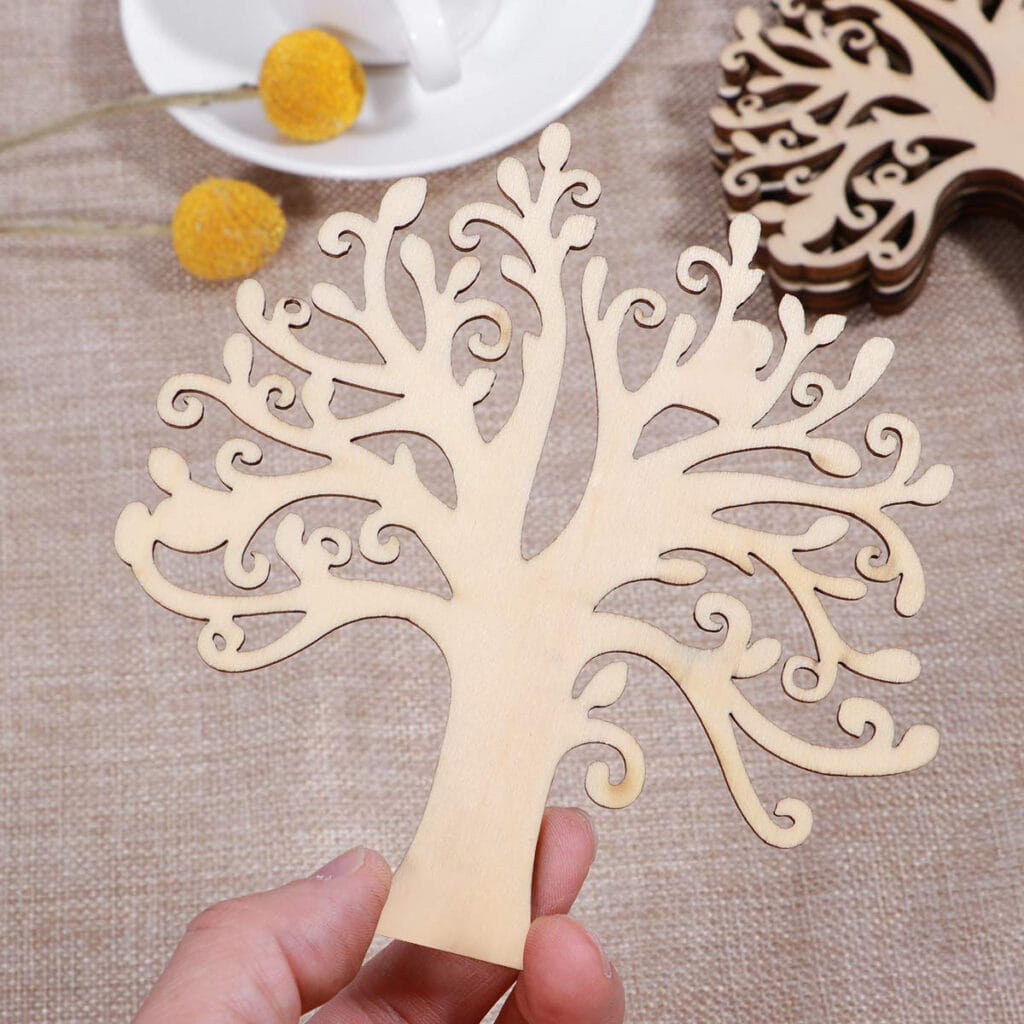
Step 3: Choose Your Design
When planning your earring designs, consider whether you want to create matching pairs, complementary patterns, or completely unique pieces for each ear.
Let your creative inspiration guide your art direction while keeping your design goals clear and focused.
- Sketch your custom designs on paper first to experiment with different patterns and color combinations.
- Research geometric, floral, or abstract art motifs that match your unique style.
- Take photos of inspiring designs from nature, architecture, or other jewelry pieces.
- Create a mood board combining colors, textures, and patterns that appeal to you.
Choose designs that showcase the natural beauty of the wood while allowing your artistic vision to shine through.
Step 4: Apply the Base Coat of Paint
Start your painting process by applying an even base coat to create a smooth foundation for your design. Choose a whitewash or solid color that’ll complement your final artwork.
| Paint Type | Best For | Drying Time | Coverage | Finish |
|---|---|---|---|---|
| Acrylic | Detail work | 15-30 min | Opaque | Matte |
| Chalk | Rustic look | 20-40 min | Full | Ultra-matte |
| Enamel | Durability | 24 hours | Solid | Glossy |
| Milk Paint | Vintage style | 30 min | Light | Natural |
| Varnish | Top coating | 2-4 hours | Clear | Protective |
Apply thin, even coats using a fine brush, allowing each layer to dry completely before adding subsequent coats. Sand lightly between layers for ideal smoothness.
Step 5: Add Details and Patterns
Once your base coat has fully dried, it’s time to bring your earrings to life with intricate details and eye-catching patterns. Use fine-tipped paint pens to create precise designs that complement your base color.
You can add depth and visual interest by incorporating different techniques and textures.
- Apply metallic paint accents to create an aged patina effect along the edges
- Draw geometric patterns using a contrasting color pen for modern appeal
- Add tiny dots or stippling to create texture and dimension
- Paint delicate floral or nature-inspired designs using thin brush strokes
Ensure each detail is symmetrical between pairs and allow sufficient drying time before applying sealant.
Step 6: Seal Your Painted Earrings
Protecting your artistic work is the final key step in creating lasting wood earrings. Apply a clear, water-resistant sealant to your painted wood pieces using smooth, even strokes.
You’ll want to seal both the front and back surfaces to best protect against moisture and wear. Choose between spray-on or brush-on sealants, ensuring they’re compatible with your paint type.
Apply 2-3 thin coats, allowing each layer to dry completely. This creates a durable barrier that’ll keep your beautiful designs vibrant while preventing chipping and scratching.
Don’t forget to seal the edges, as they’re most susceptible to everyday wear and tear.
Tips for Creating the Perfect Pair of Earrings

You’ll achieve stunning results by mixing and matching paint colors on your laser-cut wood earrings, creating unique gradients, or layering different shades for added depth.
To experiment with textures, try dry-brushing techniques, stippling with a fine brush, or adding micro-dots for visual interest.
Your personal style can shine through custom color combinations and signature patterns that make each pair distinctly yours.
Experimenting with Colors and Textures
Exploring different color combinations and textures can transform simple laser cut wood earrings into stunning statement pieces.
You’ll discover endless possibilities to create your own unique style by mixing various paint techniques and finishes.
- Layer metallic paints with matte colors to achieve dynamic visual pop and depth.
- Experiment with color blocking and gradients for modern, eye-catching designs.
- Add texture using stippling, dry brushing, or creating tiny dots for fun pattern effects.
- Mix different finishes like glossy and satin to create contrasting surfaces.
Try unexpected color combinations and test various application methods on scrap wood first to perfect your technique before painting your final pieces.
Personalizing Your Designs
While basic laser cut wood earrings can be beautiful on their own, personalizing your designs takes them to the next level of artistry and self-expression.
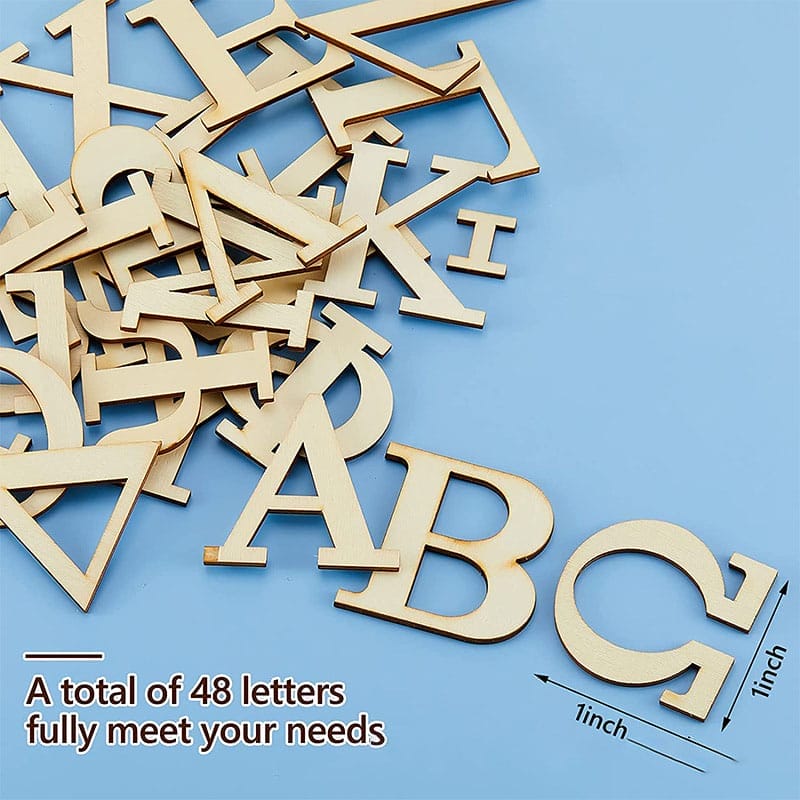
Consider having names, dates, or meaningful symbols engraved into the wood before painting. You’ll create the perfect gift by incorporating the recipient’s favorite colors or patterns.
Try new techniques like color blocking, geometric designs, or nature-inspired motifs to achieve a distinctive look.
Layer different paint colors and textures to add depth.
Don’t limit yourself to traditional designs – experiment with asymmetrical patterns, mixed media elements, or cultural motifs that reflect your unique artistic vision.
Frequently Asked Questions
How Long Should Painted Wood Earrings Dry Before Wearing Them?
You’ll need to let your painted wood earrings dry for at least 24 hours at room temperature. If you’ve used multiple coats or sealant, wait 48 hours to guarantee they’re completely cured before wearing them.
Can Laser Cut Wood Earrings Be Worn in Water or Rain?
You shouldn’t wear laser cut wood earrings in water or rain. They’ll absorb moisture, which can cause warping, swelling, and paint damage. Keep them dry to maintain their shape and finish.
What’s the Best Way to Store Painted Wooden Earrings?
Store your painted wooden earrings in a fabric-lined jewelry box away from direct sunlight and moisture. You’ll want to keep them at room temperature and separate from other pieces to prevent scratches or damage.
How Often Should Wood Earrings Be Repainted to Maintain Their Appearance?
You’ll need to touch up your wooden earrings every 6-12 months, depending on wear and exposure. If you notice chipping, fading, or wear spots, it’s time to repaint to maintain their vibrant appearance.
Are Painted Wood Earrings Safe for People With Sensitive Skin?
You’ll want to seal painted wood earrings with hypoallergenic sealant and use nickel-free findings. While wood’s generally safe, some people may react to certain paints or finishes, so test them first on your skin.
Conclusion
You’ve now mastered the art of painting laser-cut wood earrings. Don’t forget to store your finished pieces in a cool, dry place to maintain their vibrant colors and protective seal. With practice, you’ll develop your own signature style and techniques. Remember to keep exploring new color combinations and patterns while maintaining consistent quality in your finish work. Your handcrafted earrings will reflect your unique artistic vision.