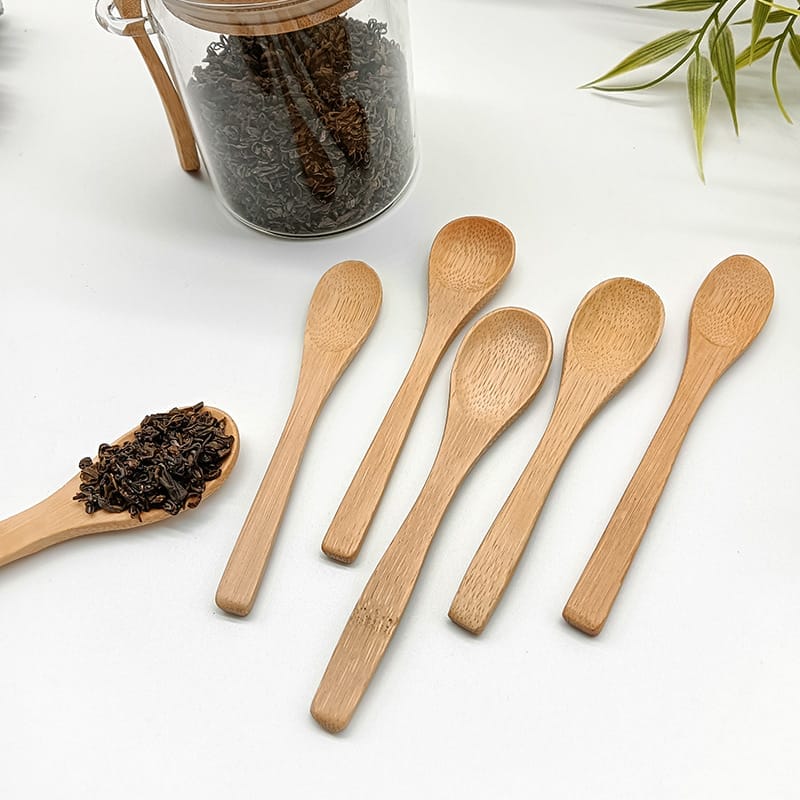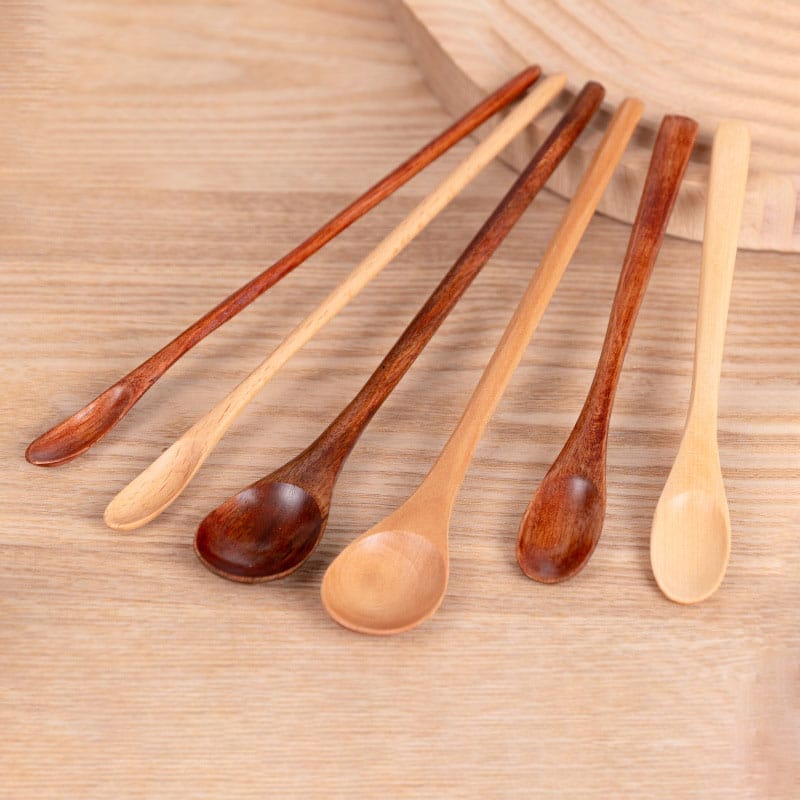
You’ll discover that carving wooden spoons combines artistry with practical craftsmanship. While the process might seem challenging at first, breaking it down into clear steps makes it approachable for any woodworking enthusiast. From selecting the right wood to applying the final finish, each stage requires specific techniques and tools. Whether you’re drawn to traditional methods or modern approaches, mastering spoon carving opens up endless possibilities for creating functional art.
Key Takeaways
- Select a knot-free hardwood like cherry or maple, and roughly cut it into a spoon shape using a saw or axe.
- Mark your spoon design on the wood blank using a template or freehand, ensuring proper proportions and symmetry.
- Remove excess wood around the marked outline, then use a hook knife to hollow the bowl portion.
- Shape the handle using a sloyd knife while maintaining consistent pressure and working with the wood grain.
- Progressively sand the entire spoon using varying grits, then apply a food-safe finish for protection.
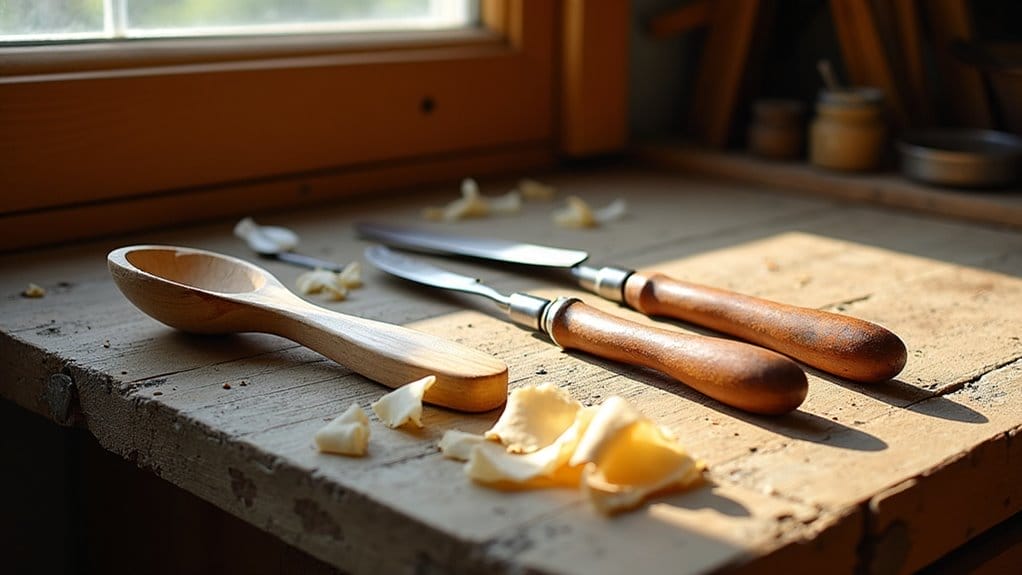
Essential Tools and Materials for Spoon Carving
You’ll find that hardwoods like maple, cherry, and birch make excellent wooden spoons due to their durability and resistance to moisture.
While power tools can speed up rough shaping, traditional hand tools including hook knives, straight knives, and gouges offer superior control for detail work and finishing.
A basic spoon carving toolkit should include a sloyd knife for general carving, a hook knife for hollowing the bowl, and a narrow gouge chisel for initial wood removal.
Best Wood for Wooden Spoons
Wood selection plays a critical role in successful spoon carving. When choosing the right wood, you’ll want to focus on hardwoods that are both durable and easy to carve.
Green wood is ideal for beginners since it’s softer and more pliable than seasoned wood.
The best wood species for spoon carving include cherry, maple, birch, and walnut. These types of wood offer excellent grain patterns and suitable hardness levels.
Avoid softwoods like pine, which can splinter and won’t hold up well to daily use. For best results, select straight-grained pieces without knots or defects that could interfere with your carving process.
Hand Tools vs Power Tools
While both hand tools and power tools can produce beautiful wooden spoons, each approach offers distinct advantages for carvers.
Hand tools like carving knives, chisels, and gouges provide greater control and connection to the wood, allowing you to feel subtle grain changes. They’re also quieter and produce less dust.
Power tools, including rotary carvers and sanders, speed up the rough-out process considerably and reduce physical strain.
For beginners, it’s best to start with basic hand tools to learn fundamental carving techniques. As you advance, you might combine both methods – using power tools for initial shaping and hand tools for refined detail work.
Must-Have Tools: Chisel, Knife, and More
A basic set of quality tools forms the foundation for successful spoon carving. You’ll need a straight carving knife for roughing out the basic shape, a hook knife for hollowing the bowl, and spoon gouges in various sweeps for detail work.
Keep your carving tools sharp – dull tools are dangerous and will compromise your results.
Essential tools include a marking pencil, calipers for measuring thickness, and a sturdy workbench with holding devices.
Traditional hand tools like a broad axe or froe help with initial stock preparation.
Consider adding specialized spoon-specific tools as your skills advance.
Preparing to Carve a Spoon

Before you begin carving, you’ll need to carefully select a suitable hardwood like maple, cherry, or birch that’s free from knots and cracks.
You must properly dry your wood to a moisture content below 12% and rough cut it to your spoon’s basic shape using a saw or axe.
To guarantee safe carving, you’ll need to secure your workpiece with a vise or carving clamp and always position your hands behind the cutting edge of your tools.
Selecting and Preparing the Wood
Selecting suitable wood marks the essential first step in spoon carving. Choose a piece of wood that’s straight-grained, knot-free, and properly dried. Common options include maple, cherry, or birch.
Your block of wood should measure roughly 6x3x2 inches.
Examine the wood grain direction before cutting, as it’ll determine your carving approach. Position the spoon’s bowl along the wood surface where the grain runs parallel to the handle.
You’ll want to protect the wood from splitting by working with the grain direction rather than against it. Test your wood carving techniques on scrap wood first.
Safety Tips for Beginners
Safe spoon carving requires proper protective equipment and workspace setup. Always carve away from your body while wearing cut-resistant gloves and safety glasses.
Keep your tools sharp, as dull blades require more force and increase accident risk. Secure your workpiece with a carving clamp or vise for successful wood carving.
Establish a well-lit, stable workspace with room to maneuver. Your woodworking station should be at a comfortable height to maintain control.
Before you begin to carve a wooden spoon, verify all tools and techniques are properly understood. Practice basic carving skills and create test cuts on scrap wood until you’re confident with the right tools.
How to Carve Wooden Spoons: Detailed Spoon Carving Process
You’ll begin the spoon carving process by marking your desired spoon outline onto the prepared wood blank using a template or freehand drawing.
Next, you’ll remove excess wood around your marked shape using a bandsaw or hand tools, carefully following your outline while leaving some margin for refinement.
Finally, you’ll use various chisels and hand tools to hollow the bowl, shape the handle, and smooth all surfaces before applying your chosen finish.
Marking the Spoon Shape
Before making any cuts, proper marking creates the essential template for your wooden spoon design.
Transfer your design onto the wood using a pencil, ensuring the grain direction aligns with the spoon’s length. Draw the outline of the spoon, including both the bowl and handle dimensions. Mark the bowl’s depth indicators and handle thickness measurements.
Once you’ve traced the shape of the spoon onto both sides of the blank, verify your markings for symmetry.
When you begin carving, these guidelines will help you stay within the intended parameters as you remove wood outside the marked boundaries of your carving project.
Rough Cutting the Spoon Shape
Begin the rough cutting process by removing large sections of excess wood from around your marked spoon outline. Using appropriate tools for spoon carving, you’ll start shaping the spoon by strategically removing material to create the basic form.
- Work across the grain to remove excess wood from the sides of your wooden spoon, staying about 1/8 inch outside your marked lines.
- Carefully carve away material from the bowl area, maintaining consistent depth and curve.
- Shape the handle by removing wood in controlled passes, keeping the proportions balanced while following your outline.
Remember to work slowly and methodically, checking your progress frequently against your marked guidelines.
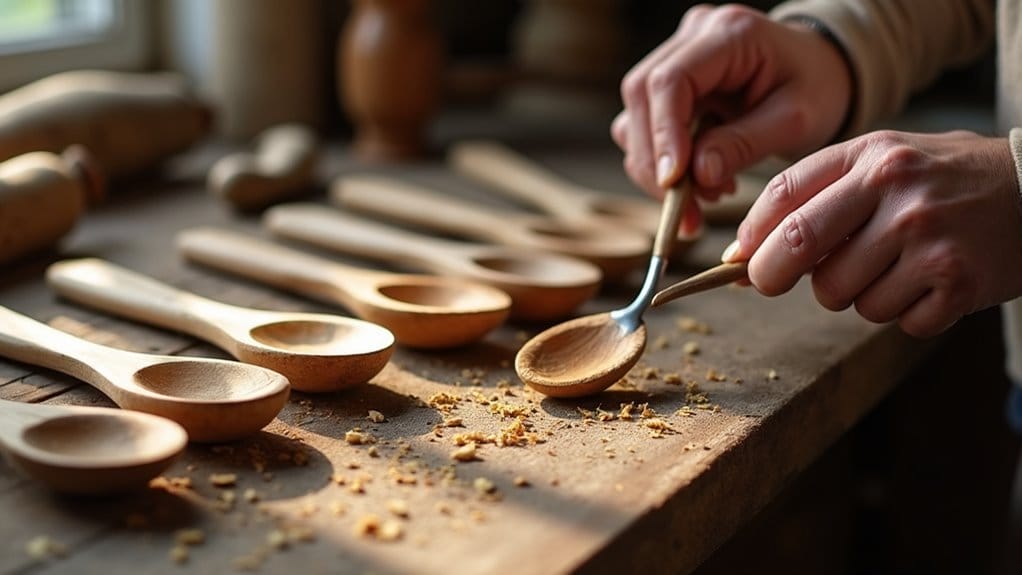
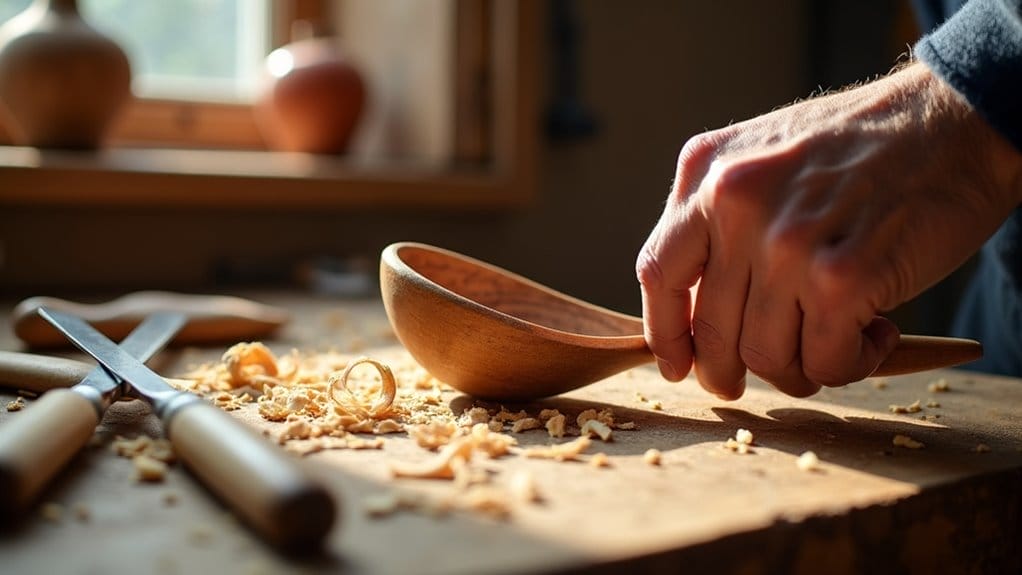
Using Chisels and Hand Tools to Refine
After rough cutting establishes the basic spoon form, refined shaping with chisels and hand tools brings out the spoon’s final character and smooth finish.
Begin by using a gouge chisel to carefully remove wood chips from the bowl’s interior, working with the grain to prevent splitting.
Switch to smaller carving tools to shape the changeover between the handle and the bowl, maintaining fluid curves.
Use a straight chisel to refine the handle’s profile, then smooth the surface of the spoon with scrapers.
Throughout the carving process, you’ll want to periodically check your progress by feeling for inconsistencies with your fingers.
Smoothing and Finishing Touches
Once you’ve completed the basic shaping, the smoothing process transforms your spoon from rough-carved to refined.
Focus on achieving consistent thickness of the bowl while maintaining its structural integrity. Work systematically to remove tool marks and imperfections.
- Sand progressively with 120, 220, and 320-grit paper, always following the grain to prevent scratches.
- Check the bottom of the bowl carefully for any irregularities, smoothing until you achieve uniform thickness.
- Apply your chosen wood finish in thin layers, allowing each to dry before adding patterns and designs.
Remember to wipe away wood dust between sandings and avoid carving against the grain during final smoothing to guarantee a flawless finished spoon.
Tips for Beginners in Spoon Carving

When you’re starting out with spoon carving, you’ll need to watch for common pitfalls like cutting against the grain or applying excessive force while carving, which can lead to splits and breaks in your workpiece.
You should maintain your carving tools by regularly stropping the blades and keeping them razor-sharp, as dull tools require more force and increase the risk of accidents.
It’s crucial to establish proper grip techniques and work deliberately, allowing the tools to do the cutting rather than forcing them through the wood.
Common Mistakes to Avoid
Many beginners make three critical mistakes in spoon carving that can lead to frustration, wasted wood, and potential injury.
Your first spoon carving experience will be easier if you avoid these common pitfalls that slow down the process of carving and make projects difficult to complete.
- Using wood that’s too hard or green – choose woods like basswood or pine for your first spoon.
- Working against the grain instead of following it – this makes carving more difficult and increases tear-out.
- Rushing through the roughing stage – specific carving details require a properly shaped blank first.
Maintaining Your Tools
Sharp tools are essential for safe and effective spoon carving, so proper maintenance should become part of your regular workflow. When you want to carve, inspect your carving tools before each session.
Keep a sharpening stone and strop nearby to maintain keen edges as you carve along.
Clean your carving tools after use, removing any sap or debris. Oil wooden handles and store tools in a dry place to prevent rust.
A well-maintained range of carving tools and potentially expensive equipment will serve you better throughout your wood carving endeavors. Proper care of tools when working with wood is vital, as dull tools can make carving offers more dangerous.
Frequently Asked Questions
How Long Does a Hand-Carved Wooden Spoon Typically Last?
You’ll get 10-20 years from your hand-carved wooden spoon if you care for it properly, keeping it dry between uses and periodically treating it with food-grade mineral oil.
What Types of Wood Are Toxic and Should Be Avoided for Spoon Carving?
You’ll need to avoid yew, oleander, black walnut, sassafras, and red cedar due to their toxic properties. These woods can leach harmful compounds into food and cause adverse reactions.
Can Carved Wooden Spoons Go in the Dishwasher?
Don’t put your carved wooden spoons in the dishwasher. The high heat and harsh detergents will damage the wood’s fibers, strip protective oils, and potentially cause warping, splitting, or discoloration.
How Much Can I Sell My Hand-Carved Wooden Spoons For?
You can price your hand-carved wooden spoons between $20-75 each, depending on wood type, design complexity, finish quality, and your market’s demand. Custom or specialty pieces command higher prices.
Is It Safe to Carve Spoons From Fallen Branches I Find?
You’ll need to assess fallen wood for rot, insect damage, and toxicity. Only use branches you can identify from food-safe species like maple, cherry, birch, or apple.
Conclusion
You’ve now learned the methodical process of wooden spoon carving, from selecting appropriate hardwoods to applying the final finish. By following these technical steps and maintaining proper tool safety, you’ll be able to create functional, handcrafted utensils. Remember to keep your tools sharp, work systematically through each stage, and practice proper grain direction techniques. With dedication to the craft, you’ll develop precision in your carving skills.