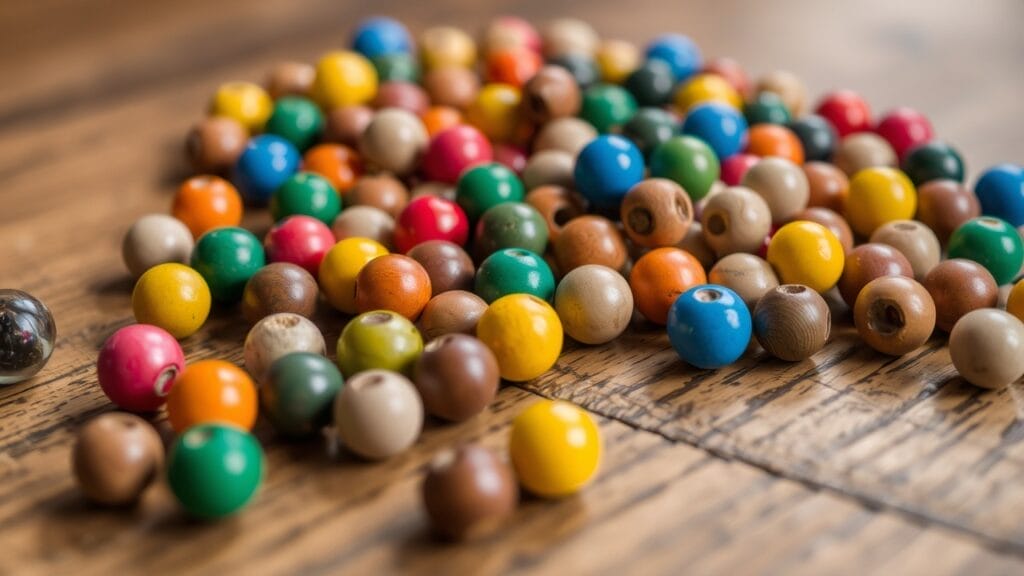
In today’s world, crafting has become not just a hobby but a way to express creativity while also being budget-conscious. Whether you’re looking to create decorative home items or thoughtful gifts, wooden bead projects are an excellent option. They are affordable, stylish, and can be made with supplies often found at your local dollar store. Now we’ll explore seven amazing wooden bead projects that you can undertake without breaking the bank.
Stylish Wooden Bead Coaster

The first project is an easy-to-make wooden bead coaster. This project requires basic materials—wooden beads, yarn, and glue—making it a fantastic starting point for those new to crafting.
Steps:
- Begin by stringing six beads onto a length of yarn. Tie a secure knot at one end to keep the beads in place. Make 5 identical strings of wooden beads.
- Add a dab of glue inside each string of beads, connecting them in rows until you achieve your desired coaster size.
- Once all the beads are glued together, use a heat gun to remove any excess glue strings.
- The final touch involves fraying the yarn ends for a bohemian look.
This coaster can be customized with various colors or left natural, making it a versatile addition to any home decor. Coasters are not only practical but also serve as thoughtful gifts. With a few variations, you can create unique pieces that reflect personal style.
Wooden Bead Trivet

For a more sophisticated project, consider making a wooden bead trivet. This project combines functionality with an elegant aesthetic, perfect for any kitchen setting.
Steps:
- Use wire to form a circular base, then string wooden beads around the wire circle.
- Secure the ends of the wire circle tightly to hold the shape.
- Finally, attach the leather strip to create a handle for easy storage.
This project not only serves as a practical kitchen tool but also elevates the look of your dining experience. Plus, it provides an opportunity to use leftover materials creatively. These trivets can be customized in color and size, making them versatile for any kitchen or dining room setting. They also make great gifts for housewarmings or weddings.
Adorable Wooden Bee Decoration
Next up is a whimsical wooden bee decoration that can add charm to any space, particularly a kitchen or a child’s room. By using two wooden beads—one large and one small—you can create charming bee decorations.
Steps:
- Paint a larger bead yellow for the bee’s body and a smaller bead black for the head.
- Create antennas using craft wire and wrap it around the head bead.
- Use additional wire to create stripes on the body and to form wings, securing everything with hot glue.
Crafting these little bees is not only fun but also allows for creativity in customizing their features. Consider adding eyes or facial details for an even more personalized touch. This project highlights the potential of simple shapes and colors to create engaging decor. It’s an excellent way to encourage creativity in children or as a fun addition to seasonal decorations.
Elegant Candle Holders

The fourth project features elegant candle holders made from birthday candles and wooden beads. This project is particularly notable for its simplicity and aesthetic appeal. By gluing beads atop small wooden cubes, you can create a unique base for each candle. Customize the height and color of the beads to suit your aesthetic preference.
Steps:
- Glue beads onto small cubes to create a base for each candle holder.
- Insert birthday candles into the beads, securing them with a dab of hot glue if necessary.
- Customize the colors of the beads and candles to match your decor.
These candle holders offer a charming way to set the mood for gatherings. Their customizable nature makes them suitable for various occasions, from formal dinners to casual gatherings. This project highlights the beauty of simplicity; sometimes, less is more. The result is a stunning centerpiece that elevates your dining table decor.
Stylish Riser with Beads

Creating a beaded riser is a clever way to add height and interest to displays on shelves or tables.
Steps:
- Spray paint two bamboo cutting boards white, allowing them to dry completely.
- Glue wooden beads around the edges of one board and secure the second board on top, forming a layered look.
- Optionally, paint additional beads for added visual interest.
By customizing the color of the beads and the cutting boards, you can create a piece that perfectly matches your decor. This riser can be used to display plants, books, or any decorative items, making it a versatile addition to your home. This project encourages the use of upcycled materials and enhances the aesthetics of any space.
Whimsical Candle Holder

Using various sizes of wooden beads, you can create a whimsical candle holder.
Steps:
- Lay out various sizes of beads to create a visually appealing arrangement.
- Use wire to string the beads together, allowing for flexibility in design.
- Drill holes if necessary to accommodate candles, ensuring stability.
The ability to shape the wire allows you to create unique forms that can complement your home’s aesthetic. This candle holder not only serves a functional purpose but also acts as a beautiful centerpiece. Its adaptable design allows for personal flair and can be modified for different styles or occasions. This candle holder not only serves a practical purpose but also acts as a statement piece, showcasing your creativity and craftsmanship.
Colorful Beaded Butterfly

Finally, the last project—a beaded butterfly—is a delightful way to incorporate color and whimsy into your decor. This project involves more intricate work, as you’ll need to string various sizes of beads together to form the wings and body.
Steps:
- Use a combination of different bead sizes to create the butterfly wings and body.
- Secure the wings to the body using wire, ensuring everything is tightly fastened.
- Optionally, add embellishments or paint to enhance the butterfly’s appearance.
This butterfly can be hung as a whimsical decoration or placed on a shelf as a unique accent piece. The butterfly project showcases the versatility of bead crafts and the endless possibilities for customization.
Conclusion
These seven wooden bead projects exemplify the joy of crafting on a budget. With creativity and a few basic materials, anyone can transform simple supplies into functional and decorative pieces. Each project not only serves a purpose but also reflects personal style, making them perfect for gifting or home decor.
As you embark on your crafting journey, remember that the possibilities are endless. Each of these projects can be adapted, modified, and personalized, ensuring that your creations are uniquely yours. Engage with your community by sharing your results, and don’t hesitate to explore further crafting opportunities that align with your interests.
Crafting is not just about the end product; it’s about the process and the joy it brings. So gather your materials and start creating!
Frequently Asked Questions
What types of wooden beads are best for these projects?
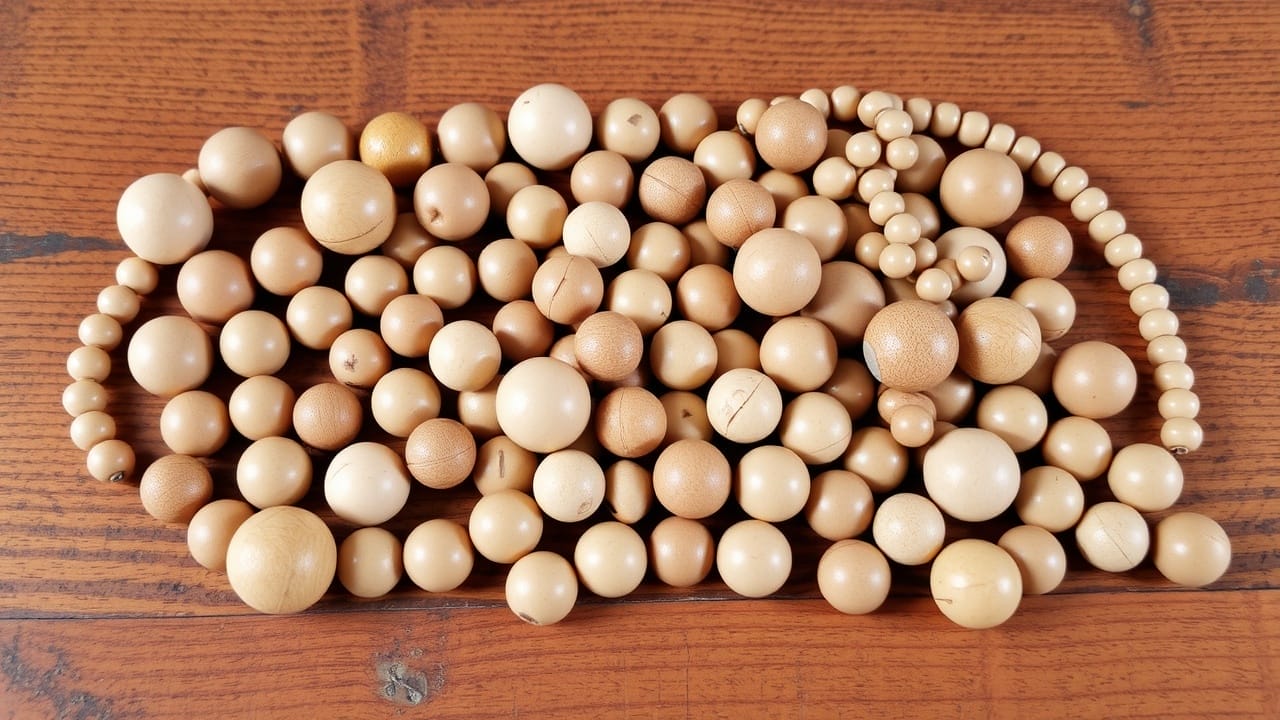
Choose smooth, crack-free solid wood or pressed wood beads (e.g., pine, birch, beech). For dyeing or painting, use unfinished beads that absorb color well; for a natural look, pick undyed beads with visible grain.
Which project is best for beginners?
The wooden bead coaster and the little wooden bee decoration are the easiest. They use few materials, require simple tools, and are great for practicing stringing, gluing, and painting.
What if my beads are different sizes—how do I keep the finished piece neat?
Embrace the size variation by arranging beads in symmetrical or gradient patterns. For projects requiring flatness (coasters, trivets), use beads from the same batch/size or add spacers (small wooden discs) to even surfaces.
Are these projects suitable for working with kids?
Yes, many steps (stringing, painting, simple gluing) are kid-friendly under adult supervision. Small beads are a choking hazard—keep away from children under 3. Adults should handle hot glue, drills, and cutting tools.