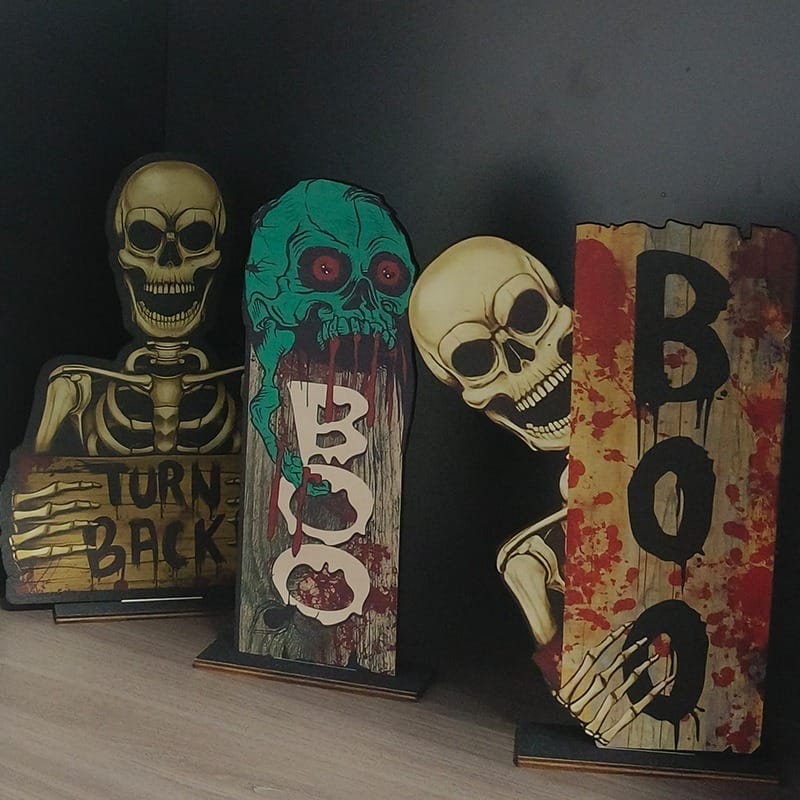
Creating your own rustic wooden sign can be a satisfying DIY project that adds a personal touch to your home. It’s a straightforward process that requires only a few materials and steps. Whether you’re crafting a welcoming message for your front porch or a quirky quote for your kitchen, the possibilities are endless. Let’s learn how to make wood signs to showcase your creativity and style.
Key Takeaways
- Select 3/4-inch birch plywood for a sturdy base that prevents warping and enhances durability.
- Design your sign using software like Photoshop, and choose a font that matches your theme.
- Use transfer paper to accurately stencil your desired message onto the wood surface.
- Paint the background first, then carefully fill in the lettering with craft paints for a smooth finish.
- Finish with a clear coat for protection, and choose proper hanging methods for display.
Materials Needed for Your DIY Wood Sign

When you’re ready to make signs, gathering the right materials is the first step toward bringing your vision to life.
Start with a sturdy wood sign base, ideally 3/4 birch plywood for durability.
You’ll need paints—choose your favorite color—and painting tools like foam rollers or brushes for smooth application.
Use a stencil or vinyl letters to transfer the patterns. Oil-based paint pens work wonders for a professional finish.
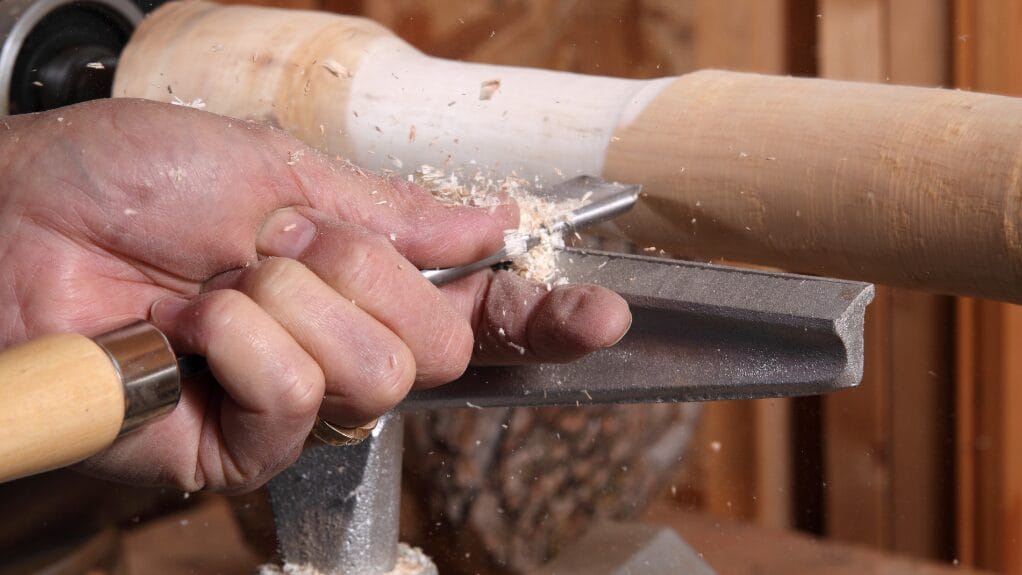
Don’t forget essential tools like a hammer, a circular saw or a cutting machine for any frame assembly or cuts.
Prepare sandpaper to smooth the edge of the wood and remove any stains.
With these materials, you’re well on your way to crafting your unique wooden sign!
How to Create Wooden Signs

Creating a wooden sign starts with selecting the right wood that suits your project’s needs.
Once you’ve chosen your material, you can design your sign and create a stencil to bring your vision to life.
With your design ready, you’ll trace it onto the wood and apply paint for a beautiful finish, giving your sign the unique touch it deserves.
Step 1: Choose Your Wood
Choosing the right wood for your sign is crucial, as it affects both the appearance and durability of your project.
For a sturdy option, consider using 3/4-inch birch plywood, which offers a smooth surface ideal for paint and designs. This thickness helps prevent warping, ensuring your DIY wood sign lasts longer.
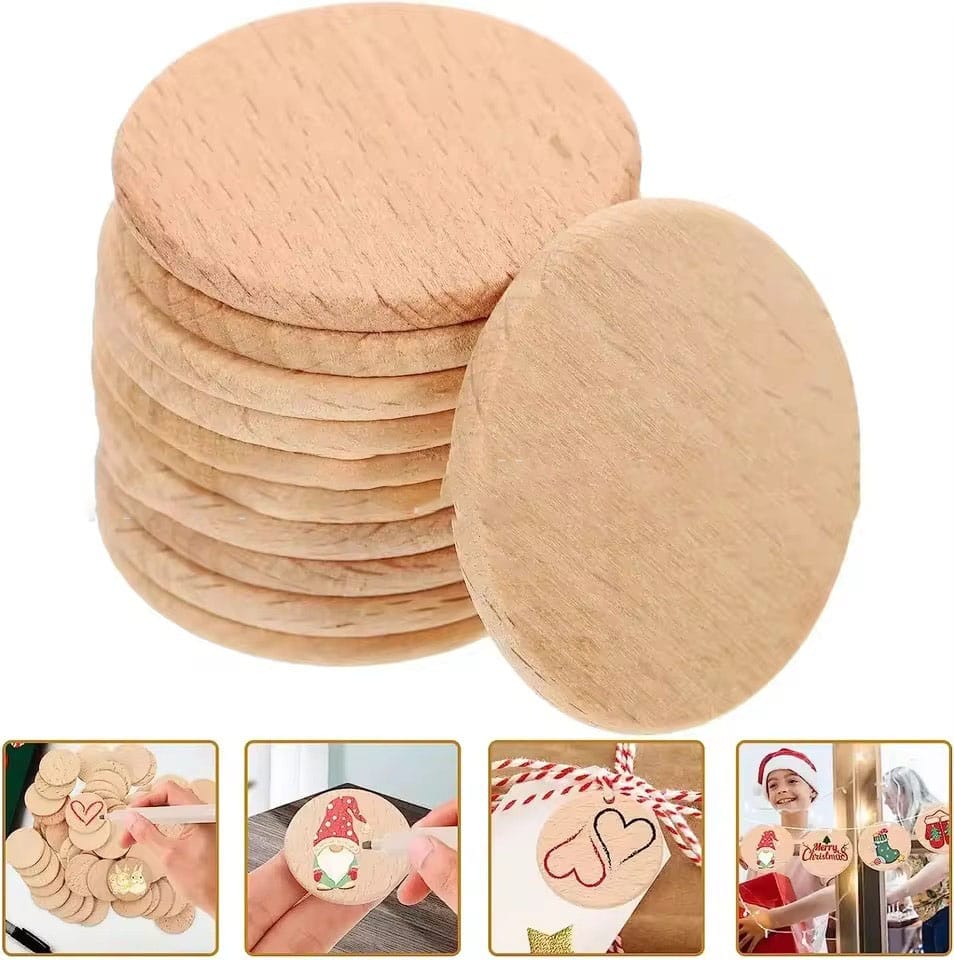
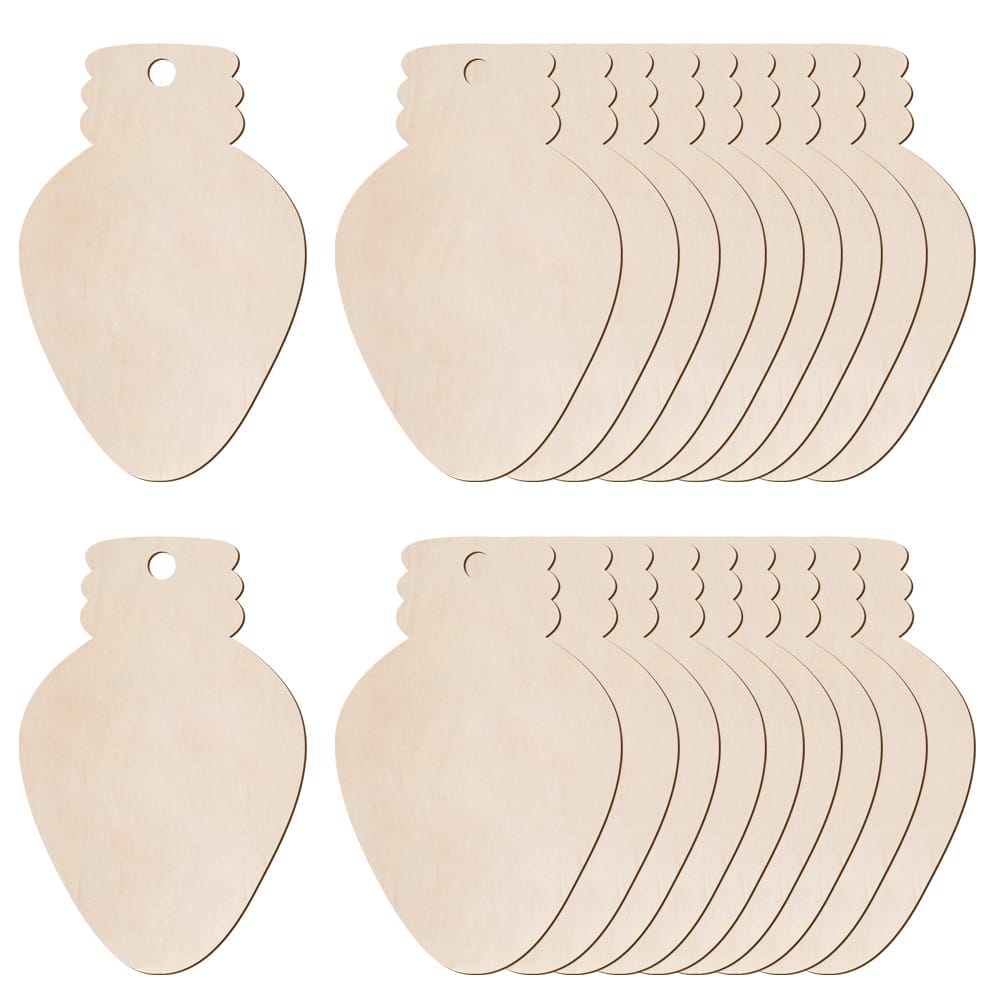
Plywood is readily available in various sizes, so you can easily cut it down to suit your needs. If you prefer convenience, you can also find pre-made blank signs at craft stores.
Step 2: Design Your Sign and Create a Stencil
Designing your sign is an exciting step that allows you to release your creativity while ensuring your project reflects your personal style.
First, think about the message or theme you want to convey. Use software like Photoshop or Word to layout your design, ensuring it fits your chosen wood size. Select a font that resonates with your idea.
Next, create a stencil by printing your design and using transfer paper to outline it on the wood. This method provides accuracy and clarity as you prepare to bring your design to life.
Step 3: Trace Your Design with a Pencil
Now it’s time to trace your design with a pencil. This step guarantees precision in your sign-making process.
Follow these tips for the best results:
- Use light pressure while tracing to avoid deep grooves.
- Check your stencil placement to guarantee it’s centered and aligned.
- Make any necessary adjustments before moving to paint your sign.
Take your time, and don’t rush. The clarity of your traced lines will guide your painting later, so make sure everything looks perfect.
Once you’re satisfied, you’re ready to move on to the next exciting step. Happy crafting!
Step 4: Paint Your Sign
Now that your design is traced, it’s time to bring your wooden sign to life with color. Grab your chosen paint—craft paint works great for this step. Make sure to apply the paint evenly, using smooth strokes to achieve a professional finish. While painting, consider incorporating different colors and techniques to add depth to your design, which is key when learning how to create wooden signs. Once you’re satisfied with the colors, allow your sign to dry completely before sealing it for durability.
Using your paintbrush, start with the background color, applying even strokes for a smooth finish. Depending on your design, you might want to use a foam roller for larger areas.
Once the background’s dry, carefully paint your lettering, ensuring you stay within the traced lines. If you love bold colors, don’t hesitate to layer for vibrancy.
Step 5: Finishing Touches
With your sign beautifully painted and the design in place, it’s time to add those finishing touches that will truly make your creation stand out. Here’s what you should do:
- Use a paint pen to outline any letters or designs. This adds depth and professionalism to your sign.
- Let it dry completely before applying any sealant if it’s an outdoor sign; durability is key.
- Consider giving the sign a final clear finish to protect your hard work from wear and tear.
These simple touches will enhance your sign’s appearance and longevity, ensuring it shines for years to come!
Step 6: Hang Your Sign
To successfully hang your wooden sign, it’s essential to assess the location first. Choose a spot that complements your home decor and allows the sign to be easily visible.
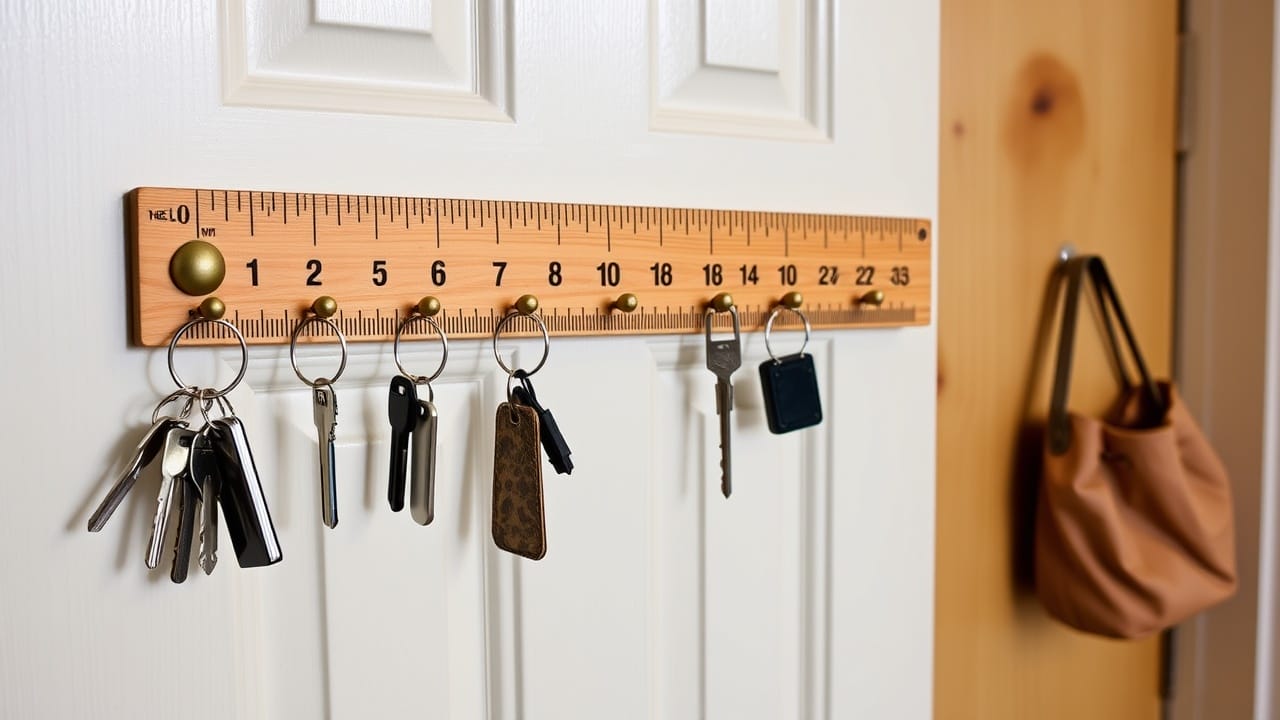
You can use nails, hooks, or sturdy adhesive strips to hang your sign, depending on its weight. Make sure to measure and mark where you’ll place it for a straight alignment.
If you’re creating multiple DIY signs, consider grouping them for a cohesive look. Finally, step back and admire your handiwork! The perfect placement can enhance your space, turning your DIY sign into a unique focal point that showcases your personality.
Frequently Asked Questions
Can I Use Recycled Wood for My Sign Project?
Absolutely, you can use recycled wood for your sign project! Just make certain it’s clean and structurally sound. Sand the surface for a smooth finish, and then proceed with painting and lettering as desired.
How Long Does It Take for the Paint to Dry?
The paint typically takes about 1-2 hours to dry to the touch, but you should wait 24 hours for complete curing. Always check the manufacturer’s instructions for specific drying times based on your paint type.
What Type of Sealer Should I Use for Outdoor Signs?
For outdoor signs, you’re best off using a weather-resistant polyurethane or an exterior-grade varnish. These sealers protect against moisture and UV rays, ensuring your sign lasts longer in the elements. Don’t forget to seal all sides!
Can I Use a Paint Sprayer Instead of a Brush?
Absolutely, you can use a paint sprayer instead of a brush! It speeds up the process and delivers an even finish. Just make certain you’ve prepared your workspace and are wearing appropriate protective gear.
How Do I Hang My Wooden Sign Securely?
To hang your wooden sign securely, use heavy-duty wall anchors or screws, ensuring they’re appropriately spaced. For added stability, consider using a level while positioning the sign, preventing it from tilting once hung.
Conclusion
In just a few simple steps, you can bring your wooden sign to life, adding a personal touch to your home. By carefully selecting materials and following the outlined process, you’ll create a unique piece that reflects your style. Don’t forget to let your creativity shine with colors and designs that resonate with you. Once your sign is complete, find the perfect spot to hang it and enjoy the satisfaction of your DIY accomplishment every day. Additionally, consider exploring various tutorials and resources that teach how to create wooden signs, ensuring you choose techniques that suit your skill level. Experimenting with different fonts and layouts can further elevate your project, making your sign truly one-of-a-kind. With a little patience and effort, you’ll not only enhance your living space but also gain a rewarding sense of achievement in your craftsmanship.

