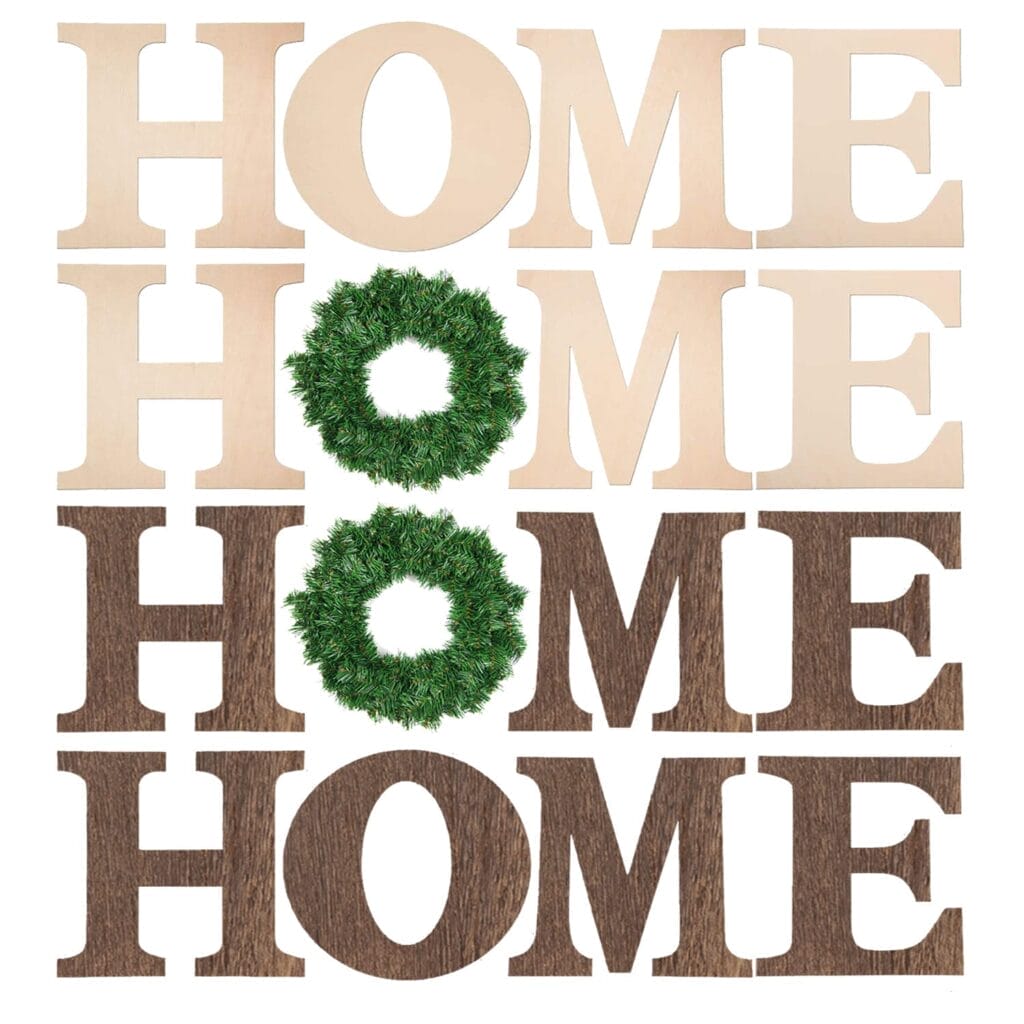
Cutting letters out of wood is a fun and creative way to add a personal touch to your DIY projects. Whether you want to cut names for a wooden sign, create custom decor for your wall, or make wooden letters for gifts, the process is easier than you think. With the right tools, like a jigsaw or router, and a bit of patience, you can bring your designs to life. This isn’t just a craft; it’s an opportunity to learn how to cut letters out of wood with precision. Once you start, you’ll see how simple and rewarding it can be!
Key Takeaways
- Collect basic tools like a jigsaw, drill, and router for easy cutting.
- Sand the wood and use painter’s tape to stop splinters before adding your design.
- Cut slowly and follow the letter edges for neat results.
- Sand, paint, or stain the letters to make them look better and last longer.
- Practice on extra wood to get better and avoid errors on your main project.
Tools and Materials for Cutting Letters Out of Wood

Before you start cutting wood letters, it’s important to gather the right tools and materials. Having everything ready will make the process smoother and more enjoyable. Here’s what you’ll need:
Essential Tools:
- Jigsaw: Perfect for cutting curves and intricate shapes. A jigsaw is a go-to tool for creating wooden letters.
- Router: If you want clean edges or decorative details, using a router is a great choice.
- Drill: You’ll need this to make starter holes, especially for letters with enclosed spaces like “O” or “A.”
- Rotary Tool: Using a rotary tool helps refine edges and add small details.
Materials:
- Wood: Choose a sheet of plywood, pallet wood, or any board that’s the right size and thickness for your project.
- Pencil and Paper: Use these to trace or transfer your design onto the wood.
- Painter’s Tape: This helps prevent splintering when you cut wood letters.
- Sandpaper: Sanding is essential for smoothing edges and surfaces.
- Paint or Stain: Add color or a protective finish to your wooden letters.
Optional Extras:
- Clamps: These hold the wood in place while you cut.
- Safety Gear: Always wear goggles and a dust mask to protect yourself from sawdust.
Tip: If you’re using hand tools, make sure they’re sharp and in good condition. Dull tools can make the process harder and less precise.
Once you’ve gathered your tools and materials, you’re good to go! Whether you’re using a jigsaw or router, having the proper setup will help you cut wood letters with ease.
Preparing the Wood and Transferring the Design
Before you start cutting wooden letters, it’s important to prepare your wood and transfer your design properly. This step sets the foundation for clean and precise results. Here’s how you can do it:
Step 1: Prepare the Wood
- Choose the right wood: Pick a sheet of plywood, MDF, or any board that matches the size and thickness of your project. Thicker boards work well for tall letters, while thinner sheets are great for smaller designs.
- Sand the surface: Use sandpaper to smooth out rough edges and surfaces. This helps the design stick better and makes cutting easier.
- Apply painter’s tape: Cover the area where you’ll cut with painter’s tape. This reduces splintering and keeps the edges clean.
Tip: If you’re planning to paint your wooden letters, consider applying a base coat before transferring the design. This gives the letters a polished look later.
Step 2: Transfer Your Design
Now it’s time to get your design onto the wood. You can use several techniques depending on your tools and materials.
- Tracing with a pencil: Print your design on paper, cut it out, and trace around it directly onto the wood. This is a simple and effective method for beginners.
- Water decal method: Print your design on water decal paper, then press it onto the wood. Remove the paper pulp by gently rubbing it with a damp cloth. Let it dry, and you’ll see your design clearly.
- Stamping: Use light-colored ink and a prepared wood surface to stamp your design. This works well for intricate fonts or patterns.
- Iron-on transfer: Print your design using a toner-based printer. Place it face down on the wood and use an iron set to the cotton setting to transfer the image.
Note: If your design includes letters with enclosed spaces, like “O” or “A,” make sure to mark these areas clearly. You’ll need to drill a hole in the middle before cutting.
Step 3: Final Check
Before you begin cutting, double-check your design placement. Make sure it’s centered and aligned properly. If you’re happy with how it looks, you’re good to go!
By preparing your wood and transferring your design carefully, you’ll set yourself up for a smooth and enjoyable DIY project. Whether you’re creating a wooden sign or decorative letters for your wall, this step ensures your work looks professional and polished.
How to Cut Letters Out of Wood

Cut around the outside of your letters with a jigsaw
Once your design is transferred onto the wood, it’s time to start cutting. Using a jigsaw is one of the easiest and most effective ways to cut wood letters. Follow these steps to get clean and precise results:
- Secure the wood: Place the wood on a sturdy surface and clamp it down. This prevents movement while you cut and keeps your hands safe.
- Choose the right blade: Use a fine-toothed blade for smoother cuts. A coarse blade can tear the wood and leave rough edges.
- Start at the edge: Begin cutting at the outer edge of the letter. Slowly guide the jigsaw along the outline, keeping the blade tight to the line.
- Go slow around curves: When cutting curves or intricate shapes, move the jigsaw slowly. This gives you better control and helps avoid mistakes.
- Keep the blade perpendicular: Make sure the blade stays straight and doesn’t tilt. A tilted blade can create uneven cuts.
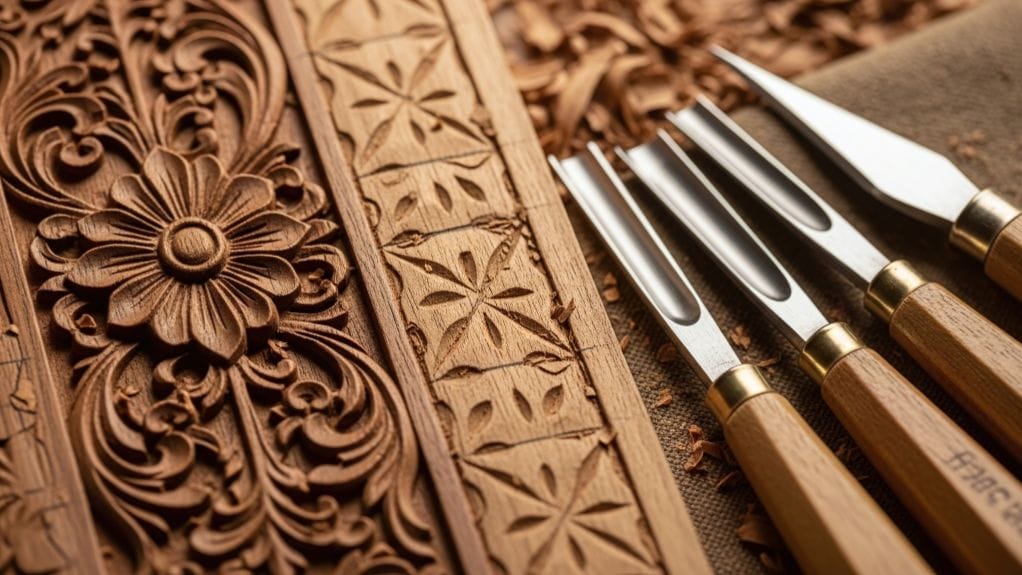
Tip: If you’re cutting block letters, use a right-angle chisel to refine the edges after cutting. For larger wood removal, a flat chisel works best.
Drill a hole inside of letters and cut along the edge of the hole if letters have holes in the middle
Letters like “O,” “A,” or “P” often have enclosed spaces that require extra steps. Here’s how to handle cutting letters with holes:
- Mark the enclosed space: Before you begin, make sure the enclosed areas are clearly marked on the wood.
- Drill a starter hole: Use a drill to create a hole inside the enclosed space. Choose a drill bit that’s large enough for the jigsaw blade to fit through.
- Insert the jigsaw blade: Place the blade into the hole and start cutting along the edge of the marked area. Move slowly to maintain precision.
- Follow the outline: Guide the jigsaw carefully along the inside edge of the hole. Keep the blade tight to the line for clean cuts.
- Remove excess wood: Once the enclosed space is cut out, use sandpaper to smooth the edges.
Tip: For letters with small enclosed spaces, carve to a depth of no more than ¾ of the wood thickness. This keeps the letter sturdy and prevents breakage.
By following these steps, you’ll learn how to cut letters out of wood with precision and confidence. Whether you’re using a jigsaw or drilling holes for enclosed spaces, the process is simple and fun. Take your time, and don’t rush—this ensures your wooden letters look clean and professional.
Finishing and Refining Wooden Letters
Once you’ve cut wood letters, the next step is to refine and finish them. This part of the process is where your wooden letters truly come to life. From smoothing rough edges to adding decorative touches, here’s how you can make your project stand out.
Sanding edges and surfaces for smoothness
Sanding is essential for giving your wood letters a clean and polished look. Rough edges or splinters can ruin the final appearance, so don’t skip this step.
- Start with coarse sandpaper: Use a 60- or 80-grit sandpaper to remove any rough spots or uneven edges. Wrap the sandpaper around a small block for better control, especially when sanding curves or tight spaces.
- Move to finer grit: Once the edges feel smoother, switch to a finer grit, like 120 or 220. This helps create a silky finish that’s ready for painting or staining.
- Sand the surface: Don’t forget to sand the front and back of your letters. A smooth surface ensures that paint or stain adheres evenly.
- Check the details: For intricate fonts or small spaces, use a rotary tool with a sanding attachment. This makes it easier to reach those tricky areas.
Tip: Always sand in the direction of the wood grain to avoid scratches. If you’re working with thinner materials, sanding may not be necessary, but it’s still a good idea to check for any rough spots.
Painting, staining, or sealing the letters
Now that your wood letters are smooth, it’s time to add some color or protection. Whether you want a bold pop of paint or a natural wood finish, this step lets you customize your project.
- Choose your finish: Decide if you want to paint, stain, or seal your letters. Paint works well for vibrant colors, while stain enhances the natural grain of the wood. A clear sealant protects the surface and adds a subtle shine.
- Apply a base coat: If you’re painting, start with a primer or base coat. This helps the paint stick better and prevents uneven coverage. For staining, use a pre-stain conditioner to avoid blotches.
- Use thin layers: Apply paint or stain in thin, even layers. Let each layer dry completely before adding the next. This prevents drips and ensures a smooth finish.
- Seal the surface: Once the paint or stain is dry, apply a clear sealant to protect your wood letters. This step is especially important if your letters will hang on a wall or be exposed to moisture.
Adding decorative touches for a polished look
This is where you can get creative and make your wood letters truly unique. Adding decorative elements can transform simple wooden letters into eye-catching pieces.
- Add texture: Use a stencil to create patterns or designs on your letters. You can also try carving letters with a rotary tool for a more intricate look.
- Incorporate embellishments: Glue on small decorations like beads, buttons, or fabric strips. These details can add depth and personality to your project.
- Frame the cut-out letter: For a professional touch, place your finished letter in a shadow box or frame. This works especially well for gifts or wall decor.
- Experiment with finishes: Try a distressed look by lightly sanding the edges after painting. Or, use metallic paint to give your letters a modern, shiny appearance.
Tip: If you’re making a wooden sign, consider adding a background board to frame the cut-out letter. This creates a cohesive and polished design.
By sanding, painting, and adding decorative touches, you’ll turn your wood letters into stunning pieces of art. Whether you’re creating a DIY wooden sign or personalizing a gift, these finishing steps will make your project shine.
Tips and Troubleshooting for Cutting Wood Letters
Tips for getting clean and neat cuts
Making clean cuts for wooden letters takes practice and preparation. Follow these tips to get great results:
- Pick the right tool: Use a jigsaw for detailed shapes or a router for smooth edges.
- Secure the wood tightly: Clamp the wood firmly to your table. This stops it from moving and keeps your hands safe.
- Choose a fine blade: A fine-toothed blade is best for detailed work. Coarse blades can leave rough edges.
- Cut slowly: Move the saw carefully along the design lines. Rushing can cause uneven cuts or mistakes.
- Use painter’s tape: Place tape over the cutting area to prevent splinters and keep edges smooth.
- Sand after cutting: Smooth the edges with sandpaper to remove rough spots. This makes your letters look polished.
Tip: For letters with holes, like “O” or “A,” drill a hole inside the space first. Then, insert the jigsaw blade to cut.
Avoiding common mistakes when cutting wood letters
Mistakes can happen, but you can avoid them with these tips:
- Don’t skip preparation: Always sand the wood and carefully transfer your design. Rushing can lead to uneven cuts.
- Use the right wood: Thin plywood works for small letters, while thicker boards are better for larger designs.
- Stay safe: Wear goggles and a dust mask to protect yourself. Hold tools firmly and keep fingers away from the blade.
- Be careful with curves: Move slowly when cutting curves to avoid cutting outside the lines.
- Keep the blade straight: Make sure the blade stays upright. A tilted blade can mess up your design.
Fixing mistakes in your wooden letters
If your letters don’t look perfect, don’t worry! Here’s how to fix common problems:
- Rough edges: Sand the edges with fine sandpaper or use a rotary tool for small areas.
- Jagged cuts: Use a chisel to smooth uneven edges. For bigger mistakes, re-cut the area with a jigsaw.
- Splinters: Fill damaged spots with wood filler, then sand them smooth.
- Off-center designs: If the design isn’t centered, trace it again on a new piece of wood and start over.
- Paint smudges: Wipe smudges with a damp cloth or lightly sand the surface before repainting.
Tip: Practice on scrap wood to improve your cutting skills. This helps you get better at making wooden letters.
By using these tips and fixing mistakes, you’ll create neat and polished wooden letters. Whether it’s for a sign or wall art, these methods will help you succeed every time.
Making wooden letters is easy and fun for creative projects. Tools like a jigsaw help you cut designs. You can create wall signs or unique gifts with these letters. Start by gathering the right materials and follow simple steps. Try out new ideas, fonts, or finishes to make them special. Each project helps you improve and learn new skills. With practice, you’ll get better at cutting wooden letters. Grab your tools, trace your design, and begin now. Your next cool DIY project is ready to start!
FAQ
How do I choose the right wood for cutting letters?
Pick a wood sheet that matches your project. For small letters, use thin plywood. For tall or large designs, go with a thicker board. Sand the surface to remove rough spots before you start.
Tip: MDF is a good option for smooth edges and easy cutting.
What’s the best tool to cut wooden letters?
A jigsaw is the most versatile tool for cutting letters. It’s great for curves and intricate designs. For smoother edges, use a router. If you’re working with thin materials, a die-cutting machine like a Cricut can provide precise results.
How do I transfer my design onto the wood?
Trace your design using a pencil and paper. You can also use painter’s tape to secure a printed template. For more detailed fonts, try an iron-on transfer or water decal technique.
Note: Make sure the design is centered before you begin cutting.
How do I cut the middle spaces of letters like “O” or “A”?
Drill a hole inside the enclosed space. Insert the jigsaw blade into the hole and cut along the edge of the marked area. Move slowly to keep the cuts clean and precise.
How can I fix rough edges after cutting?
Sand the edges with coarse sandpaper first, then switch to a finer grit for a smooth finish. For tight spaces, use a rotary tool. This will leave your wooden letters clean and ready for painting or staining.
Tip: Always sand in the direction of the wood grain for the best results.


