You’ll find that crafting a wooden cross combines both artistic vision and technical precision. Whether you’re planning to create a simple wall hanging or an ornate altar piece, the fundamentals remain consistent: proper wood selection, accurate measurements, and solid joinery techniques. From selecting premium hardwoods to mastering essential woodworking skills, this guide will equip you with the knowledge to construct a meaningful piece that can last for generations.
Key Takeaways
- Select quality hardwood like oak or maple, ensuring it’s properly dried with moisture content below 12% for optimal durability.
- Cut two pieces of wood for the vertical and horizontal beams, with the vertical beam 1.5 times longer than horizontal.
- Create a strong joint using mortise and tenon or half-lap technique, applying wood glue and clamping pieces together until dry.
- Sand surfaces progressively from 80-grit to 220-grit sandpaper, ensuring smooth edges and consistent wood grain appearance.
- Apply protective finish like stain or varnish, working in wood grain direction, and add optional decorative elements like carvings or inlays.
Planning and Designing the Wooden Cross

You’ll want to start by selecting a durable hardwood like oak, maple, or walnut that can withstand environmental conditions while providing structural integrity for your cross.
Next, determine your cross’s dimensions and style, considering factors like display location, traditional proportions (typically the vertical beam is 1.5 times longer than the horizontal), and whether you’ll incorporate decorative elements like beveled edges or carved details.
Create a detailed sketch with precise measurements, including the dimensions of your joining method (such as mortise and tenon or half-lap joints) and any special features you plan to incorporate.
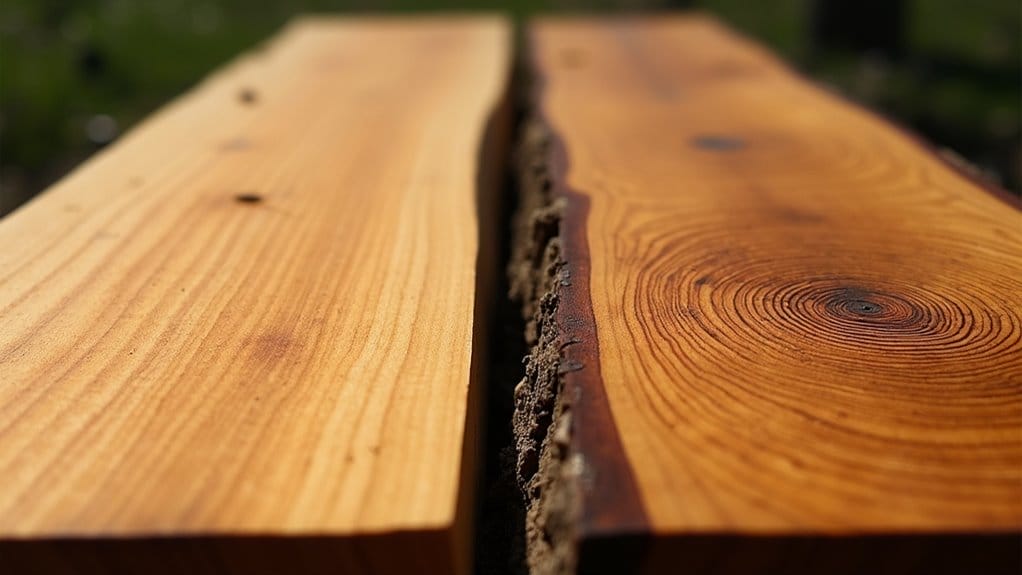
Selecting the Right Type of Wood
When creating a wooden cross, choosing the right type of wood is essential for both durability and visual appeal.
For indoor crosses, hardwoods like oak, maple, or cherry provide excellent stability and a refined finish. If you’re planning an outdoor piece, select weather-resistant woods such as cedar, teak, or pressure-treated pine.
Consider the wood’s grain pattern, as straight grain offers better structural integrity for woodworking projects. The wood should be thoroughly dried, with a moisture content below 12%.
Check each board for defects, knots, or warping that could compromise your cross’s structural integrity or aesthetic quality.
Determining Dimensions and Style
Before starting your wooden cross project, careful planning of dimensions and style will guarantee balanced proportions and visual harmony.
To make a traditional wooden cross, use a 3:4 ratio between the horizontal and vertical beams. For a standard wall-mounted cross, consider dimensions of 18 inches vertical by 12 inches horizontal. The width of each beam should be proportional, typically 2-3 inches.
When determining style, choose between Roman (squared ends), Celtic (circle overlay), or Gothic (pointed ends).
The thickness of your wooden cross should be consistent, usually 3/4 to 1 inch, ensuring structural integrity while maintaining aesthetic appeal.
Creating Detailed Design Sketches and Measurements
Starting with accurate sketches guarantees your wooden cross project will follow proper specifications and maintain symmetry throughout construction.
You’ll need to create detailed drawings showing dimensions from multiple angles before you use any saw. Make precise measurements and add written comments directly on your sketches for reference during construction.
- Draft front, side, and top-view sketches with exact measurements for both vertical and horizontal beams
- Mark joint locations and intersection points where beams will connect
- Include wood grain direction and any decorative elements you plan to add
- Note specific cut angles needed for proper beam alignment and stability
Preparing Materials and Tools
You’ll need basic woodworking tools including a saw, drill, measuring tape, pencil, sandpaper, and wood glue to complete your wooden cross project.
Before cutting your wood pieces, verify your lumber has been properly dried to a moisture content below 15% and treated with a wood preservative if the cross will be used outdoors.
Select your wood stock carefully, marking your cut lines precisely, and prepare your workspace with adequate lighting and a sturdy work surface.
Essential Tools Needed for the Project
Assembling a wooden cross requires several essential tools to guarantee precise cuts and proper construction.
Before starting your project, make sure you’ve familiarized yourself with proper tool handling techniques and safety procedures.
- Power saw (table saw, miter saw, or circular saw) for clean, accurate cuts
- Measuring tools including a tape measure, carpenter’s square, and pencil for precise marking
- Wood glue and clamps to secure joints during assembly
- Sanding equipment (power sander or sandpaper) to smooth surfaces and edges
These tools will help you create professional-looking results while maintaining safety throughout the construction process.
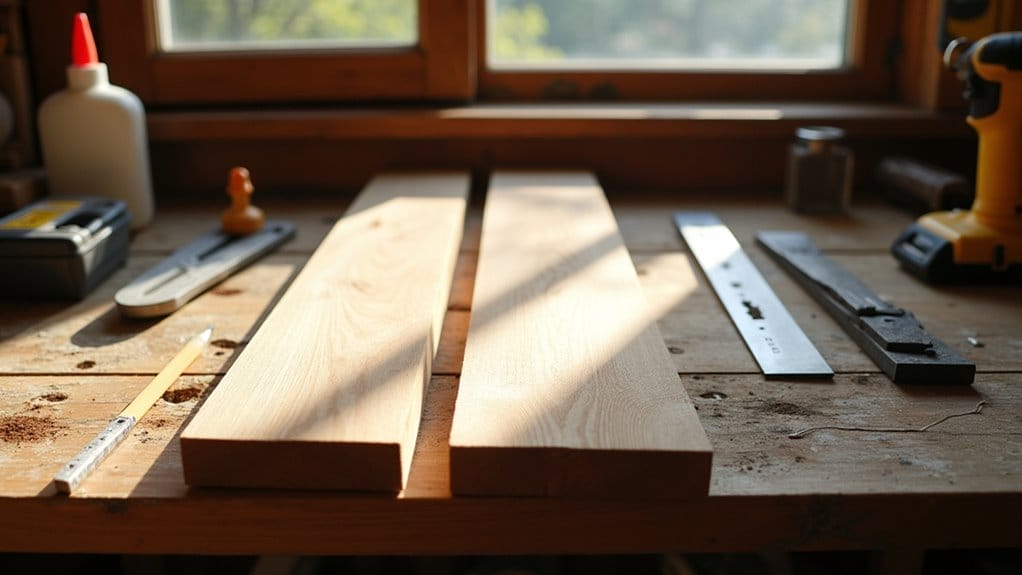
Wood Preparation: Cutting, Drying, and Treating
The proper preparation of wood materials forms the foundation of a well-crafted wooden cross. You’ll need to cut your selected lumber into two pieces: one longer piece for the vertical beam and a shorter piece for the horizontal crossbeam.
Let the wood dry completely in a well-ventilated area until it reaches 6-8% moisture content.
Sand all surfaces with 80-grit sandpaper, then progress to 120-grit for smoother finishing.
Pre-treat the wood with a sealant to prevent moisture damage and decay. Apply wood preservative if you’re planning an outdoor installation.
Remove any sawdust before moving to the assembly phase.
How to Make a Wooden Cross: A Detailed Step-by-Step Construction Guide
You’ll start by measuring and marking your wood pieces using precise measurements, ensuring the vertical piece is longer than the horizontal crosspiece for proper proportions.
After cutting the pieces to size with a saw, you’ll need to create interlocking joints by carefully notching both pieces to half their depth at the intersection point.
Once the joint fits snugly, you’ll apply wood glue, assemble the cross pieces at a perfect 90-degree angle, and sand all surfaces until smooth.
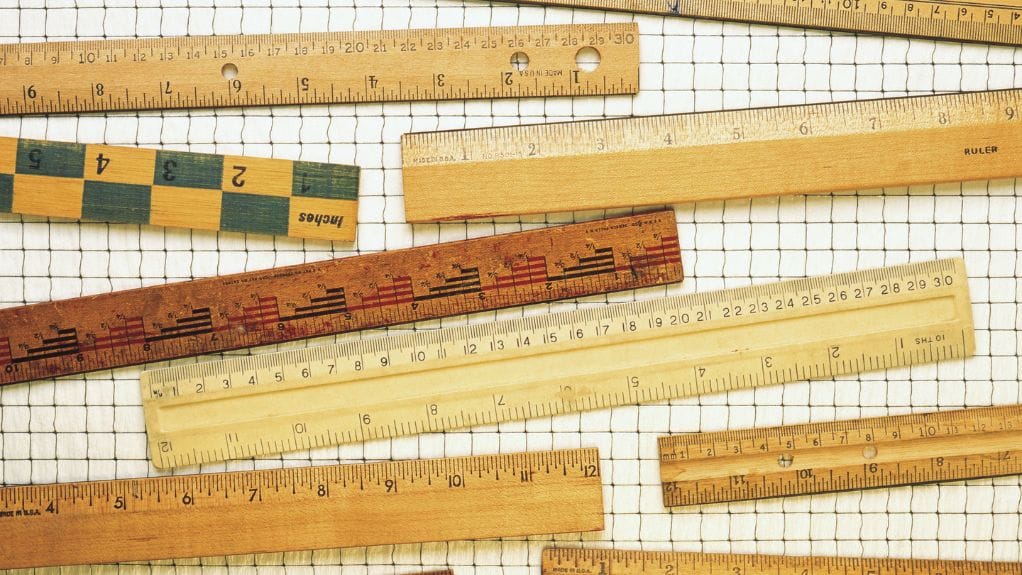
Measuring and Marking Wood Pieces Accurately
Proper measurement and marking serve as critical first steps in creating a structurally sound wooden cross.
You’ll need precise measurements to guarantee your cross pieces align correctly and maintain proper proportions. Use a carpenter’s square and measuring tape to mark your cutting lines with accuracy.
- Mark the center point of your horizontal beam (crossbar) by measuring its total length and dividing by two.
- Draw perpendicular guidelines using a carpenter’s square to guarantee 90-degree angles.
- Measure the vertical beam’s length, marking where the crossbar will intersect.
- Double-check all measurements before cutting, accounting for wood thickness at the joint intersection.
Cutting Wood Pieces to Size
Cutting your wood pieces requires careful attention to detail and proper safety protocols before making any cuts. Don protective eyewear, hearing protection, and a dust mask. Set your saw blade to extend 1/4 inch below the wood’s thickness.
For the vertical beam, make a straight 90-degree cut at both ends. For the crossbeam, cut it to the specified length with parallel ends.
If using a circular saw, clamp a straight edge guide to guarantee precise cuts. Sand any rough edges immediately after cutting to prevent splintering and achieve clean joints.
Preparing the Cross Joint
Before proceeding with the cross joint, mark the midpoint of both wood pieces where they’ll intersect. Measure half the thickness of each piece and transfer these marks to create your joint layout. The crossed pieces will fit together through precisely cut notches.
- Use a square to draw cut lines perpendicular to the wood grain, ensuring perfect 90-degree angles.
- Cut halfway through each piece’s thickness using a hand saw or table saw.
- Test-fit the joint by gently pushing the pieces together, looking for tight, gap-free connections.
- Sand the notched areas smooth with 150-grit sandpaper to remove any splinters or rough spots.
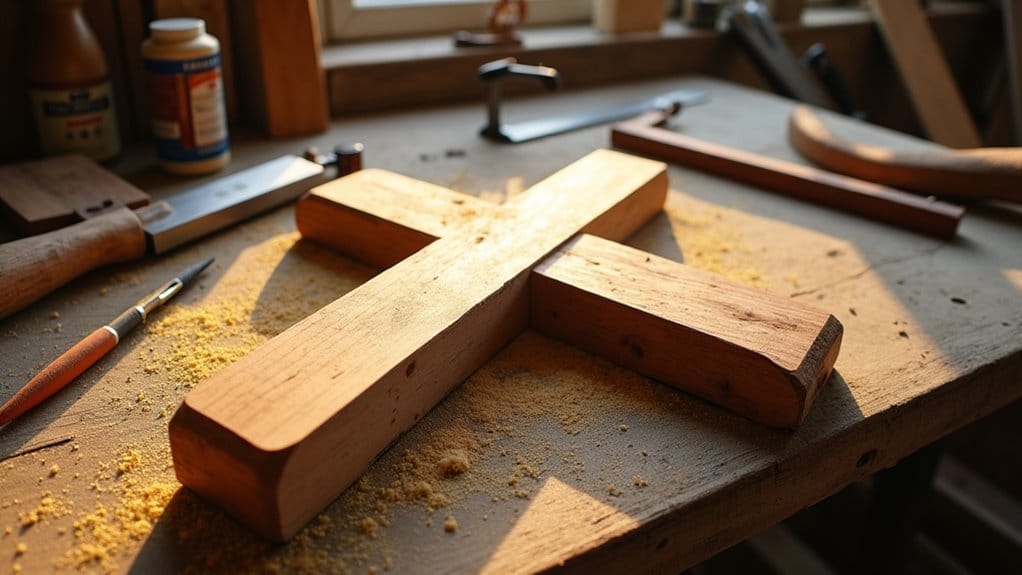
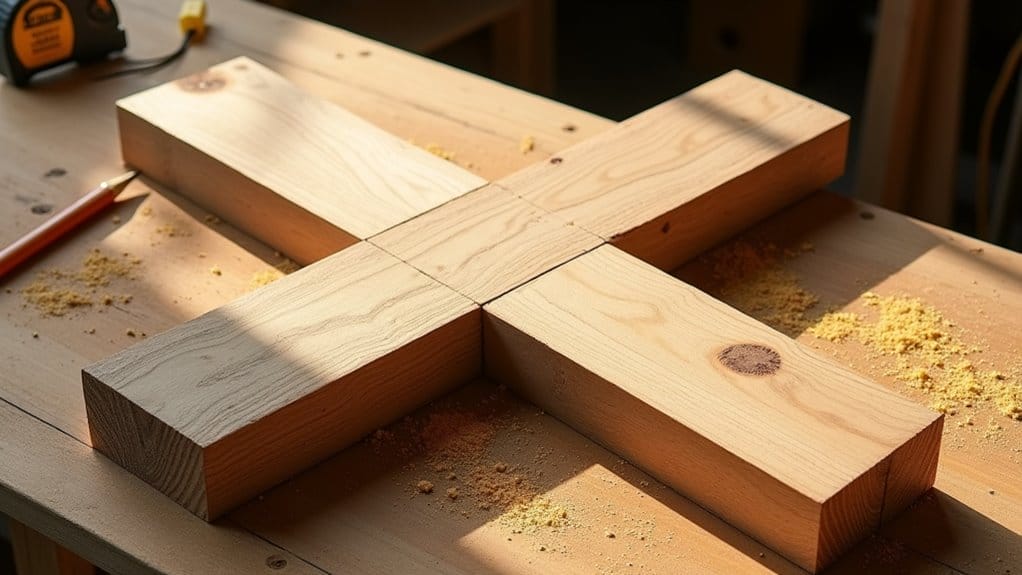
Assembling the Cross Joint
Once you’ve prepared your notched pieces, align them carefully to create the classic cross shape, ensuring the vertical piece stands perfectly perpendicular to the horizontal base.
Apply wood glue to both notched surfaces, spreading it evenly with a small brush. Slide the pieces together, making sure the notches fit snugly. Check the alignment with a carpenter’s square and adjust if needed.
Clamp the joint firmly using bar clamps or C-clamps, placing scrap wood between the clamps and your cross to prevent surface damage.
Wipe away any excess glue with a damp cloth. Let the joint dry completely according to the glue manufacturer’s instructions.
Sanding and Smoothing Surfaces
To achieve a professional finish, start sanding your assembled cross with 80-grit sandpaper to remove any dried glue residue and surface irregularities.
Work systematically from rough to fine grits, sanding in the direction of the wood grain. Progress through medium grits before finishing with fine-grit paper for peak smoothness.
- Switch to 120-grit sandpaper after initial rough sanding, focusing on edges and joints
- Move to 180-grit to refine the surface and remove any visible scratches
- Use 220-grit for a near-final pass, paying attention to end grain areas
- Complete with 320-grit sandpaper for an ultra-smooth finish ready for staining or sealing
Inspecting for Flaws and Adjustments
With your cross now sanded smooth, a careful inspection allows you to catch any remaining imperfections.
Check for splinters, rough spots, or uneven surfaces by running your fingertips along every edge and surface.
Hold the cross at different angles under good lighting to spot any inconsistencies in the wood grain or finish.
Examine the joint where the crossbeams meet to guarantee they’re perfectly flush.
If you find minor flaws, address them with targeted touch-up sanding.
Test the cross’s stability by placing it on a flat surface to confirm it doesn’t wobble or lean to one side.
Finishing Techniques

Once you’ve completed the basic construction of your wooden cross, you’ll need to protect and beautify it through careful application of your chosen finish, whether that’s a penetrating stain to enhance the natural wood grain, a protective clear varnish, or paint for complete coverage.
If you’re using stain or varnish, sand the wood progressively with 120-grit to 220-grit paper, wipe away all dust with mineral spirits, and apply thin coats in the direction of the wood grain using a foam brush or lint-free cloth.
For added personalization, consider incorporating decorative elements such as burned or carved designs, metal inlays, or custom engraving before applying your final protective coat.
Applying Stains, Paints, or Varnishes to Enhance Wood Grain and Protection
After completing the assembly of your wooden cross, the finishing process will protect and beautify the wood while highlighting its natural characteristics. Choose between stains for deep color penetration, paint for complete coverage, or varnish for a clear protective coat.
Apply your chosen finish in a well-ventilated area using smooth, even strokes.
- Test the finish on a scrap piece of the same wood type to guarantee desired results.
- Sand between coats using 220-grit sandpaper for best adhesion.
- Apply thin coats to prevent drips and allow proper drying time.
- Seal with polyurethane for maximum durability and moisture resistance.
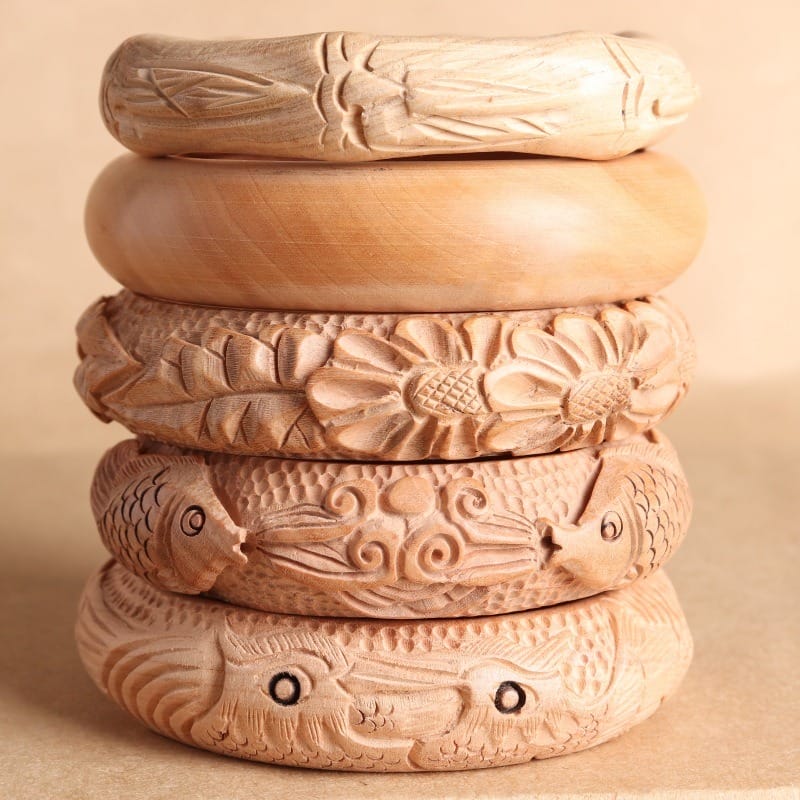
Adding Decorative Elements or Custom Engravings
The completed wooden cross can be further personalized through decorative elements and custom engravings that add meaningful touches to your project.
Use a woodburning tool at 650-750°F to inscribe names, dates, or scripture verses. For carved designs, employ chisels and gouges with varying blade widths between 1/8″ to 1″.
You can attach metal inlays, decorative nails, or brass corner pieces using wood glue or small brads.
Consider adding gemstones, mosaic tiles, or Celtic knot designs. If using a laser engraver, set it to 40-60% power for hardwoods and 30-50% for softwoods.
Frequently Asked Questions
Can I Use Reclaimed Wood to Make a Cross?
You can definitely use reclaimed wood for a cross, but you’ll need to clean it thoroughly, remove old nails, check for rot, and guarantee both pieces have similar thickness for proper joining.
How Long Will My Wooden Cross Last Outdoors?
Your outdoor wooden cross will last 5-15 years if you’ve sealed it with marine-grade varnish, used weather-resistant wood like cedar, and mounted it above ground to prevent moisture absorption.
What Religious Symbols Can I Add to My Wooden Cross?
You can carve alpha and omega symbols (Α/Ω), or add a crown of thorns, sacred heart, dove, or Celtic knot designs using wood burning or relief carving techniques.
Which Wood Types Are Traditionally Used for Religious Crosses?
You’ll find olive wood, cedar of Lebanon, and oak most traditionally used for crosses. Cypress and teak are also common choices due to their durability and spiritual significance in religious crafting.
How Do I Properly Mount a Wooden Cross on Different Wall Materials?
You’ll need wall-specific anchors: drywall requires toggle bolts, masonry needs concrete anchors, and studs take wood screws. Mount a D-ring or sawtooth hanger on your cross’s back first.
Conclusion
You’ll find that crafting a wooden cross requires patience and attention to detail, but the results are worth the effort. By following proper wood selection, precise cutting techniques, and careful assembly methods, you’re ensuring a lasting piece. Don’t forget to apply multiple coats of finish for protection. With these woodworking fundamentals mastered, you’re ready to create meaningful crosses that’ll stand the test of time.