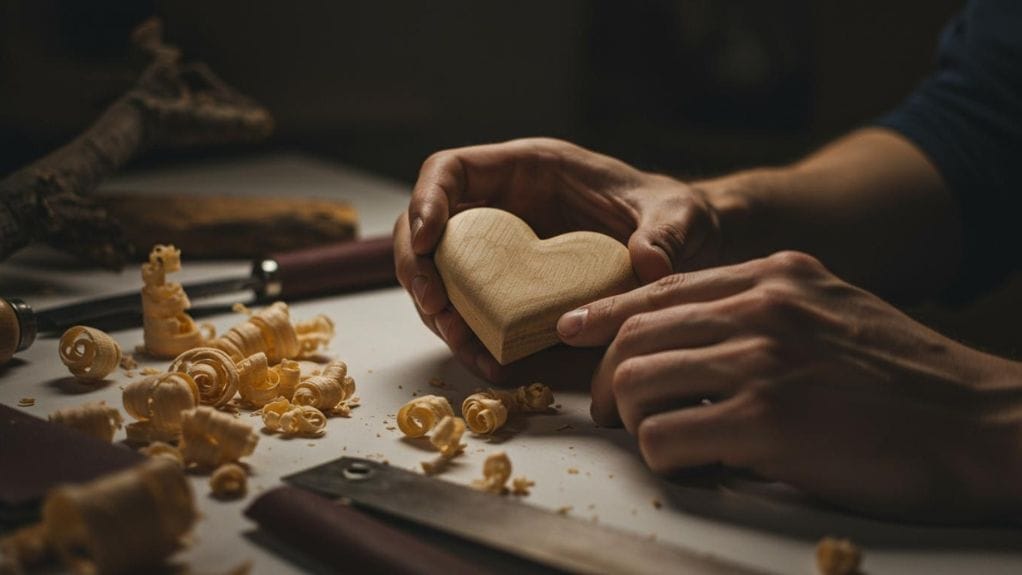
Welcome! Ready to learn how to make a wooden heart? You can turn scrap wood into a sweet Valentine’s gift, even if you’re new to wooden heart crafts. The hands-on process calms your mind, lifts your mood, and helps you focus, making these diy valentine projects extra rewarding. Grab your craft tools and let’s start your wooden heart project!
Key Takeaways
- Get all the tools and materials you need before you start your wooden heart project. Pick safe wood like limewood or cherry because they are easier to carve.
- Think about your design first. Pick a heart shape and size that works for what you want. Make a template so all your hearts look the same.
- Sanding is very important for a smooth finish. Use different sandpaper grits to make it look shiny. Always sand in the same direction as the wood grain so you do not scratch it.
How to Make a Wooden Heart: Tools and Materials
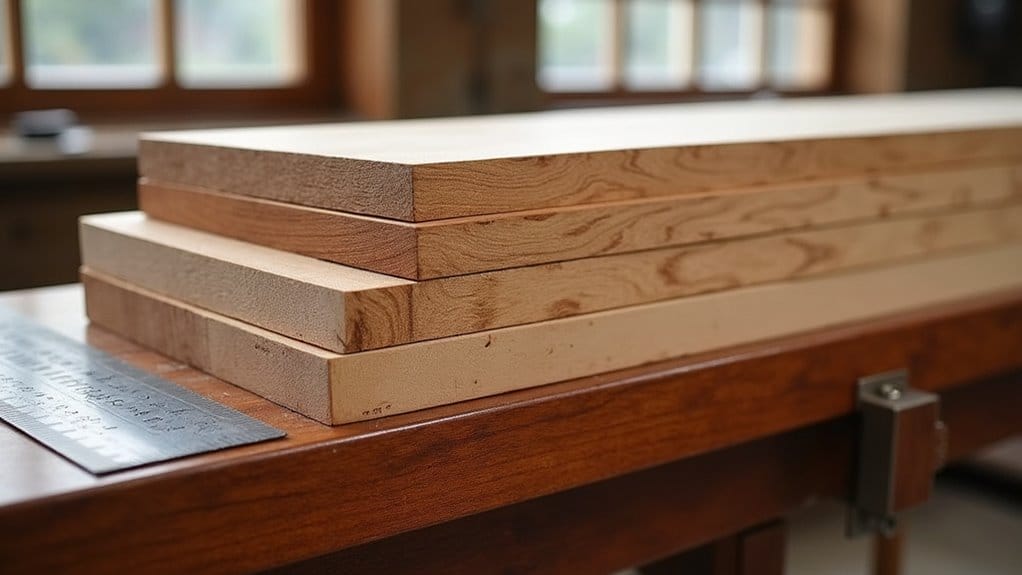
Get your supplies before you start making your wooden heart. You do not need expensive tools for this craft. The right tools help you work better and stay safe. If you want to carve a heart from a log, experts say you should have these:
- A log that is at least 20 cm wide for your heart blank
- Chainsaw with carving attachment (a STIHL MS 170 chainsaw is a good choice)
- Tensioning the belt to keep the log from moving
- Chalk or pencil to draw your heart shape
- Sawhorse to hold the heart slices
If you use smaller wood or want an easy project, you can use a coping saw or scroll saw instead of a chainsaw. Sandpaper, files, and a small carving knife help you shape and smooth your wooden heart.
Tip: Always wear safety glasses and gloves when you cut or carve wood. This keeps your hands and eyes safe, especially if you are new to DIY crafts.
Picking the right wood makes carving easier and more fun. Here is a quick table to help you choose wood that is good for beginners:
| Type of Wood | Characteristics | Suitability for Beginners |
|---|---|---|
| Limewood | Soft, creamy white, tight grain | Great for detailed carvings, easy to use |
| Cherry | Hard, warm color | Easier to carve than other hardwoods, good for beginners |
| Sycamore | A bit harder than Limewood | Good for beginners |
| Poplar | Straight, even grain | Great for carving, easy for beginners |
Choose a piece of scrap wood that feels nice in your hand. Making a Valentine’s gift is more fun when the wood is easy to shape. With these tools and materials, you are ready to start your wooden heart craft!
Design and Planning for Wooden Hearts

Choosing a Heart Style
Before you start to make a wooden heart, think about the look you want. Do you like a classic, rounded Valentine shape? Maybe you want a more modern, simple heart with clean lines. Some people go for a rustic style, leaving tool marks for a handmade feel. Others prefer a smooth, polished finish.
You can even add a little twist by making the heart slightly asymmetrical for a playful touch. Pick a style that matches your taste or the person who will get your wooden heart craft as a gift.
Sizing and Thickness for Intended Use
Size matters when you plan your project. If you want a Valentine’s ornament, keep your heart small and light. For a desk decoration or a keepsake, try a thicker, chunkier piece of wood.
Think about how the heart will be used. Will it hang on a wall, sit on a shelf, or fit in someone’s pocket? Measure your wood before you cut. A heart that is about 4 inches wide and ½ inch thick works well for most crafts.
For a bigger statement piece, use a thicker block. Always check that your wood is thick enough for carving but not too heavy for its purpose.
Creating a Template
A good template helps you get the shape just right every time. You can draw a heart on paper, cut it out, and trace it onto your wood. If you want to make more than one, try making a reusable template from scrap wood or plywood. Here are some tips for easy template making:
- Stack scrap wood pieces and cut them to the size you want.
- Cut a heart shape out of plywood first, then use it to trace onto your project wood.
- Sand your template edges smooth so your pencil lines stay neat.
- For perfect symmetry, fold your paper in half before drawing half a heart, then cut it out and unfold.
Tip: If you plan to make several hearts, a plywood template works great with a router for consistent shapes. Sand your slats before you assemble them for a smooth finish.
With a clear plan, you set yourself up for a fun and successful Valentine’s craft!
Selecting and Preparing the Wood

Grain Direction and Figure for Strength and Appearance
When you make a wooden heart, the grain direction matters a lot. You want your Valentine to look beautiful and stay strong. Try to pick wood with straight grain running along the length of your heart shape. This helps prevent cracks and makes carving easier. If you want a heart that stands out, purpleheart wood gives you both strength and a bold color. Its durability means your wooden heart craft will last for years, and the rich purple shade adds a special touch to any Valentine’s project.
Planning and Squaring the Blank
Before you start carving, you need a flat, square piece of wood. Here’s a simple way to get your blank ready:
- Use a marking gauge to set the width and score the top and bottom.
- Saw off any extra wood outside your lines.
- Plane the surface down to your scribe marks, checking with a square for flatness.
- Scribe lines for thickness, then plane down to those marks.
- Cut the board to length, marking straight across the grain.
- If you want to save time, use a planer thicknesser, but hand planing helps you learn the craft.
Tip: Always check for flatness as you work. A square blank makes your valentine heart easier to carve and finish.
Moisture Content and Acclimation
The moisture level in your wood affects the quality of your carving. For small projects like a Valentine’s heart, keep the moisture content between 6% and 12%. Many woodworkers find 9% works best for carving and furniture. Staying in this range helps you avoid warping, cracking, or shrinking while you work.
Let your wood acclimate in your workspace for a few days before you start your wooden heart craft. This step makes sure your heart keeps its shape and beauty.
Cutting the Heart Shape

Now comes the fun part—cutting out your heart! You already have your template traced onto the wood. Let’s get ready to make a wooden heart that stands out as a Valentine or a special wooden heart craft.
Before you start, remember to stay safe. Here’s a quick safety checklist:
- Wear safety glasses or goggles to keep your eyes safe from flying wood chips.
- Put on hearing protection if your saw is loud.
- Use a dust mask or respirator to prevent breathing in fine wood dust.
- Choose sturdy gloves and closed-toe shoes to protect your hands and feet.
You can use different saws for this step. Coping saws work great for cutting curves because their thin blades turn easily. Scroll saws also help you cut detailed shapes, even starting in the middle of your board. Both tools allow you to follow the heart outline closely, ensuring your Valentine looks neat and even.
Start by clamping your wood to a sturdy table or sawhorse. Take your time as you cut along the lines. Let the saw do the work—don’t rush or force it. For a smooth edge, try making small, gentle turns with the saw. For thicker wood, you might need to cut halfway through, flip the piece, and finish from the other side.
When you finish, you’ll see your heart shape come to life. Cutting out the heart is a big step in your craft, and it sets you up for sanding and finishing. Take a moment to admire your work—you’re one step closer to a handmade Valentine’s gift!
Sanding Strategy for Wooden Hearts

Sanding brings your wooden heart to life. You want a smooth finish that feels great in your hand and looks perfect for Valentine’s Day. Start with coarse sandpaper to shape the wood, then move to finer grits for a silky surface. Here’s a simple grit progression you can follow for small projects:
| Grit Size | Purpose |
|---|---|
| 60 grit | Aggressive stock removal, leveling rough boards. |
| 120 grit | Refining after coarse sanding. |
| 220 grit | Pre-finishing smoothness. |
| 320–400 grit | Final polish before applying the finish. |
You can use Abranet sanding mesh for even better results. Cut the mesh into thin strips. This helps you reach tight curves and edges on your heart. Sand in a back-and-forth motion along the length of the piece. This helps maintain the shape and symmetry of your Valentine. After sanding, measure the diameter to check for consistency.
Tip: Always sand with the grain of the wood. This prevents scratches and gives your craft a professional look.
Take your time with each grit. Don’t rush the process. If you notice rough spots or tool marks, return to a coarser grit and work up again. Your patience will pay off when you see your wooden heart shine. A well-sanded heart makes your Valentine’s gift extra special.
Joinery Options for Thick Hearts

Sometimes you want your Valentine’s heart to feel extra solid and chunky. If you use thick wood, you might need to join two pieces together. This method works great when you want a heart that stands out as a special gift or centerpiece for your craft.
Here’s a simple way to join two thick halves for your wooden heart:
- Saw off any extra wood and round the sides of each half. This helps you get the shape you want before joining.
- Carefully separate the two halves. Make sure the edges stay clean and smooth.
- Drill holes in both halves. The holes should match the diameter of your stainless screw.
- Enlarge the holes just enough to fit the screw head. This step lets the screw sit flush with the wood surface.
- Insert the screw through the holes. Tighten it so the two halves come together without any gaps.
- Check that your heart feels sturdy. If it moves, tighten the screw a bit more.
Tip: Use a stainless screw for your valentine project. It resists rust and keeps your heart looking beautiful for years.
You can hide the screw head with a small wood plug or a dab of matching filler. This keeps your craft looking neat and polished. When you finish, you’ll have a thick, strong heart that’s perfect for a Valentine’s keepsake or a bold display piece.
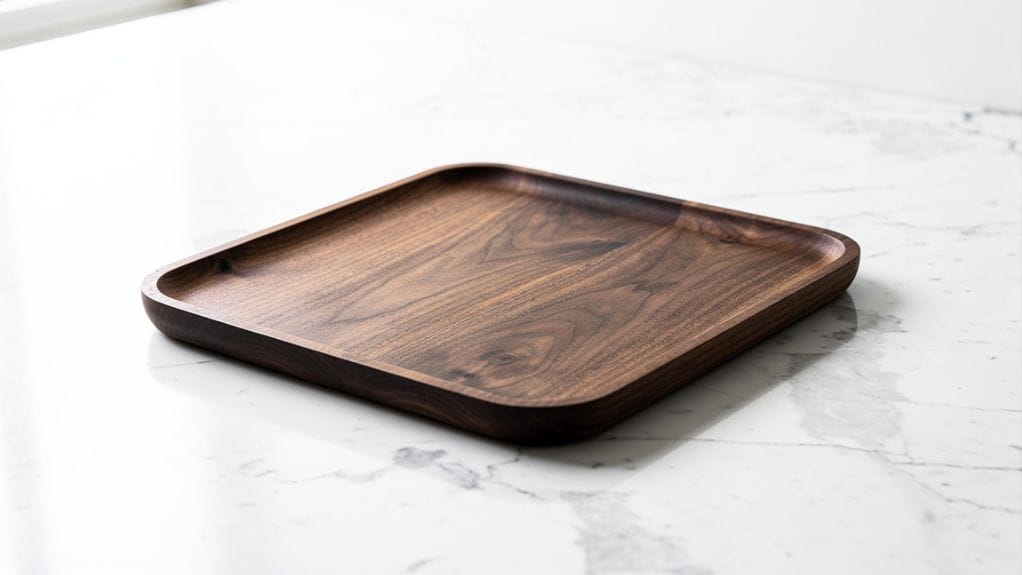
Finishing Choices for Wood Hearts

Choosing the right finish gives your wooden heart that final touch, making it shine as a Valentine’s Day gift or a cherished keepsake. You have a few great options, depending on how you want your wood to look and feel.
Food-Safe Oils for Gifts
If you plan to give your Valentine a gift, especially if it might touch food, you want a safe finish. Here are some popular food-safe oils:
- Linseed oil (polymerized dries faster)
- Pure tung oil (water-resistant, but takes a few weeks to cure)
- Walnut oil (a newer, highly regarded choice)
- Mineral oil (colorless and odorless, but not very durable)
These oils soak into the wood and bring out its natural beauty. You just wipe them on, let them soak, and buff off the extra. Your craft will feel smooth and look warm.
Hard Film Finishes for Durability
If your wooden heart will get handled a lot, you might want a tougher finish. Here’s a quick look at some options:
| Finish Type | Durability | Protection Against |
|---|---|---|
| Varnish | High | Wear, moisture, stains, heat |
| Polyurethane | Very High | Wear, moisture, stains, heat |
| Shellac | Moderate | Wear, moisture |
| Lacquer | Moderate | Wear, moisture |
| Waterborne finishes | High | Wear, moisture, stains |
Polyurethane provides the best protection for a Valentine who will receive a lot of love.
Coloring Options: Dyes vs Stains, Keeping Grain Visible
Want to add color to your wood? You can use dyes or stains. Dyes soak in and make the grain pop, showcasing the patterns in your Valentine. Stains add some protection, but they can hide the grain because they leave pigment on top. If you want your craft to show off the wood’s natural beauty, try a dye for a vibrant look.
Tip: Always test your finish on a scrap piece first. This helps you see the final color and feel before you finish your valentine.
Adding Details and Personalization

You can make your wooden heart truly special by adding personal touches. Think about who will receive your Valentine’s Day gift. Do they love rustic home decor? You can leave the wood unfinished or add a light stain for a cozy look. Want to create a heartfelt gift? Paint or engrave a message right onto your Valentine. Kids enjoy this step, too. Let them decorate the wooden heart with bright paints or fun stickers for a playful craft.
Here are some popular ways to personalize your project:
- Leave the heart rustic for a natural vibe.
- Paint or engrave names, dates, or sweet messages.
- Add quotes or special words to plaques for unique gifts.
- Let kids use stickers, glitter, or markers.
- Turn small hearts into keychains, magnets, or gift tags.
If you want to engrave details, you have several handy tools. Check out this table for ideas:
| Tool/Method | What It Does |
|---|---|
| Wood-burning tool | Burns designs or words into the wood surface. |
| Hand drill | Makes holes for keychains or hanging. |
| Wire wheels/brush | Adds texture by removing soft grain. |
| Pencil | Helps you sketch your design before engraving. |
After you decorate the wooden heart, add a protective finish. This keeps your design looking fresh and helps the wood last longer. Personalizing your Valentine’s Day craft makes it one-of-a-kind and full of meaning.
Common Mistakes and Fixes
Everyone makes mistakes when working on a wooden heart, especially if you are new to this craft. Here are some of the most common problems you may face, along with suggestions on how to resolve them.
Burn Marks from Dull Blades
Burn marks often show up when you use dull blades or move the wood too slowly through the saw. These marks can make your Valentine look messy. To avoid this, always keep your blades sharp. Feed the wood at a steady speed. If you see burn marks, grab a sharp hand plane or scraper and gently remove the dark spots. A scraper works well for cleaning up these marks without taking off too much material.
Tear-Out on Curves
Tear-out happens when the wood fibers break or splinter, especially on tight curves. This can ruin the smooth edge of your Valentine. You can prevent tear-out by using a cutting gauge to scribe the wood before you cut. Try climbing cutting for smoother results. Clamp a backer board behind your work to support the wood and stop splinters. These steps help you get a clean, neat edge every time.
Uneven Symmetry
Sometimes your heart shape looks lopsided. Uneven symmetry is a common issue, but it can be corrected. Use a coping saw for better control of curves. Plan your cuts before you start, and use the full length of the blade for smoother lines. If you notice one side is bigger, carefully trim it down until both sides match. Take your time—your Valentine will look much better with a balanced shape.
Here’s a quick table of other common mistakes and how to fix them:
| Mistake | Solution |
|---|---|
| Using dull tools | Sharpen tools often for clean cuts and better control. |
| Holding tools incorrectly | Practice the right grip for each tool to stay safe and precise. |
| Carving against the grain | Always carve with the grain for smoother results. |
| Removing too much wood quickly | Work slowly and remove small amounts at a time. |
| Using the wrong tool | Learn which tool works best for each step of your project. |
| Skipping safety precautions | Wear safety gear and keep your workspace tidy. |
| Not maintaining tools | Clean and check your tools after each use. |
| Starting without a plan | Plan your project before you start cutting or carving. |
| Using improper techniques | Practice good carving habits to avoid slips and uneven cuts. |
Tip: Mistakes happen, but you can always fix them. Take your time and enjoy the process. Your wooden heart will make a wonderful valentine or keepsake.
You just learned how to turn wood into a special Valentine. Keep your tools sharp and plan your project for the best results. Here are the top tips from experienced woodworkers:
| Tip | Description |
|---|---|
| Tool Maintenance | Sharp tools keep your Valentine safe and smooth. |
| Selecting Wood | Good wood makes carving easier and more fun. |
Making a Valentine from wood brings joy and lowers stress. Enjoy every step and share your handmade gift with pride!
FAQ
How do you keep your wooden heart smooth after carving?
You can sand your wood with fine-grit paper. Wipe away dust. Add a finish to protect your Valentine and keep it feeling smooth.
Can you use any type of wood for a Valentine’s project?
You can use a variety of wood types. Softer wood works best for beginners. Harder wood gives your Valentine a sturdy feel.
What’s a quick way to personalize a wooden valentine?
Try painting a name or date on your Valentine. You can also use a wood-burning tool for a special touch.