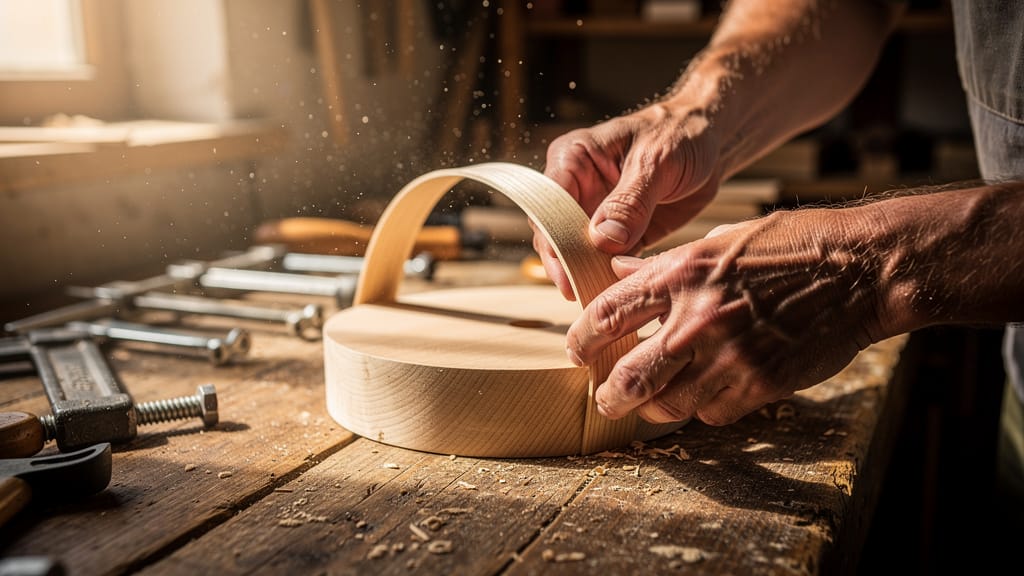
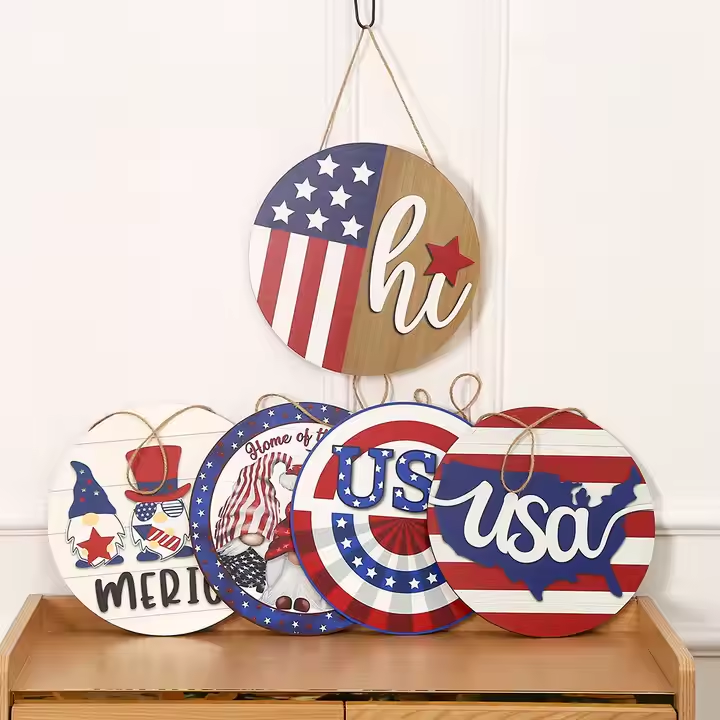
We’ll show you how to make wooden plaques for your beautiful home or office decor. Start by selecting your design and preparing artwork files scaled 1 inch smaller than the final dimensions.
For precision cutting, choose between laser engraving, CNC routing, or hand-carving techniques. After cutting, sand with 220-grit paper, apply stain, and finish with protective polyurethane coating. Our comprehensive guide covers every detail you’ll need to create museum-quality results.
Key Takeaways
- Select 3/4-inch birch plywood for indoor plaques or exterior-grade wood for outdoor use as your base material.
- Sand the wood surface using 220-grit sandpaper in the grain’s direction until smooth and ready for finishing.
- Design your artwork one inch smaller than plaque dimensions and choose an appropriate engraving method (laser, CNC, or hand-carving).
- Apply an oil-based stain for deep colors or a water-based stain for quick drying, followed by a protective polyurethane coating.
- Install mounting hardware like D-ring hangers or sawtooth brackets, ensuring proper wall anchors for a secure display.
Materials Selection: Choosing the Right Wood and Backing

Let’s examine the critical components for creating a sturdy wooden plaque.
Common Woods
Selecting the right wood forms the foundation of a successful DIY wood plaque project. We’ll focus on the most reliable options for crafting durable, attractive plaques.
| Wood Type | Indoor Use | Outdoor Use | Characteristics |
|---|---|---|---|
| Birch Plywood | Yes | No | Smooth surface, 3/4″ ideal |
| Oak | Yes | Yes | Strong grain, sturdy |
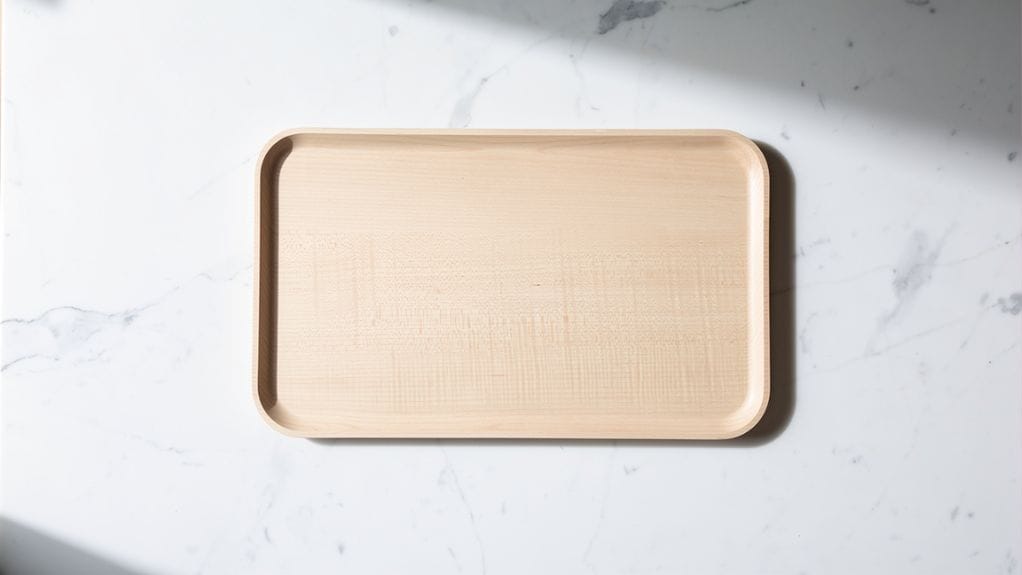
| Maple | Yes | Limited | Fine grain, uniform |
| Exterior-Grade | Limited | Yes | Weather-resistant |
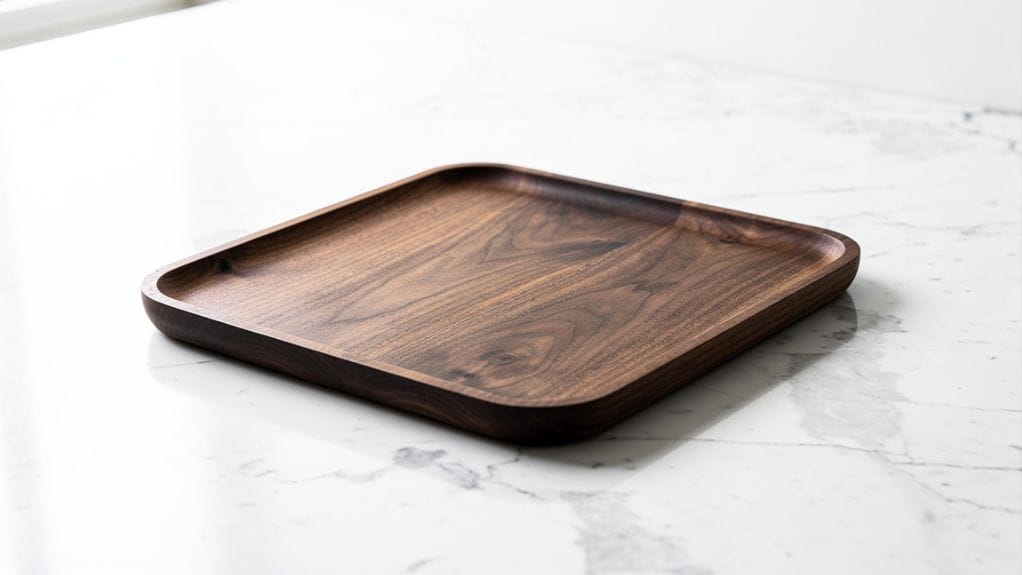
| Walnut | Yes | Limited | Rich color, attractive grain, durable when sealed |
We recommend birch plywood as our primary choice for indoor plaques due to its smooth finish and stability. For outdoor applications, exterior-grade plywood offers superior weather resistance. Oak and maple serve as excellent alternatives when you’re seeking distinctive grain patterns or enhanced durability.
Thickness Recommendations
Two key factors determine the ideal plaque thickness: mounting method and intended use.
For wall-mounted plaques, we recommend a 1/2-inch thickness. This provides durability while remaining lightweight enough for secure hanging.
However, freestanding plaques require at least 3/4-inch thickness to guarantee proper stability and prevent tipping. The 3/4-inch thickness in freestanding designs also accommodates additional features like decorative bases or stands.
Backing Materials and Reinforcement
Now that we’ve established proper plaque thickness requirements, choosing the right backing materials becomes central to the plaque’s structural integrity.
We recommend using MDF as a primary backing material. It pairs excellently with 3/4-inch birch plywood. For maximum stability, we’ll apply wood glue between the layers and guarantee complete surface contact.
For enhanced reinforcement, we can incorporate a solid wood frame around the perimeter. This frame not only strengthens the overall structure but also provides a professional finish.
Design and File Preparation: Artwork, Fonts, and Scale
Before diving into the physical creation of your wooden plaque, proper design and file preparation will guarantee professional-looking results. Consider experimenting with various design software to achieve the perfect layout that reflects the intended message and aesthetics. Once satisfied, ensure your file is formatted correctly for the cutting or engraving process. This attention to detail is particularly important when crafting custom beech wood plaques for awards, as it enhances their overall appeal and significance.
We’ll need to resize our artwork to be 1 inch smaller than the plaque’s dimensions, ensuring clean borders. When selecting fonts, we’ll choose ones that complement our theme while maintaining legibility for the transfer process.
Let’s use high-resolution images, preferably inkjet-printed, for ideal transfer quality.
Using design software, we’ll scale our artwork precisely to prevent distortion. We recommend testing different layouts on paper first to visualize how elements will interact on the final piece, making adjustments before committing to the permanent transfer.
Three Cutting and Engraving Methods

We’ll examine three primary methods for creating wooden plaques: laser cutting for precise detailing, CNC routing for larger-scale designs, and traditional hand-carving for artisanal finishes.
Laser Engraving/Cutting
Precision engineering meets artistry in laser engraving and cutting techniques for wooden signs.
We’ll utilize focused light beams to either remove surface material for intricate designs or cut through the wood entirely for component shapes. Using computer software, we can fine-tune our designs, adjusting fonts, sizes, and layouts before beginning the engraving process.
Unlike CNC routers that use rotating bits, laser engraving offers exceptional precision for detailed imagery and text.
We’ll harness this technology to create precise designs with consistent depth and clean edges. The process guarantees repeatable results while maintaining the natural beauty of the wood’s surface.
CNC Routing
Another powerful approach to plaque creation comes through CNC (Computer Numerical Control) routing technology. Unlike laser cutting, CNC routing employs specialized bits and end mills to carve into wooden plaques with exceptional precision.
We’ll achieve intricate detailing through computer-guided toolpaths that maintain consistent depth and accuracy across multiple pieces.
The CNC router’s versatility allows us to work with thicker materials and create varied textures using different cutting tools. By programming specific parameters, we can control cutting depth, speed, and pattern complexity.
This method excels in production environments where we need repeatable results while maintaining high-quality craftsmanship.
Hand-Finishing and Traditional Carving Options
Modern technology offers precision and efficiency. However, traditional hand-carving techniques remain essential for crafting premium wooden plaques with unparalleled artisanal appeal.
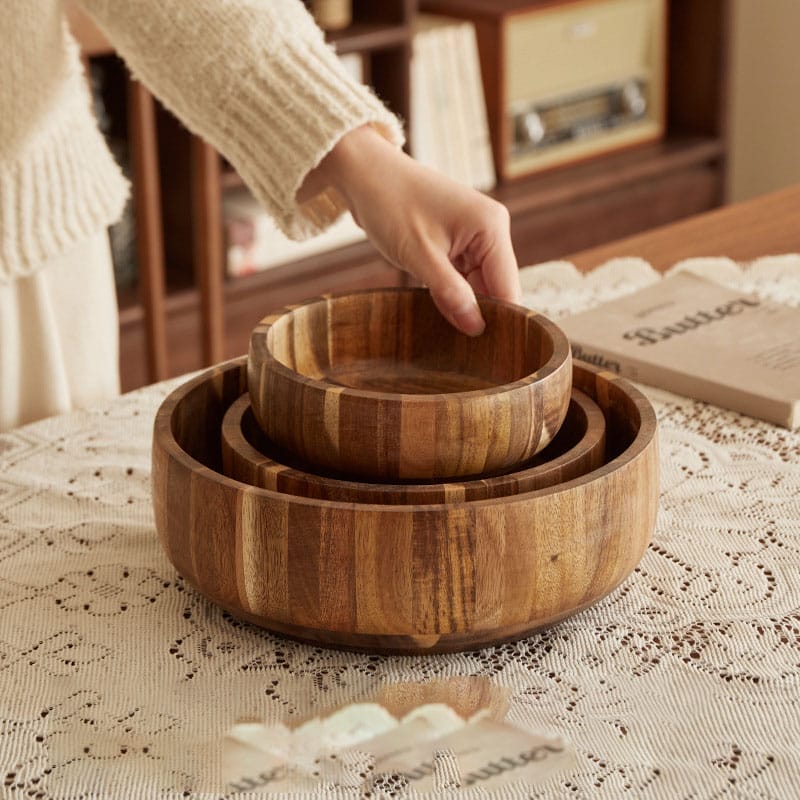
We’ll select premium hardwoods like maple or walnut for their superior density and grain characteristics.
Using chisels and gouges, we’ll carefully carve intricate details and textures that showcase unique craftsmanship.
Each piece requires meticulous attention as we shape the wood to achieve distinctive patterns and depth.
Finishing Techniques: Sanding and Protective Coatings

Let’s explore the essential finishing stages that transform our raw wooden plaque into a polished masterpiece.
Sanding Sequence and Grit Recommendations
The proper sanding sequence forms a critical foundation for achieving a professional finish on your wooden plaque.
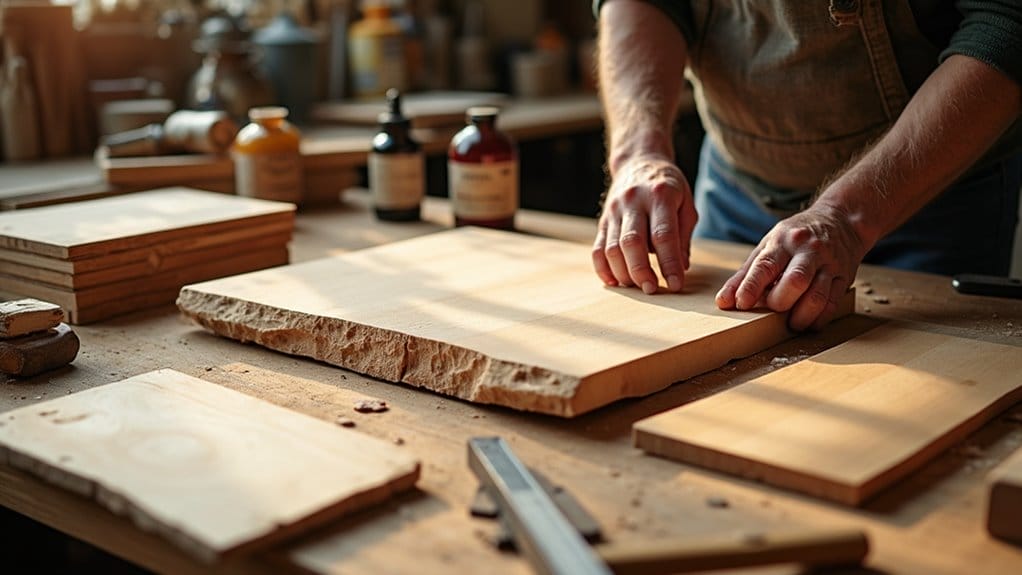
We’ll start with 80-100 grit sandpaper to remove rough spots and shape the wood. Next, we’ll progress to 150-180 grit for initial smoothing.
For the final pass, we’ll use 220 grit or higher to create an ultra-smooth surface ready for finishing. Always sand in the grain’s direction to prevent visible scratches.
When working with inlays, we’ll focus on the edges and surrounding surfaces.
Before applying any finishes, we’ll wipe the plaque with a damp cloth to remove residual dust.
Stains, Paints, Gilding, and Inlay Options
We recommend oil-based stains for deep penetration and rich colors, while water-based options offer quicker drying times.
When applying paint, guarantee your surface is properly sanded through progressive grits up to 220.
For decorative elements, gilding requires specialized adhesive and careful application of metal leaf.
Create intricate designs through inlay work using epoxy or plastic. This guarantees cavities are precisely cut and smoothed.
After completing your chosen finish, protect your work with clear polyurethane or acrylic sealer in either satin or gloss, depending on your desired sheen level.
Clear Coats and UV-Resistant Finishes for Outdoor Plaques
Protecting outdoor wooden plaques requires three essential layers of UV-resistant finishes.
We’ll start by thoroughly sanding the wood surface to ensure optimal adhesion. Next, we’ll apply a transparent exterior stain to enhance the wood’s natural grain while providing primary protection.
Finally, we’ll seal with two coats of UV-resistant polyurethane clear coat. Please allow proper drying time between applications.
This three-layer system creates a robust barrier against moisture, sun damage, and general wear. We recommend reapplying the protective clear coat every two years to maintain the integrity and appearance of the plaque.
Fill Techniques for Engraved Text
Once you’ve completed the engraving process, filling the text with contrasting materials will greatly enhance its visibility and aesthetic appeal.
We’ll explore three distinct techniques: contrast-filled paint, resin fill, and burnishing.
For contrast-filled paint, we’ll apply the paint directly to the engravings, let it dry thoroughly, and then sand the surface smooth.
With resin fill, we’ll pour tinted or clear epoxy into the text, creating a glossy, durable finish.
Alternatively, burnishing offers a subtle approach by rubbing the engraved areas to enhance natural wood shine.
After completing your chosen technique, apply a protective coating to guarantee longevity and moisture resistance.
Mounting and Hardware: Wall-Mounts, Stands, and Security Fixings

To guarantee your wooden plaque remains securely displayed, proper mounting hardware and installation techniques are essential.
We’ll need to decide between D-ring hangers and sawtooth brackets for basic wall mounting. Meanwhile, picture frame brackets offer enhanced stability for larger pieces.
To attach the plaque to drywall, we must incorporate security fixings like wall anchors or toggle bolts to prevent sagging.
For freestanding displays, we’ll match the base thickness to the plaque’s dimensions, ensuring proper balance.
Before final installation, we’ll use a level and precise measurements to achieve proper alignment.
Customization Services: How We Handle Custom Orders
Customization opens up a world of possibilities for wooden plaque designs through our extensive range of options. We can produce custom stencils for repeat orders or work with pine panels for rustic, budget-friendly wood signs ready to decorate.
We’ll craft your plaque to bespoke sizes that perfectly match your space requirements. For enhanced dimensionality, we incorporate embossed logos that create a striking visual impact.
Our multi-layer plaques feature a combination of different wood types. This delivers depth and contrast that elevate the design. We integrate metal or acrylic insets to achieve modern aesthetics with cut-out shapes and engraved elements.
Through precise color-matching services, we ensure that your plaque’s finish aligns with your specific color schemes or branding requirements.
Quality Control and Tolerances: Ensuring Precision for Signs
Achieving professional-grade wooden plaques demands meticulous attention to quality control and precise tolerances throughout the production process.
We’ll maintain structural integrity by using 3/4-inch birch plywood consistently across all pieces. Our precise measuring tools, including calipers and miter saws, guarantee accurate cuts for tight-fitting joints.
We implement a thorough quality control checklist that includes visual inspections, uniformity measurements, and lettering alignment verification.
By applying high-quality paint and finishes that meet industry standards, we assure durability for both indoor and outdoor applications.
We’ll conduct material testing to optimize production processes and achieve the desired aesthetic results.
Conclusion: How to Make Wooden Plaques
We’ve covered the essential processes for crafting precision wooden plaques, from material selection through final mounting. By following our specified tolerances for cutting depths, finish applications, and hardware placement, you’ll achieve professional results. It’s crucial to ensure the design accommodates any text or imagery that will be included later. When creating custom wood plaques for engraving, consider the size and placement of the design elements to maximize visual impact. Proper planning will elevate your project, turning a simple plaque into a cherished keepsake.
Remember to maintain strict quality control protocols, particularly for dimensional accuracy and surface preparation. We recommend documenting your process parameters to guarantee consistency across multiple production runs.
FAQs
How to Make Personalised Wooden Plaques?
Let’s transfer photos onto wooden plaques using Mod Podge adhesive, resize the images for a proper fit, apply heat to bond them, rub off the paper backing with water, and seal them with a protective coating.
What Wood Is Best for Plaques?
We’ll get the best results using 3/4-inch birch plywood for plaques. It won’t warp and offers excellent surface quality. For premium options, we can choose between solid oak and maple for their natural grain appeal.
Can I use pine for plaques?
Yes—pine is inexpensive and takes paint and stencil work well, but it dents more easily than hardwoods, so seal it if needed.
How do I transfer a design?
Create or print a stencil, tape it to the wood, and then trace the design with a pencil. Remove the stencil and carve or paint along the traced lines.
How Do People Cut Words Out of Wood?
We’ll cut words from wood using a CNC router for precision, or we can opt for hand tools like jigsaws and scroll saws. For intricate details, laser cutting technology delivers clean, defined edges.
How to Seal a Wood Plaque?
Let’s apply a thin layer of clear sealant like Mod Podge using a paintbrush, allowing 1-2 hours between coats. We’ll sand lightly first and guarantee complete coverage for ideal protection.