Painting a wooden sign for outside gives you a fun way to show off your creativity. You get to pick your favorite piece of wood, sand it smooth, and start your diy project. When you want to make diy wood signs, it is important to learn how to paint a wooden sign for outside that lasts through rain, sun, and wind.
Tip: Start with a clean, dry wooden sign. This helps your paint stick and keeps your outdoor wooden sign looking great for years.
Key Takeaways
- Prepare your wooden sign by sanding it smooth and applying a coat of exterior primer to help paint stick and protect against weather.
- Use acrylic or exterior latex paint for vibrant, long-lasting colors, and apply paint in thin, even coats, letting each dry fully before adding the next.
- Seal your painted sign with a waterproof finish like polyurethane to protect it from rain, sun, and wind, ensuring your sign lasts for years.
Materials & Prep

Outdoor Wood Sign Materials
Before you start painting, you need the right supplies for your diy project.
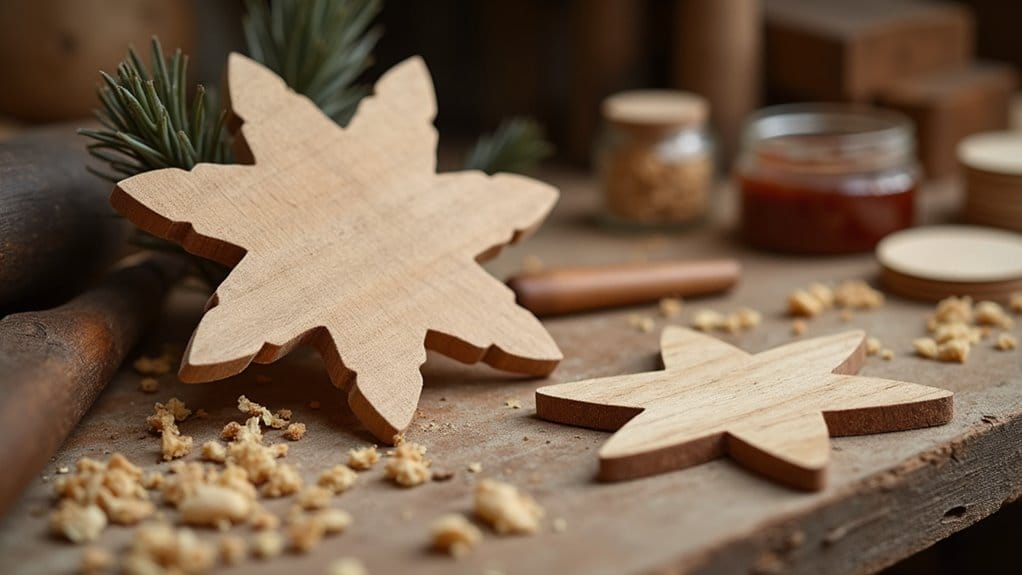
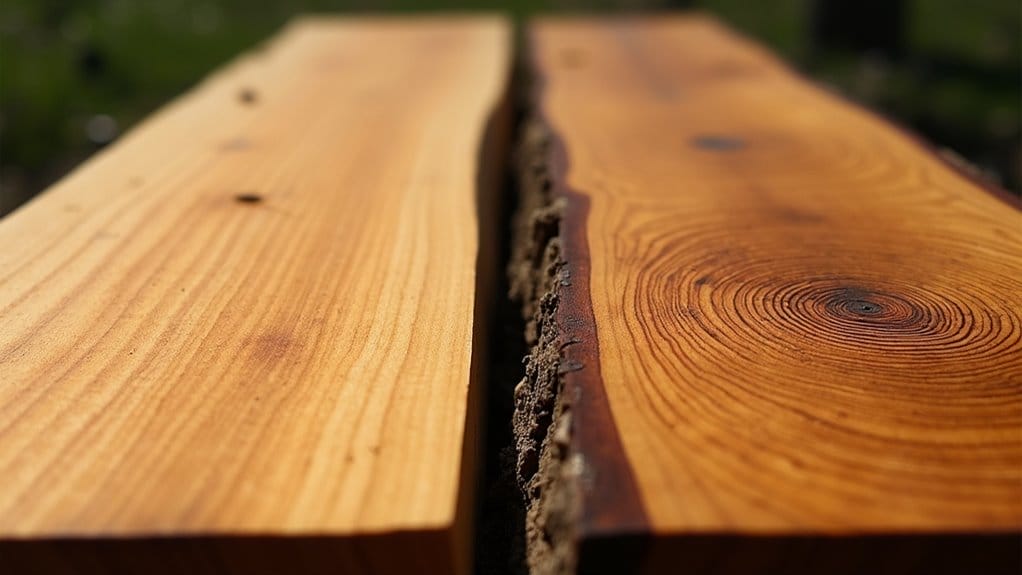
- Cedar, redwood, pine, or marine plywood (choose a piece of wood that’s lightweight and easy to work with)
- Sandpaper (80 grit for rough spots, 200 grit for a smooth surface)
- Wood filler or epoxy (for filling cracks or holes)
- Exterior primer (for a durable, weatherproof base)
- Acrylic paint or exterior latex paint (choose vibrant colors for your wooden sign)
- Spar varnish or exterior polyurethane (for a waterproof seal)
- Brushes, foam rollers, and bristle brushes (for even coats and fewer streaks)
- Hanging hardware (for mounting your outdoor sign)
- Damp cloth (to wipe away dust and debris)
Tip: Treated wood or marine plywood will help your diy wood signs withstand harsh weather and moisture for years to come.
Sanding and Filling
Start by sanding your wooden sign with 80 grit sandpaper to remove rough spots and sawdust. Switch to 200 grit sandpaper to smooth the surface. Wipe the wood with a damp cloth to remove dust and debris. If you spot any cracks or holes, fill them with wood filler or epoxy. Let it dry thoroughly, then sand again until the wood has been sanded smooth. This step is key for prepping your sign and making sure paint sticks well.
Priming the Wooden Sign
Apply one coat of exterior primer to your wooden sign. Use a brush or foam roller for good coverage and to avoid brush strokes. Let the primer dry for at least 24 hours. This coat of primer helps seal the wood, keeps moisture out, and gives you a durable base for your paint. Prepping your wooden sign with primer means your outdoor wooden signs will look vibrant and readable, even after years outdoors.
Note: Proper prep is the secret to a long-lasting, weatherproof outdoor wood sign. Don’t rush this step if you want to make diy projects that stand the test of time!
How to Paint a Wooden Sign for Outside

Choosing the Right Paint
When you want to learn how to paint a wooden sign for outside, choosing the right paint is the first step. You need paint that can handle rain, sun, and wind. Head to your local home improvement store and look for acrylic paint or exterior latex paint. These types of paint for wood signs stick well and last for years to come. They give you vibrant colors and a smooth finish. If you want a rustic look, you can also use stain, but make sure it is for outdoor use. Additionally, selecting the best wood types for outdoor signs is crucial for durability. Cedar, redwood, and marine-grade plywood are excellent choices, as they naturally resist decay and withstand the elements. Make sure to properly seal the wood before painting to enhance its longevity and protect it from moisture damage.
Tip: Always check the label to see if the paint is for exterior use. This helps your painted sign withstand harsh weather.
You can play around with different colors and finishes. Some people like to use chalk paint for a vintage look, but it needs a good sealant. If you want to paint a wooden sign that last, stick with acrylic or exterior latex. These paints dry fast and resist scratches. They also work well with stencils and vinyl letters.
Applying the Paint
Now you get to the fun part—applying the paint! Start by flipping your wooden sign over and painting the underside first. This step gives your sign full protection from moisture. Use a brush or foam roller for even coats. For the first coat, use light, smooth strokes. Let it dry thoroughly before adding a second coat. This helps you avoid streaks and brush strokes.
- Use a bristle brush for corners and edges.
- Foam rollers work great for large, flat areas.
- Apply a coat of paint, let it dry, then add a second coat for good coverage.
Note: Don’t rush. Let each coat dry for at least 24 hours. This makes your diy wood signs more durable.
If you spot any thin areas, add another coat. You want your outdoor sign to look bright and readable. Painting a wooden sign is easy to follow if you take your time and use the right tools. Remember, the smoother your wood has been sanded, the better your paint will stick.
Sealing for Weatherproofing
After you finish painting, you need to protect your sign with a weather-resistant finish. Sealing the paint keeps water and sun from ruining your hard work. Use spar varnish or exterior polyurethane as your sealant. These products create a waterproof barrier and help your painted sign last for years.
- Brush on one coat of sealant and let it dry thoroughly.
- Add a second coat for extra durability.
- Make sure to cover the edges and back of your sign.
Tip: Always use a clean brush for your sealant. This stops dust and debris from getting stuck in the finish.
A good sealant keeps your diy projects looking new. It also helps your sign withstand harsh weather and moisture. If you want to build an outdoor sign that stands the test of time, never skip this step. Sealing your sign is just as important as painting it.
Adding Letters & Designs
Now it’s time to make your sign custom! You can use stencils, vinyl letters, or freehand your design with a small brush. If you want crisp, clean lines, press your stencil down firmly and use a little paint at a time. This stops paint from bleeding under the edges.
- Use painter’s tape to hold your stencil in place.
- Dab paint gently with a sponge or brush.
- Let each letter dry before moving to the next.
Tip: Practice your design on a scrap piece of wood first. This helps you get the size and spacing just right.
If you want to paint a wooden sign with lots of detail, try using a fine-tipped brush. You can add flowers, arrows, or any design you like. When you finish, let your sign dry thoroughly before handling it. This keeps your letters sharp and your painted sign looking beautiful.
Learning how to paint a wooden sign for outside is all about prep, patience, and the right materials. When you follow these steps, you get a long-lasting, custom outdoor wood sign that shows off your style. Now you know how to build a wood sign, paint it, and seal it for years of outdoor fun!
Hanging & Care
Hanging Hardware
You want your wooden sign to stay put, even when the wind blows. Choose weather-resistant hardware like stainless steel screws, D-rings, or heavy-duty hooks. These hold up well outdoors and stop rust from forming. If you plan to hang your sign on a fence or wall, use anchors for extra strength. For a post, drill pilot holes first to avoid splitting the wood. Always check that your hardware can handle the weight of your sign. This step helps your diy project last for years to come. Consider using a level to ensure your sign is perfectly straight before securing it in place. Additionally, researching how to hang wood signs can provide you with creative ideas and techniques for various settings, from rustic gardens to modern patios. Proper installation not only enhances aesthetic appeal but also contributes to the longevity of your project.
Tip: Use galvanized or coated hardware for the best results. This keeps your sign secure and looking good.
Placement Tips
Pick a spot that shows off your diy skills but also keeps your sign safe. Place your wooden sign where it gets some shade during the day. Too much sun can fade the paint and dry out the wood. Avoid low spots where water collects. Hang your sign high enough to keep it away from sprinklers and mud. If you want a long-lasting outdoor wooden sign, keep it off the ground and away from harsh weather as much as possible.
- Face your sign away from direct rain.
- Check that it hangs straight and does not wobble.
Maintenance for Outdoor Wood Signs
Protecting your sign is easy if you check it often. Every few months, wipe it with a damp cloth to remove dust and debris. Look for cracks, peeling paint, or faded colors. If you spot damage, touch up the paint and add a new coat of sealant. This keeps your diy sign looking fresh. Reseal your sign once a year for the best durability. With a little care, your diy outdoor sign will stay beautiful and readable for years.
Tip: Regular care helps your diy sign withstand the test of time.
You want to paint a weatherproof outdoor wooden sign that lasts. Just follow these steps:
- Prep your wood with sandpaper to smooth.
- Apply one coat of primer.
- Paint with acrylic paint using a roller or brush.
- Seal with polyurethane for durability.
Tip: Let each coat dry thoroughly for the best coverage and vibrant colors!
FAQ
What type of paint should I use for an outdoor wooden sign?
You want to use acrylic paint or exterior latex paint. These paints stick well to wood, give vibrant colors, and help your outdoor sign last for years to come.
How do I make my wood sign waterproof and weatherproof?
Apply a coat of primer first. After you paint, use a polyurethane or spar varnish sealant. This keeps moisture out and helps your sign withstand the test of time.
Do I need to sand my wood before painting?
Yes! Always sand your piece of wood with sandpaper to smooth the surface. This step helps the paint stick and gives you a smooth surface for even coats.