Ever wondered how to paint wooden letters and make them look like they came straight from a designer’s studio? With this step-by-step guide, you’ll learn the tricks to transform plain wood letters into stunning decor pieces. Whether you’re decorating a nursery or customizing a plaque, painting wood letters lets you add a personal touch to your space. Grab your brushes or spray paint, and let’s get started!
Key Takeaways
- Collect supplies like wooden letters, sandpaper, primer, and paint first. Being ready helps make painting easier and more fun.
- Pick acrylic paint for details or spray paint for speed. Both work well, so choose what fits your project best.
- Sand and prime the wooden letters before painting them. This helps the paint stick better and look more polished.
Materials and Tools for Painting Wood Letters

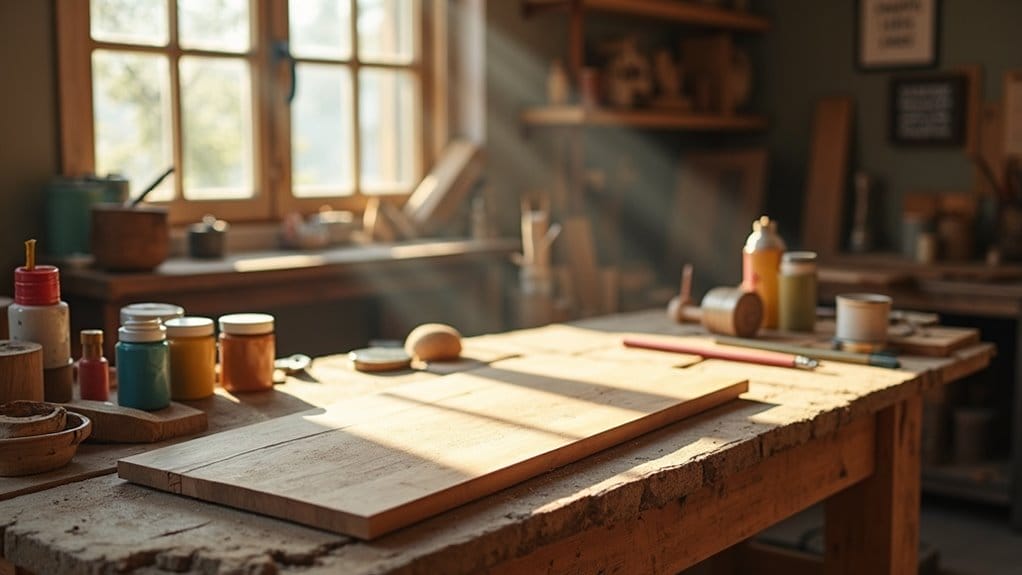
Before you dive into painting wooden letters, it’s important to gather the right materials and tools. Having everything ready will make the process smoother and more enjoyable. Let’s break it down step by step.
Essential Supplies for Painting Wood Letters
To get started, you’ll need a few basic supplies. Here’s a list of essentials you should have on hand:
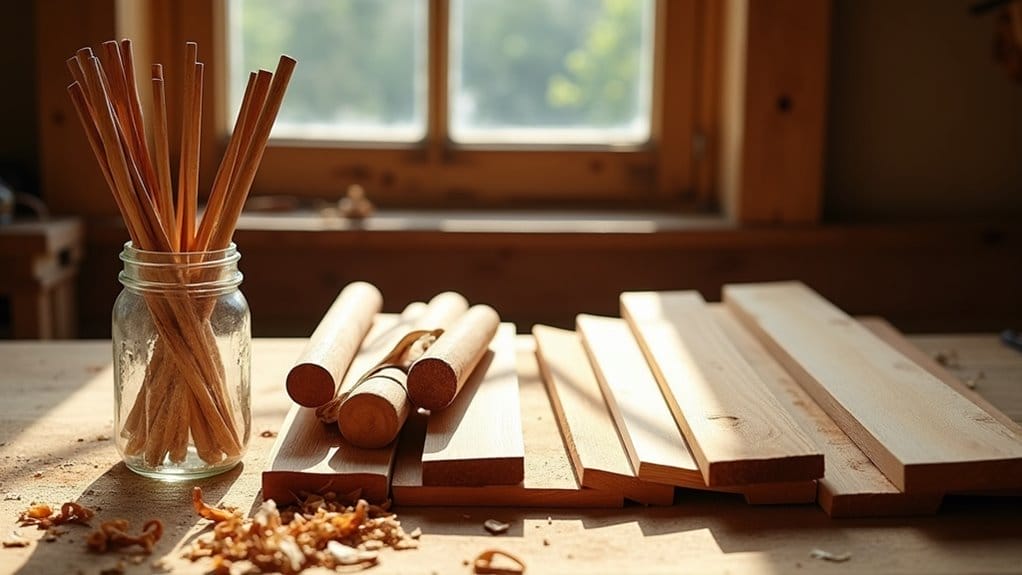
- Wooden Letters: Choose unfinished wood letters made from materials like MDF or birch wood. These are perfect for painting and decorating.
- Sandpaper: Use fine-grit sandpaper (around 220 grit) to smooth out the surface and edges of your letters. This helps the paint adhere better.
- Primer: A good primer is key to achieving a smooth base coat. It also prevents the paint from soaking into the wood grain.
- Paint: You can use acrylic paint, latex paint, or spray paint, depending on your preference.
- Paint Brushes: Have a variety of brushes, including a small detail brush for the edges of your letters and a larger brush for the face of the letter.
- Clear Coat or Varnish: A clear coat adds a protective finish and gives your painted wood letters a polished look.
These supplies will cover the basics, but you can always add more depending on your project’s complexity.
Choosing Between Acrylic Paint and Spray Paint
When deciding how to paint wooden letters, you’ll need to choose between acrylic paint and spray paint. Both options work well, but each has its pros and cons.
- Acrylic Paint: If you want to paint wood letters with a brush, acrylic paint is a great choice. It’s easy to control, dries quickly, and comes in a wide range of colors. Acrylic paint is ideal for detailed designs or when you want to match specific decor. However, it may require multiple coats for full coverage.
- Spray Paint: For a faster and smoother finish, use spray paint. It’s perfect for covering large areas and works well on the face of the letter and edges. Spray paint is especially useful if you’re working with intricate shapes or want to paint distressed wood letters. Just make sure to spray in a well-ventilated area and apply thin, even coats to avoid drips.
If you’re unsure which to use, consider the look you’re going for and the time you have. For a custom wood letter project with bold colors, acrylic paint might be your best bet. If you’re aiming for a sleek, modern finish, spray paint is the way to go.
Optional Tools for Creative Variations
Want to take your painted wood letters to the next level? Here are some optional tools and materials that can help you get creative: Consider using stencils or stamps to add intricate designs and patterns to your letters, giving them a unique flair. You can also explore different finishes like glitter, metallic paints, or decoupage to elevate your project. For inspiration, check out various diy wooden letter decoration ideas that can spark your imagination and help you personalize your creations even further. If you’re interested in taking on a more hands-on approach, consider researching how to cut wooden letters yourself for a truly custom touch. This will allow you to select your desired font and size, making your project even more personal. Additionally, experimenting with various wood stains and paints can enhance the overall look of your letters, providing depth and character to your artistic vision.
- Stencils: Use stencils to add patterns, letters, or designs to your wood letters.
- Sponges: A sponge can create unique textures or a distressed look.
- Glitter or Metallic Paint: Add some sparkle or shine to your letters for a fun, decorative touch.
These tools aren’t necessary, but they can make your project stand out. Whether you’re decorating a nursery, kids’ rooms, or another space, these extras can help you create something truly unique.
How to Paint Wooden Letters Step by Step

Preparing the Wooden Letters
Before you start painting, you need to prepare your wooden letters properly. This step ensures the paint adheres well and gives you a smooth, professional finish. Here’s what you should do:
- Sand the Surface: Take fine-grit sandpaper (220 grit works great) and lightly sand the surface of your wooden letters. Pay extra attention to the edges of your letters, as they can sometimes feel rough. Sanding helps remove any splinters or uneven spots, making the surface smoother for painting. If your letters are cut with a laser, you might notice some dark edges—sanding can help lighten these areas.
- Clean the Letters: After sanding, wipe the letters with a damp cloth or tack cloth to remove dust. Dust can interfere with the paint, so make sure the surface is clean and ready.
- Apply Primer: Using a primer is a must, especially if you’re working with unfinished wood letters like MDF or birch wood letters. A good primer seals the wood grain and creates a base coat for the paint. Apply a thin, even coat of primer with a brush or spray primer, and let it dry completely before moving on.
Pro Tip: If you’re planning to use dark colors, consider using a tinted primer. It helps the paint color pop and reduces the number of coats you’ll need.
Painting Techniques for Wood Letters
Now comes the fun part—painting! Whether you want to paint wood letters with a brush or use spray paint, the technique you choose will affect the final look. Follow these steps for the best results:
- Paint the Face of the Letter: Start by painting the face of the letter. If you’re using a brush, apply thin, even strokes to avoid brush strokes showing through. For spray paint, hold the can about 8-12 inches away and spray in light, even coats. Avoid spraying too much at once to prevent drips.
- Paint the Edges: Once the face is dry, move on to the edges of your letters. Use a smaller brush for precision or tilt the letters slightly to make the edges easier to reach. If you’re using spray paint, rotate the letters carefully to cover all sides.
- Apply Multiple Coats: For a vibrant and even finish, you’ll likely need to apply multiple coats of paint. Let each coat dry completely before adding the next. This prevents smudging and ensures a smoother finish.
Quick Tip: If you notice any drips or uneven spots, lightly sand the area with fine-grit sandpaper once the paint is dry. Then, touch up with another thin coat of paint.
Adding Finishing Touches to Painted Wood Letters
Once your letters are painted, it’s time to add the finishing touches that will make them stand out. Here’s how to complete your project:
- Seal with a Clear Coat: To protect your painted wood letters and give them a polished look, apply a clear coat or varnish. You can use spray clear varnish for a quick and even application or a brush-on varnish for more control. This step is especially important if your letters will be used outdoors or in high-traffic areas.
- Add Decorative Details: If you want to get creative, now’s the time! Use stencils to add patterns, or apply glitter or metallic paint for a touch of sparkle. You can also use painter’s tape to create stripes or geometric designs.
- Inspect and Touch Up: Finally, inspect your letters for any missed spots or imperfections. Touch up as needed, and let everything dry completely before displaying your masterpiece.
Note: Always let the paint and clear coat cure for at least 24 hours before handling your letters. This ensures the finish is durable and long-lasting.
By following these steps, you’ll know exactly how to paint wooden letters like a pro. Whether you’re decorating a nursery, kids’ rooms, or creating custom wood letters for a plaque, your finished project will look amazing!
Troubleshooting Tips for Painting Wood Letters
Even with the best preparation, things don’t always go as planned. Don’t worry—mistakes happen, and they’re easy to fix with a little know-how. Here’s how to handle some common challenges when painting wooden letters.
Avoiding and Fixing Paint Drips
Paint drips can be frustrating, but they’re easy to prevent and fix. To avoid them, always apply thin coats of paint. Whether you’re using a paint brush or spray paint, resist the urge to overload your brush or spray too close to the surface. Lightly sand between coats if you notice any uneven spots.
If drips do happen, let the paint dry completely before fixing them. Once dry, use fine-grit sandpaper to smooth out the area. After sanding, clean off the dust and apply a thin coat of paint to blend the area with the rest of the letter.
Pro Tip: When using spray paint, hold the can 8-12 inches away from the surface and move it in a steady, sweeping motion. This helps prevent drips and ensures even coverage.
Dealing with Uneven Coverage
Uneven coverage often happens when you rush or skip steps like priming. To fix this, make sure you’re applying multiple thin coats of paint. Each coat should dry completely before adding the next. If you’re working with dark colors, a tinted primer can help the main paint color stand out.
For areas that still look patchy, lightly sand the surface and apply another coat of paint. Using a high-quality brush or spray paint can also make a big difference in achieving a smoother finish.
Quick Tip: Always check your letters under good lighting. This helps you spot uneven areas before the paint dries.
Correcting Mistakes During the Painting Process
Mistakes like smudges or missed spots are common, especially if you’re new to painting wooden letters. If you notice a mistake while the paint is still wet, use a damp cloth or a clean brush to gently fix it. For dried mistakes, lightly sand the area and repaint it.
If you accidentally paint the edges of your letters unevenly, use painter’s tape to mask off the face of the letter. This allows you to repaint the edges without affecting the rest of your design.
Note: Always let the paint dry completely before attempting any corrections. Rushing can make the problem worse.
By following these tips, you’ll be able to handle any hiccups that come your way. Painting wooden letters doesn’t have to be perfect on the first try. With a little patience and practice, you’ll create beautiful, custom wood letters that look professionally done.
Painting wooden letters is a fun and easy DIY project. With the right tools and some time, you can turn plain wood into beautiful decorations. You can use them to decorate a nursery or make custom letters for your home. This guide will show you how to make them look amazing. Share your painted letters with others—they might want to try it too! To enhance your project, consider exploring various painting techniques and colors that match your decor. If you’re unsure about freehand painting, this guide will also detail how to transfer letters to wood for a more precise look. Once finished, these vibrant letters can serve as thoughtful gifts or personalized pieces that reflect your unique style.
FAQ
How many coats of paint do wooden letters need?
You’ll need at least two coats for full coverage. Apply thin layers and let each coat dry completely for a smoother finish.
Should I sand wooden letters before painting?
Yes, sanding is essential. Use fine-grit sandpaper to smooth the surface and edges. This helps the paint adhere better and prevents rough spots.
Pro Tip: Sand lightly between coats for an even finish.
Can I use spray paint for wooden letters?
Absolutely! Spray paint works great for a sleek finish. Apply thin, even coats and spray in a well-ventilated area to avoid drips.