In the world of crafting, we constantly seek innovative ways to repurpose common materials into functional and aesthetically pleasing items. One such material that often goes unnoticed is the humble wood ruler. With its sturdy structure and versatility, wood rulers can be transformed into various DIY projects that not only serve a purpose but also add charm to any space. In this article, we will explore some mind-blowing hacks using wood rulers that are perfect for both personal use and as unique offerings for your customers.
Key Takeaways
- Wood rulers are versatile materials that can be transformed into various DIY projects.
- Crafting with wood rulers provides an opportunity to create unique, rustic pieces that can serve functional purposes.
- These projects are budget-friendly and offer a personal touch, making them ideal for both personal use and as products for customers.
The Appeal of Wood Ruler Crafts
Wood rulers are not only affordable but also provide a rustic aesthetic that appeals to many. Whether sourced from a local store or purchased in bulk, these rulers can be manipulated into various shapes and sizes, allowing us to create customized pieces that resonate with our brand’s ethos. The ease of working with wood rulers makes them an excellent choice for DIY enthusiasts and professionals alike.
Crafting with Wood Rulers: Our Top Hacks
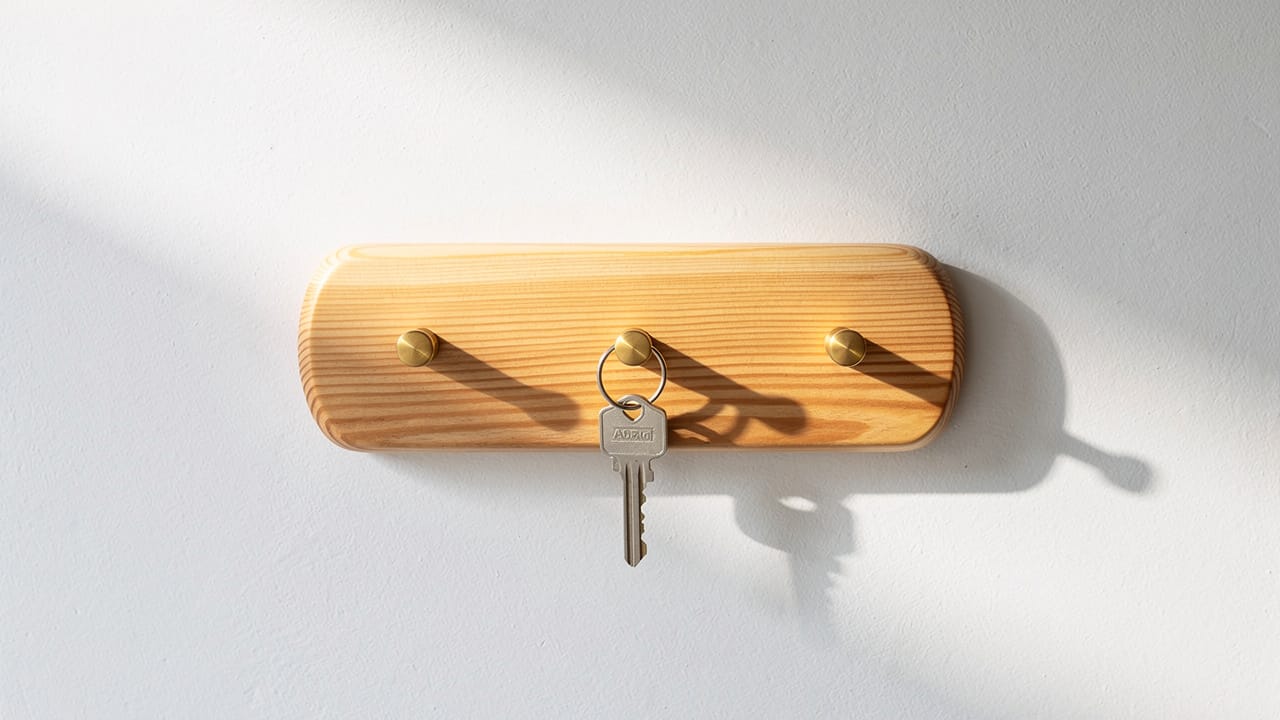
Stylish Coat and Towel Hooks

One of our favorite projects involves creating coat or towel hooks that are both functional and decorative. By using a set of wood rulers, we can design a piece that offers a rustic charm while serving a practical purpose.
Materials Needed:
- Multiple wood rulers
- Hooks
- Screws and bolts
- Drill
- Sandpaper
- Stain or paint for finishing
Steps:
- Prepare the Rulers: Start by ensuring each ruler is in good condition. Sand down any rough edges to avoid splinters.
- Drill Holes: Using a drill, create holes in the rulers to attach the hooks. Ensure that each ruler has the same number of holes for a uniform look.
- Stain the Wood: To achieve an aged appearance, apply a wood stain. This not only enhances the visual appeal but also protects the wood.
- Assemble the Hooks: Attach the hooks to the rulers using screws and bolts. Position them at intervals that work best for your design.
- Final Assembly: Arrange the rulers in a zigzag pattern to create visual interest. Secure them together to form a cohesive piece.
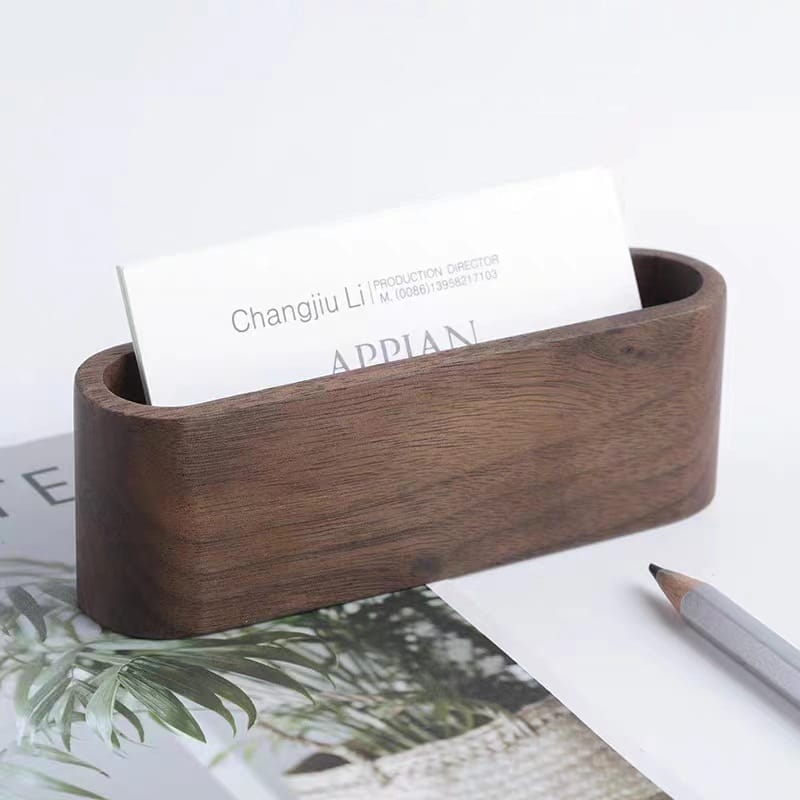
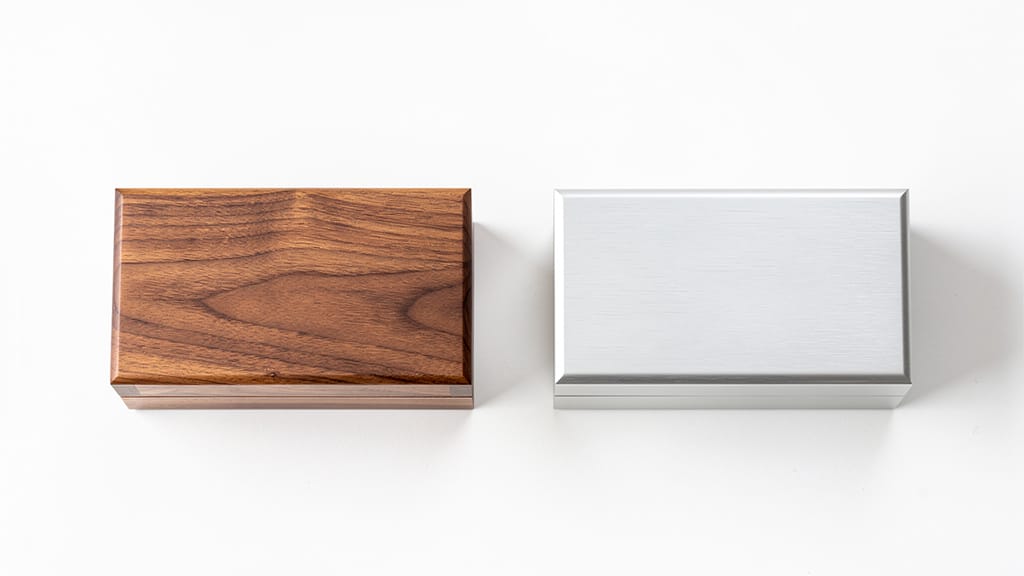
Unique Business Card Holders
For those of us looking to add a personal touch to our workspace, crafting a stylish business card holder from wood rulers is an excellent option.
Materials Needed:
- Wood rulers
- Wooden blocks
- Wood glue
- Stain or paint
Steps:
- Create the Base: Glue together four blocks to form a sturdy rectangular base. This will provide stability to the business card holder.
- Frame the Holder: Cut wood ruler pieces to fit around the glued block base. Attach the ruler pieces around the base using wood glue, creating a frame that holds the cards securely.
- Elevate the Design: Cut shorter pieces of wood rulers (about 4.5 inches) and glue them to the back of the holder. This elevation allows easier access to business cards by tilting the holder slightly backward.
- Finish the Look: Choose a stain that complements your decor—such as a rich walnut or a weathered gray—to enhance the rustic aesthetic. After staining, consider sealing the piece with a clear topcoat to protect it from wear and tear.
Rustic Tissue Box Holders
Transforming wood rulers into a tissue box holder is not only practical but also a delightful addition to any room. This project allows you to combine functionality with creativity, offering a stylish solution for storing tissues that can complement your home decor.
Materials Needed:
- Wood rulers
- wooden pieces
- Wood glue
- Stain
Steps:
- Construct the Base: Glue wooden pieces to create a stable base for the tissue box holder. Let the glue dry for at least an hour to ensure the base is sturdy before proceeding.
- Frame with Rulers: Using wood glue, attach the cut rulers around the wooden base frame, aligning them carefully for a neat appearance. Make sure all sides are even and allow the glue to set properly.
- Finish and Stain: Once all sides are glued and secure, place the tissue box inside to check fit. After assembly, apply a generous coat of wood stain to all visible surfaces. This stain adds a warm, aged rustic look that elevates the appearance of low-quality wood.
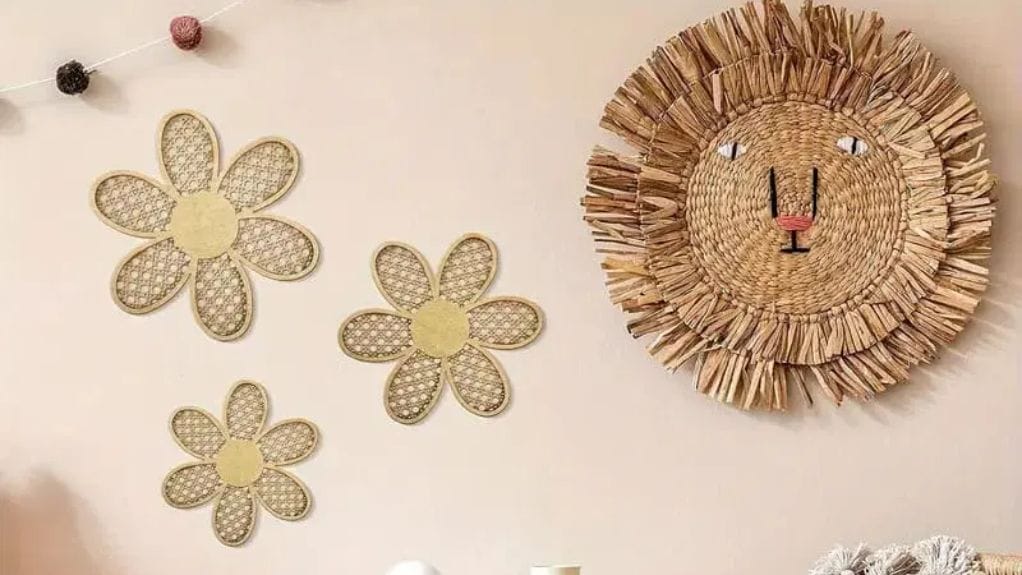
Decorative Planters

Creating decorative planters using wood rulers is a fantastic way to add a personalized, rustic charm to your home or office decor. These planters are simple to make and can be customized with various decorative elements to suit your style.
Materials Needed:
- Wood rulers
- Cardboard or thick paper for the base
- Hot glue gun
- Decorative materials (like moss and faux flowers)
Steps:
- Prepare the Base: Start by cutting a piece of sturdy cardboard or thick paper to serve as the base of the planter. Make sure the size of the cardboard fits the desired width and length of the planter perfectly.
- Construct the Sides: Arrange the wood rulers vertically or at a slight angle, depending on your design preference. Using a hot glue gun, carefully apply glue along the edges of each ruler piece and press them together to form the sides of the planter.
- Attach the Base: Once the sides are assembled and the glue has dried, flip the planter upside down. Apply hot glue evenly along the bottom edges of the rulers. Press the cardboard base firmly against the glued edges, ensuring it is securely attached to hold the planter’s shape.
- Decorate Your Planter: To add a natural and vibrant touch, fill the inside of your planter with decorative moss sheets. Arrange faux flowers or other decorative elements on top of the moss to create an inviting and colorful display.
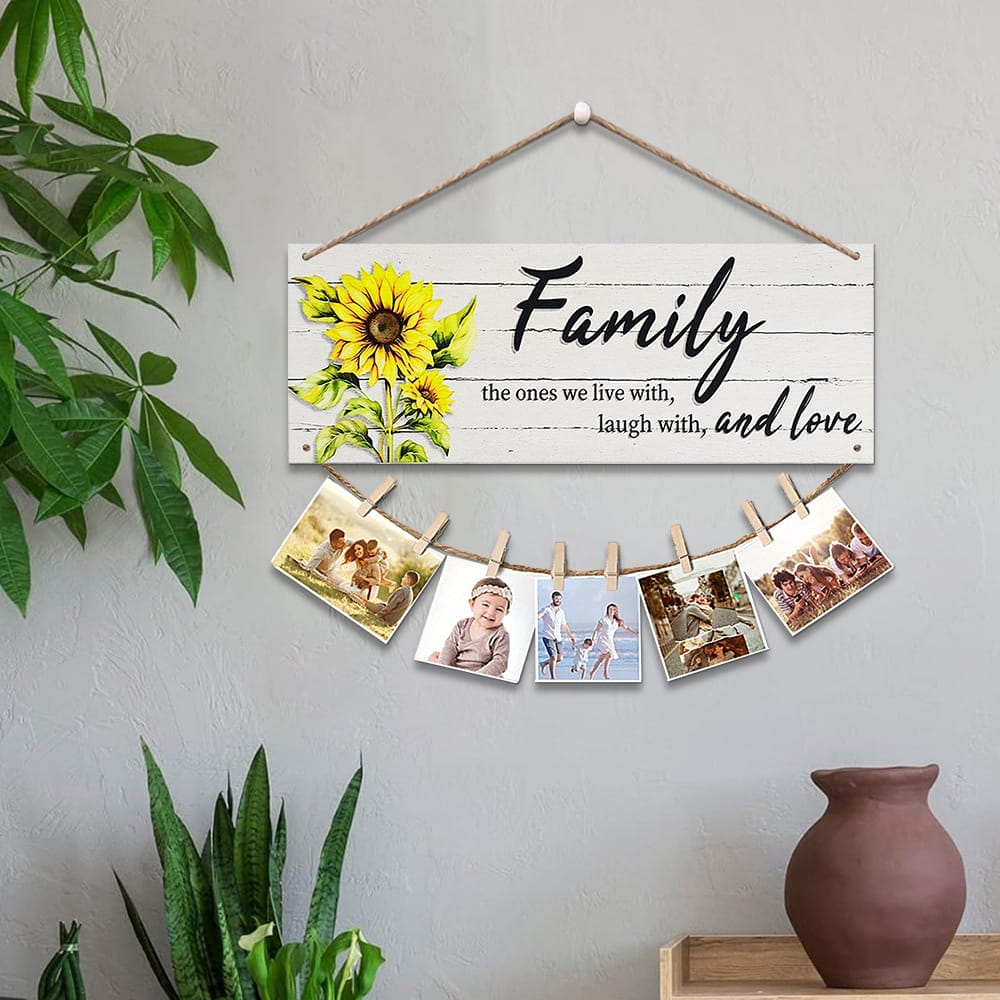
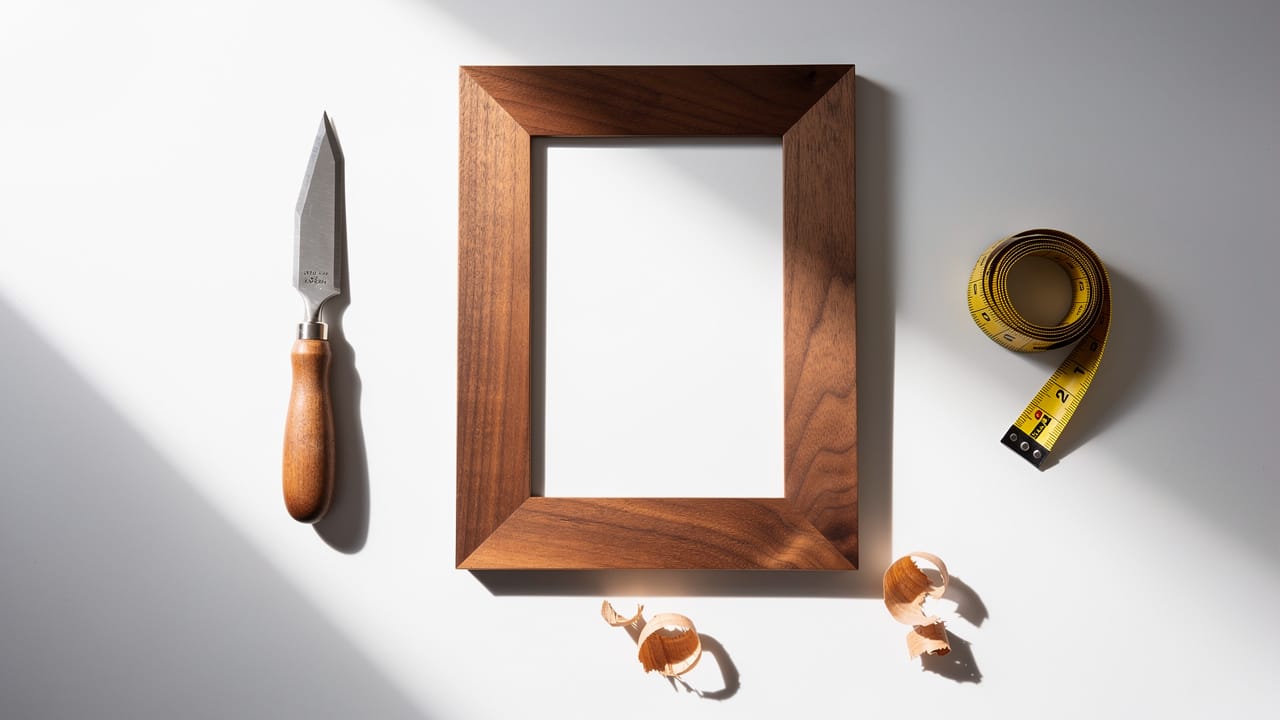
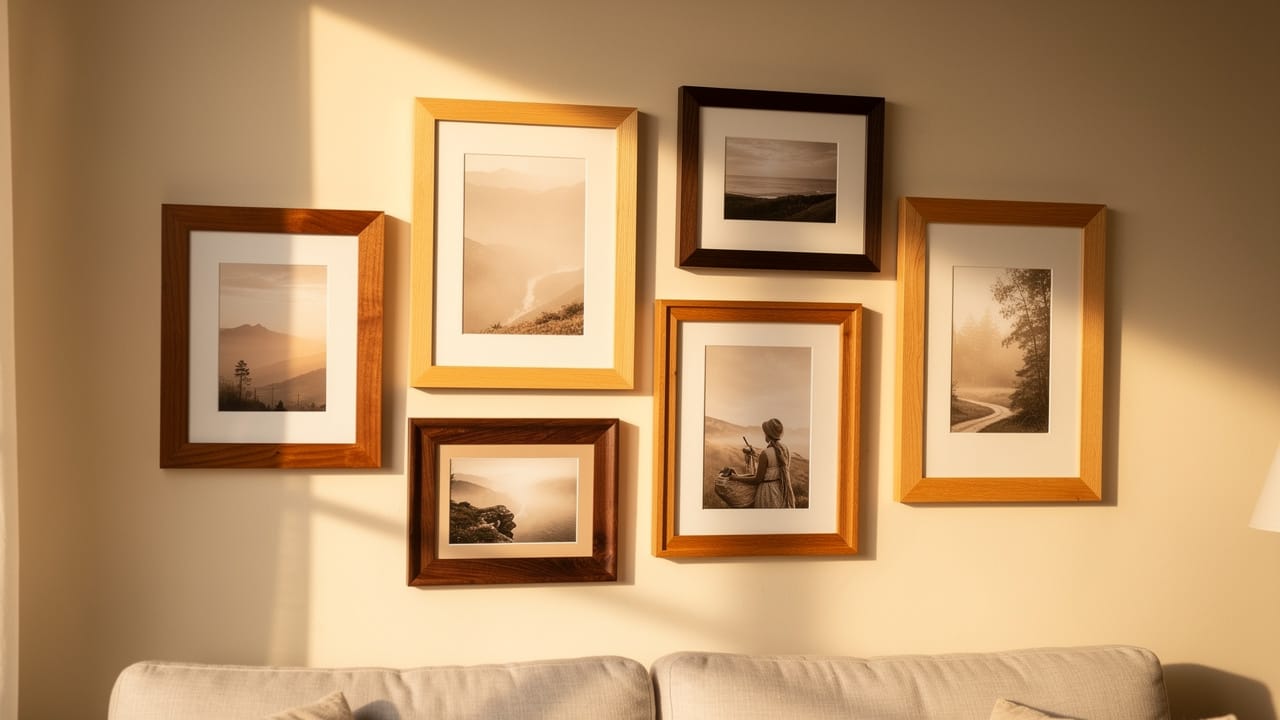
Rustic Picture Frames

Crafting picture frames from wood rulers is a wonderful way to showcase cherished memories with a stylish and rustic touch. These frames add character and a handmade feel to any photo display, making them perfect for personal use or as thoughtful gifts.
Materials Needed:
- Wood rulers
- Cardboard for the backing
- Hot glue gun
- Twine (for hanging)
Steps:
- Cut the Rulers: Begin by measuring and cutting the wood rulers to fit the dimensions of the photo you want to frame. Take care when cutting to maintain clean edges, which will make assembly easier.
- Assemble the Frame: Next, arrange the cut ruler pieces into a rectangular shape that will serve as your frame. Use a hot glue gun to securely attach the rulers together, making sure to leave one side open or flexible so you can insert and later change your photos easily.
- Add a Backing: Once the frame is assembled and the glue has dried, cut a piece of cardboard slightly smaller than the frame’s opening. Glue this cardboard piece to the back of the frame to provide support and keep the photo securely in place.
- Hang with Twine: To complete your picture frame, attach a piece of twine to the back for hanging. The twine adds an additional rustic element that complements the wood rulers beautifully.
Rustic Cabinet or Drawer Handles
Creating rustic cabinet or drawer handles from wood rulers is a simple and creative way to add character to your furniture. These handmade handles bring a warm, personalized touch that complements existing decor beautifully.
Materials Needed:
- Wood rulers
- Small wood cubes
- Wood glue
- Wood stain (optional)
Steps:
- Begin by cutting small pieces from wood rulers to the desired length for the handles.
- Glue these ruler pieces onto small wooden cubes to form the base of each handle.
- Once the glue has dried and the handles are assembled, attach them securely to cabinet doors or drawer fronts using screws or a strong adhesive, depending on your furniture type.
- Apply a wood stain that matches or complements your existing decor to ensure the handles blend seamlessly with your cabinets or drawers.
- Allow the stain to dry completely, enhancing the rustic appeal and durability of your custom handles.
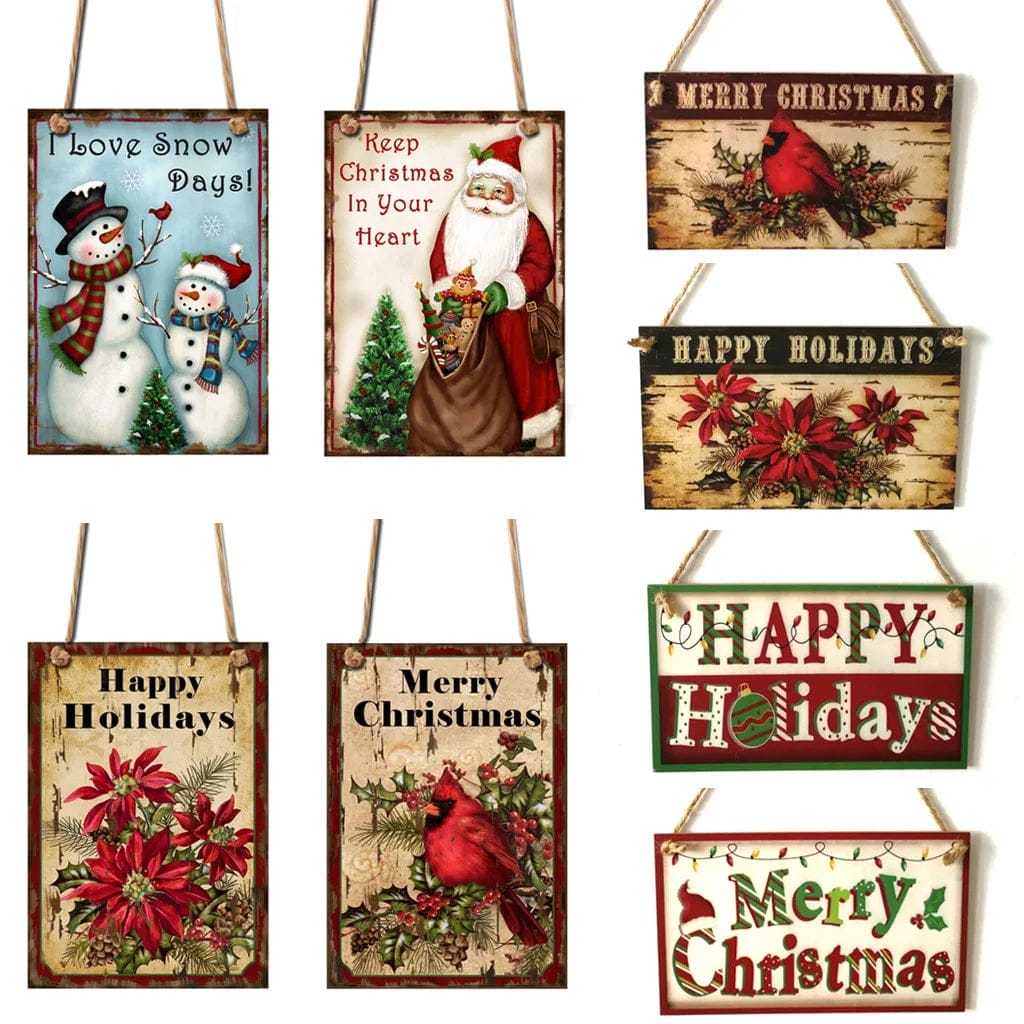
Rustic Star Decoration
A rustic star decoration made from wood rulers serves as a charming accent piece for any room, perfect for holiday decor or year-round rustic style.
Materials Needed:
- Wood rulers
- Wood glue
- Wood stain
- Brads and paint for embellishments
- Small wood cubes
Steps:
- Start by cutting five ruler pieces into 6-inch lengths.
- Glue the pieces together carefully to form a star shape.
- After the glue has dried, apply a coat of wood stain to give the star a warm, vintage look that highlights the rustic texture of the wood.
- Paint and attach brads at various points on the star to add decorative detail and a handcrafted feel.
- Finally, glue small wood cubes to the bottom points of the star to allow it to stand upright as a freestanding decoration.
Frequently Asked Questions
Where can I purchase wood rulers in bulk?
You can find wood rulers at craft stores, office supply stores, or online retailers, often at wholesale prices.
What tools do I need for crafting with wood rulers?
Basic tools include a drill, glue, scissors, and a saw for cutting. Depending on the project, additional tools may be necessary.
How can I ensure a professional finish on my wood projects?
Sanding your wood pieces, using quality stains, and taking your time during assembly will help achieve a polished look.
Are there any safety precautions to take while crafting?
Always wear protective gear when using power tools, and ensure your workspace is tidy to avoid accidents.
Can these projects be customized for different themes?
Absolutely! Changing the stain color, adding decorative elements, or altering the size can make these projects fit any theme or decor style.
Conclusion
By embracing the potential of wood rulers in our crafting endeavors, we can create stunning pieces that resonate with our creativity while also appealing to our customers’ tastes. Whether for personal use or as part of a business offering, these wood ruler hacks will surely inspire and impress. Happy crafting!