At our company, we pride ourselves on providing high-quality, customizable wooden crafts and decorations. One of the most versatile and functional items we can create is a wooden tray. Not only do these trays serve practical purposes, but they can also be stunning decorative pieces that elevate the aesthetics of any space. In this article, we’ll walk you through the various steps, techniques, and tips for making wooden trays and bowls, whether you’re looking to create a simple serving tray or a more intricate design using a CNC machine.
Key Takeaways
Wood Selection: Choose hardwoods for durability; consider laminating different species for unique aesthetics.
Preparation: Properly cut and glue pieces together, ensuring they are aligned and flat.
Design: Use CNC machines for intricate designs; consider adding decorative elements like epoxy inlays.
Assembly: Ensure secure assembly and perform final sanding before applying the finish.
Finishing: Select a food-safe finish based on the intended use of the tray.
Understanding Wood Selection

Choosing the Right Type of Wood
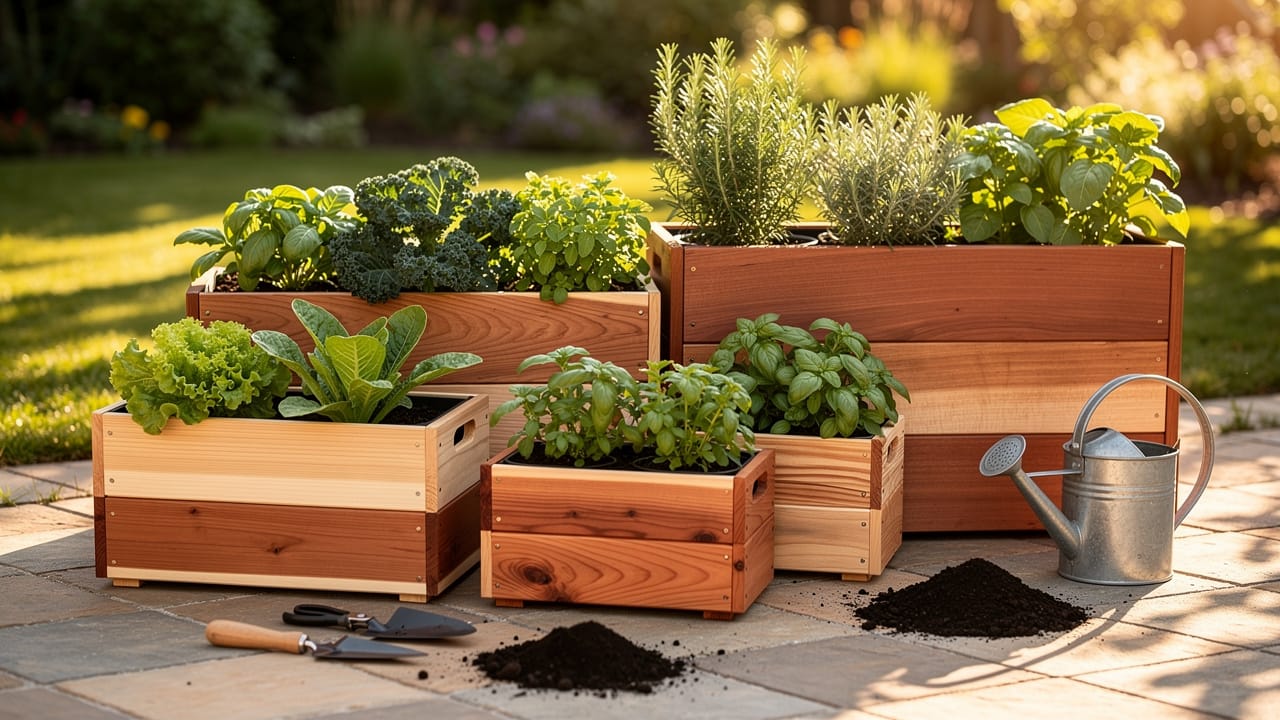
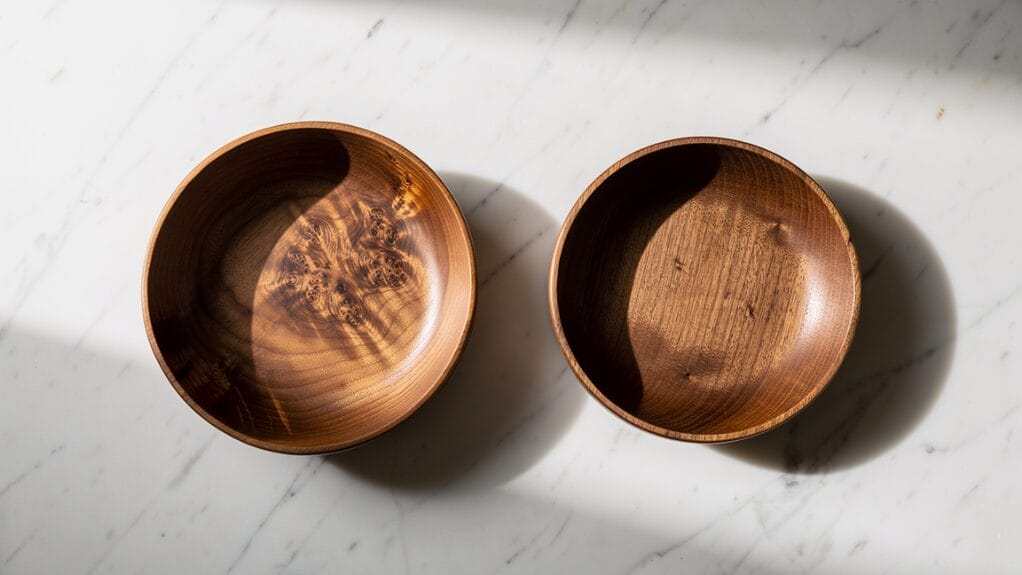
When embarking on a tray-making project, the first step is to select the right type of wood. We recommend using hardwood for its durability and resistance to dents and scratches. Hardwoods such as oak, maple, and walnut are excellent options due to their tighter grain, which minimizes the risk of bacteria buildup and enhances the tray’s longevity. While softwoods like pine, cedar, and fir can also be used, it’s important to remember that they may not be as strong or durable as hardwoods.
For those interested in unique aesthetics, consider experimenting with different wood species. For instance, the contrasting colors of sapwood and heartwood can create visually appealing designs. Additionally, combining various types of wood through lamination can yield stunning effects; think of a layered tray made from scrap pieces of different hardwoods, showcasing a variety of colors and grains.
Resources for Wood Selection
If you’re unsure where to find quality wood, numerous resources are available. Local lumberyards often carry a variety of hardwoods at reasonable prices. Alternatively, online suppliers may offer a wider selection, including exotic woods. Always check for reviews and ensure that the supplier is reputable, as quality wood can significantly impact the final product.
Preparing the Wood

Cutting and Glue-Ups
Once you’ve chosen your wood, the next step is preparing it for the tray. Begin by ripping your pieces to the desired thickness using a table saw. For a tray, a thickness of around three-quarters of an inch is often ideal. After cutting, the pieces should be glued together if you’re opting for a laminated design.
To achieve a superior glue-up, use high-quality wood glue. Apply a generous amount to the edges of the pieces being joined, ensuring full coverage. Use clamps to hold the pieces firmly in place while the glue sets. It’s crucial to check that the pieces are aligned and flat before clamping, as this will ensure a smooth surface for the final tray.
Tips for Efficient Glue-Ups:
- Work in stages if gluing large blanks.
- Consider applying glue evenly and using cauls to prevent bowing.
Sanding and Finishing
Once the glue has dried, we move on to sanding. Start with a coarse grit sandpaper (around 80 grit) and work your way up to finer grits (220 grit or higher). This process not only smooths the surface of the tray but also prepares it for finishing.
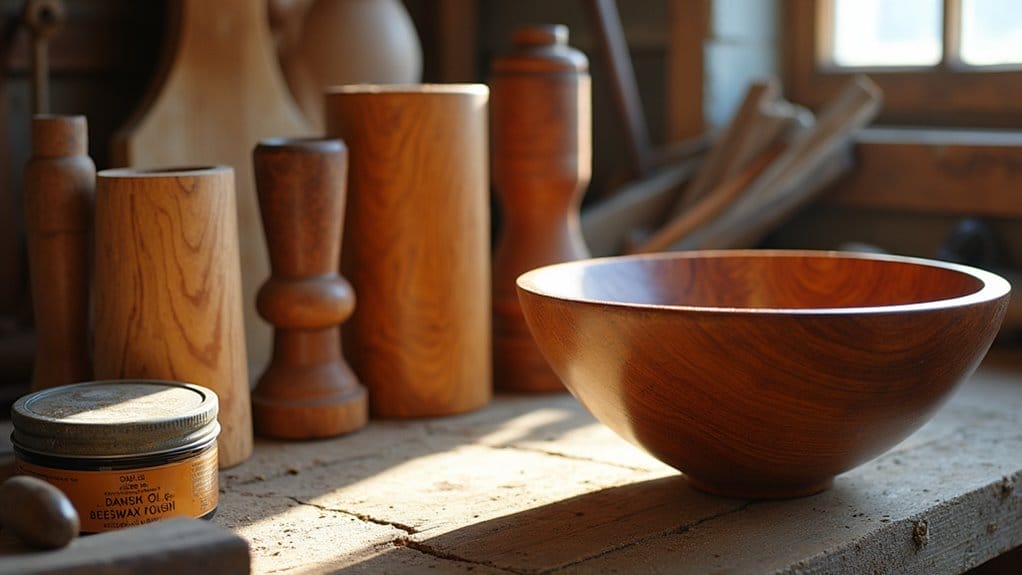
For trays that will come in contact with food, we recommend using food-safe finishes. Options include mineral oil, which penetrates the wood and protects it without leaving a sticky residue, or a blend of oil and wax for added protection and ease of reapplication.
Designing the Tray
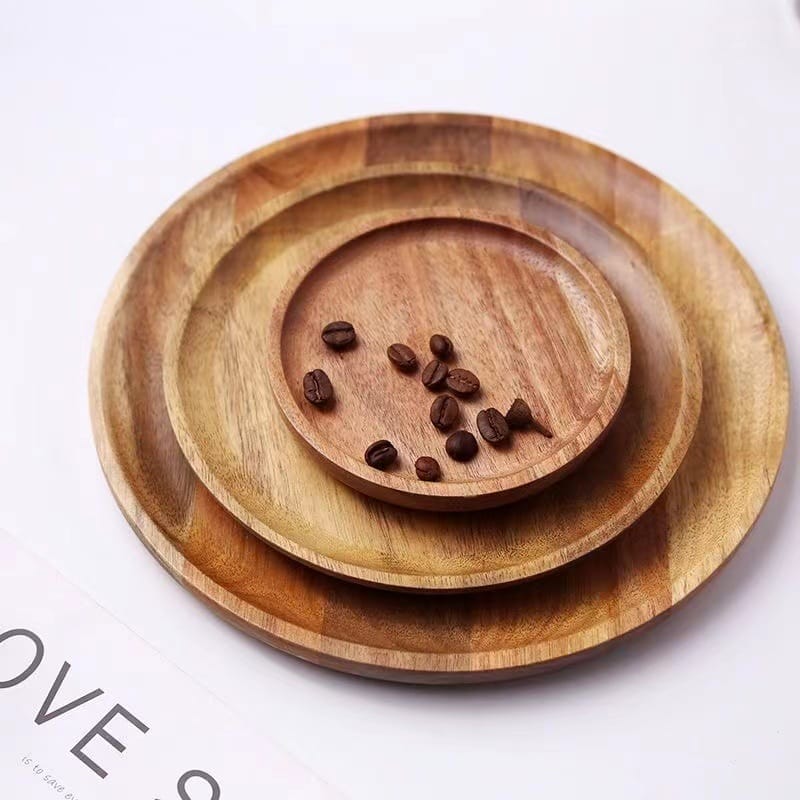
Basic Tray Design
The simplest tray design consists of a rectangular or square shape with raised edges. After sanding the base, we can outline the desired shape on the wood using a pencil. This step is crucial as it helps visualize the final product and ensures accurate cuts and carvings.
Using a CNC machine or router will allow for more intricate designs, such as rounded edges or decorative carvings. For example, we can create pockets in the tray for a more unique appearance or to hold items securely.
CNC Tool Selection & Machining Tips
- For carving bowls or pockets: use bowl/tray bits with rounded edges (e.g., ¾ inch diameter).
- For detailed work: switch to smaller bits like ¼ inch or ⅛ inch end mills.
- Use flush trim bits on the router table for removing tabs cleanly after machining.
- Add tabs during toolpath creation to hold the piece securely during cutting.
- Be mindful of bit heat buildup and dust collection setups; excessive heat may cause resin melting or marks on wood.
Adding Decorative Elements
We can further elevate our wooden trays by adding decorative elements. A simple yet effective technique is to use a carving tool to create patterns or designs on the tray’s surface. This adds a personal touch and can transform a basic tray into a stunning centerpiece.
If you’re interested in adding color, consider using epoxy resin to fill in carved areas or to create a colorful inlay. Mixing pigments or dyes into the epoxy can provide a vibrant contrast to the wood, enhancing its visual appeal.
Assembly and Final Touches

Assembling the Tray
Once the design is complete, it’s time to assemble the tray. If you’ve opted for a laminated design, ensure all pieces are securely glued and aligned. After the glue has dried, we can use a flush trim bit to remove excess material and achieve a clean edge.
Final Sanding and Finishing Touches
After assembly, we perform a final sanding to ensure everything is smooth and ready for finishing. This step is particularly important for trays intended for food service, as we want to avoid any rough edges that could affect usability.
For the final finish, we can choose between various options, including oil, wax, or lacquer. Each finish has its benefits, and the choice will depend on the intended use of the tray. For instance, lacquer provides a durable finish that can withstand moisture, while oil and wax finishes offer a more natural look.
FAQs
What types of wood are best for making trays?
We recommend using hardwoods such as oak, maple, and walnut for their durability and aesthetic appeal. Softwoods can be used but may not provide the same longevity.
Can I use a CNC machine to make trays?
Absolutely! A CNC machine allows for intricate designs and precise cuts, making it an excellent tool for creating unique trays.
What finishes are safe for food contact?
Food-safe finishes include mineral oil, oil and wax blends, and specific food-grade lacquer. Always ensure that the finish is fully cured before using the tray for food.
How can I prevent my tray from warping?
To prevent warping, ensure that the wood is properly dried and acclimated to the environment before use. Additionally, avoid exposing the tray to excessive moisture or heat.
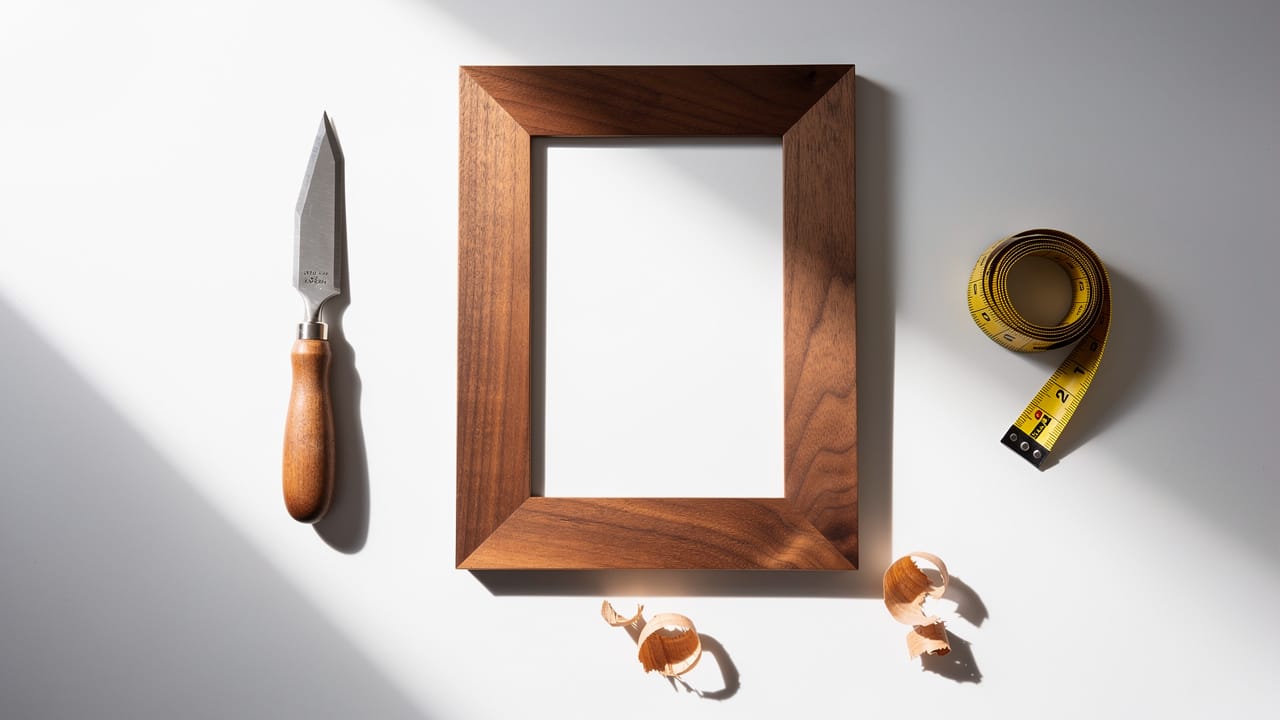
What tools do I need to make a tray?
Basic tools for tray making include a table saw, clamps, sandpaper, a flush trim bit, and a router or CNC machine for decorative elements.
Conclusion
By following these guidelines, we can create beautiful, functional wooden trays that not only serve practical purposes but also enhance the beauty of any space. Whether for personal use or resale, the possibilities are endless in the world of wooden craftsmanship. Happy crafting!