A wooden cross that wobbles or tips over creates more than a visual problem—it poses real risks. Unstable crosses can damage floors, scratch surfaces, and undermine the safety of retail displays, church spaces, or event venues. Many discover they need solutions for how to make a wooden cross stand up only after experiencing a collapse during a service, sale, or exhibition.
This guide provides a systematic approach to how to make a wooden cross stand up securely. You’ll learn stability principles, optimal material selections, three proven stand designs, reliable assembly techniques, and professional finishing methods.
Key Takeaways
- Stable crosses need a low center of gravity and a wide base area. A heavier base and smart proportions stop tip-overs before they happen.
- Material choice affects strength, weight, and price. Oak and other hardwoods suit premium indoor pieces, while cedar and pressure-treated pine work well for outdoor crosses.
- Three main stand styles cover most needs: ground stakes for soil installations, X-bases for portable indoor displays, and weighted platforms for tall crosses in busy spaces.
- Strong joinery and pre-drilling keep wood from splitting and joints from loosening. Combining glue with screws, dowels, or mortise-and-tenon joints gives long service life.
Understanding Wooden Cross Stability Principles

Before cutting a single board, it helps to think like an engineer for a moment. Any freestanding cross behaves like a tall lever standing on a base. If the weight sits high and the base is narrow, it tips with the slightest bump. If the weight sits lower and the base is wider and heavier, it stays upright even when people brush past it.
Stability depends on how the center of gravity lines up over the base. A tall, narrow cross pushes that center higher. A thicker, denser base pulls it down. As a simple rule, the wider and heavier the base compared to the height of the cross, the safer the piece will feel in a store, church, or garden setting.
Cross height, beam thickness, and wood density all affect what kind of base you need. A slim pine cross stands very differently from a solid oak one of the same size. Outdoor crosses also face wind, soft soil, and frost heave, so they need deeper anchoring or heavier platforms than indoor pieces.
Selecting The Right Wood And Materials For Your Cross Stand

Picking the right wood and hardware is one of the best ways to control both cost and performance. Retail lines aimed at budget shoppers might use softwoods and painted finishes, while premium memorial or church pieces lean on hardwoods and rich stain.
For indoor products, pine and poplar give a smooth, paint-ready surface at a friendly price. Oak, maple, and walnut offer higher strength, more weight in the base, and attractive grain for stain-grade crosses. Outdoor crosses call for woods that handle moisture, like cedar, redwood, cypress, or pressure-treated pine, paired with strong exterior finishes.
Hardware matters as much as lumber:
- Use waterproof wood glue where moisture is a factor.
- Choose exterior-grade screws and anchors for outdoor models.
- Standardize screw sizes, glue types, and base dimensions across your line to keep assembly simple and repeatable.
Essential Tools For Professional Cross Construction

The tools you choose shape both your production speed and the finish of your crosses.
Core tool groups include:
- Cutting tools: miter saw for clean, square ends; table or track saw for ripping bases and beams; jigsaw for curves and decorative bases.
- Drilling and joinery tools: drill/driver set, pocket-hole jig, router, and (if volume justifies it) a drill press or mortiser.
- Sanding and safety gear: random-orbit sander, sanding blocks, eye and ear protection, dust masks, and basic dust collection.
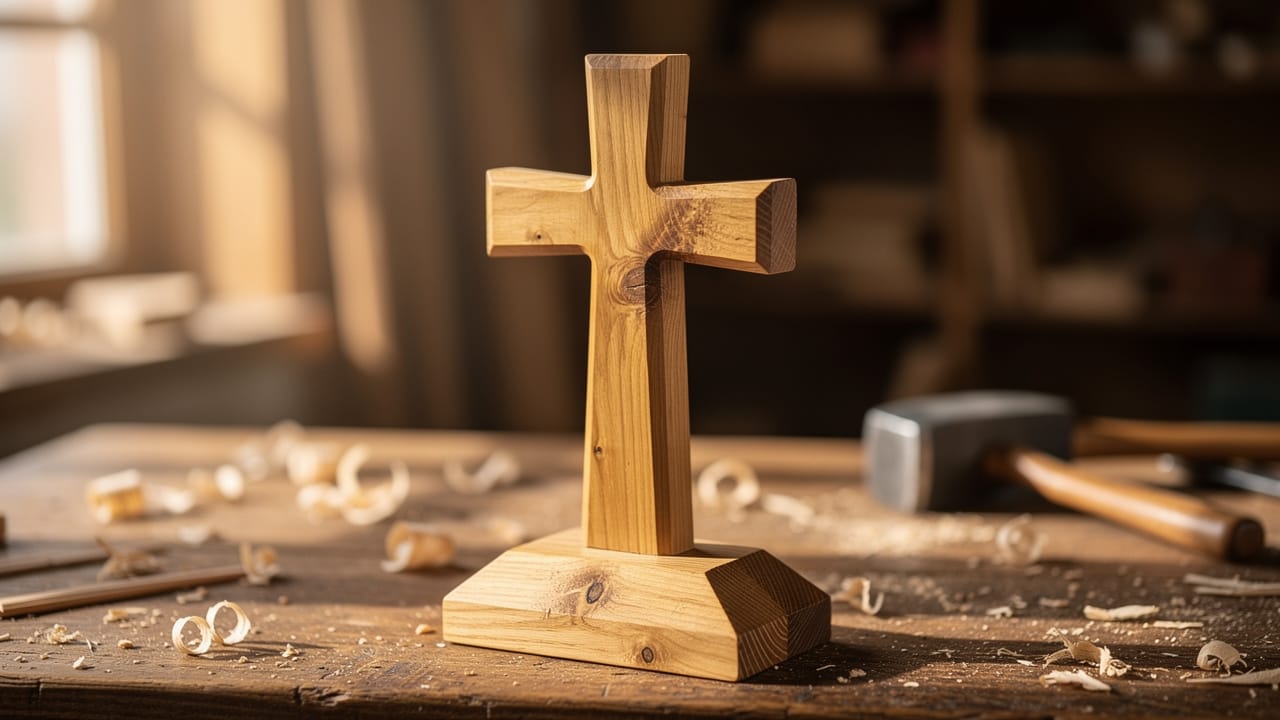
Method 1: Creating A Ground Stake Stand For Outdoor Installations

For outdoor memorials or garden décor, an integrated ground stake is often the safest and cleanest way to keep a cross upright. In this design, the vertical beam extends below the visible part of the cross and anchors deep into the soil. No separate base sits on the ground, so the look stays simple and natural.
To size the stake, start with the desired visible height, then add about 18–36 inches for the buried portion. A 4-foot-tall cross often needs a total post length of 6 feet. Mark the ground line on the post so your team can coat the below-grade section with extra sealant and install it to the same depth across a batch.
Cutting a point at the bottom eases installation. Four angled cuts form a pyramid-like tip that drives into soil more easily. For windy sites or softer ground, many producers add a cross pin made from rebar or hardwood dowel a few inches below the ground line. Paired with a gravel layer and compacted backfill or a concrete footing, this setup stands up well in real weather.
Outdoor Ground Stake Installation Checklist
- Plan the cross height and stake depth in advance and record standard dimensions for each model.
- Mark the ground line and treat the buried section with extra exterior sealant or bituminous coating, focusing on end grain.
- Shape the point and add any stabilizer pins (rebar or dowels), then test-fit in a sample hole.
- Prepare the hole with drainage gravel, set the cross plumb with a level, and tamp soil or concrete in layers.
Method 2: Building An Interlocking X-Base For Portable Displays

An interlocking X-base is one of the most reliable ways to support indoor crosses that need to move for events, services, or seasonal displays. Two feet cross at the center in a half-lap joint, forming a footprint that resists tipping from any direction while remaining easy to disassemble or store.
For good balance, aim for base pieces that measure about 50–60% of the cross height. A 4-foot-tall cross often pairs well with 20–24 inch feet. Mark the exact center of each foot, then lay out a slot there that matches half the thickness of the board. When those slots interlock, the top surfaces sit flush.
The half-lap can be cut with a table saw, router, or even a handsaw and sharp chisel. Set the cutting depth to half the board thickness, make a series of cuts inside the marked area, then remove the waste and clean the bottom of the recess. Test-fit the two feet together and adjust until they slide snugly without wobble.
To mount the cross, many makers surface-mount the post in the center of the X and drive screws from below after gluing. For premium lines, a mortise in the joint area and a matching tenon on the bottom of the cross produce a very strong, clean joint.
Method 3: Constructing A Weighted Platform Base For Large Indoor Crosses
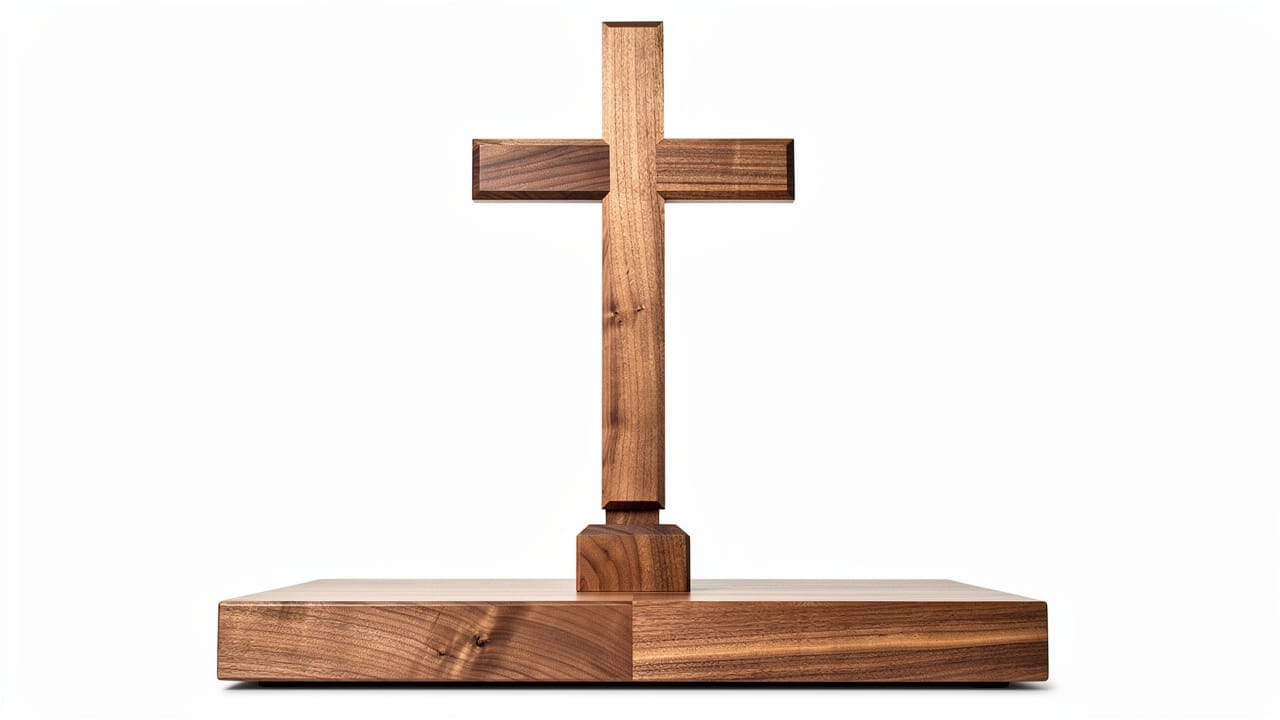
Large indoor crosses in churches, schools, and event venues face a different kind of risk. They stand on hard floors around moving people, and a fall could cause real harm. In these settings, a broad, weighted platform base makes more sense than slim feet.
A simple rule of thumb is to size the platform width to about 30–40% of the total height of the cross. A 6-foot-tall cross would then stand on a base around 2–2.5 feet wide. Using laminated hardwood, thick plywood with hardwood veneer, or solid timber blocks adds the mass you need to keep the center of gravity low.
To join the cross to the platform, many shops cut a rectangular mortise in the center of the base, then form a tenon on the end of the vertical beam. A plunge router, a drill-and-chisel method, or a dedicated mortising machine can be used, depending on your batch size and equipment. A mortise depth of 2–4 inches works well for most indoor crosses.
Advanced Assembly Techniques: Joinery And Fastening
Even the best design fails if the joints are weak. Clean, repeatable assembly steps turn flat lumber into a cross that feels solid when someone grips it near the base or moves it across a room.
Key practices include:
- Pre-drilling pilot holes so screws do not split the wood, especially near ends and edges.
- Using a countersink bit so screw heads sit flush or slightly below the surface.
- Applying a thin, even coat of wood glue to both faces, clamping firmly, and wiping away squeeze-out.
Different joinery styles fit different price points and skill levels. Pocket-hole screws give quick, hidden joints; half-lap joints suit X-bases; mortise-and-tenon joints give the best mix of strength and clean looks for premium lines.
| Joinery Method | Relative Strength | Skill Level Needed | Best Use Cases |
|---|---|---|---|
| Pocket-hole screws | Medium | Low | Fast assembly of bases and braces |
| Half-lap joint | Medium to high | Medium | Interlocking X-bases and some cross intersections |
| Mortise and tenon | Very high | Higher | Premium crosses and platform bases |
| Dowel reinforced | High | Medium | Hidden strength in visible joints |
| Through bolts | Very high | Low to medium | Large crosses and heavy outdoor installations |
Professional Finishing And Weatherproofing Techniques

Finishing is where a plain wood structure turns into a retail-ready product. It affects how the cross looks on a shelf, how it feels when touched, and how long it lasts in real use. A solid stand design without good sanding and sealing will not meet customer expectations for long.
A simple sanding progression works well for most lines:
- Start with about 80-grit to remove saw marks and level joints.
- Move to 120-grit to smooth the surface.
- End with 220-grit for a fine feel, always sanding with the grain.
After sanding, wipe away dust with a tack cloth or a rag dampened with mineral spirits.
Stain keeps the wood grain visible while changing color, while paint covers the wood for solid-color lines. For outdoor crosses, primer under exterior acrylic or oil paint gives better adhesion and reduces tannin bleed from woods like cedar. Clear topcoats such as polyurethane work indoors, but outdoor pieces need spar urethane, marine varnish, or deck sealant to handle sun and moisture.
Customization Options To Increase Retail Value
Customization turns a standard wooden cross into a personal piece that shoppers are willing to pay more for. Names, dates, verses, and symbols all connect with strong emotions, especially in memorial and faith-based markets.
Popular options include:
- Router engraving of names or scripture on the cross arms or base, with letters left natural or filled with paint or colored epoxy.
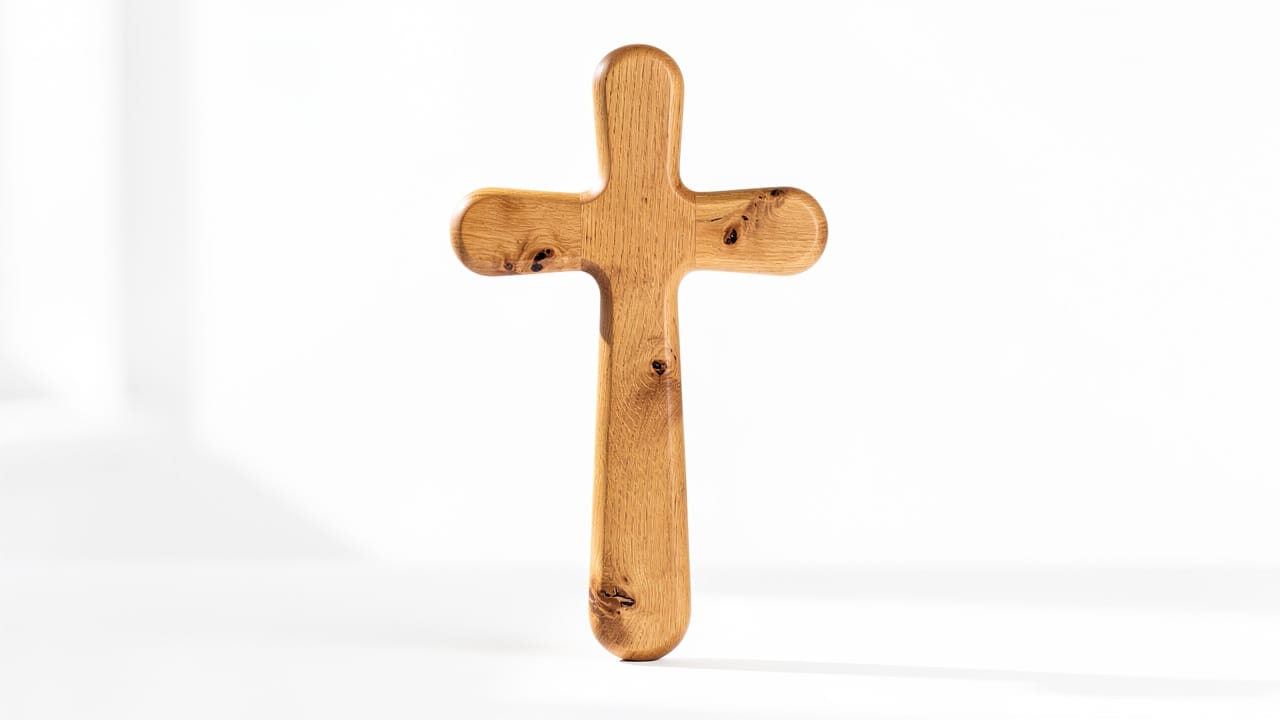
- Edge profiles such as roundovers for a soft feel, chamfers for a clean modern look, or ogee/cove profiles for classic styles.
- Mixed materials, for example wood crosses on stone, metal, or concrete bases for higher-end décor or memorial settings.
QlycheeCrafts can support these ideas with laser engraving down to about 0.2 mm line width, UV printing for full-color art, custom stains to match brand palettes, and flexible minimum order quantities so you can test designs before scaling up.
Adapting Stands For Different Cross Styles And Sizes

Not every cross fits a standard post-and-base layout. Log slice crosses, Celtic designs with rings, driftwood pieces, and miniature table models all need stand adjustments to feel safe and look right.
Round log slice crosses rarely have a flat bottom. They sit best in a cradle stand, such as:
- A block with a shallow curved recess that matches the slice, or
- A pair of uprights with V-notches that hold the disk from both sides.
Celtic and other ornate crosses tend to carry more weight higher up. That extra mass near the top raises the center of gravity and calls for wider bases, heavier platforms, or added braces. Smaller crosses for desks or mantels can use simple slot bases or small X-bases, while 5–8 foot models need scaled-up versions of the stake, X-base, or platform methods.
Quality Control And Safety Testing For Wholesale Products

For wholesale buyers, one wobbly cross can lead to a lot of trouble. Consistency and safety matter as much as design. Good quality-control checks protect your brand and keep returns low.
Focus on three areas:
- Structure: Check that screws are snug, glue lines are tight, and bases do not flex under moderate pressure. Push lightly from several directions to see how easily a floor-standing cross rocks or tips.
- Finish: Look for even coverage, no drips, proper drying, and smooth edges with no splinters.
- Dimensions: Confirm that mortises, tenons, and pre-drilled holes line up within a tight tolerance, especially when parts from different batches are mixed.
At QlycheeCrafts, we inspect each batch against a 0.2 mm tolerance standard and document results for larger orders. Our team tracks defects such as splitting, joint gaps, and unstable bases, and we stand behind our work with clear return and replacement policies.
Conclusion
A wooden cross that stands firm does more than avoid accidents. It shows care in design and respect for the setting where it will live. Now you’ve known practical ways to make a wooden cross stand up with confidence. Ground stakes handle outdoor memorial work, X-bases give portable strength indoors, and weighted platforms support tall floor models. Smart wood and hardware choices, along with strong joinery and careful finishing, raise product life and shopper trust.
If you are ready to expand your wooden cross range or launch new lines ahead of peak seasons, reach out to us for samples, pricing, and custom options. We look forward to building steady, long-standing products together.
FAQs
What Is The Best Wood For Making Outdoor Wooden Crosses?
For outdoor wooden crosses, cedar and redwood are among the best choices because their natural oils resist rot and insects very well. Cypress offers similar durability with a lighter color that some markets prefer. Pressure-treated pine works as a cost-friendly option, especially for stakes and ground-contact parts that will be painted. No matter which wood you pick, pair it with a good exterior sealant so rain and sun do not break it down too quickly.
How Wide Should A Cross Base Be For Stability?
A helpful guideline is to make the base width about 30–40% of the total height of the cross. A 4-foot-tall cross, for example, should sit on a base at least 16–20 inches wide. More ornate or top-heavy crosses need bases at the higher end of that range or even wider. Indoor pieces on level floors can use the lower end, while outdoor crosses or those in busy areas benefit from extra width and weight.
Can I Use Regular Wood Glue For Outdoor Crosses?
Standard interior wood glue does not hold up well when exposed to moisture, and joints can fail after repeated wet and dry cycles. For outdoor crosses, at least use a waterproof glue so that the bond stays strong in the rain. In harsh climates, some makers step up to marine epoxy, especially where joints see high stress. Combine glue with screws or bolts so the joint has both chemical and mechanical strength over time.
How Deep Should I Bury A Ground Stake Cross?
For most yard and garden installations, burying the stake at least 18 inches deep gives basic stability. Taller crosses over 4 feet or those in windy, open locations do better with 24–36 inches below ground. A good rule is to bury about 30–40% of the above-ground height when possible. In sandy or rocky soils, more depth and gravel or concrete backfill help keep the cross upright through storms and seasons.
What Is The Advantage Of Buying Pre-Cut Components vs Cutting My Own?
Buying pre-cut components shifts much of the heavy work off your staff and onto a factory built for it. You avoid the cost of larger saws, routers, and dust systems, and you reduce the need for skilled woodworkers just to keep parts consistent. Instead, your team handles faster assembly and finishing, turning out more sellable crosses per day. With QlycheeCrafts, you also gain tight cutting tolerances, smooth edges, and pre-drilled holes that help every cross and base fit together the same way.
Do You Offer Samples Before I Place A Large Wholesale Order?
Yes. QlycheeCrafts offers sample components so you can see and feel the wood, check dimensions, and test assembly before you commit to a larger purchase. We also support low first-order quantities that let you try new designs in your market with limited risk. Our account managers help you pick the right cross sizes, bases, and finishes for your shoppers, then arrange quick sample shipment to keep your planning on schedule.