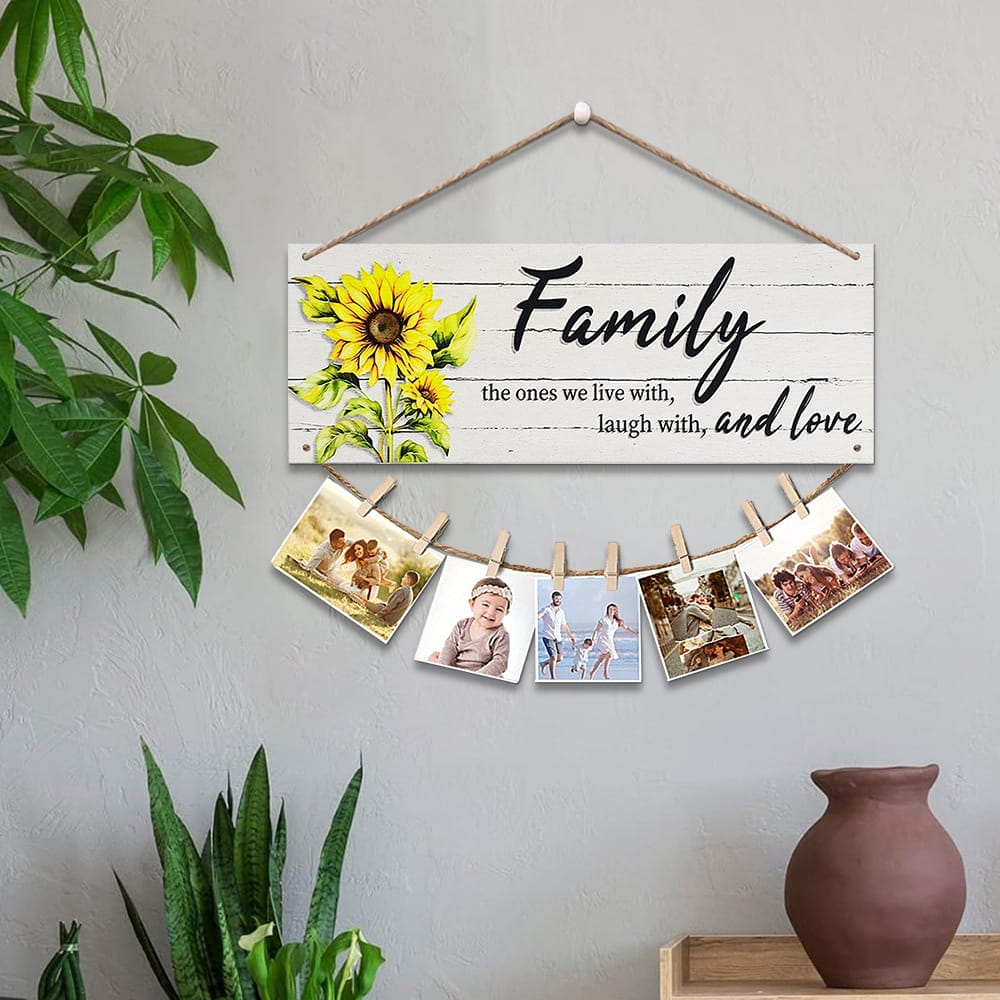
In today’s competitive market, custom wooden signs offer businesses a unique way to enhance brand visibility and create memorable customer experiences. At our factory, we specialize in producing high-quality wooden signs tailored to meet the specific needs of B2B clients across various industries. Combining skilled craftsmanship with advanced manufacturing techniques, we ensure each sign not only reflects your brand identity but also stands the test of time. In this simple guide, we’ll walk you through our production process—from material selection and design customization to finishing touches—so you can understand how we deliver durable, eye-catching wooden signs that help your business stand out.
Key Takeaways
- Start with the right wood thickness and a smooth surface to prevent warping and make lettering easier.
- Follow a simple sequence: plan → cut → sand → paint or stain → transfer design → letter → seal.
- Choose the lettering method: stencil, transfer, vinyl, or hand-lettering.
- Add framing and a protective topcoat so your wooden signs are ready for busy stores and outdoor areas.
- With a repeatable process, we can create consistent branded wooden signs for retail and wood craft business use.
Plan Wooden Signs For Business Use

Before we pick up a saw or brush, we plan how the sign will work in a real setting.
Clarify The Purpose
Ask three quick questions:
- Where will this sign live? (wall, shelf, counter, door, porch)
- What is the single main message? (logo, price list, wayfinding, promotion)
- How far away will customers stand when they read it?
For example:
- Shelf talker: small sign (5″–8″) with 1–2 words or a short line.
- Counter sign: medium sign (8″–12″) with a headline and small details.
- Entry or porch sign: large sign (16″+) with bold, high-contrast lettering.
To make this even clearer, you can think of common sign types like this:
| Sign Location | Typical Width | Main Focus |
|---|---|---|
| Shelf / Display | 4″–8″ | Short product label or price |
| Countertop | 8″–12″ | Offer, menu item, or key message |
| Entry / Wall | 16″+ | Brand name, welcome text, or logo |
Choose Size And Layout
We sketch the layout on paper first:
- Block in the main headline and any secondary text.
- Mark where a logo or small graphic might sit.
- Keep plenty of margin around text so it reads clearly from the intended distance.
This step makes the rest of the process smoother and reduces wasted wood and paint.
Materials And Tools For DIY Wood Signs

We do not need a full workshop to make wooden signs, but a few wood craft materials will make the results look more professional and consistent.
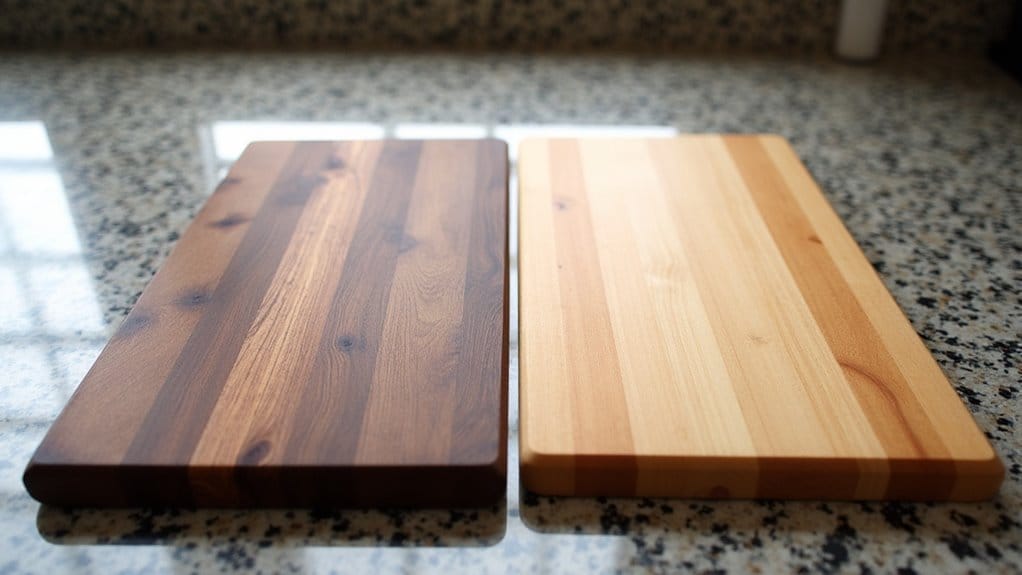
Wood And Basic Prep
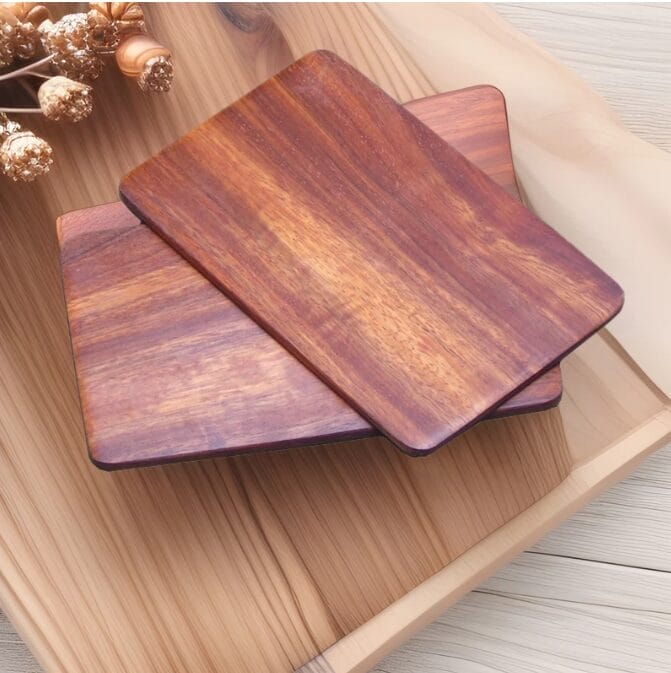
- Sign Base
- 3/4″ birch plywood for most indoor signs (resists warping, sands smooth).
- Cedar or exterior-grade plywood for outdoor signs.
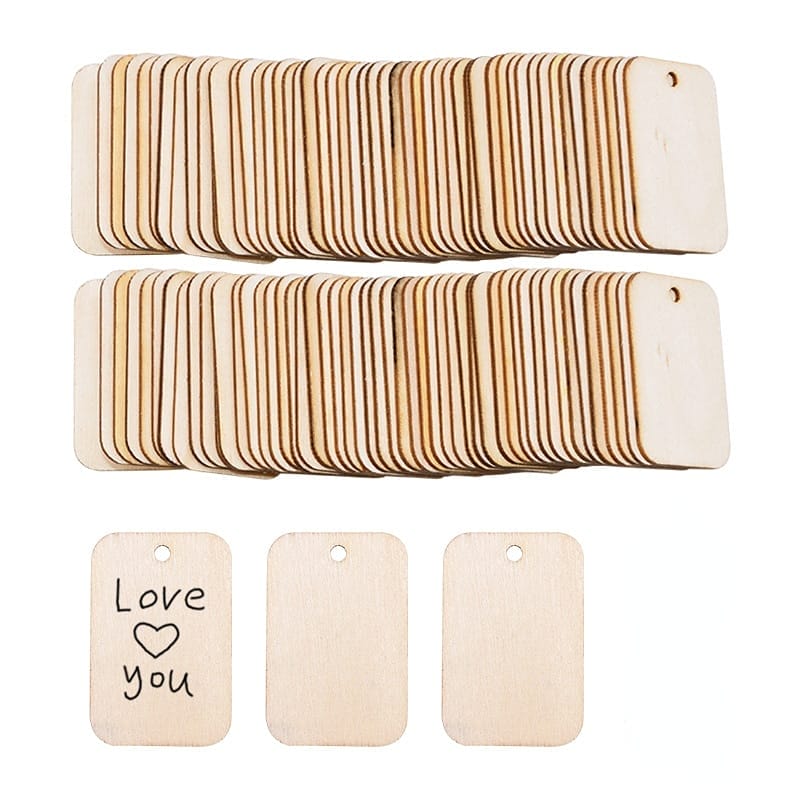
- Pre-cut blanks from where to buy wood pieces if we want to skip cutting.
- Frame Material (Optional)
- 1″x2″ pine boards for simple modern frames.
- Prep Supplies
- 220-grit sandpaper or a sanding block.
- Orbital sander (helpful if we are making several signs).
- Wood filler for small gaps or knots.
- Damp cloth or tack cloth for dust removal.
Paints, Stains, And Sealers
- Background Coats
- Acrylic craft paint, latex sample paint, or chalk paint for solid color backgrounds.
- Wood stain if we want the grain to show for a rustic or farmhouse style.
- Clear Topcoat
- Polycrylic or Shellac for indoor signs.
- Exterior polyurethane or spar urethane for outdoor signs.
Design And Lettering Supplies
- Printer and paper for design layouts.
- Graphite or carbon paper for easy design transfer.
- Pencils and rulers for measuring and sketching.
- Stencils or adhesive vinyl stencils.
- Paint pens.
- Small artist brushes if we prefer brush lettering.
Cutting And Assembly Tools
- Circular saw or jigsaw for cutting the base.
- Miter saw (nice to have) for precise frame cuts.
- Wood glue.
- Hammer and finishing nails or a brad nailer.
- Clamps to hold frame pieces while glue dries.
- Sawtooth picture hanger or wire for hanging.
Safety Note
We always wear safety glasses and a dust mask when cutting and sanding. If we use a torch for burned finishes, we work outside with a fire extinguisher nearby.
Step-By-Step: How To Make Wooden Signs
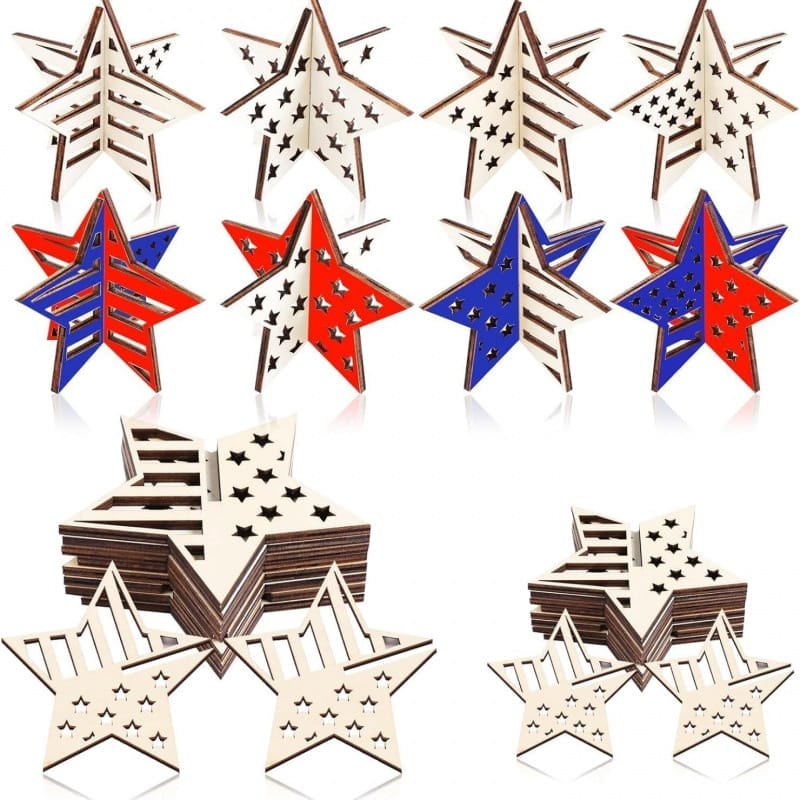
This process works whether we are making one welcome sign for a boutique or a series of matching profitable wood craft projects for a chain of stores. At QlycheeCrafts, we follow these same steps for small production runs.
Step 1: Cut The Wooden Base
- Measure the size we planned earlier and mark straight lines with a pencil and straightedge.
- Cut along the lines with a circular saw or jigsaw.
- If we do not have saws, we can ask a home center to cut plywood to size or start from craft store supplies.
For larger wall or porch signs, we recommend 3/4″ material so the sign stays flat and solid.
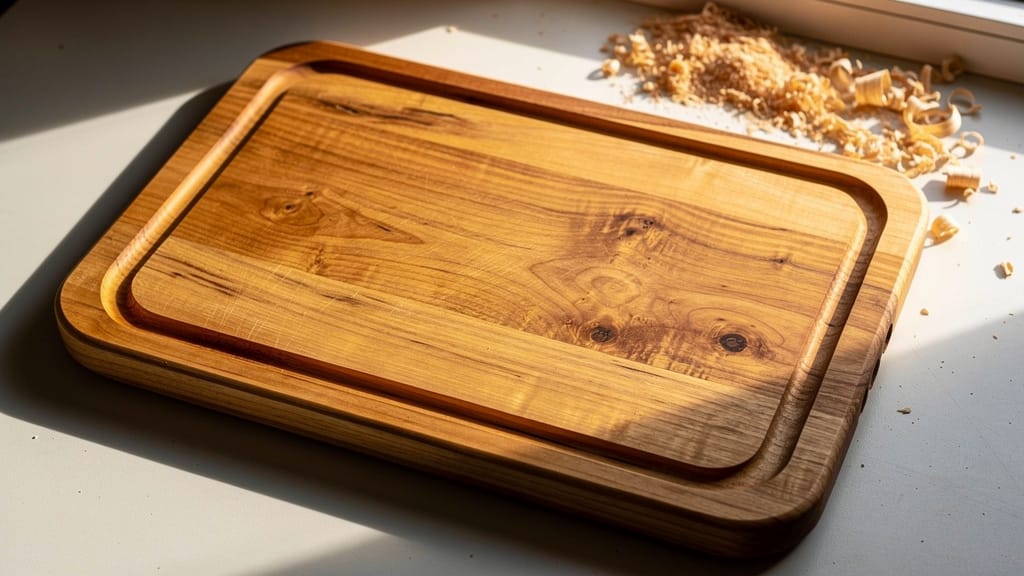
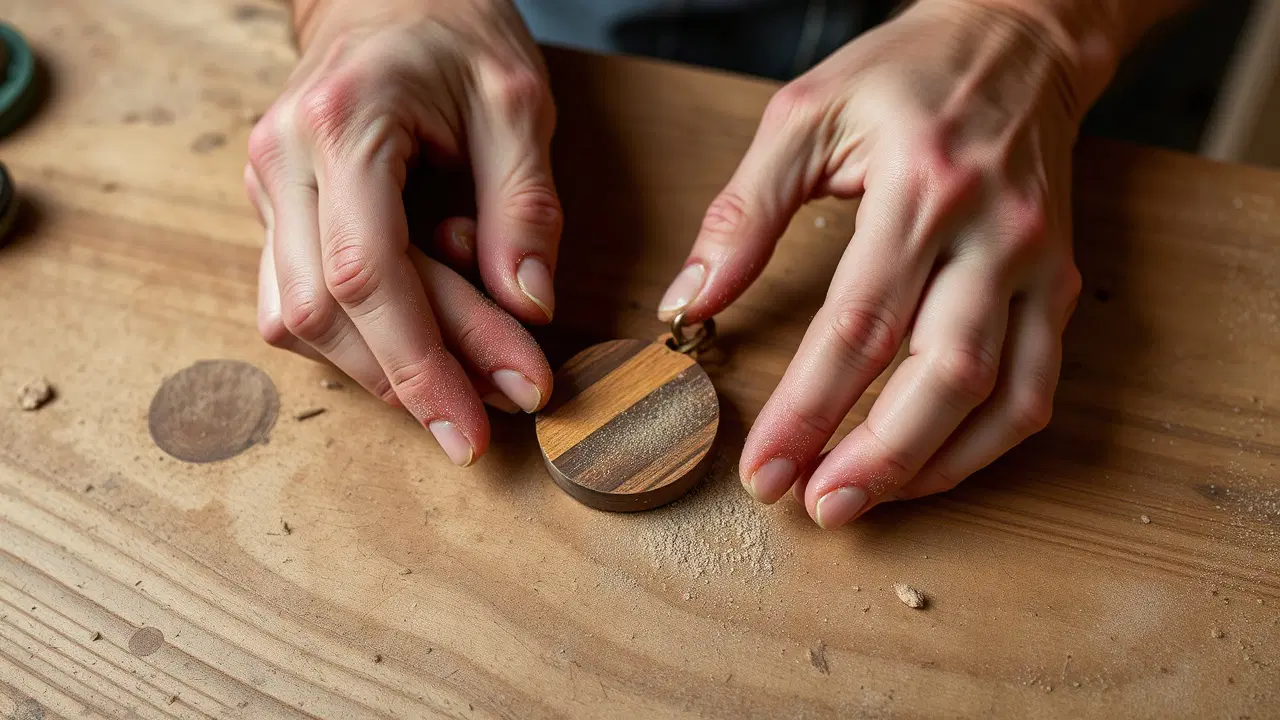
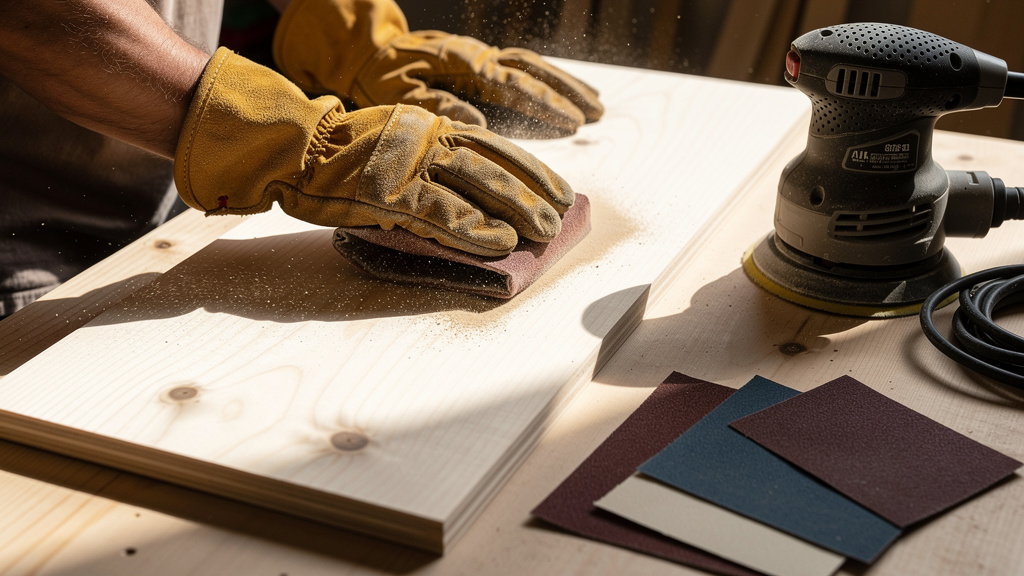
Step 2: Sand And Prep The Surface
- Sand all faces and edges with 220-grit sandpaper (or an orbital sander).
- Round sharp edges slightly for a finished feel.
- Fill gaps or knots with wood filler if needed, let dry, then sand again.
- Wipe away all dust with a damp cloth or tack cloth.
Tip
Sand in the same direction as the wood grain. This simple habit keeps the surface smooth and helps paint or stain look clean on the finished sign.
Step 3: Paint Or Stain The Background
This is where the sign starts to match our brand colors and types of wood.
For A Painted Background
- Apply paint with a small foam roller for smooth coverage.
- Let it dry fully, then lightly sand and apply a second coat if needed.
- White, black, and gray are popular for retail because they pair well with many logos and fonts.
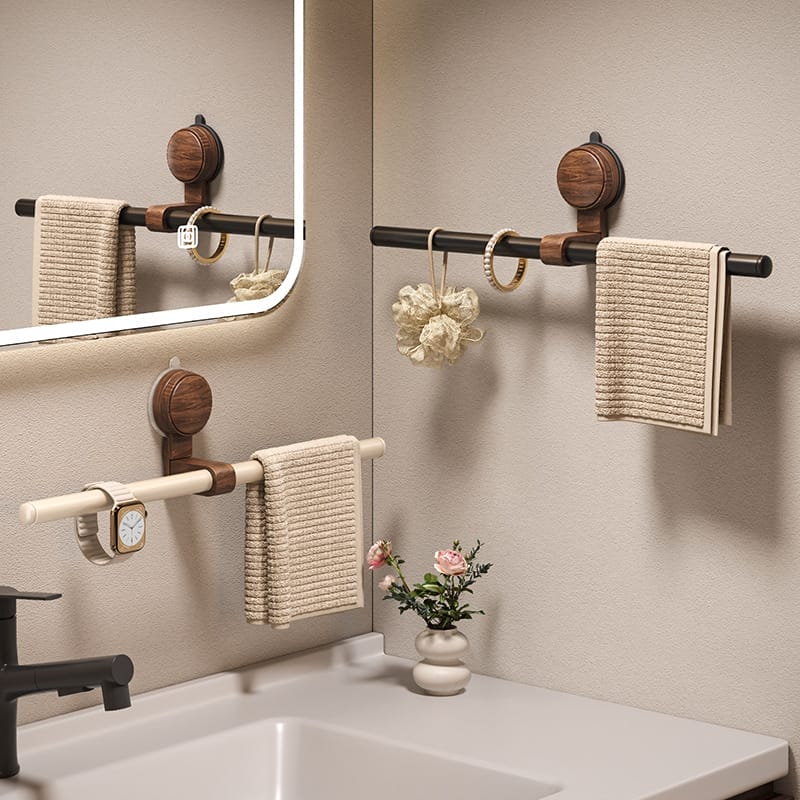
- For brand-heavy spaces, match one of your brand palette colors to tie the sign into wooden wall decor.
For A Stained Background
- Brush or wipe stain along the grain.
- Let it sit for the recommended time, then wipe off excess.
- Allow it to dry thoroughly before moving to the next step.
Tip
Test color on an offcut first. Wood type and previous finishes can change how paint or stain actually looks on the sign.
Step 4: Transfer the Design To The Wood
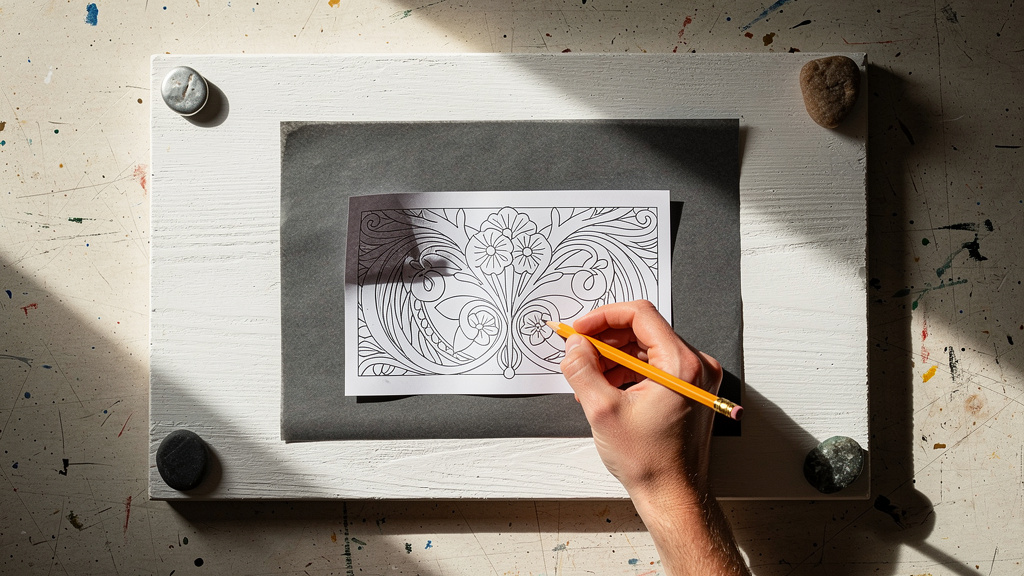
Learning how to make wooden signs that look consistent from one store to another starts with a repeatable design transfer method. If we need help, we can study techniques on how to transfer letters to wood.
When planning the design, keep these basics in mind:
- Use high-contrast color pairs (for example, black on white or white on navy).
- Choose simple, readable fonts for main messages.
- Keep the number of fonts to one or two per sign.
Graphite Or Carbon Paper Method
- Print the sign design at full size from software such as Canva, Word, or Illustrator.
- Tape graphite paper (dark side down) onto the sign.
- Tape the printout on top of the graphite paper.
- Trace all letters and graphic elements with a pen or pencil.
- Remove the papers to reveal clear outlines ready for painting.
Pencil-Shading Method
If we do not have graphite paper:
- Heavily shade the back of the printed design with a pencil.
- Place it face up on the wood and tape it in place.
- Trace the front outlines; the pencil on the back transfers to the sign.
This method is low-cost, works with any font, and does not require a cutting machine.
Step 5: Choose A Lettering Method
There are several reliable ways to add lettering when we explore how to make wooden signs. We pick the method that fits our tools, timeline, and volume.
Option A: Stencils
Place a reusable stencil or adhesive vinyl stencil on the sign. Press it down firmly, especially around letter edges. Use a dry stencil brush, sponge, or paint pen and apply several light passes instead of one heavy coat. Peel the stencil while paint is still slightly tacky.
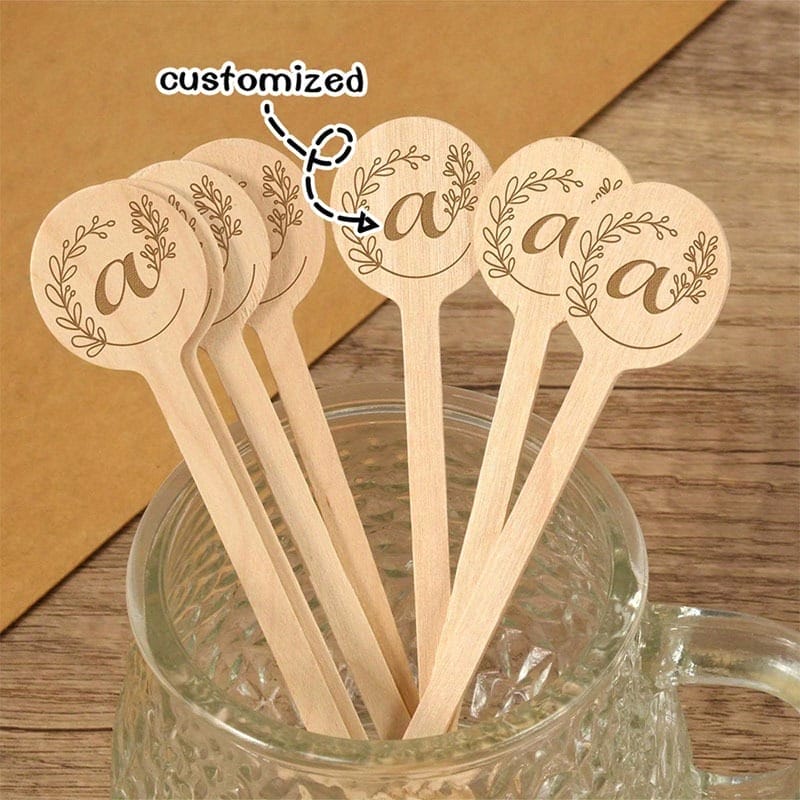
Stencils are ideal for repeating the same painting wooden letters across many signs.
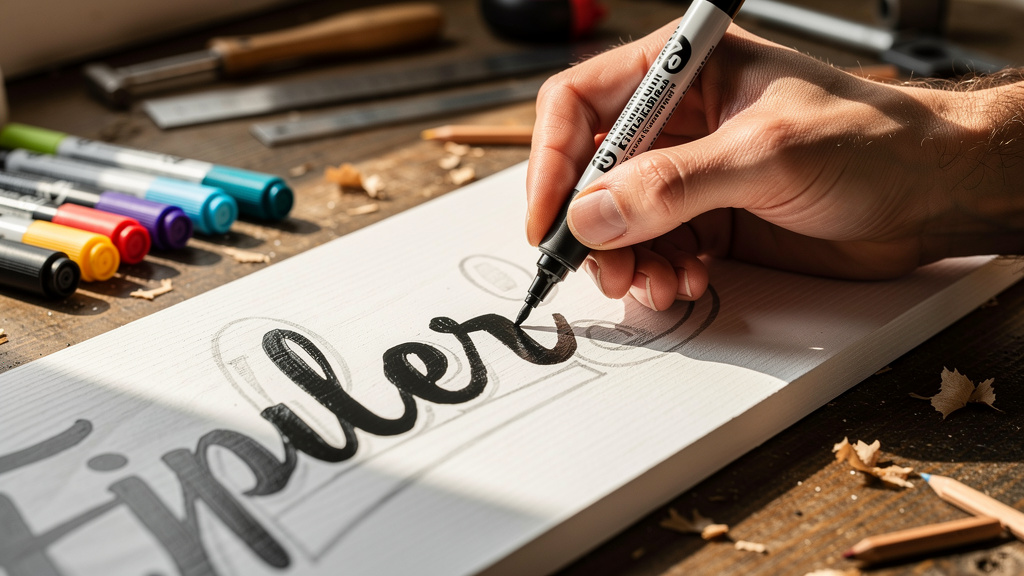
Option B: Paint Pens And Hand-Lettering
Lightly cutting letters out of wood in pencil first. Trace and fill with an oil-based paint pen. Work slowly along the outlines for crisp edges.
Paint pens are easier to control than small brushes and are great for white text on dark backgrounds.
Pro Tip
Keep a scrap board painted with the same background color next to your work. Test each stroke or pen on the scrap before touching the actual sign.
Option C: Vinyl Cutting Machines
Cut adhesive vinyl to serve as a stencil with a Cricut or Silhouette. Weed out the letters so the empty spaces form the design. Apply with transfer tape and press down well. Paint through the openings, then remove the vinyl.
This method is excellent when we want consistent, detailed branding across many locations.
Option D: Routed Or Carved Letters
For a carved effect:
- Transfer the design as above.
- Use a router with a small V-groove or engraving bit to follow the outlines.
- Clean up edges with fine sandpaper.
- Leave letters natural or fill the carved areas with paint.
Carved signs hold up well in busy spaces and outdoor areas, and they add depth that stands out in window displays.
Step 6: Seal And Protect The Sign
Sealing is the last step in how to make wooden signs that can handle high-traffic environments.
- Make sure all paint, stain, and paint pen work is completely dry.
- Brush on a thin, even coat of clear sealer (Polycrylic, Shellac, or exterior polyurethane).
- Let it dry, lightly sand if needed, and apply a second coat.
- For outdoor or damp locations, seal the front, back, and all four edges.
Add hanging hardware (sawtooth hanger, D-rings, or wire) or a small wood base so the sign stands on a shelf or counter.
Note
Sealing both the front and back reduces warping, especially for porch or garden signs that see humidity changes.
Advanced Finishes And Framing

Once we understand the basics of how to make wooden signs, we can add finish or frame that fit brand or décor.
Burned Wood Finish
For dramatic texture:
- Work outdoors with a propane torch and safety gear.
- Pass the flame steadily over the surface until the wood chars to the depth we like.
- Let it cool completely, then brush away loose soot with a wire brush.
- Wipe clean and seal with several coats of clear finish.
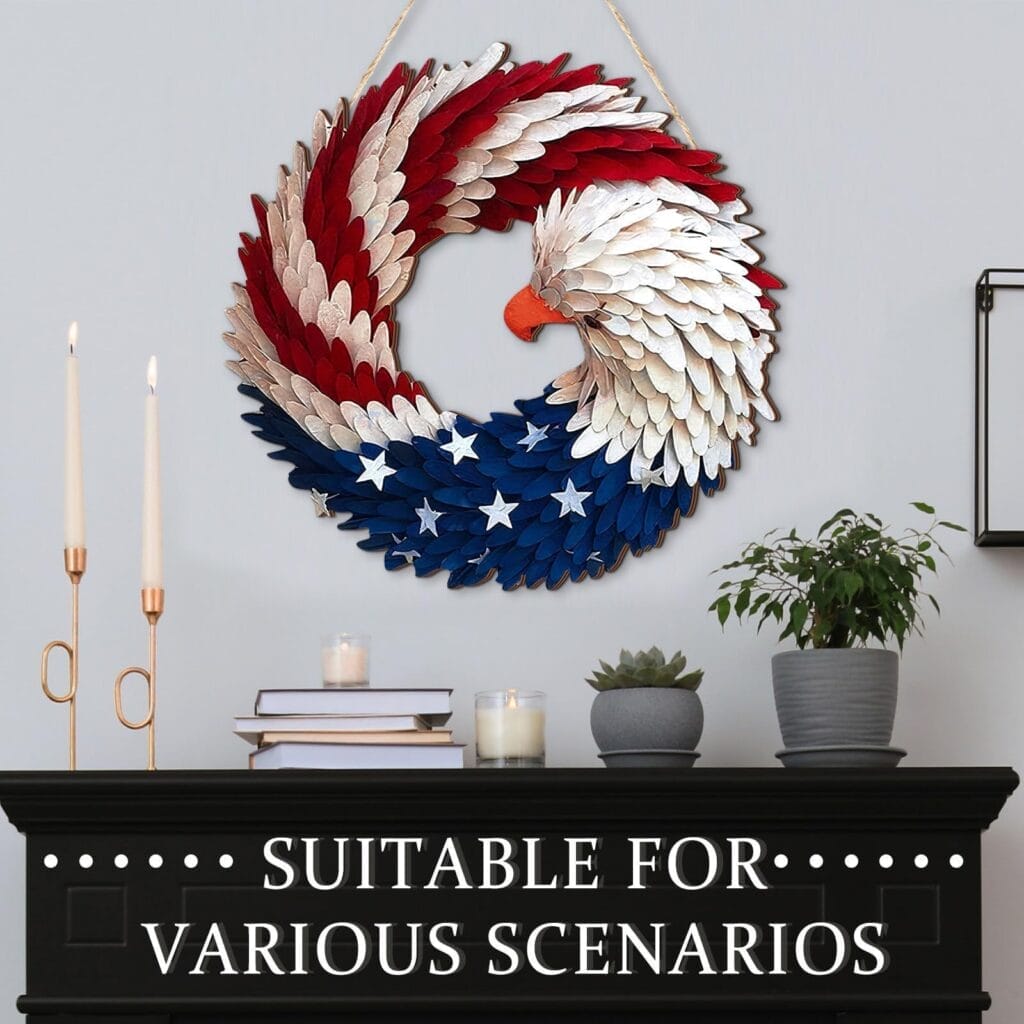
We can burn the entire sign face or just the frame for contrast. This method works well for rustic restaurants, outdoor brands, or gift shops.
Add A Simple Frame
A frame gives even a basic plywood sign a more polished, store-ready look.
Cut two 1″x2″ boards to match the width of the sign (top and bottom). Cut two more pieces to the height of the sign plus 1.5″ (to cover the top and bottom thickness). Sand and stain the frame pieces before assembly. Glue and nail the top and bottom pieces to the sign edge. Glue and nail the sides, securing each corner with nails into both the sign and adjoining frame.
This butt-joint frame style is quick, repeatable, and looks clean in retail environments.
Practical Tips And Common Mistakes
Understanding how to make wooden signs is as much about avoiding errors as it is about technique. At QlycheeCrafts, we keep these habits in mind:
Smart Habits
- Plan the layout on paper before cutting wood.
- Double-check measurements and spelling.
- Test paint and stain colors on scrap pieces from the same board.
- Practice new lettering methods on scrap wood first.
- Let each coat of paint, stain, and sealer dry fully before adding the next.
Common Mistakes To Avoid
- Rushing drying time, which causes peeling stencils and smudged letters.
- Skipping sanding, leading to rough edges and uneven paint.
- Using very thin plywood for larger signs, which can warp quickly.
- Ignoring the back and edges when sealing outdoor signs.
- Filling the sign with too much text instead of focusing on one clear message.
Conclusion
By following these steps, we can approach how to make wooden signs as a clear, repeatable process instead of trial and error. With a small set of tools and materials, we can build custom, branded signs for our shop, events, or product displays that look polished and hold up to daily use.
FAQ
How Do We Choose The Right Size For A DIY Wood Sign?
We start from the viewing distance:
- Shelf or table: 4″–8″ wide works well.
- Countertop or checkout: 8″–12″ wide.
- Wall or entry: 16″ and larger.
We measure the space, leave margin around the edges, and keep text large enough to read from where customers stand. A quick rule of thumb is at least 1″ of letter height for every 10 feet of viewing distance.
What Is The Best Way To Transfer A Design Onto Wood?
For most projects, graphite or carbon paper over a printed layout is the simplest and most flexible method. For more ways to transfer designs, we can review detailed methods on how to transfer letters to wood.
Can We Make DIY Wood Signs Without Expensive Tools?
Yes. To start learning how to make wooden signs, we only need:
- Pre-cut plywood or craft blanks.
- Sandpaper.
- Craft paint or stain.
- A printed design, graphite paper, and a paint pen.
Over time, we can add tools like an orbital sander, miter saw, or cutting machine if we begin producing signs regularly for business.
How Do We Keep Multiple Signs Consistent Across Locations?
We standardize the process:
- Use the same wood thickness and background color.
- Save digital design files with fixed sizes and fonts.
- Use stencils or design transfers rather than freehand for repeating logos.
- Record paint colors, stain names, and sealer products for future batches.
This approach makes how to make wooden signs a repeatable system rather than a one-off craft.
What Finish Works Best For Busy Retail Spaces?
For indoor stores:
- Painted backgrounds with Polycrylic topcoat (satin or matte) resist scuffs and are easy to wipe clean.
- For stained signs, Shellac adds warmth and dries fast, followed by a clear topcoat if extra protection is needed.
For porch or outdoor displays:
- Exterior paint or stain plus an exterior polyurethane or spar urethane on all sides.