If you’re looking to add permanent designs or text to wood, you’ve got several effective methods at your disposal. You’ll find that each engraving technique offers distinct advantages, from the precision of laser technology to the artistic control of hand tools. Whether you’re a professional craftsperson or a DIY enthusiast, understanding these six proven approaches will help you select the right method for your specific project needs. Let’s explore your options for transforming ordinary wood into custom works of art.
Key Takeaways
- Wood laser engraving offers precise, automated designs using focused laser beams, ideal for intricate patterns with line widths down to 0.1mm.
- Traditional wood burning uses specialized pyrography pens with adjustable temperatures, requiring steady pressure and practiced technique for clean results.
- CNC routers provide computer-controlled automation for consistent, precise engravings on both flat and curved wood surfaces.
- Power tools like rotary tools and electric carvers offer versatile engraving options with various attachments for different detail levels.
- Hand engraving utilizes basic tools like carving knives and gouges, demanding careful planning and systematic cutting for controlled results.
Method 1: Wood Laser Engraving
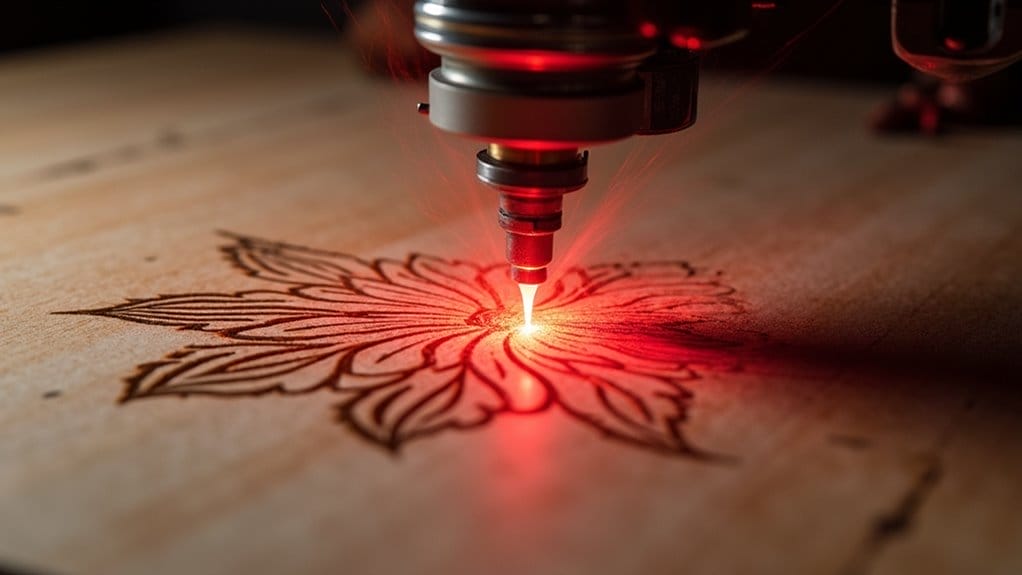
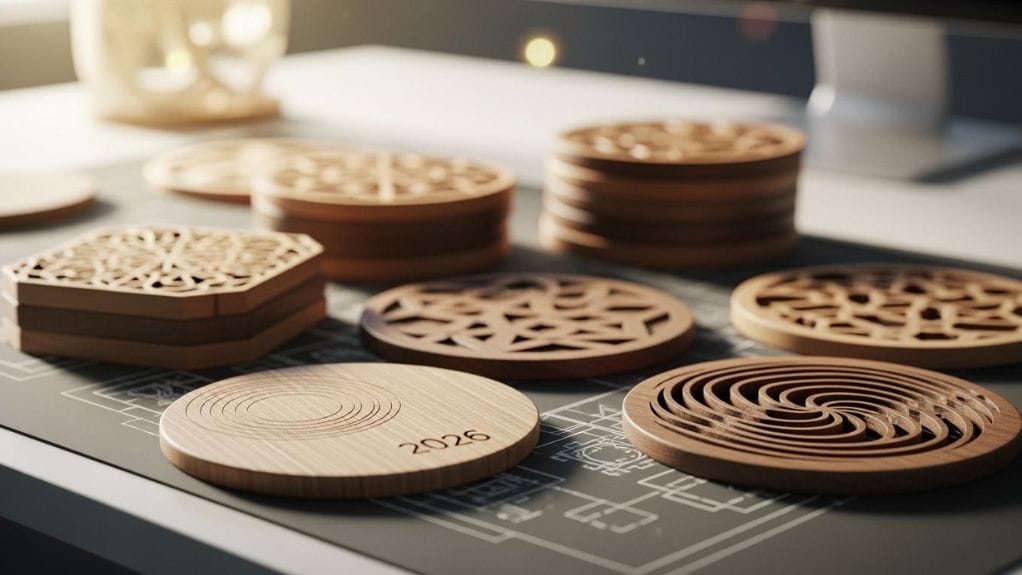
Laser engraving machines use concentrated beams of light to precisely burn or vaporize wood surfaces, creating detailed designs through computer-controlled movements.
You’ll find this method particularly effective for intricate patterns and text, as the laser’s pinpoint accuracy can achieve line widths as fine as 0.1mm.
The automated precision, speed of execution, and ability to reproduce complex designs consistently make laser engraving an efficient choice for both commercial and hobbyist woodworking projects.
How Laser Engraving Works
When it comes to modern wood engraving, laser technology offers unmatched precision and efficiency.
A laser engraving machine works by directing a focused laser beam onto the wood’s surface. The laser head moves systematically across the material, burning away layers according to your digital design.
CO2 laser engraving systems operate by adjusting laser power and speed to achieve different depths and effects. You’ll need to calibrate your laser settings based on the wood type and desired outcome.
Higher power settings create deeper burns, while faster speeds produce lighter marks. The laser beam’s intensity determines how much material is removed, allowing for intricate detail work.
Advantages of Laser Engraving Machines
Among all wood engraving methods, laser machines offer distinct advantages that make them invaluable for both hobbyists and professionals.
When you laser engrave wood, you’ll achieve exceptional precision and consistent results. Laser engravers provide digital control over power and speed settings, allowing you to fine-tune the depth and intensity of each cut.
A laser machine excels at creating intricate designs that would be challenging with traditional tools. You’ll get superior engraving results through automated operation, reducing human error.
Wood laser engraving also offers remarkable efficiency – you can replicate complex patterns quickly while maintaining quality across multiple projects.
Method 2: Wood Burning

Wood burning requires specialized tools, including a wood burning pen with interchangeable tips, carbon transfer paper, and heat-resistant gloves for safety.
You’ll need to master temperature control and consistent pressure to create clean, dark lines and varying shades in your designs.
Practice different strokes and techniques on scrap wood to understand how your burning tool responds to various wood species and grain patterns.
Tools Needed for Wood Burning
The essential tools for wood burning start with a pyrography pen or wood burning tool – your primary implement for creating designs. This specialized tool heats up to create precise marks on the wood surface during the burning process.
- A power tool with adjustable temperature settings for controlled engraving
- Various engraving tips for different line widths and textures
- Heat-resistant gloves to protect your hands during the engraving process
- Sandpaper (various grits) to prepare and smooth the wood surface
You’ll also need a pencil for sketching designs and a clean workspace with proper ventilation.
Keep your tools organized and maintained for peak performance.
Techniques for Effective Wood Burning
Mastering wood burning techniques requires a methodical approach and precise temperature control.
To engrave wood by hand effectively, hold your wood burning tool at a 45-degree angle and maintain steady pressure. Start with lower temperatures to test the wood’s response before increasing heat.
Traditional hand engraving techniques involve creating burn marks through consistent strokes. Transfer your design onto the wood using carbon paper, then trace the lines slowly. Work in sections, moving from light to dark areas.
To protect the engraved surface, let it cool completely between passes. For detailed work, use various tip shapes and adjust your tool’s temperature according to wood density.
Method 3: Engraving by Hand

Hand engraving wood requires basic tools including a sharp carving knife, gouges of various sizes, a pencil for marking your design, and a mallet for controlled force.
You’ll need to select tools appropriate for your specific project, considering factors like wood hardness and design complexity.
The essential hand engraving process combines careful planning, proper tool selection, and controlled cutting techniques to achieve precise, detailed results in the wood surface.
Tools Needed for Hand Engraving
Basic hand engraving requires several essential tools to achieve precise, controlled cuts in wood.
Before you engrave wood by hand, prepare your wood for engraving by gathering these fundamental implements:
- A quality wood engraver or carving tool set with various tip sizes for different cutting depths and patterns
- Safety equipment including protective goggles, dust mask for wood dust, and cut-resistant gloves
- A sturdy work surface with good lighting and clamps to secure your wood material
- Pencils, rulers, and transfer paper for marking your design before you begin to carve
Step-by-Step Guide to Engrave Wood by Hand
When you’re ready to begin hand engraving, proper technique and sequential steps are essential for achieving clean, precise cuts.
Start by preparing the wood surface – sand the wood thoroughly using progressively finer grits until smooth. Select your wood type carefully, as hardwoods typically produce crisper lines.
Transfer your design onto the surface using carbon paper or direct drawing. Secure the workpiece firmly to prevent movement.
Begin to engrave onto the wood by hand using light pressure at first. Follow your design’s outline before deepening the cuts.
Work systematically from left to right to etch details, maintaining consistent depth and stroke direction throughout the process.
Method 4: Using a Power Tool
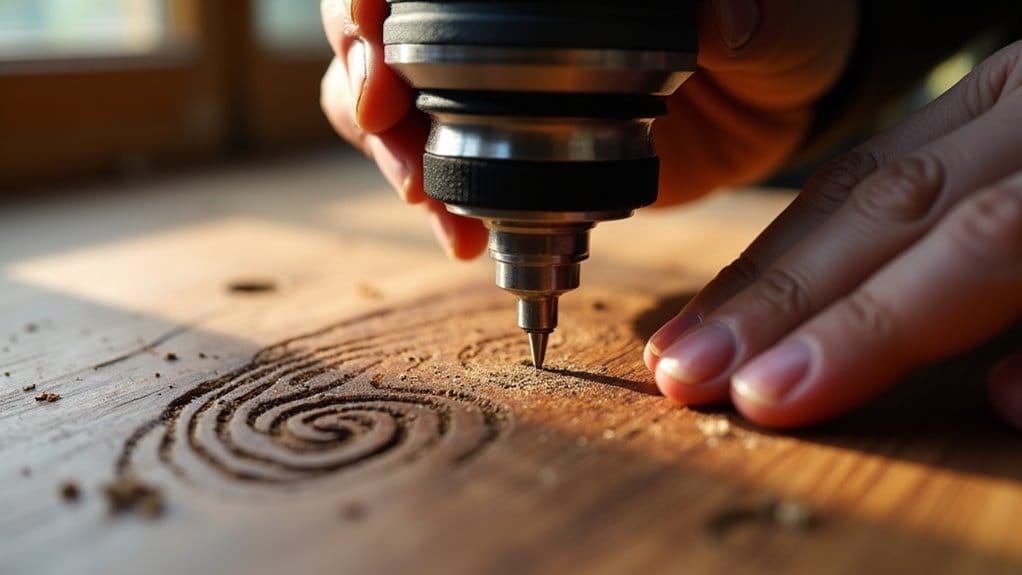
Power tools for wood engraving include rotary tools like Dremels, electric wood carvers, and handheld engravers with variable speed settings.
You’ll need to select attachments specific to your project, such as diamond-tipped bits for fine details or carbide burrs for deeper cuts.
Before operating any power tool, guarantee you’re wearing safety goggles, a dust mask, and hearing protection while working in a well-ventilated area with a secure workbench.
Types of Power Tools for Engraving
Several specialized power tools excel at wood engraving, including rotary tools, electric carvers, and CNC routers. Each tool offers unique capabilities for designs into wood, letting you create detailed laser engraving projects.
- Rotary tools like Dremel provide handheld control and versatility for small-scale wood engraving.
- Professional engraving machines and CNC routers deliver precision automated carving for complex patterns.
- The Cricut Maker combines digital design with mechanical cutting for consistent results.
- Laser etching systems use focused beams for incredibly detailed wood engraving machine work.
Choose your tool based on project scale, detail requirements, and budget constraints. A wood using beginner might start with rotary tools before advancing to automated systems.
Safety Tips for Using Power Tools
Safe operation of engraving tools requires strict adherence to fundamental safety protocols. Always wear protective eyewear and a dust mask to shield against wood debris.
Before starting, secure the wood piece firmly to prevent movement during the engraving process. Don’t wear loose clothing or jewelry that could catch in rotating parts. Keep your workspace well-ventilated, especially when working with treated wood or applying wood finish or sealant.
Before transferring your design on the wood, guarantee all power tools are properly maintained and unplugged during bit changes. Remove the wood dust regularly to maintain visibility and prevent fire hazards.
Maintain a firm grip and stable stance while operating tools.
Method 5: CNC Router Engraving
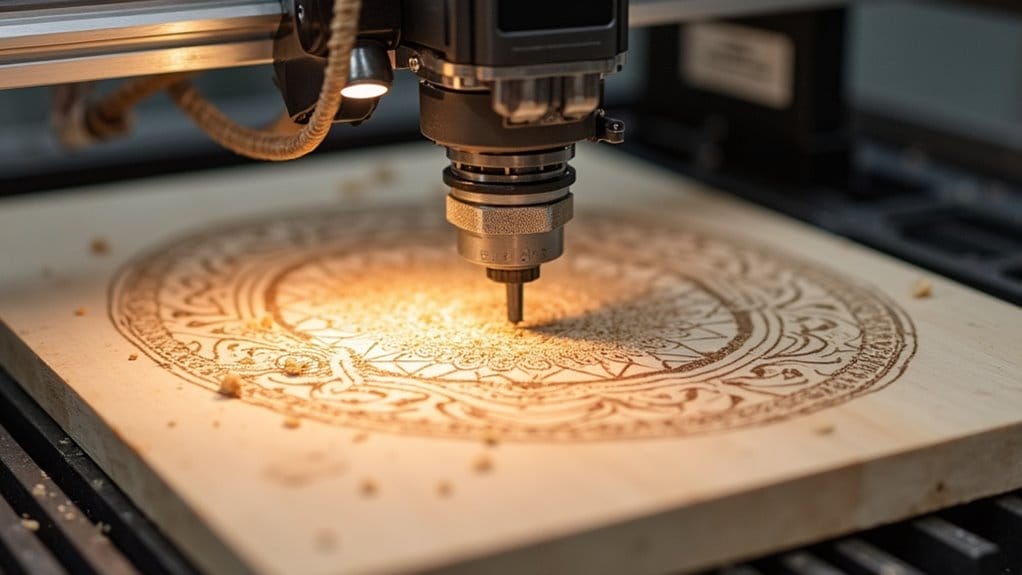
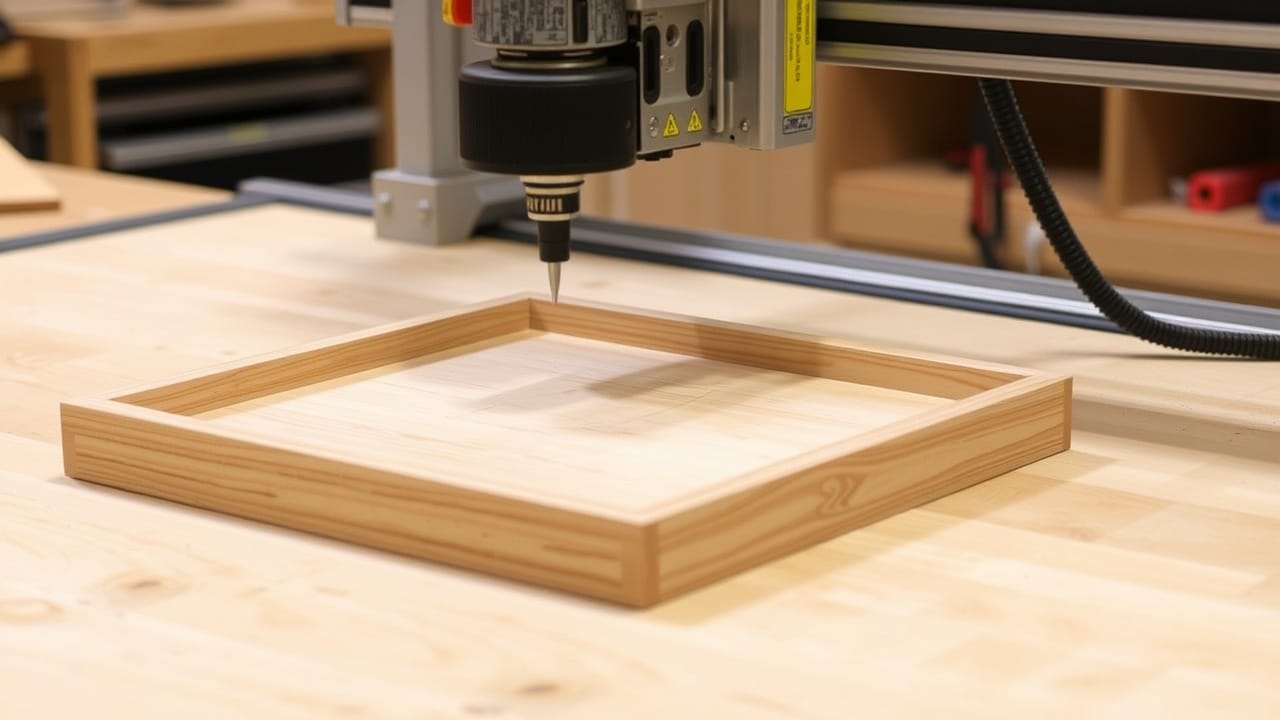
CNC router engraving offers exceptional precision and repeatability for wood projects through computer-controlled automation.
You’ll benefit from the ability to create intricate designs, logos, and text with consistent depth and accuracy across multiple pieces.
The CNC router’s versatility allows you to engrave both flat surfaces and curved objects while maintaining professional-quality results that would be difficult to achieve with manual methods.
How to Engrave Wood by Using a CNC Router
Using a CNC router represents one of the most precise methods for wood engraving, combining computer-guided accuracy with automated cutting power.
To engrave wood with a CNC router, you’ll need to start by creating your design in specialized software before transferring it to the machine.
- Load your prepared wood piece onto the CNC router bed, ensuring it’s properly secured.
- Import your design file into the CNC control software and set cutting parameters.
- Zero the machine to establish the starting point directly onto the wood surface.
- Monitor the router as it systematically cuts away wood according to your programmed design.
The CNC router will follow your design specifications with mechanical precision, creating consistent depth and detail in the final engraving.
Benefits of CNC Wood Engraving
While traditional wood engraving methods rely heavily on manual skill, CNC router engraving offers unmatched precision and repeatability for professional-grade results.
You’ll achieve clean engraving with consistent depth and detail across multiple projects. The latest laser engraving technology lets you start the engraving process automatically after programming your design.
CNC routers are suitable for engraving complex patterns, logos, and text with minimal error. They’re used for engraving on various wood types and can maintain quality across large production runs.
The automated engraving process guarantees time efficiency while reducing material waste and labor costs, making it ideal for commercial applications.
Method 6: Using a Cricut Maker
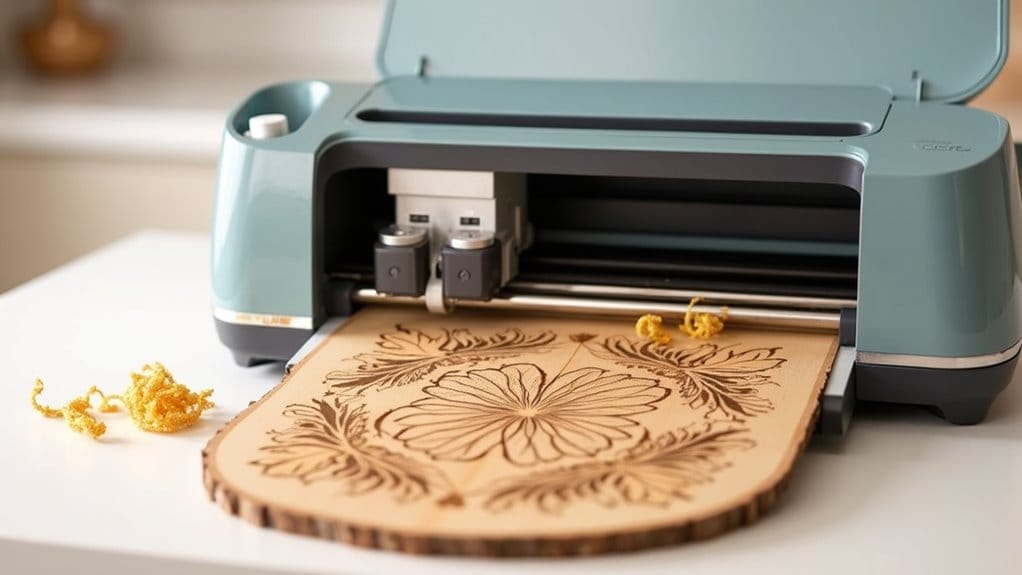
The Cricut Maker offers precision wood engraving capabilities through its Knife Blade and Engraving Tool attachments, allowing you to create intricate designs on thin basswood, balsa, and other soft woods.
You’ll need to select the appropriate cutting pressure and tool settings in Cricut Design Space, then secure your wood firmly to a StrongGrip mat before engraving.
The machine’s adaptive tool system automatically adjusts the blade depth and pressure as it follows your digital design, producing clean and consistent engraving results.
Features of the Cricut Maker for Wood Engraving
Modern Cricut Maker machines come equipped with specialized features that make wood engraving precise and accessible. When you want to engrave your piece of wood, these capabilities guarantee professional results.
- Knife Blade technology cuts through materials up to 2.4mm thick, perfect for the right wood selection.
- Adaptive Tool System automatically adjusts pressure up to 4kg while you begin engraving.
- Different engraving bits for varied depth control and custom wood designs.
- Built-in pressure sensors detect when engraving is complete to prevent material damage.
The machine’s digital interface lets you preview designs before starting, while its precision motors guarantee accurate cuts within 0.1mm tolerance.
How to Laser Engrave Wood by Using a Cricut Maker
Laser engraving wood with a Cricut Maker requires proper setup and material preparation before beginning your project.
Select wood suitable for laser engraving – maple, cherry, or basswood work best. Confirm your design is properly sized and designed for engraving in Cricut Design Space.
Set your Cricut Maker’s engraving depth and pressure based on the wood type. Test settings on scrap material first.
Load your wood piece onto the strong grip mat, confirming it’s firmly secured. Begin engraving at a moderate speed to prevent burning.
Once complete, gently clean the engraved area with compressed air and seal the wood to protect your design.
Frequently Asked Questions
How Long Does Wood Engraving Last Before It Starts to Fade?
You’ll find properly engraved wood lasts decades if protected from weather and UV exposure. With indoor display and periodic sealing, your engravings can remain crisp for 20+ years, though untreated outdoor pieces may fade within 5 years.
Can Wood Engraving Be Done on Painted or Stained Surfaces?
You can engrave painted or stained wood, but you’ll need to adjust your technique. For best results, engrave before finishing or use a deeper cut to penetrate through the finish to reach bare wood.
Which Types of Wood Are Not Suitable for Engraving?
You’ll want to avoid woods that are too soft (like balsa), highly resinous (like pine), or those with irregular grain patterns. Rotted, warped, or damaged wood isn’t suitable for effective engraving results.
Is It Possible to Remove or Correct Wood Engraving Mistakes?
You can’t fully remove wood engravings, but you can sand shallow mistakes or fill deeper errors with wood putty. For severe mistakes, you’ll need to patch the area with a new wood piece.
Does Outdoor Exposure Affect Wood Engravings Differently Than Indoor Pieces?
You’ll notice outdoor engravings deteriorate faster due to UV damage, moisture exposure, and temperature fluctuations. To protect them, you’ll need to apply weather-resistant sealants and regularly maintain the surface against environmental wear.
Conclusion
Wood engraving methods offer distinct advantages based on your project requirements. You’ll find laser engraving ideal for intricate details, while wood burning suits artistic expressions. Hand engraving provides traditional control, and power tools deliver versatility. CNC routing excels in automation and repeatability, while Cricut Makers offer precision for smaller projects. Select your method based on design complexity, budget constraints, and required accuracy levels. Always prioritize proper safety protocols regardless of technique.


