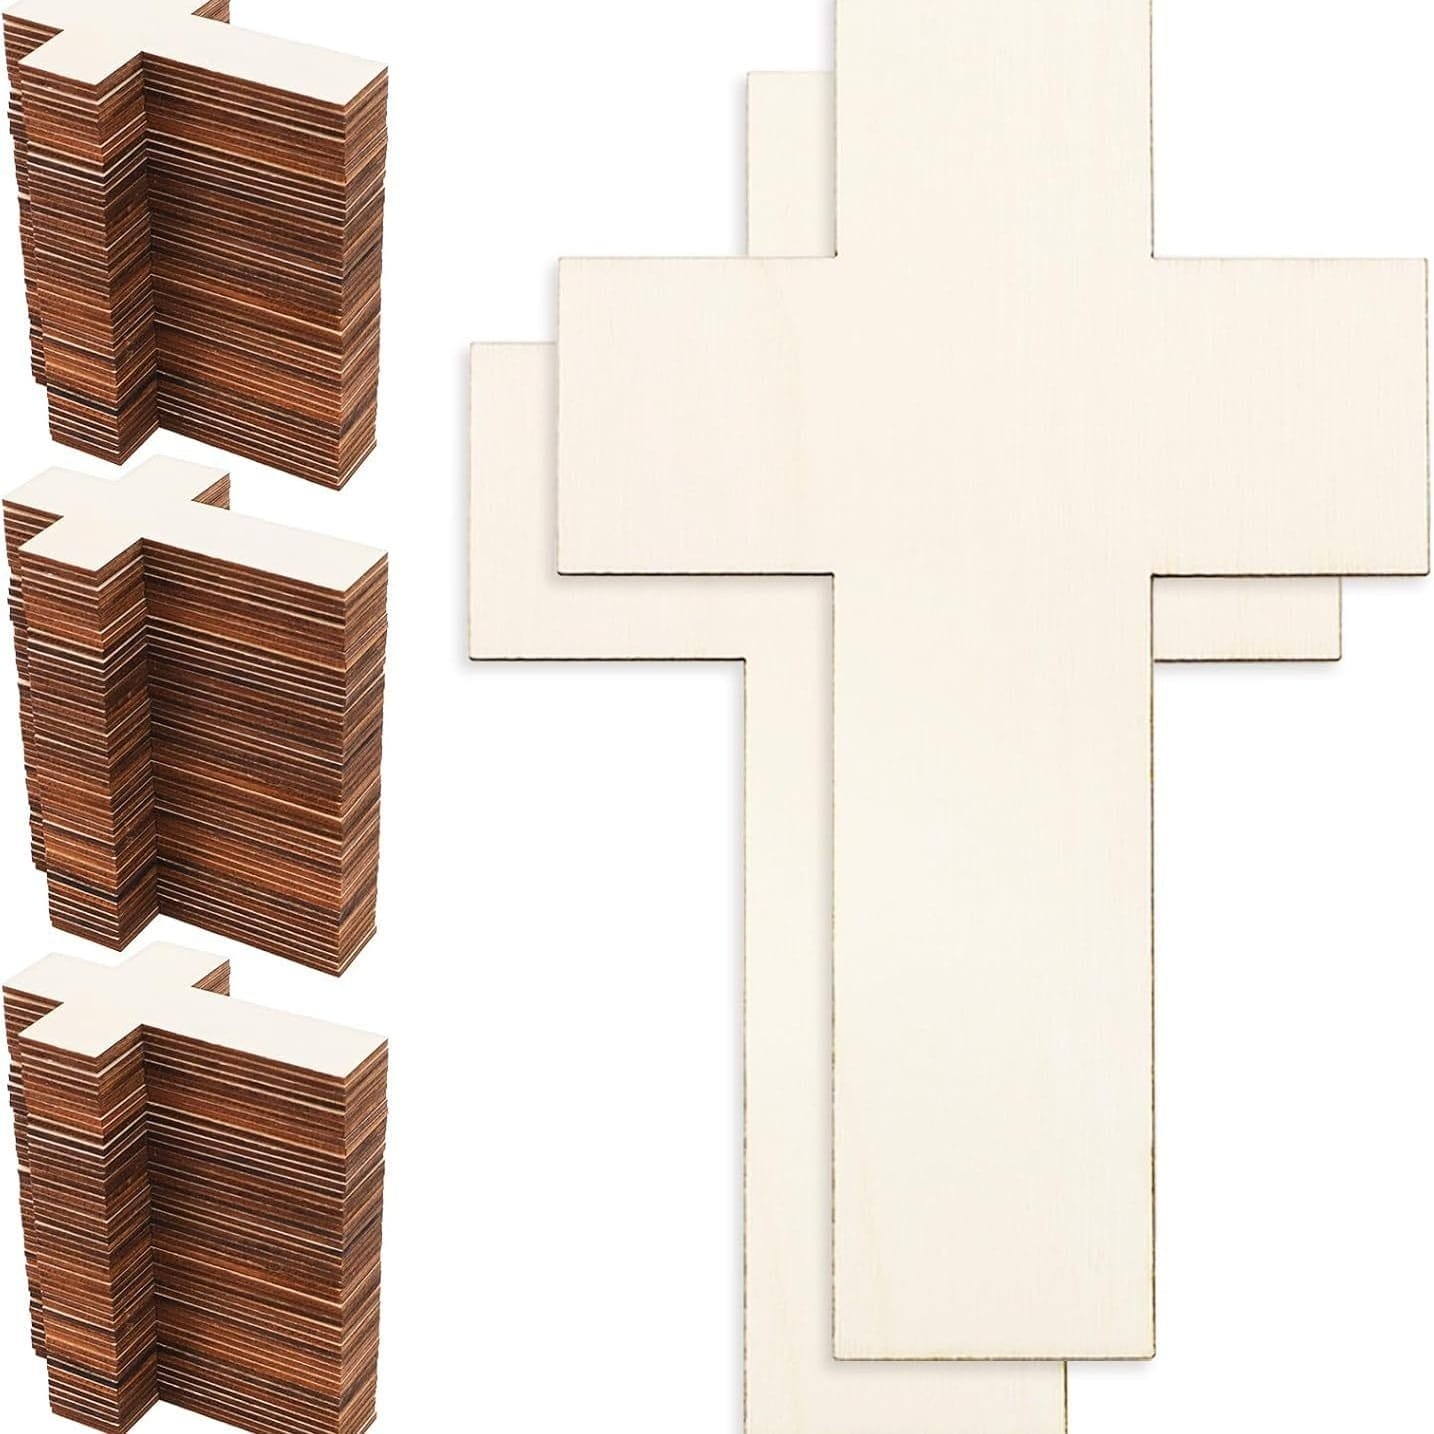
Are you curious about how to cut wooden letters? We’ll need to start by selecting the right wood thickness: ½ inch for indoor signs and up to ¾ inch for freestanding letters. First, convert your design to vector format and apply kerf compensation for blade width. Then, choose your cutting method: laser, CNC router, scroll saw, or waterjet cutter for precision cuts.
After cutting, sand progressively with finer grits and apply proper finishing treatments. The following tips and techniques will transform your DIY wooden letters into professional-grade signage.
Key Takeaways
- Convert your letter designs into vector files (SVG or DXF formats) and ensure all paths are closed shapes before cutting.
- Select appropriate wood thickness (½ to ¾ inch for most projects) and material type based on letter size and intended use.
- Select a cutting method, such as CNC routing, laser cutting, or scroll saw. This depends on design complexity and material thickness.
- Use sharp blades and maintain steady control during cutting to ensure clean edges and minimize post-cutting sanding requirements.
- Sand edges progressively with increasingly finer grits and fill imperfections with wood putty before applying finishes.
Materials Selection: Choosing the Right Wood & Thickness

Let’s examine the most effective substrates for wooden letter cutting. Solid pine boards excel for smaller signage, while ½-inch sanded plywood proves ideal for larger pieces.
Common Substrates
Wood selection plays a crucial role in crafting high-quality wooden letters. We’ll focus on two primary substrates: solid pine boards and high-quality plywood. Each material offers distinct advantages for different project scales.
| Material Type | Recommended Thickness | Best Uses | Key Benefits |
|---|---|---|---|
| Solid Pine | 3/4 inch | Small signs | Better workability |
| Sanded Plywood | 1/2 inch | Large letters | Warp resistant |
| MDF | 5/8 inch | Indoor use | Smooth finish |
| Baltic Birch | 1/2 inch | Precision cuts | Fine grain |
For smaller projects, we recommend solid pine’s natural appeal and workability. Larger applications benefit from plywood’s stability and refined surface, ensuring professional results with proper finishing techniques.
Recommended Thicknesses for Different Uses

Selecting the right thickness for wooden letters is essential for creating professional-looking signage. For indoor signage, we recommend using ½-inch thick materials to maintain stability while keeping the letters lightweight and manageable.
When crafting dimensional letters, choose a thickness of ½ to 1 inch. This depends on your desired visual impact and the shadow effect you want to achieve. Freestanding letters require at least ¾ inch thickness to guarantee proper support and durability.
To achieve a cohesive look, maintain uniform thickness across all letters in your design. Consider how your letters will interact with surrounding elements and mounting surfaces to create harmonious, professional-grade signage that enhances your space.
Design and File Prep: Vector Files, Kerf Compensation & Nesting

Before cutting your wooden letters, precise file preparation sets the foundation for professional results.
We’ll start by converting our designs into compatible vector files, typically in SVG or DXF formats,, for use with scroll saws. Next, we’ll apply kerf compensation to account for blade thickness, ensuring our final letters match intended dimensions.
In the design space, we’ll verify all vector paths are closed shapes to prevent cutting errors. To maximize material efficiency, we’ll implement nesting techniques, arranging multiple letters strategically on our wood surface.
Remember to double-check measurements and scaling before proceeding to the cutting phase.
Cutting Methods: Laser, CNC Router, Scroll Saw & Waterjet

Let’s examine four primary methods for cutting wooden letters, each offering distinct advantages for different applications. The first method, using a bandsaw, is perfect for intricate designs and allows for smooth, curved cuts. For those interested in learning how to cut letters from wood with precision, a laser cutter provides unparalleled accuracy and detail, making it ideal for complex patterns. Lastly, handheld tools like jigsaws offer versatility for DIY enthusiasts looking to create personalized projects at home.
Laser Cutting
A laser cutting system offers remarkable precision and efficiency for creating wooden letters. We’ll achieve clean edges and intricate designs with minimal kerf using high-powered lasers that cut through various wood thicknesses.
This automated process excels at producing detailed lettering for woodworking projects and decor.
When we cut wooden letters with lasers, we can create everything from delicate script to bold block letters. The system handles complex shapes effortlessly, maintaining consistency across multiple pieces.
Unlike traditional methods that require manual operation, laser cutting delivers faster production times and superior repeatability, making it ideal for both small components and elaborate designs.
CNC Routing
Computer-controlled routers deliver exceptional precision when cutting wooden letters through automated toolpath programming.
When we use a CNC cutting machine, we can achieve intricate designs and consistent results across multiple wooden sign projects.
The machine’s versatility allows us to customize cutting depths and create complex shapes that would be difficult to replicate by hand.
We’ll find that CNC routing excels at producing wooden letter designs of varying thicknesses while maintaining clean edges and uniform spacing.
The automated nature of the process guarantees each piece meets exact specifications, making it ideal for both single custom projects and larger production runs.
Scroll Saw / Jigsaw
Precision and control make scroll saws and jigsaws practical tools for cutting wooden letters.
We’ll focus on scroll saws, as they’re ideal for intricate designs and detailed curves. When cutting wood letters, we first drill holes within enclosed spaces, like the center of an “O” or “A”, to insert the blade.
We’ll use a medium-blade for maximum control when working through plywood or solid wood.
Keep the guard down during operation and maintain safe hand positions. Leave ample wood surrounding the letters while cutting to guarantee clean edges.
This extra material proves valuable when we’re adding frames or backing later.
Waterjet for Thicker Hardwoods and Composite Panels
While scroll saws excel at detailed work on thinner materials, waterjet cutting systems offer superior capabilities for thick hardwoods and composite panels.
We recommend waterjet cutting for projects requiring precision cuts in materials up to 12 inches thick, as it achieves tolerances of ±0.01 inches without generating heat that can warp wood.
The high-pressure water stream mixed with abrasives lets us create intricate letter designs while preserving material integrity. Unlike laser cutting, there’s no heat-affected zone to compromise the wood’s structure.
We’ll need to maintain regular pump pressure checks and monitor nozzle condition to guarantee consistent cutting quality throughout the process.
Finishing Techniques: Sanding, Edge Treatment & Coatings

We’ll start with edge smoothing, using progressively finer grits of sandpaper and rounding corners with a router to create professional-looking letters ready for finishing.
For paint applications, we’ll fill any imperfections with wood putty, sand smooth, and apply a quality primer.
The final step involves selecting and installing appropriate mounting hardware, such as keyhole hangers or cleats, which we’ll secure before applying the final protective coating.
Edge Smoothing
Once we’ve cut our wooden letters, achieving professional-looking results requires careful attention to edge smoothing.
We’ll start with 80-grit sandpaper, working progressively through finer grits up to 220 for the best results. Always sand in the direction of the wood grain to prevent roughness and achieve a refined finish.
Before applying the stain, we’ll use a wood conditioner to guarantee even absorption. After sanding, protect our work with a clear polyurethane or varnish coating.
For future projects, remember that using a sharp scroll saw blade appropriate for our wood thickness will minimize rough edges and reduce necessary sanding time.
Filling and Priming for Paint
Now that our wooden letters have smooth edges, preparing them for paint requires careful surface preparation. This involves sanding any remaining rough spots and wiping them down with a damp cloth to remove dust. Once the surface is clean and dry, you can explore various paint wooden letters techniques to achieve your desired finish. Choosing the right type of paint and brushes will also enhance the overall look and durability of your project.
We’ll begin by filling any gaps or imperfections with wood filler to ensure a flawless surface. Once the filler dries, we’ll sand these areas until they’re flush with the surrounding wood.
Next, we’ll apply a high-quality primer to seal the wood and create a uniform base. After the primer dries, we’ll lightly sand with fine-grit sandpaper for peak smoothness.
Between paint layers, continue light sanding for better adhesion. Finally, we’ll protect our work with a clear topcoat, which enhances color vibrancy and provides a professional finish.
Painting, Staining, Vinyl Wrapping, and Gold/Silver Leaf Applications
After completing the surface preparation, your wooden letters are ready for their final artistic treatment.
We’ll start with paint, applying at least two coats of high-quality white as a base layer.
For staining, use a clean cloth to work with the wood grain, allowing the wood to dry properly between coats.
Vinyl wrapping requires the careful application of adhesive vinyl, followed by heat gun treatment to achieve seamless edges.
When applying gold or silver leaf, brush on sizing adhesive until it becomes tacky, then delicately lay the leaf and seal it with a protective topcoat.
Remember to sand edges lightly with fine-grit paper between applications for professional results.
Mounting Hardware Options
The finishing stage of wooden letter creation sets the foundation for proper mounting hardware installation.
We’ll make sure our wood letters are thoroughly sanded, progressing from coarse to fine grits, before installing any mounting components. Once we’ve applied our base coat and protective sealant, we can determine the ideal placement for hardware attachments.
For this craft tutorial, we’ll select mounting hardware based on the letter’s weight and display surface. Heavy-duty D-rings are well-suited for larger pieces, while sawtooth hangers work well for lighter letters.
We’ll pre-drill mounting holes to prevent wood splitting and make certain of secure attachment points for a professional finish. Use a small clamp to hold letters steady when drilling mounting holes. Use exterior‑grade glue when bonding letters intended for outdoor signage to ensure weather resistance.
Customization Services: How We Handle Custom Letter Orders

Personalized wooden letters offer five distinct customization options to meet a wide range of project requirements.
We offer size scaling capabilities for projects ranging from delicate home accents to large-scale business signage.
Our multi-layer letters create stunning depth by combining different wood types and finishes.
We implement precise beveled edges using specialized scroll saw techniques for professional results.
For enhanced visibility, we pre-drill LED-ready cutouts during production.
Finally, we apply custom paints/finishes, including distressed effects or specific color schemes, to match your design preferences.
Each option guarantees your wooden letters align perfectly with your vision.
Quality Control and Tolerances: Ensuring Consistent Output
Maintaining consistent quality across wooden letter projects demands rigorous attention to detail and standardized processes.
We regularly calibrate our cutting tools to ensure precise cuts and minimize waste during production. By implementing strict measuring protocols, we maintain tight tolerances that assure uniform letter sizes.
We conduct quality control checks after each cut, examining for imperfections that require correction before assembly.
Using premium materials like sanded plywood prevents issues with chipping and uneven edges. When applying paint, we follow systematic procedures to achieve even coverage. These measures enable us to deliver professional results that consistently meet exacting standards.
Conclusion
We’ve covered essential aspects of wooden letter fabrication, from material selection through quality control. Remember to maintain proper kerf compensation in your cutting files, account for wood grain direction, and always test the settings on scrap material first.
When executing production runs, we recommend implementing standardized quality checks at each phase. For consistent results, document your successful parameters and maintain calibrated equipment.
FAQs
What Is the Best Tool to Cut Letters Out of Wood?
We’ll achieve the best letter cuts using a medium-blade scroll saw. It delivers precise control for intricate shapes. It’s our preferred choice over band saws when handling detailed fonts and curves.
How to Cut Letters in Wood by Hand?
Let’s trace our letters on wood, drill starter holes in enclosed spaces, then carefully guide a scroll saw blade along our lines, following curves smoothly while maintaining steady pressure and speed.
How to Cut Wood Without Tear Out?
Let’s prevent tear-out by applying painter’s tape on both sides, using fine-toothed blades, securing our wood firmly, cutting in the proper direction, and smoothing edges with sanding or routing afterward.