You’ll discover that crafting wooden Christmas decorations brings an authentic, artisanal touch to your holiday décor. With basic tools like a scroll saw, wood-burning kit, and quality plywood, you can create ornaments that’ll become cherished keepsakes. The process combines traditional woodworking techniques with modern design possibilities, allowing you to fashion everything from rustic snowflakes to intricate stars. Let’s explore the step-by-step methods for transforming raw wood into stunning holiday pieces.
Key Takeaways
- Cut basic wooden shapes from pine or basswood using a scroll saw, focusing on simple designs like stars, hearts, or circles.
- Sand wooden pieces with progressively finer sandpaper (80-220 grit) until smooth, then seal with wood stain or protective coating.
- Create rustic ornaments by drilling holes in wooden beads or slices, then threading them onto twine with natural elements.
- Use stencils and wood-burning tools to add personalized patterns, dates, or names to wooden decorations.
- Position wooden ornaments strategically on sturdy branches, balancing them with store-bought decorations for a cohesive look.
Materials Needed for Wooden Christmas Decorations

To create professional-looking wooden Christmas decorations, you’ll need quality hardwoods like maple, oak, or pine that are kiln-dried and at least 3/4 inch thick.
Your essential tools must include a scroll saw or jigsaw, various grades of sandpaper (80-220 grit), wood glue, clamps, and a reliable drill with appropriate bits.
You’ll also require finishing supplies such as wood stain, sealant, paintbrushes, and decorative elements like twine, ribbon, or metallic paint for embellishments.
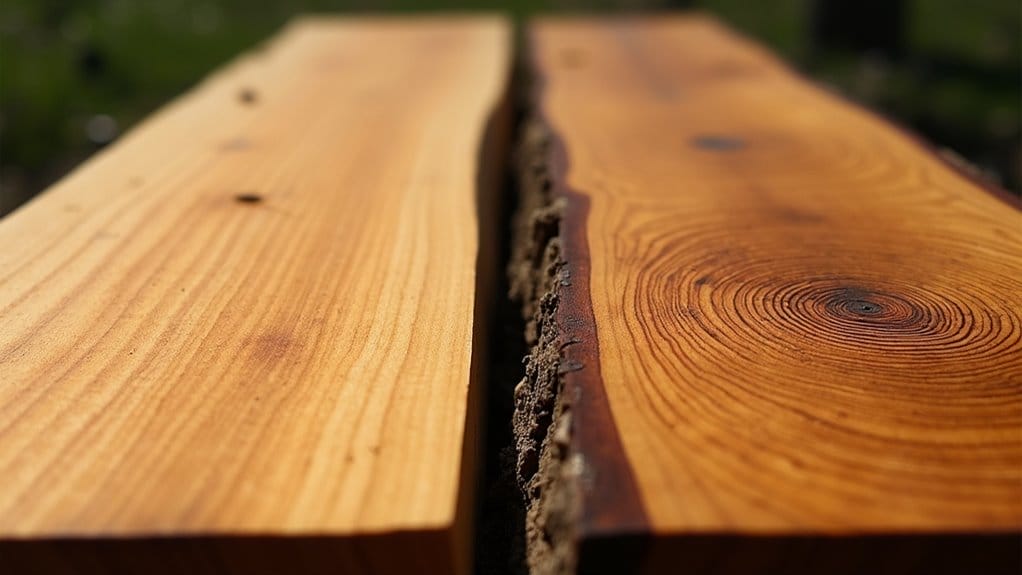
Types of Wood to Use
Several types of wood prove excellent for crafting Christmas decorations, each offering unique characteristics for specific projects.
When selecting your wood board, consider both workability and aesthetic appeal for your specific design needs.
- Pine offers affordability and easy carving, ideal for rustic ornaments.
- Cedar provides natural weather resistance and aromatic qualities.
- Maple delivers durability and smooth finishing for detailed work.
- Oak maintains strength for larger decorations and outdoor pieces.
- Basswood features soft texture perfect for intricate carving.
Choose quarter-sawn or kiln-dried wood to prevent warping and guarantee your decorations maintain their shape through seasonal changes.
Essential Tools and Supplies
Once you’ve selected the right wood for your project, gathering the proper tools and supplies will set you up for successful decoration making.
For basic woodworking, you’ll need a saw (hand or power), sandpaper in various grits, wood glue, and a drill with various bits.
Essential safety equipment includes protective goggles, a dust mask, and work gloves.
Stock up on finishing materials like wood stain, sealant, and brushes.
For DIY embellishments, gather twine, ribbon, metallic paint, and small ornament hooks.
Don’t forget measuring tools: a ruler, pencil, and straightedge for precise cuts and markings.
DIY Wooden Christmas Tree Decorations

You’ll need to begin with the basic wooden ornaments, which can be cut from 1/4-inch plywood using a scroll saw or jigsaw and then sanded smooth before painting or staining.
For a statement piece, construct a tree topper star by cutting five identical pointed pieces at 36-degree angles and joining them with wood glue and small finishing nails.
To create a rustic wooden garland, drill small holes in uniformly sized wooden beads or shapes, then thread them onto sturdy twine while alternating with pinecones or holly berries for natural contrast.
Simple DIY Wooden Ornaments
Creating wooden ornaments starts with selecting three essential materials: untreated wood slices, basic woodworking tools, and your choice of decorative elements.
For diy wood christmas projects, you’ll need to sand each slice until smooth before applying your chosen design. Guarantee proper workspace ventilation and wear safety gear while crafting these christmas decorations.
- Select wood slices 1/4 inch thick for ideal durability.
- Sand in circular motions with 120-grit, then 220-grit sandpaper.
- Apply wood sealant to prevent cracking and preserve natural grain.
- Use wood-burning tools at 650°F for precise pattern transfer.
- Attach hanging hardware with strong wood glue, centered for balance.
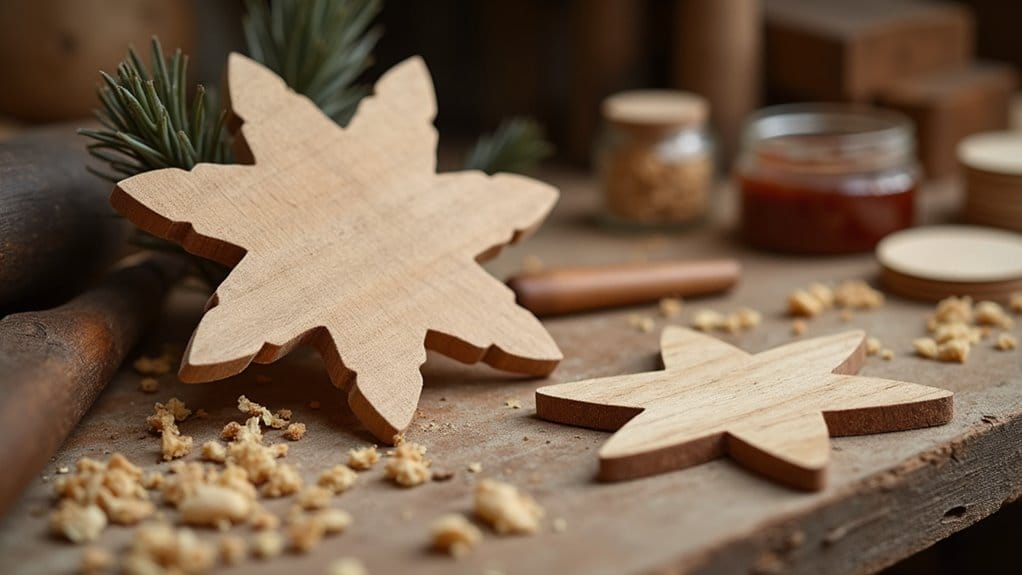
Creating a Wooden Christmas Tree Star
Beyond basic ornaments, a handcrafted wooden star serves as the defining centerpiece for your Christmas tree’s crown.
Cut five identical points from 1/4-inch pine using a jigsaw, each measuring 8 inches from center to tip. Sand edges smooth with 120-grit sandpaper, then 220-grit for finishing.
Join points at precise 72-degree angles using wood glue and small dowels for reinforcement. Create a mounting bracket from scrap wood, attaching it to the star’s base with wood screws.
Finish your DIY wooden Christmas topper with clear polyurethane or metallic paint to enhance its natural grain.
Crafting Wooden Tree Garlands
While garlands often evoke thoughts of tinsel and beads, wooden versions add natural warmth and rustic charm to your Christmas tree.
You’ll need wooden beads, thin twine, and a drill with a 1/8-inch bit for this decoration. Sand each bead smooth before drilling center holes, then string them carefully, knotting between every fifth bead for stability.
- Choose varied wood types like pine, oak, and cedar for natural color contrast.
- Space beads 2 inches apart to create visual rhythm around the tree.
- Seal wood with beeswax for protection and sheen.
- Add small wooden shapes between beads for interest.
- Create 6-foot lengths for easy tree installation.
Tips for Personalizing Your Decorations

You’ll find that painting and staining your wooden decorations requires careful preparation, including proper sanding and sealing of the wood grain before applying your chosen finish.
To create unique patterns, you can use stencils, wood-burning tools, or hand-painted designs that reflect your personal style and holiday aesthetic.
Consider adding metallic accents, glitter details, or traditional folk art motifs to make your decorations stand out while maintaining the natural warmth of the wood.
Painting and Finishing Techniques
The final stage of crafting wooden Christmas decorations demands careful attention to painting and finishing techniques.
Choose your color scheme carefully and prepare your workspace with proper ventilation. You’ll want to sand surfaces thoroughly between coats for a professional finish.
- Apply a base primer coat to seal the wood and create an even surface.
- Use thin, multiple coats rather than one thick layer to prevent drips.
- Sand lightly with fine-grit paper between each coat for smoothness.
- Consider using stencils for consistent, easy to make patterns.
- Seal your finished work with clear polyurethane for lasting protection.
Ensure each layer dries completely before proceeding to maintain crisp details and prevent smudging.
Adding Unique Designs and Patterns
Now that your base coats and finishes are dry, personalized designs can transform ordinary wooden decorations into cherished keepsakes. Make your mark with these custom patterns and techniques.
| Technique | Tools Needed | Design Ideas |
|---|---|---|
| Stenciling | Adhesive stencils | Snowflakes |
| Pyrography | Wood burning tool | Names/Dates |
| Hand painting | Fine detail brush | Holly berries |
| Decoupage | Mod Podge | Vintage cards |
Use light pencil marks to outline your design before committing to permanent techniques. For intricate patterns, create paper templates first. When burning wood, maintain consistent pressure and temperature. Layer paint carefully for dimensional effects. Let each element dry completely before adding additional details.
Incorporating Your DIY Decorations into Your Christmas Tree

When arranging your handcrafted wooden ornaments, start by placing the larger pieces at strategic intervals around your Christmas tree to establish visual anchors.
You’ll want to distribute your DIY wooden decorations evenly throughout the tree’s branches, maintaining a consistent balance between the heavier wooden elements and lighter traditional ornaments.
Create visual harmony by interspersing your wooden pieces with complementary decorations such as glass balls, tinsel, or fairy lights that enhance but don’t overshadow your handmade creations.
Arranging Your Wooden Ornaments
Once you’ve created your wooden Christmas ornaments, arranging them strategically on your tree will maximize their visual impact.
Position your handcrafted decor using these proven techniques to create a balanced, professional display.
- Place larger wooden ornaments deeper within the branches to add depth and dimension.
- Distribute similar designs evenly around the tree to maintain symmetry.
- Hang heavier pieces on sturdy inner branches for stability.
- Position detailed ornaments at eye level where they’ll be most visible.
- Create visual clusters by grouping three wooden pieces of varying sizes together.
Consider lighting placement when arranging your ornaments, ensuring each piece catches and reflects the glow effectively.
Balancing with Other Christmas Decorations
Successfully integrating your handcrafted wooden ornaments with store-bought decorations requires careful attention to balance and proportion. For a simple Christmas look, distribute wooden pieces evenly throughout your tree using this ratio system:
| Zone | Wooden | Glass | Other |
|---|---|---|---|
| Top | 20% | 40% | 40% |
| Upper Mid | 30% | 35% | 35% |
| Lower Mid | 35% | 35% | 30% |
| Bottom | 40% | 30% | 30% |
During the season, rotate your wooden ornaments’ positions every few days to guarantee even visibility and prevent clustering. This systematic approach maintains visual harmony while showcasing your DIY craftsmanship.
Frequently Asked Questions
How Long Do Wooden Christmas Decorations Typically Last With Proper Care?
With proper storage in a dry place and annual protective sealing, you’ll find your wooden Christmas decorations can last 20-30 years, though you’ll need to refinish them periodically.
What Type of Wood Is Most Resistant to Warping for Christmas Ornaments?
You’ll get the best warp resistance from kiln-dried hardwoods like maple, oak, or teak. Cedar’s natural oils and tight grain also make it exceptionally stable for ornaments in varying humidity conditions.
Can Wooden Decorations Be Safely Stored With Regular Christmas Ornaments?
You’ll need to store wooden ornaments separately from glass ones to prevent scratches. Place them in padded compartments or wrap individually in acid-free tissue paper to protect their finish.
How Do You Protect Wooden Decorations From Moisture During Outdoor Display?
You’ll need to seal your wooden decorations with multiple coats of exterior polyurethane, ensuring each layer dries completely. Apply wood preservative first, then add weatherproof varnish for maximum moisture protection.
What Child-Safe Finishes Can Be Used on Wooden Ornaments?
You’ll want to use food-grade mineral oil, beeswax polish, or milk paint for child-safe finishes. Natural shellac and water-based polyurethane are also non-toxic once fully cured and dried.
Conclusion
You’ve now mastered the basics of crafting wooden Christmas decorations that’ll stand the test of time. By following precise cutting measurements, maintaining proper sanding techniques, and applying sealant at the recommended 24-hour cure rate, you’ll achieve professional-quality ornaments. Remember to store your finished pieces in a climate-controlled environment at 35-45% humidity to prevent warping and guarantee they’ll be ready for next season’s display.