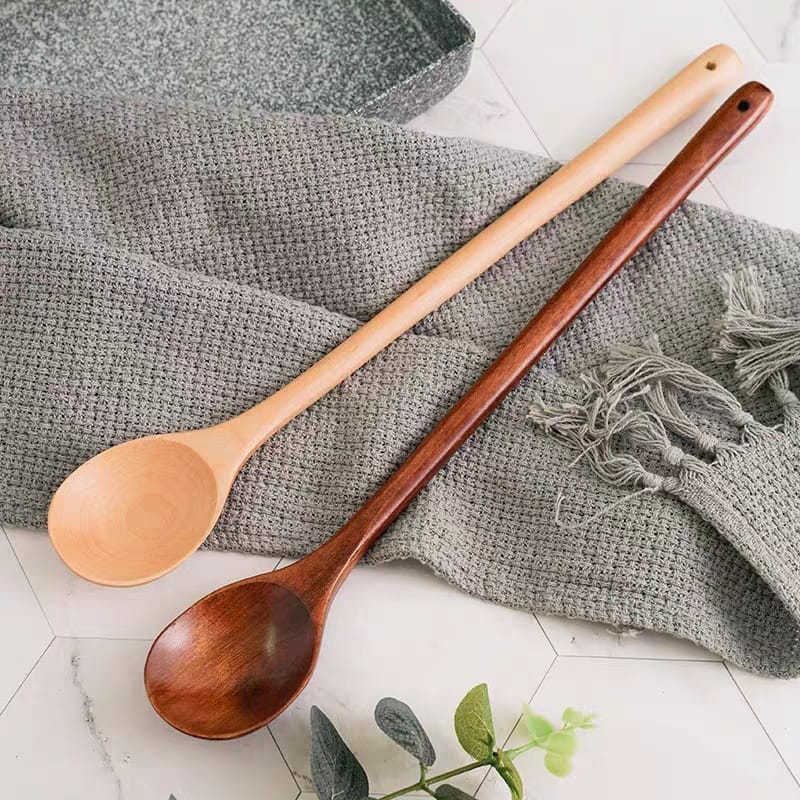
You’ll need more than just soap and water to properly maintain your wooden kitchen tools. While these natural implements offer warmth and functionality to your cooking experience, they require specific oils and techniques to prevent cracking, warping, and bacterial growth. By understanding the correct materials and application methods, you’ll extend the life of your wooden utensils and protect your investment in these essential kitchen workhorses. Let’s examine the most effective approaches to wooden utensil care.
Key Takeaways
- Clean utensils with hot soapy water and let them air-dry completely for 24-48 hours before applying oil.
- Apply food-grade mineral oil in smooth, even strokes following the wood grain, focusing on end grain areas.
- Allow oil to absorb for 4-6 hours, then wipe off excess with a clean cloth until surface feels smooth.
- Reapply mineral oil monthly or when wood appears dry to maintain protective barrier against moisture.
- Store wooden utensils in dry, cool conditions and avoid soaking them in water or exposing to direct sunlight.
Types of Oil Suitable for Oiling Wooden Utensils

Several food-grade oils and waxes work effectively to protect and preserve your wooden utensils, with mineral oil serving as the industry standard due to its neutral properties and resistance to rancidity.
Coconut oil and walnut oil offer natural alternatives, though you’ll need to guarantee they’re refined and food-safe versions to prevent spoilage.
Beeswax, often combined with mineral oil, creates a durable protective coating that enhances the wood’s water resistance while maintaining a food-safe finish.
Mineral Oil
Food-grade mineral oil stands as the most recommended option for treating wooden utensils, offering exceptional stability and protection without the risk of rancidity.
When selecting mineral oil, verify it’s food-safe and pharmaceutical grade. You’ll find this colorless, odorless oil readily absorbs into wooden utensils and cutting boards, effectively sealing the pores of the wood against moisture.
Simply wipe a thin layer onto your wooden items, allowing the oil to penetrate deeply. Unlike vegetable oils, mineral oil won’t oxidize or become sticky over time, maintaining its protective qualities indefinitely.
It creates a non-toxic, non-drying barrier that preserves your wooden kitchenware’s integrity.
Coconut Oil
Unrefined coconut oil offers a natural alternative for treating wooden utensils, combining antimicrobial properties with deep penetrating action.
When applying it to your wooden spoon or cutting board, verify the oil’s temperature is above 76°F (24°C) to maintain its liquid state for ideal absorption.
Apply a thin coating using circular motions, allowing the coconut oil to soak into the wood’s fibers for 4-6 hours. You’ll notice the wood gradually accepting the moisture as it conditions.
Unlike mineral oil, coconut oil can solidify in cooler temperatures, so store your treated utensils in a room-temperature environment.
Reapply monthly to maintain the wood’s protective barrier.
Walnut Oil
Beyond plant-based tropical oils, walnut oil stands as a premium choice for wooden utensil maintenance.
You’ll find this oil penetrates deeply into wood grain, creating a durable, food-safe barrier that prevents your utensils from drying out.
When applying walnut oil to wooden cutting boards and spoons, you’re getting excellent protection against moisture damage while enhancing the wood’s natural beauty.
Be aware that walnut oil can slightly stain lighter woods with a warm amber tone.
It’s critical to use pure, food-grade walnut oil rather than artist-grade versions.
Apply thin coats and allow 24 hours between applications for proper curing.
Beeswax
Natural beeswax serves as an exceptional protective sealant when combined with mineral or food-safe oils for wooden utensil care.
When you blend beeswax with oil, you’ll create a board cream that penetrates deeply into the wood’s fibers while forming a durable barrier against moisture.
Apply the cream mixture by warming it slightly and rubbing it into your wooden utensils using circular motions.
The wax component creates a protective layer that’s more resilient than oil alone.
For regular maintenance, reapply your beeswax-based board cream every 4-6 weeks, or whenever your wooden items appear dry or lackluster.
Preparing Wooden Utensils for Oiling

Before applying oil to your wooden utensils, wash them thoroughly with mild soap and warm water, ensuring all food particles and residue are removed.
Let your utensils air dry completely for 24-48 hours at room temperature to prevent moisture from becoming trapped beneath the oil coating.
Test the utensils’ readiness by touching their surface – if they feel completely dry and slightly rough, they’re prepared for the oiling process.
Washing Your Wooden Utensils
Proper washing forms the essential first step in preparing wooden utensils for oiling.
Begin by hand-washing your items in hot, soapy water using a non-abrasive kitchen sponge or soft cloth. Work methodically to remove food particles and residue, scrubbing along the wood grain to prevent fiber damage.
Don’t submerge utensils completely or leave them soaking, as this can cause warping and splitting.
Once cleaned, immediately wipe surfaces with a clean, damp cloth to remove soap residue.
Thoroughly air-dry utensils upright at room temperature for 24 hours before oiling.
For stubborn stains, use coarse salt as a gentle abrasive, followed by normal washing procedure.
Ensuring Utensils Are Dry
Complete dryness of wooden utensils stands as a fundamental prerequisite for successful oiling treatment.
After washing with hot soapy water, you’ll need to know the proper drying technique to prevent warping and shrinkage. First, wipe the utensil thoroughly with a clean cloth or paper towel to remove surface moisture. Then, let it dry naturally in a well-ventilated area for 24-48 hours.
Position utensils vertically when possible to guarantee even air circulation. Avoid direct sunlight or heat sources, which can cause uneven drying and structural stress.
Before oiling, confirm complete dryness by running a soft cloth across the surface.
How to Oil Wooden Utensils

The process of oiling wooden utensils requires mineral oil, a clean lint-free cloth, and a dedicated workspace to protect surrounding surfaces.
You’ll apply the oil in smooth, even strokes following the wood grain, ensuring complete coverage of the utensil’s surface while paying special attention to end grain areas that tend to absorb more oil.
Once you’ve applied the oil, let it absorb for 4-6 hours before wiping away any excess with a clean cloth, preventing sticky residue and ensuring proper preservation.
Step 1: Gather Your Materials
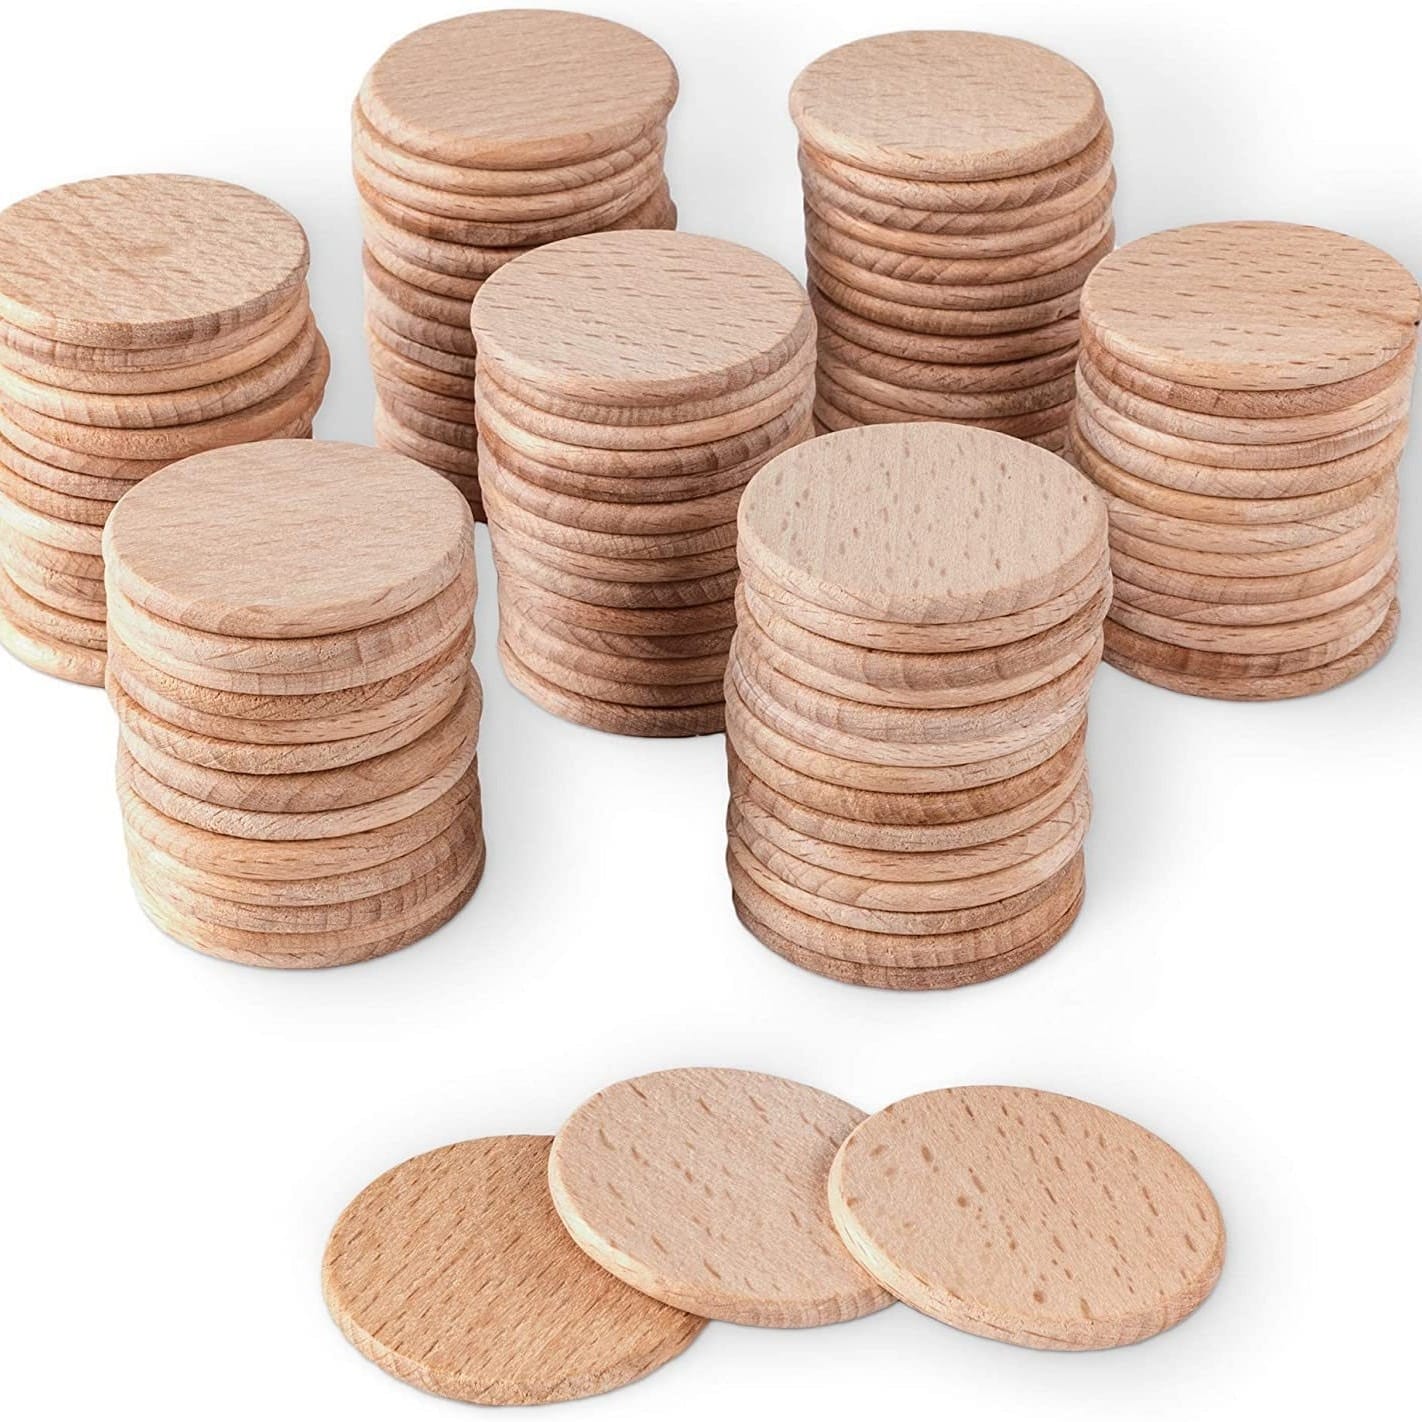
Before beginning your wooden utensil maintenance, gather a food-grade mineral oil or specialized cutting board oil, several clean lint-free cloths, fine-grit sandpaper (220-grit or higher), and newspaper or disposable surface protection.
You’ll need to collect all untreated wooden kitchen utensils, including spoons and cutting boards. While some prefer linseed oil, food-grade mineral oil is safer for wooden cutting boards and butcher block surfaces. Make sure to thoroughly clean the utensils before applying any oil to ensure the best results. After treating your utensils, you’ll notice how the oil enhances the grain and protects the wood from moisture and bacteria. For those seeking quality, consider investing in the best wooden spoons for cooking, as they provide durability and a pleasant aesthetic for your kitchen.
Confirm your workspace is well-ventilated and clean. For thorough maintenance, gather a small bowl for oil application and paper towels for excess oil removal.
Keep all materials within arm’s reach on your protected work surface.
Step 2: Apply the Oil
Now that your workspace is prepped, start by pouring a generous amount of mineral oil into a small bowl.
Using a clean, lint-free cloth, dip it into the oil and apply it evenly across your wooden utensils. Don’t substitute with cooking oils like olive oil or sunflower oil, as these can turn rancid.
Work in circular motions, rubbing the oil thoroughly into the grain of your boards and wooden spoons.
Apply firm, consistent pressure to guarantee deep penetration. Your utensils should appear slightly oily but not saturated.
For heavily-used items, focus extra attention on dried-out areas and any spots showing wear.
Step 3: Let the Oil Absorb
After applying mineral oil thoroughly, your wooden utensils require 4-6 hours of undisturbed absorption time in a well-ventilated space.
Position your wooden kitchen tools horizontally on a clean, lint-free cloth to guarantee even absorption. If you’re oiling a butcher block, let it stand vertically to prevent oil pooling.
You’ll need to oil them regularly to maintain their durability.
After the initial absorption period, wipe off any excess oil or grease with a clean cloth. The wood’s fibers will continue absorbing oil for up to 24 hours.
Once complete, your utensils won’t just look good – they’ll be more durable and resistant to moisture damage.
Step 4: Wipe Off Excess Oil
Once your wooden utensils have had sufficient time to absorb the mineral oil, you’ll need to remove any remaining surface residue with a clean, lint-free cloth.
Using gentle, circular motions, wipe down each wooden spoon, bowl, and cutting board thoroughly. Pay special attention to corners and crevices where excess oil tends to collect. After cleaning, allow the wood to dry completely before applying any oil or finish to maintain its luster. If you’re interested in how to craft a wooden bowl, consider using fine sandpaper to smooth the surface further before the final conditioning. This extra step ensures that your handiwork not only looks beautiful but also feels pleasing to the touch.
The wood’s surface should feel smooth and silky, not tacky or greasy. If you notice any stubborn oil patches, buff them away with a fresh section of your cloth.
This final buffing step guarantees your cookware maintains an even, protective finish while preventing oil transfer to food during future use.
Frequently Asked Questions
Can Wooden Utensils Be Oiled in a Dishwasher?
No, you can’t oil wooden utensils in a dishwasher. The high water pressure and heat will damage the wood’s cellular structure and prevent proper oil absorption. Hand-apply food-grade mineral oil or walnut oil instead.
How Often Should I Replace My Wooden Utensils?
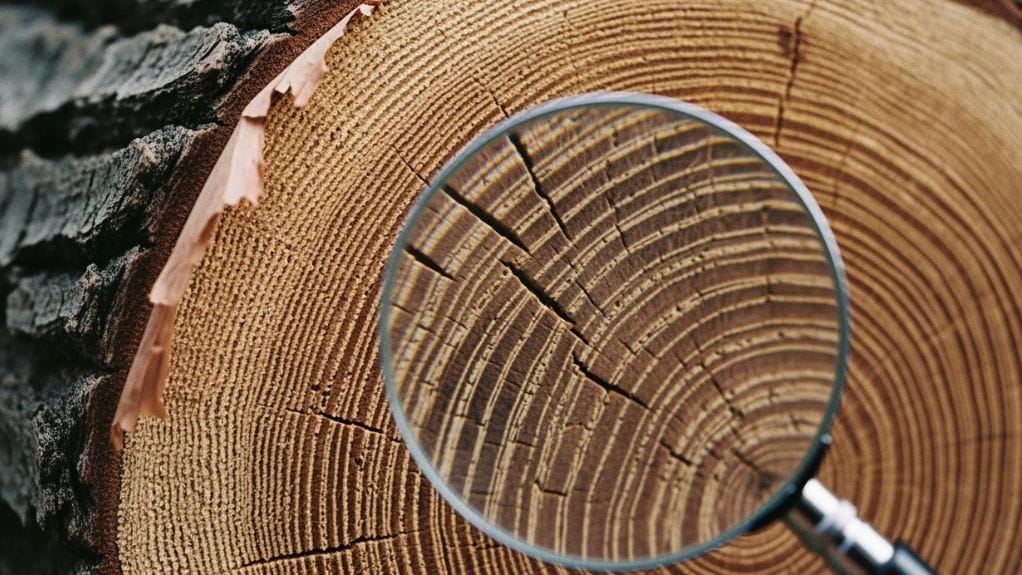
You’ll need to replace well-maintained wooden utensils every 5-7 years, though high-quality hardwood pieces can last decades. Check for deep cracks, warping, splintering, or persistent odors to determine replacement timing.
What Are Signs That Wooden Utensils Are Beyond Repair?
You’ll need to replace wooden utensils when they show deep cracks, splintering, mold growth, warping that affects functionality, persistent odors, or visible staining that won’t scrub away despite thorough cleaning attempts.
Can I Use Scented Oils to Make Wooden Utensils Smell Better?
Don’t use scented oils on wooden utensils. They’ll contaminate food flavors and may contain synthetic compounds harmful to wood fibers. Instead, use food-grade mineral oil or beeswax to maintain your utensils’ natural properties.
Should Wooden Utensils Be Stored Differently After Oiling?
After oiling, you’ll need to store your wooden utensils horizontally in a well-ventilated area for 24-48 hours. Don’t stack them until they’re fully cured to prevent oil transfer and guarantee proper absorption.
Conclusion
By following these technical oiling procedures, you’ll extend your wooden utensils’ functional lifespan and maintain their inherent protective properties. Remember to adhere to the specified 4-6 hour absorption period and implement a consistent 30-day reapplication cycle. Your diligent maintenance using food-grade oils will prevent moisture penetration, inhibit bacterial growth, and preserve the structural integrity of your wooden kitchen implements for peak performance.