Have you ever watched a beautiful wooden box warp after one rainy weekend, or opened a display box that smelled musty? Learning how to waterproof a wooden box stops that damage before it starts and protects the products and reputation tied to every shipment.
Many people assume any paint or clear varnish will turn raw timber into waterproof wood. In practice, the wrong coating cracks, peels, or traps moisture, leading to rot, mold, returns, and support costs that hurt your margins.
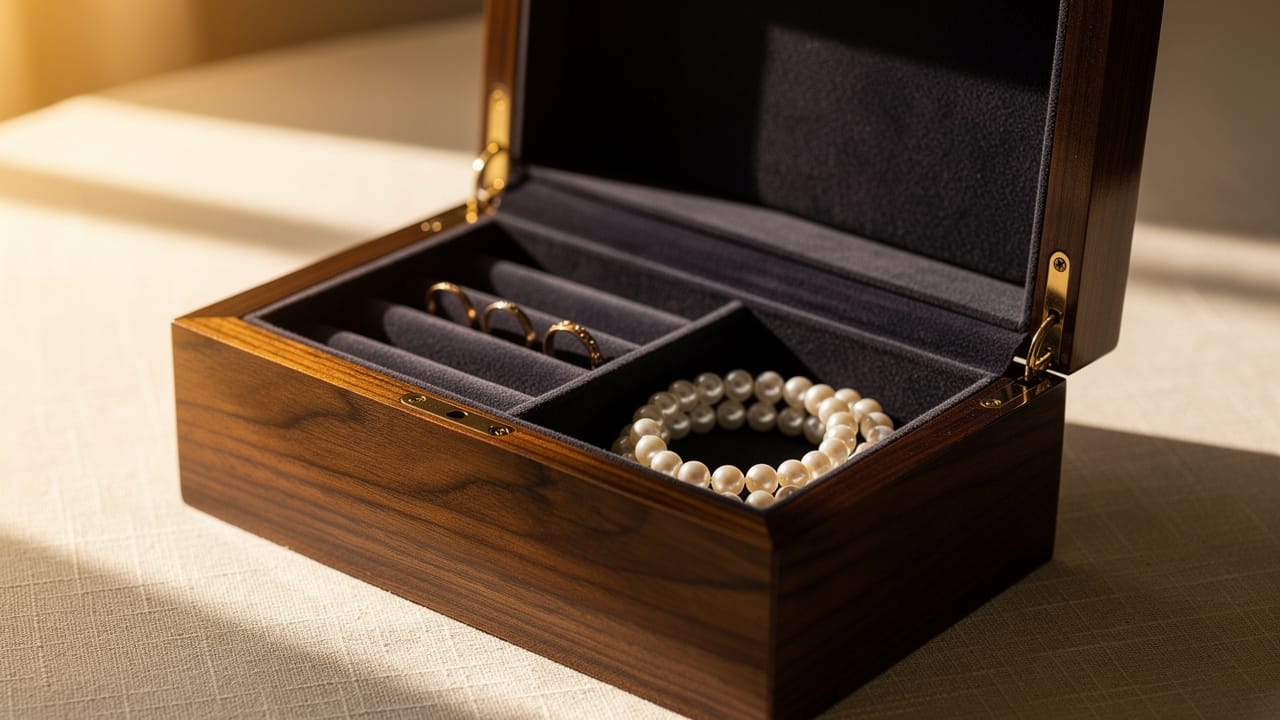
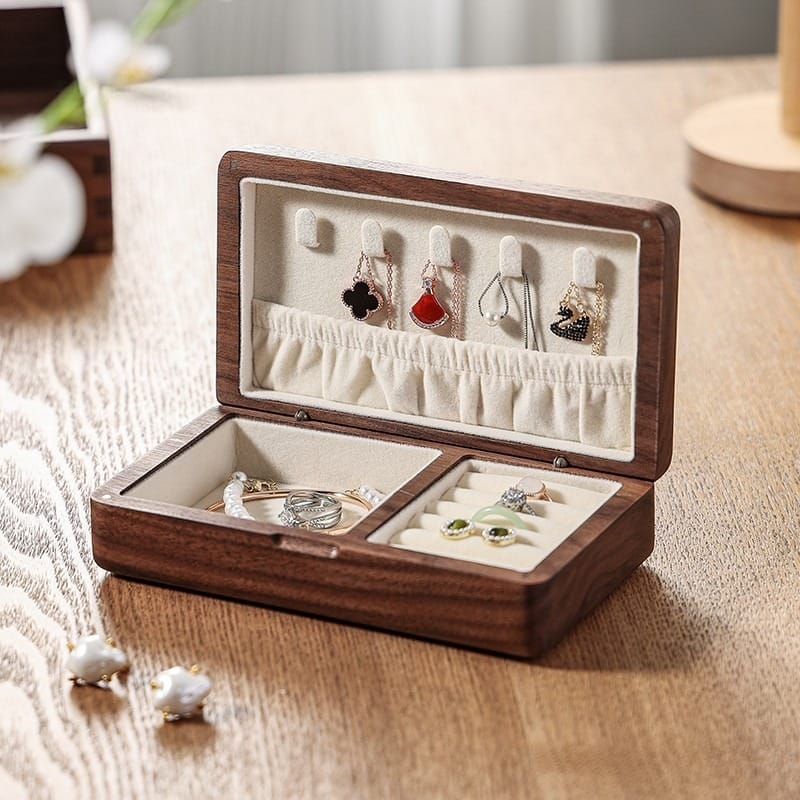
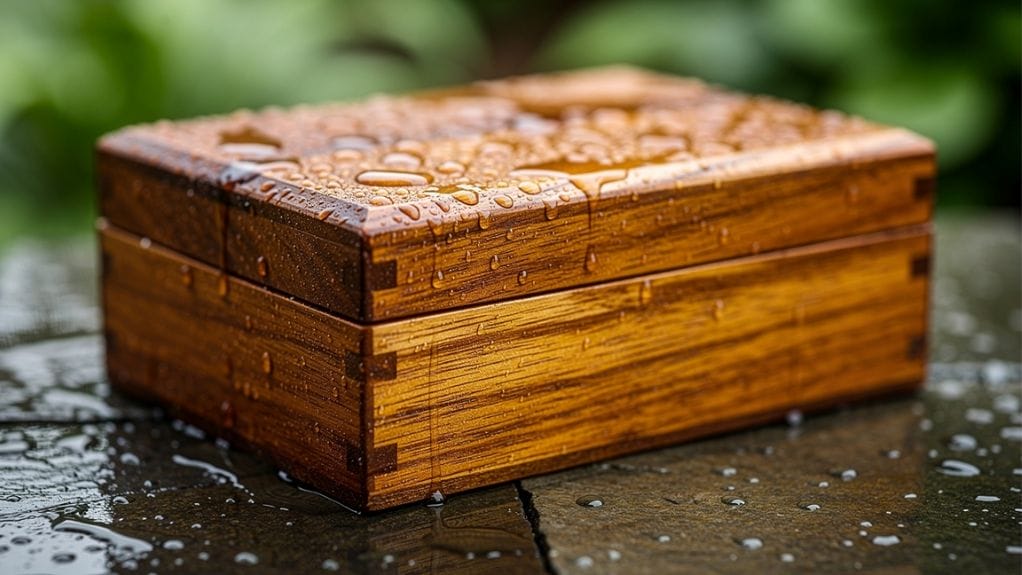
Wooden planter boxes, outdoor storage boxes, retail display boxes, and branded gift packaging all face rain, humidity, and spills. The right waterproofing wood sealant, applied correctly, turns a plain box into reliable outdoor protection with a long working life.
Qlychee Crafts supports brands that want that reliability from day one. The factory team produces professionally finished wooden boxes with eco-minded, weather‑resistant coatings, along with pre‑sanded blanks for your own DIY wood waterproofing projects.
By the end of this guide, you will know how to prepare your box, choose the best waterproof coating, apply it step by step, care for it over time, and fix common problems.
“Finish is half the job.” — traditional woodworking proverb
A watertight wooden box is more than a hobby project; it is a practical investment in product quality.
Key Takeaways
- Always prepare the surface before coating: sand up to 220‑grit for a smooth feel, then remove all dust with a tack cloth so the sealant bonds well.
- Match the product to the job. Spar urethane suits outdoor storage and UV exposure; epoxy resin lines boxes that must hold water, while silicone caulk protects joints and seams.
- Apply several thin coats instead of one heavy layer. Thin coats dry harder and more evenly, giving better outdoor protection.
- Treat the entire box, not just the visible faces. Moisture can creep in through the interior, edges, and bottom, and a single bare area can ruin the finish.
- Qlychee Crafts supplies wooden boxes that arrive already sealed with professional‑grade coatings, giving wholesale buyers ready‑to‑sell boxes with consistent, eco‑conscious finishes and no extra workshop time.
Why Waterproofing Your Wooden Box Is a Non-Negotiable Step?
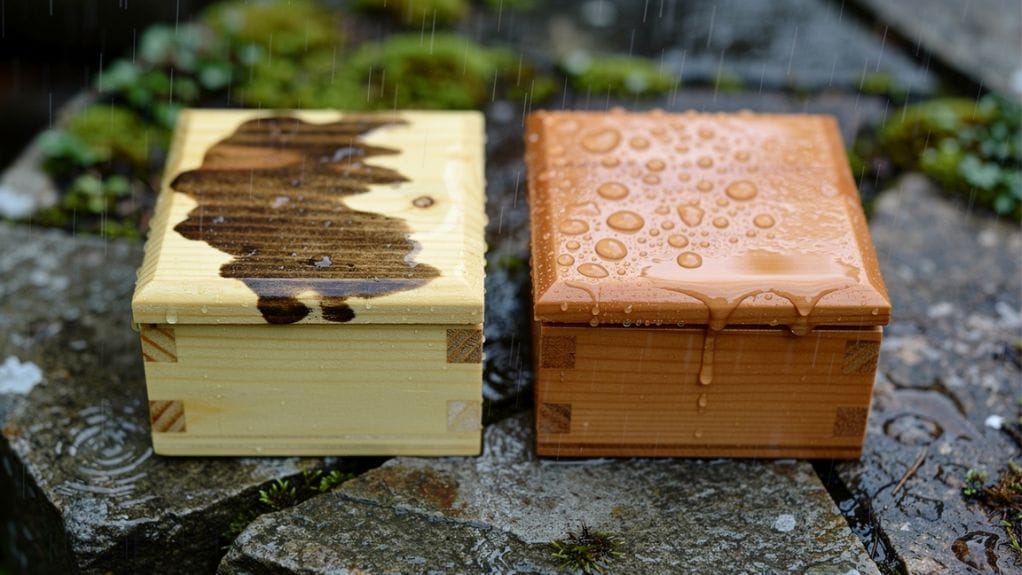
Raw wood behaves like a sponge. It soaks up moisture from rain, splashes, humidity, and even damp floors, making fibers swell and shrink until the box warps, cracks, and weakens — a process well documented in research on Wood Durability and Protection by the US Forest Service.
For outdoor storage boxes, this means rot, mold, and mildew inside and out, while UV rays weaken unprotected surfaces and glue lines. Wooden planter boxes contact saturated soil, so unsealed walls decay from the inside. Retail displays and gift boxes face subtle staining or warping that cheapens your brand during unboxing or after long, humid shipments.
When wood fails, the impact shows up in your numbers: damaged gift sets get discounted or returned, bad reviews mention “wet” or “musty” packaging, and staff spends time sorting and reworking stock that arrived out of spec.
Qlychee Crafts treats waterproofing as a core quality point. For outdoor use, such as a waterproof wooden planter box or branded storage crate, the factory applies weather‑resistant finishes designed for sun, rain, and seasonal humidity, using automated spray lines to lay down an even exterior wood sealant on every surface.
Here is what can happen when you skip waterproofing:
- Boxes can twist or bow so lids no longer align, making even premium products feel cheap.
- Mold and mildew grow on or inside the box, causing odors, stains, and extra cleaning work for your team or customer.
- Joints loosen and panels crack, so the box can fail under basic use and stop protecting its contents.
- Visible stains or water rings form on wood, lowering perceived value and pushing buyers toward refunds or discounts.
- The usable lifespan of each box shrinks, so you replace stock sooner and raise your real cost per unit.
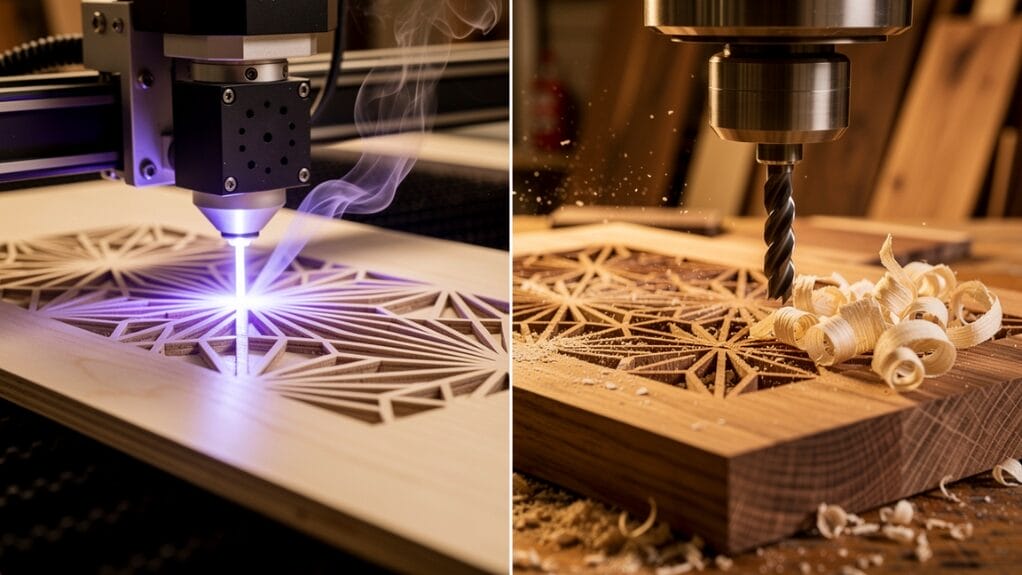
How to Prepare Your Wooden Box for Waterproofing
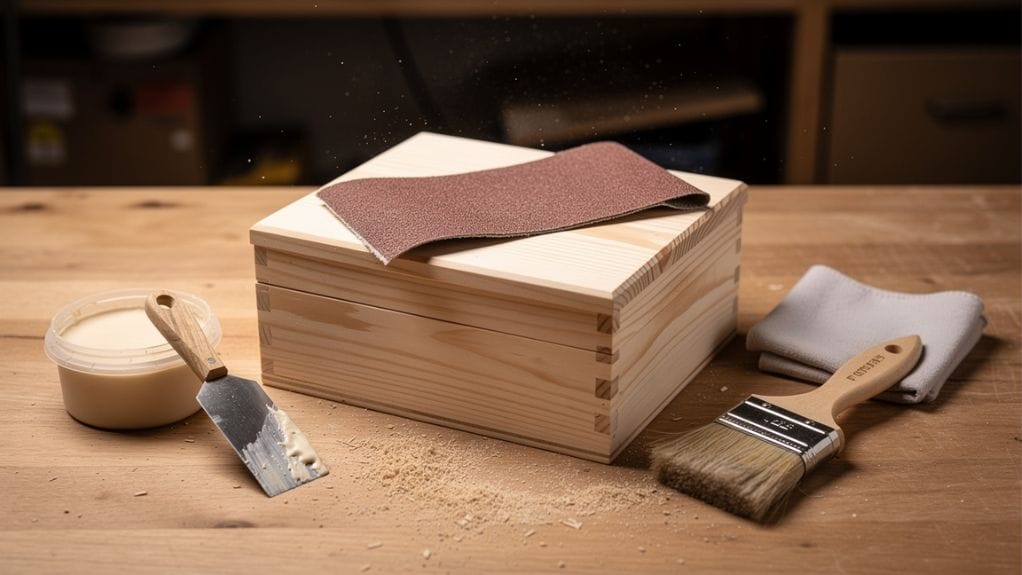
Preparation is the foundation of any reliable wood waterproofing treatment. Even the best coating fails quickly on a dirty, rough, or damp surface, so careful prep helps the seal stick, look smooth, and last longer.
Step 1 — Clean the Surface Thoroughly:
Start by removing dust, loose fibers, and any old finish. Use a soft brush for light debris, a stiff brush and mild detergent for grime, then rinse if needed and let the box dry fully while you inspect for cracks, loose knots, or splinters that might leak later.
Step 2 — Sand All Surfaces:
Use medium sandpaper around 120‑grit to smooth rough spots and remove minor defects, then follow with 220‑grit sandpaper to create a fine texture that helps your waterproofing wood sealant grip. Sand the interior, exterior, edges, and especially the bottom, then wipe every side with a tack cloth so no fine dust remains.
Step 3 — Fill Cracks and Reinforce Weak Joints:
Any gap lets water sneak under your coating, so fill nail holes, knots, and small cracks with quality wood filler or epoxy wood sealer putty. For boxes that will hold wet soil or water, add screws at weak joints and run a thin bead of silicone caulk inside each corner, then let the fillers cure before moving to your main waterproof coating.
Step 4 — Make Sure the Wood Is Completely Dry:
Sealing damp wood traps water under the finish, which can cause blistering, peeling, and hidden mold. Let new or recently washed boxes dry for several days in a shaded, well‑ventilated area, or start with Qlychee Crafts Paulownia craft boxes, which arrive pre‑sanded and dry so you can apply your own wood sealer for outdoor use without extra prep.
“Always let the wood tell you when it is ready — cold or clammy boards are not ready for finish.” — shop-floor saying
Choosing the Best Waterproof Coating for Your Wooden Box
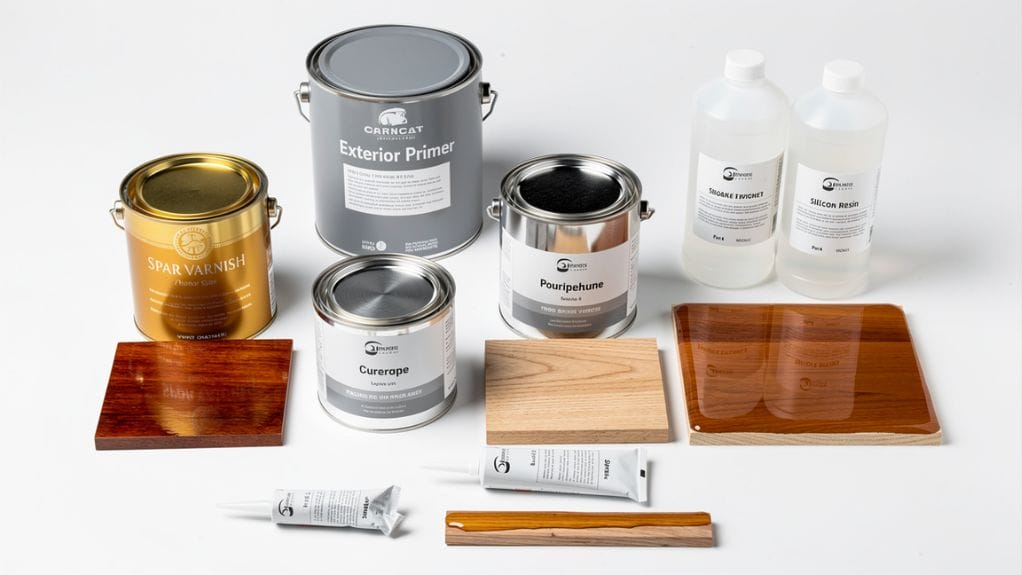
Choosing how to waterproof a wooden box starts with one key question: do you only need to keep rain and splashes out, or must the box hold water or saturated soil inside? Weatherproofing and water containment often call for different products, as shown in studies on improving water resistance of wood and wood-based products.
Here is a quick comparison of common options used for outdoor wood protection:
| Sealant Type | Best For | Durability | Cost |
|---|---|---|---|
| Spar Urethane / Marine Varnish | Outdoor storage, decor, UV exposure | High, flexible, weather‑resistant | Moderate |
| Polyurethane Wood Sealer | General indoor or outdoor use | High, hard clear finish | Moderate |
| Epoxy Resin | Planter boxes, water‑holding containers | Very high, hard shell | High |
| Silicone or Aquarium-Safe Caulk | Joints and seams | Moderate, flexible gasket | Low |
| Exterior Paint With Primer | Budget weatherproofing for storage boxes | Moderate, needs recoats | Low to medium |
| Rubberized Spray Coatings | Utility liners, heavy‑use boxes | High, seamless flexible layer | Moderate |
1. Spar Urethane and Marine Varnish: Ideal for Outdoor Wood Protection
These finishes were first designed for boats and marine trim, forming a clear, waterproof wood finish that moves with the timber instead of cracking. They shed rain, include UV blockers to slow sun damage and graying, and are a strong choice for an outdoor waterproof wooden storage box or branded deck chest, though they are not meant for constant standing water inside.
2. Polyurethane Wood Sealer: Hard, Clear, Durable Barrier
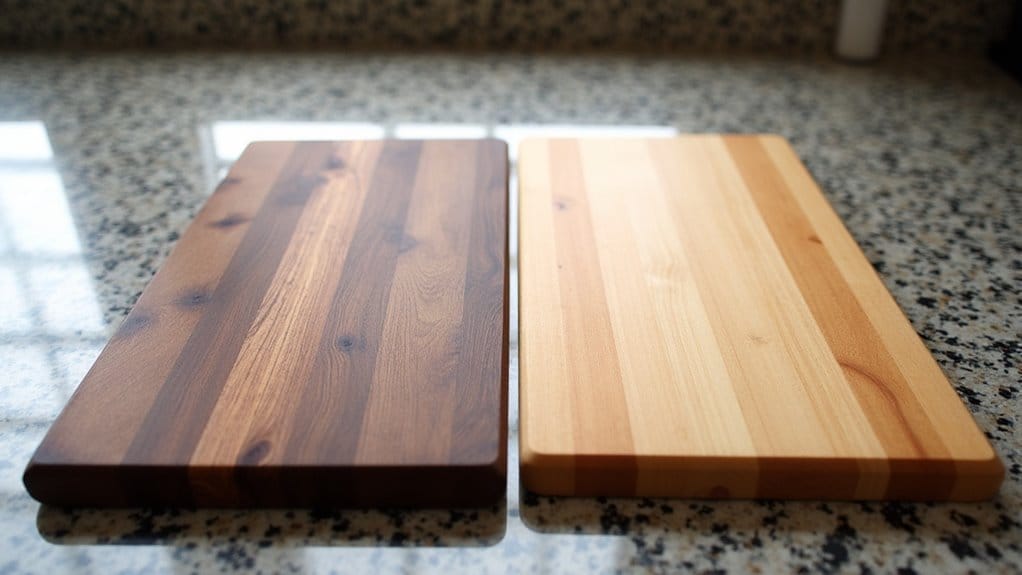
Polyurethane gives a tough, smooth layer that resists scratches and spills, making it ideal for retail displays, gift sets, and corporate packaging that need both protection and gloss. Oil‑based versions warm the wood tone, while water‑based versions stay clearer with lower odor; two or three coats give a clean, high‑end finish.
3. Epoxy Resin: Best for Planters and Water-Holding Boxes
For a watertight interior, epoxy wood sealer is hard to beat, creating a plastic‑like lining that blocks water completely. Brush it over all inner surfaces and build small rounded fillets in corners so no gaps remain; although it costs more, it gives a long‑lasting barrier for waterproof wooden planter boxes and similar containers.
4. Silicone Caulk (Aquarium-Safe): Seals Joints and Seams
Silicone does not replace a full coating, but it makes joints much safer. Run a smooth bead along interior seams before or after your main waterproof wood finish; for planters and boxes near food or plants, choose a product labeled aquarium safe so additives do not leach into soil or water, and let it cure fully before filling the box.
Application Tip: Use Several Thin Coats, Not One Thick Coat
No matter which exterior wood sealant you choose, thin coats soak in and dry harder than one heavy layer. Wait until each coat is dry, then sand very lightly with 220‑grit to remove dust nibs and help adhesion for the next pass.
Qlychee Crafts supports both DIY and factory‑finished approaches. The team applies clear polyurethane, spar urethane, epoxy, or durable varnish by automated spray for a consistent waterproof wood finish on every unit, including lines aimed at outdoor storage and wood preservative outdoor use.
How to Waterproof a Wooden Box: Step-by-Step Application Tips
Once your box is clean and sanded, good application is what turns quality products into a durable barrier. These tips reduce drips, bubbles, and early failure for both DIY and wholesale batches.
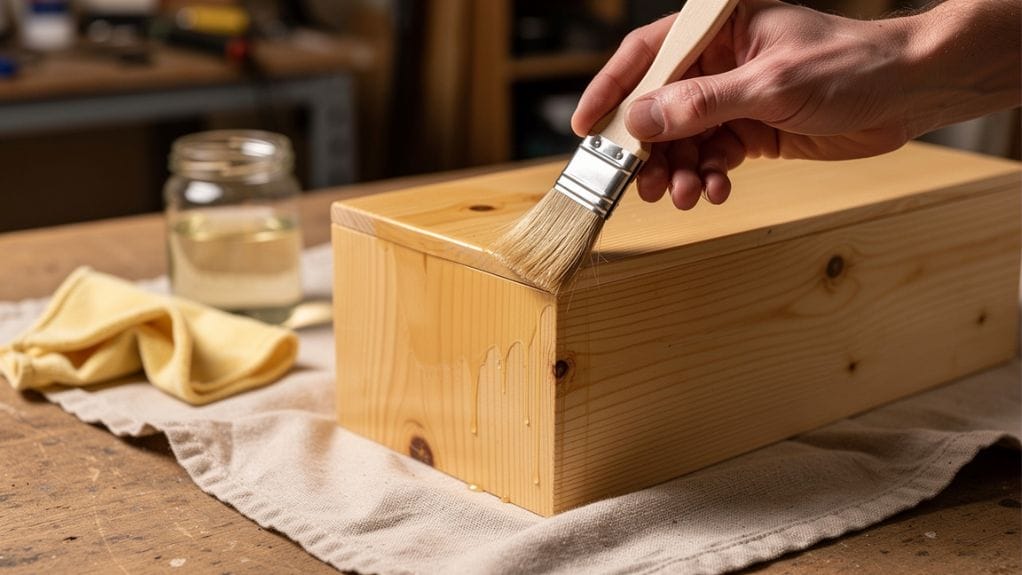
Apply a Thinned First Coat (Primer Coat):
For varnish or polyurethane, thin the first coat slightly with the matching solvent to create a wash coat that sinks into the pores and improves grip. With epoxy, brush on a thin flood coat that wets the grain before building thickness.
Use a Quality Paintbrush Or Foam Roller:
Cheap brushes shed bristles and leave ridges; a good paintbrush or foam roller lays down a smoother film along the wood grain. Load a modest amount of product and stretch it out with long, even strokes to avoid sags.
Allow Full Drying Time Between Coats:
Do not add another coat while the surface feels tacky. Follow the drying time on the can, give extra time in cool or humid air, then scuff sand with 220‑grit and wipe with a tack cloth before recoating.
Apply Two to Three Coats for Optimal Protection:
Two coats are the basic standard for indoor items or short outdoor exposure, while a third coat adds thickness and UV resistance for outdoor storage or planter boxes. More thin layers mean better wood rot prevention and a longer lifespan.
Coat Every Surface — No Exceptions:
Water finds the weak spot, so treat the interior, exterior, bottom, lids, edges, and end grain, which soaks up more product. If you drill hardware holes later, seal the bare wood inside those holes too.
Drill Drainage Holes for Outdoor Storage Boxes:
If the box will never act as a tank, drill several small holes in the bottom so rain cannot pool inside during outdoor use. Raise the box slightly on feet or blocks, then coat the edges of each hole with your wood sealer for outdoor use.
Maintenance and Long-Term Care for Wooden Boxes

Even the best waterproof coating wears down with time, sunlight, and use, so a simple maintenance plan keeps your waterproof wood performing well. Check outdoor boxes at least once a year for dull spots, chips, or hairline cracks in the finish.
Clean the box gently with mild soap and water, then let it dry; if the coating still looks solid, a light scuff with fine sandpaper and one fresh coat of exterior wood sealant usually restores it.
For planter boxes, watch for soil lines or standing water marks that may need more frequent touch‑ups; Qlychee Crafts supports long‑term results with stable, low‑VOC finishes and moisture‑controlled export packing.
Troubleshooting Common Problems
Sometimes careful work still runs into trouble. Knowing what went wrong helps you rescue a batch and adjust your process for the next order.
Blistering Or Peeling Finish
Bubbles or peeling patches usually point to trapped moisture or heavy coats applied too fast. Sand back to a sound layer, feathering the edges so they blend in. Clean away dust, let the wood dry well, then rebuild with thinner coats and full drying time.
Persistent Mould Or Odor
A box that smells musty or shows dark spots likely has active mold. Empty it, wash the interior with mild detergent and a little vinegar or baking soda, let it dry completely in moving air, sand lightly, and apply a fresh waterproof wood finish so future moisture cannot linger as easily.
Structural Swelling Or Warping
If sides bow or lids no longer fit, moisture has entered unevenly; move the box to a dry, shaded space and let it dry slowly without direct heat. Once it stabilizes, add screws where needed and reseal every surface, or replace badly distorted units with consistent, pre‑finished boxes from Qlychee Crafts to protect your brand image.
Conclusion
Waterproofing a wooden box is more than a quick coat of clear finish; it starts with careful prep, from cleaning and sanding to filling gaps and drying the wood. Then you match the product to the job, whether that means spar urethane for weather, epoxy for water‑holding planters, or polyurethane for polished retail display boxes.
Patient application with thin layers, full drying times, and full coverage on every surface gives you outdoor wood protection that lasts, reduces returns, and keeps your brand associated with quality instead of warped or moldy packaging.
If you prefer to skip the workshop, Qlychee Crafts offers factory‑finished wooden planter boxes, storage boxes, gift boxes, and display boxes with eco‑conscious waterproof coatings already in place. You can order customizable designs with low minimums, OEM branding, and moisture‑controlled export packing so your boxes arrive ready to protect what matters.
FAQs
What Is the Best Sealant for a Wooden Box Used Outdoors?
For most outdoor storage and decor boxes, spar urethane or marine varnish gives strong weather and UV protection with good flexibility. A clear polyurethane wood sealer is another solid option for general outdoor use, while epoxy resin is better if the box must hold water.
How Do I Waterproof a Wooden Planter Box So It Holds Water?
First, seal all interior joints with aquarium‑safe silicone caulk. Then brush on an epoxy resin lining over the entire inside, forming smooth fillets in the corners; for large planters, you can also drop in an EPDM liner as a long‑lasting physical barrier.
How Many Coats of Sealant Does a Wooden Box Need?
Most projects call for at least two coats of your chosen wood stain and sealer or clear finish, with light sanding using 220‑grit between coats to help each layer bond. High‑moisture and outdoor jobs often benefit from a third coat for extra thickness and durability.
Can I Buy Wooden Boxes that Are Already Waterproofed?
Yes. Qlychee Crafts manufactures wooden boxes finished with professional‑grade coatings such as polyurethane, spar urethane, epoxy, or durable varnish applied by automated spray lines. You can order weather‑ready outdoor wooden planter boxes and finished packaging boxes in bulk, customized for your brand and ready to ship or stock.