If you are wondering how to decorate a wood tray for your business, start by viewing it as a small, mobile stage for your products and brand. With a clear plan, that tray shifts from a simple serving piece to a quiet sales tool that supports your merchandising and photography.
For a professional result, the process is simple but structured. You:
- Choose the right wooden base.
- Ensure the surface is properly prepared.
- Decorate it with techniques that match your brand.
- Seal it for daily use.
- Style it with a focused arrangement.
Done well, this is how to decorate a wooden tray so it looks custom, holds up under use, and photographs beautifully for online listings or social media.
Qlychee Crafts supports you at every step of how to decorate a wood tray at scale, supplying unfinished trays in acacia, maple, walnut, bamboo, and more, with flexible MOQs and OEM or ODM service.
In this guide, you will see how to pick the right base, prepare it, apply creative finishes, seal it, and style it like a pro, so you can turn blank trays into premium branded pieces that drive sales and engagement.
Key Takeaways
- Professional results with any decorative tray start with surface prep that includes cleaning, sanding, and priming where needed. This is what keeps paint even, decals flat, and finishes smooth, which matters when you sell or use trays every day in a business setting.
- Decoration methods such as painting, stenciling, decoupage, mosaic, and mixed media give you almost endless wooden tray styling ideas. When you match these techniques to your brand colors and audience, a simple serving tray becomes a clear expression of your visual identity.
- Qlychee Crafts supplies unfinished, sustainably sourced trays ready for everything from coffee table tray decor to restaurant service. With custom sizes, wood types, and laser engraving, plus low MOQs and fast turnaround, you can test how to decorate a wood tray for your market, then scale the best sellers with consistent quality.
Selecting the Right Wood Tray Base for Professional Decoration
When you think about how to decorate a wood tray for resale or commercial use, the base you start with matters as much as the paint on top. A high-quality unfinished tray gives you a smooth, stable surface, accepts finishes well, and feels solid in a customer’s hands. That first impression is what keeps trays out of the return pile.
Unfinished wood trays are ideal because they act as blank canvases:
- Acacia brings strong durability and active grain that suits rustic or farmhouse tray decor.
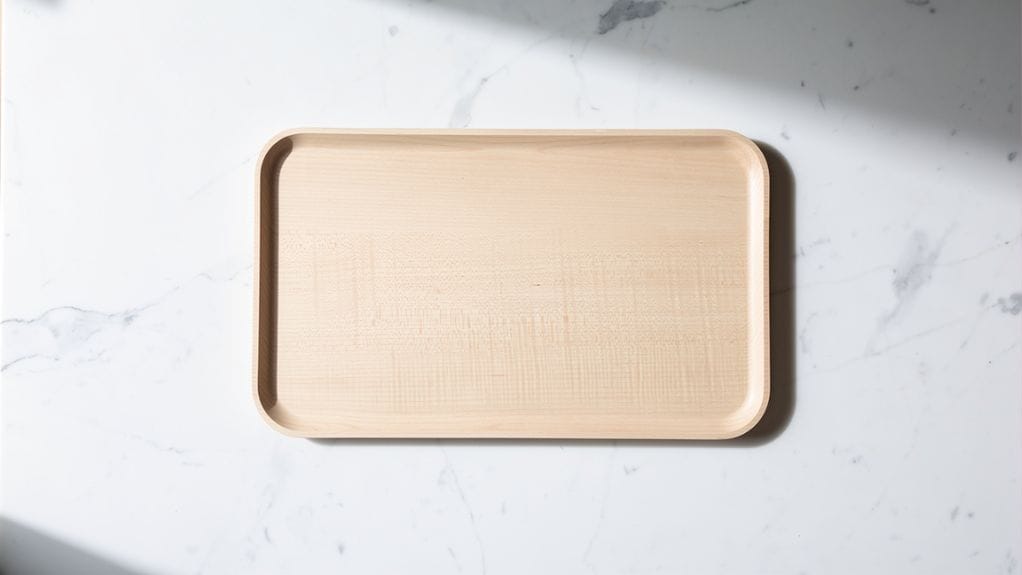
- Maple offers an even, smooth surface that is perfect when you plan crisp paint, stencils, or modern color blocking.
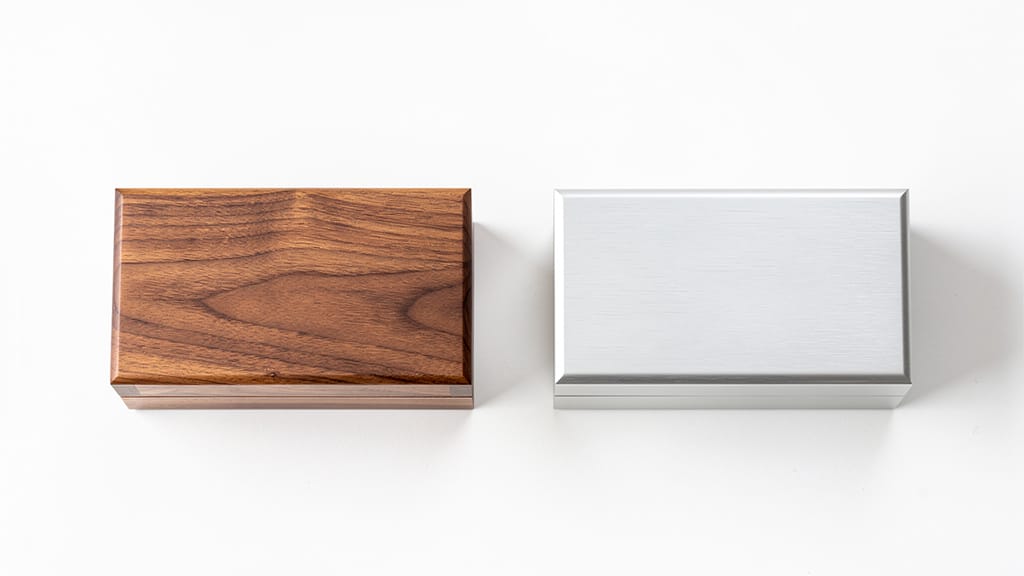
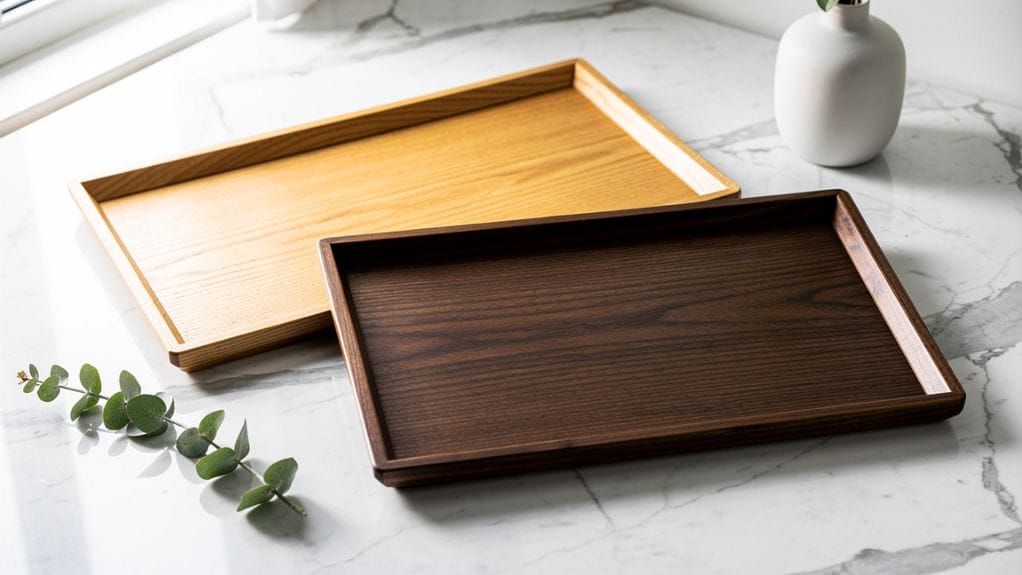
- Walnut adds a deep, premium look that reads well on camera, making it a favorite for product photography and higher end gift sets.
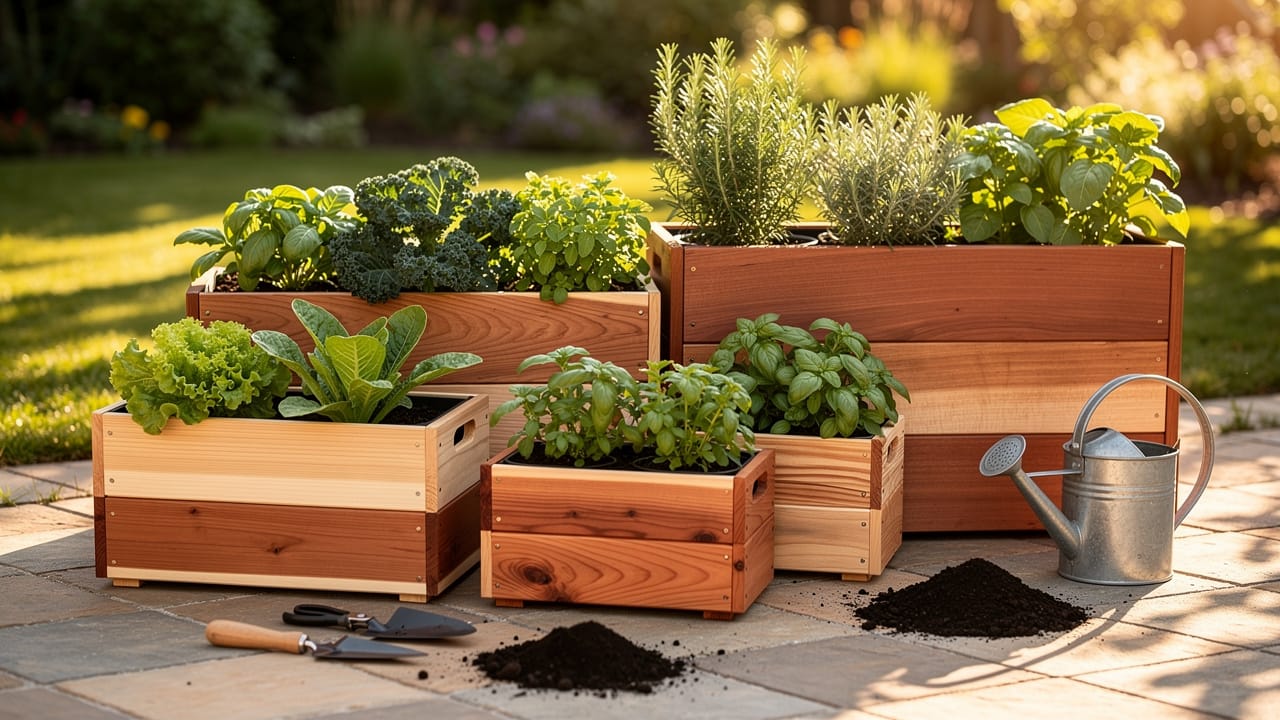
- Bamboo is light in weight and highly renewable, supporting eco-minded retail programs and hospitality concepts while avoiding synthetic materials that have raised concerns in a systematic review of potential health impacts from plastic alternatives.
You can think of the main woods this way:
| Wood Type | Visual Style | Best For |
|---|---|---|
| Acacia | Warm, active grain | Rustic, farmhouse, casual dining |
| Maple | Smooth, light | Painted logos, stencils, modern decor |
| Walnut | Dark, refined | Premium gifts, brand photos, retail displays |
| Bamboo | Light, clean | Eco programs, spa, wellness, cafe service |
Beyond species, pay attention to structure:
- Edges should feel smooth.
- Thickness should be consistent.
- Joinery should look clean so the tray holds up to regular use.
Size and shape also affect how to decorate a wooden tray for different roles:
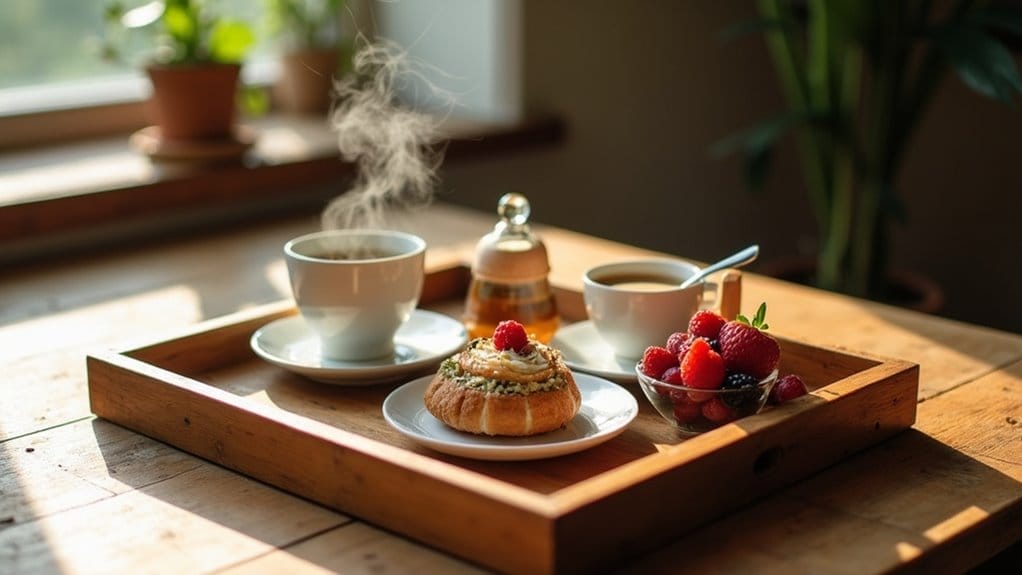
- Rectangular trays work well on coffee tables, ottomans, and kitchen counters.
- Round trays or whitewashed round trays look great as a base for a centerpiece.
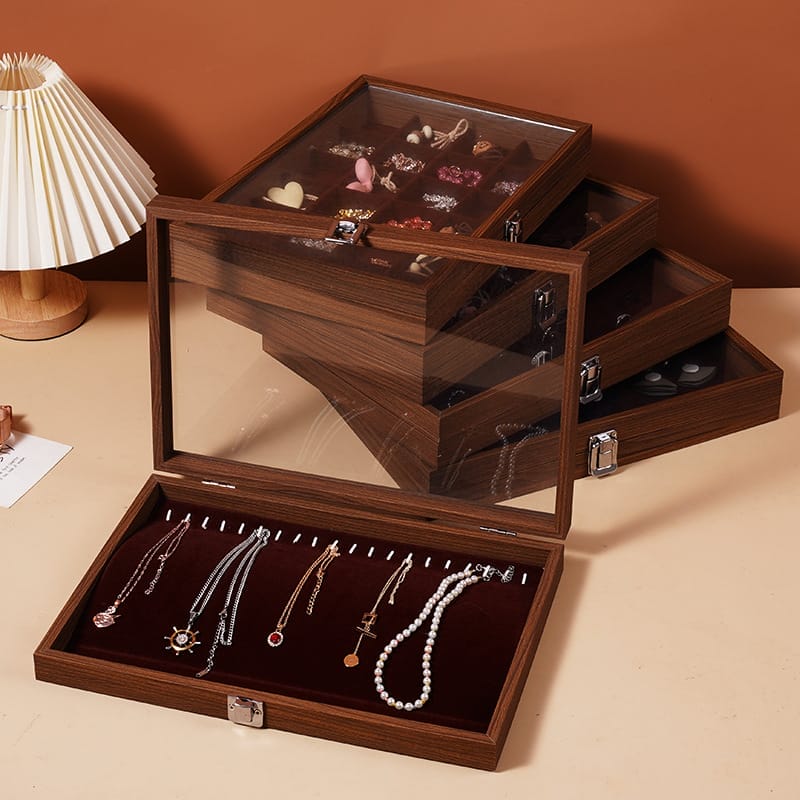
- Multi-compartment trays help corral smaller items like remotes, condiments, or sample jars.
Qlychee Crafts uses CNC cutting and automated finishing to keep every tray consistent, order after order. You can choose custom dimensions, wood species, and layouts that fit your products or service style, which makes developing repeatable decorative tray ideas far easier.
Preparing Your Wood Tray for Decoration: Professional Techniques

No matter how creative your plan is, the way you prepare the surface will show through every painted stripe and engraved logo. For commercial use, preparation is what makes your tray decor durable, easy to clean, and ready for repeat orders. When you standardize this step across batches, learning how to decorate a wood tray becomes a reliable process instead of a one-time craft project.
That quote applies directly to tray prep: the small steps you take here protect every design that follows.
Cleaning and Initial Inspection
Start by removing manufacturing dust or packing residue so finishes can bond well.
- Wipe the entire wooden tray with a slightly damp, lint-free cloth to lift fine dust.
- Let the tray dry fully.
- Inspect closely for:
- Chips or cracks.
- Knots that might bleed through paint.
- Loose joints that could fail during service.
If you are upcycling trays for a DIY-focused retail program, add sticker removal and a gentle wash for second-hand pieces. In every case, pull aside any tray with structural issues and keep only sturdy pieces for decorating and organizing.
Qlychee Crafts trays are pre-smoothed and inspected at the factory, which cuts this step down to a fast wipe and check before you move into sanding.
Sanding for Optimal Adhesion
Light sanding is one of the first things that separates a quick craft from a professional finish.
- Use 120–150 grit sandpaper to smooth the base, sides, and handles so the surface feels even and ready to accept paint or stain.
- Sand in the direction of the grain to avoid visible scratches that would show under lighter colors.
- If you spot small dents or gaps, fill them with wood filler and sand flush once dry so the tray looks consistent.
After sanding, use a tack cloth or a clean, slightly damp cloth to remove all dust, even in corners and along the rim. This step gives every item on a tray a smooth base and makes it much easier to keep everything neat and organized once the tray is in use.
Priming Strategies
Priming is a smart move when you want paint colors to look even and last through heavy use. If you plan a light or white finish over darker decorative wood, or your tray will live on a busy coffee table or kitchen counter, a quality primer such as Kilz helps paint grip and reduces the risk of stains bleeding through. Brush on thin coats and let them dry fully between layers.
You can skip primer when you use chalk paint for a distressed farmhouse tray decor look, or when you plan to stain the tray and show the types of wood. For decoupage or vinyl decals, a very smooth base works best, so extra fine sanding after primer is helpful.
Qlychee Crafts trays leave the factory with rounded edges and smooth faces, which cuts down on prep time across a batch. When you decorate many trays at once for retail inventory, set up a simple workflow so you clean, sand, and prime groups together for better speed and consistent results.
How to Decorate a Wood Tray: Stylish Decoration Techniques
Once your base is ready, the fun part starts. This is where you turn how to decorate a wood tray from an idea into a repeatable product for your brand. The same blank tray can read farmhouse, modern, coastal, or restaurant ready simply by changing finish, pattern, and added materials.
Painting Methods and Pattern Creation
Paint is the fastest way to set the tone of your decorative tray. Different paints support different looks:
- Acrylic craft paint gives a wide color range and pairs well with stencils or fine detail.
- Chalk paint works well when you want a matte farmhouse finish that can be lightly distressed along the edges.
- Spray paint gives metal handles or hardware an even coat, which pairs nicely with a contrasting wood base.
For patterns and graphics, try:
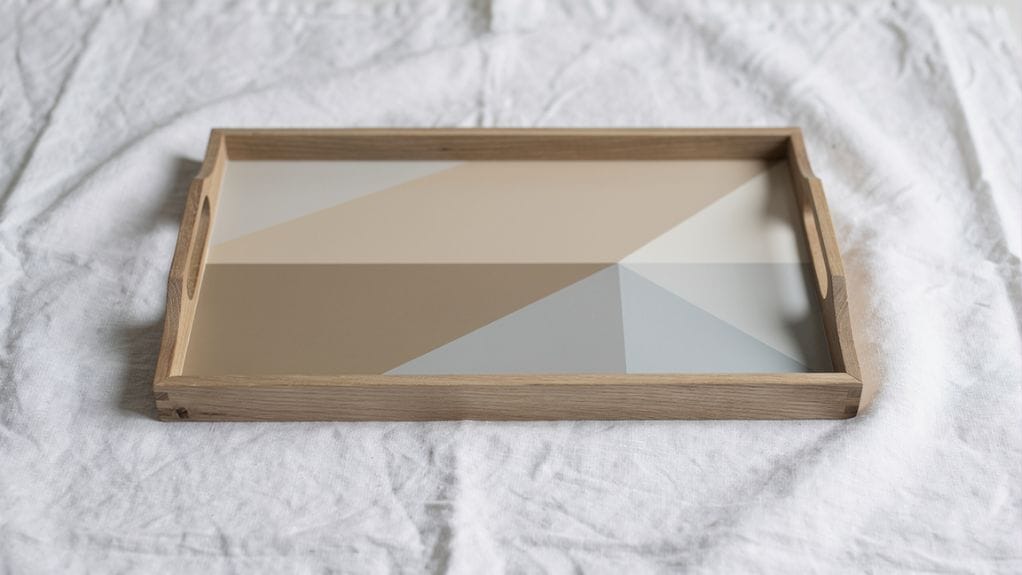
- Painter’s tape for stripes, chevrons, buffalo plaid, or gingham that suit seasonal decor or evergreen styles.
- Stencils for logos, mandalas, florals, and script phrases that match your brand. Use low tack adhesive stencils and a foam pouncer, tapping lightly so paint does not seep.
- Accent details such as metallic craft paint on rims or handles for a subtle upscale touch.
- Chalkboard paint in the center so hospitality teams can label cheeses, drinks, or specials.
If your market likes rustic brown and farmhouse looks, you can sand edges after painting for gentle distressing that suggests age and character without damaging the structure.
Mixed Media and Advanced Decoration
Mixed media turns wood tray centerpiece ideas into collector pieces and strong brand statements.
Decoupage

Decoupage is an easy method where you glue decorative paper or fabric to the tray base with Mod Podge, then seal over it. You can use:
- Custom printed graphics.
- Maps tied to a city theme.
- Patterns that echo your textile line, so your decorative trays support the rest of your assortment.
Mosaic or Tile Inlays

For high end serving in restaurants or boutique hotels, mosaic or tile inlays are impressive. Set small tiles or sea glass into adhesive on the base, then grout and seal so the surface becomes waterproof and easy to wipe. This approach works well on larger trays that stay out on an ottoman or console table.
Natural Accents

Natural accents such as jute twine wrapped on handles, sea glass pieces, or reclaimed yardstick strips on the base help you tell an artisan story and give each tray a crafted feel.
Laser Engraving

Laser engraving is a powerful way to add branding without extra layers. Qlychee Crafts can engrave logos, patterns, or wording directly into acacia, maple, walnut, or bamboo so you receive trays already marked and ready for stain or clear coat.
You can also add vinyl decals from a cutting machine for names, dates, or seasonal tray phrases, then seal over them. With OEM and ODM support from Qlychee Crafts, it becomes straightforward to test several creative lines of wooden tray decor and scale the ones your customers love.
Sealing and Protecting Your Decorated Trays for Durability

After all the decorating work, sealing protects your time and investment. In a business context, this step matters for customer satisfaction, hygiene, and fewer returns. How to decorate a wood tray for real use always includes a finish that stands up to moisture, heat from mugs or plates, and regular wiping.
Polycrylic Sealant: Minwax Polycrylic
Polycrylic is a water based clear coat that works well over paint, stain, and decoupage. It stays clear over time and is available in matte, satin, or gloss, so you can match the look to coffee table tray decor or hospitality serving pieces.
- Brush on thin coats in one direction and avoid overworking areas as you go.
- Two or three what oil to use with light sanding between layers give a smooth, professional feel that looks good in close up photos.
- For trays that hold decorative objects, polycrylic is often enough. It resists everyday spills and makes it easy for customers to wipe trays clean without damaging the decorative display.
Epoxy Resin Finish
Epoxy resin gives a thick, glass like layer that is waterproof and very durable. This option suits how to decorate a wood tray for restaurants, bars, or busy cafes where drinks sweat onto surfaces and trays see heavy rotation. Resin deepens color and makes graphics under the surface look richer.
Basic steps:
- Mix the two parts exactly as directed.
- Pour onto the tray and guide it to the edges while it self-levels.
- Work in a dust free space and protect the tray while it cures.
Most resins need at least twenty-four hours before gentle handling and seventy-two hours or more before full hardness. Choose a product rated for your use case, especially if food might touch the surface.
For eco focused lines that avoid synthetic materials, Qlychee Crafts also offers food-safe wood wax oil and oil-resistant finishes that protect against sauces and oils while keeping a natural feel, supporting biodegradable packaging from agricultural waste streams and sustainable finishing practices.
Whatever finish you choose, include simple care cards so end customers know how to use and clean their trays safely.
Professional Styling Strategies for Maximum Visual Impact

A decorated tray only reaches its full value when it is styled well. In retail, hospitality, and staging, you use trays to corral items into a small story called a vignette. When you learn how to decorate a wood tray with styling in mind, you not only create a product but also show customers exactly how to use trays in their own spaces.
“Design is not just what it looks like and feels like. Design is how it works.” — Steve Jobs
Good styling honors both looks and function.
The Rule Of Threes
Designers often group items in threes because this feels balanced and natural to the eye. On one tray, you might combine:
- A tall vase with greenery.
- A medium height candle.
- A low stack of decorative coasters.
Varying height, texture, and shape keeps the display interesting from every angle. You can adapt this rule to your assortment by mixing one tall, one mid, and one low item from your own product line.
Functional + Decorative Balance
The best tray wooden decor for living rooms or bedside tables, mixes beauty and usefulness. Combine items that people reach for daily, such as remotes or reading glasses, with visual pieces like a small vase of flowers, a candle, or a favorite book. This balance keeps the table looking neat while the tray holds everything within easy reach.
When styling for e-commerce photography, think about what your target customer would realistically keep on the tray, then add one or two purely decorative objects for visual interest.
Living Room Coffee Table
On a coffee table or ottoman, start with one larger tray that fits the scale of the furniture. Then:
- Add a vase with flowers or simple greenery.
- Stack a few books that match your brand mood or color palette.
- Layer in smaller decorative items like a ceramic dish, bead strand, or small sculpture.
For store displays, you can show how the same tray for Christmas, spring, or summer changes simply by swapping seasonal decor. This gives shoppers clear ideas for using wood tray decor year-round.
Kitchen Dining
In the kitchen, a rectangular small wooden tray can act as a base for a centerpiece on an island or dining table. Try grouping:
- Salt and pepper shakers.
- A small plant or vase.
- A bottle of olive oil or vinegar.
For coffee stations, use a tray to hold mugs, a sugar pot, spoons, and a small jar of beans. This makes the whole counter look styled instead of cluttered and is an easy upsell for kitchen and pantry sections.
Hospitality Settings
Hotels, cafes, and restaurants can use decorative wood trays to present amenities and small items in a clean, organized way:
- A tray on an ottoman in a lobby might hold menus and a wooden candle holders.
- A bamboo serving trays in a cafe can be set with candles and a glass jar of cutlery.
- In guest rooms, a tray can group bottled water, snacks, and welcome cards.
Branded Qlychee Crafts trays with engraving keep your logo in view in every room, reinforcing brand presence without feeling pushy.
Retail Displays
In retail, trays are perfect addition pieces for merchandising shelves, console tables, or window displays. Use a tray as a base for a centerpiece of products plus prop pieces so customers see a full lifestyle idea rather than single items floating on a shelf.
- Walnut trays from Qlychee Crafts provide a neutral, photo friendly backdrop that looks great on social media.
- Multi-compartment trays work well for gift sets, sampler assortments, or jewelry groupings.
By keeping tray styling consistent across displays and photos, you build a recognizable visual language for your brand.
Conclusion
Learning how to decorate a wooden tray for professional use follows a clear path. You start with a quality base in the right wood species and size, prepare it carefully, choose decoration methods that match your brand, seal the surface for the level of use you expect, and then style the tray with a mix of functional and decorative items. That simple structure lets you turn one tray style into many saleable looks.
For retailers, e-commerce brands, hospitality groups, and corporate gift buyers, decorated wooden trays become flexible profit centers. They organize space, hold seasonal decor, act as props in product photography, and carry branding directly into customers’ homes and workplaces. Because wood is renewable and long-lasting, it also aligns well with growing interest in eco-minded home decor and food presentation.
Qlychee Crafts supports you at each step with sustainably sourced unfinished trays, custom sizes and shapes, precision laser engraving, and finishing options tuned to your use case. Flexible MOQs and OEM or ODM service mean you can prototype new decorative tray ideas quickly, refine what works, and then scale with confidence. When you are ready to turn simple wooden trays into styled pieces that carry your logo and story, exploring the Qlychee Crafts catalog is a practical next step.
FAQs
Question 1: What Type of Wood Tray Is Best for Decorating and Reselling?
For most projects, unfinished trays in acacia, maple, or walnut are the best starting point. Acacia is durable and has strong grain that suits rustic and farmhouse looks.
Maple is smooth and ideal for paint, stencils, and modern designs. Walnut gives a premium, photo-ready surface that works well for e-commerce. Qlychee Crafts can supply all three with sustainable sourcing.
Question 2: Do I Need to Prime a Wood Tray Before Painting?
Priming is a smart step whenever you apply light paint over darker wood or want maximum adhesion.
A quality primer such as Kilz helps color stay even and reduces bleed-through from knots or old stain. Chalk paint can often go directly on sanded wood because it grips well. Good priming reduces finish issues and cuts down on long-term product returns.
Question 3: What Is the Best Sealant for Wood Trays Used In Food Service?
For trays that carry drinks or food in restaurants and cafes, epoxy resin gives a waterproof, heat-resistant finish when cured correctly. Polycrylic works well for decorative serving where exposure is lighter and you want an easy water-based clear coat.
When food touches raw wood directly, choose a certified food-safe wood, wax oil. Qlychee Crafts offers eco-friendly finishing options and can pre-finish trays to meet your food service needs.
Question 4: Can Wood Trays Be Customized With Company Logos for Corporate Gifts?
Wood trays are excellent carriers for company logos and event branding. Laser engraving produces sharp, permanent artwork that will not peel or rub off, even with daily use. Qlychee Crafts specializes in engraved trays and can adjust wood type, size, and finish so each program feels carefully branded.
With low MOQs, you can test designs for smaller teams, then scale successful styles using full OEM or ODM development and reliable production timelines.