When you want to hang that perfect wooden sign in your home, you need to make sure it’s mounted securely and professionally. Whether you’ve chosen a rustic farmhouse piece or a modern design statement, the mounting technique you select can make the difference between a lasting installation and a potential hazard. Let’s explore the proven methods and essential tools you’ll need to hang your wooden sign with precision and confidence.
Key Takeaways
- Measure and mark the wall location using a level and pencil to ensure proper alignment before hanging the sign.
- Choose mounting hardware based on sign weight – use command strips for lightweight signs or wall anchors for heavier pieces.
- Install D-rings or sawtooth brackets on the back of the sign for balanced weight distribution and secure mounting.
- Anchor hardware into wall studs when possible, or use appropriate wall anchors rated for your sign’s weight.
- Position hooks or nails at a 45-degree angle for maximum support and verify the sign is level after installation.
Choosing the Right Wood Sign
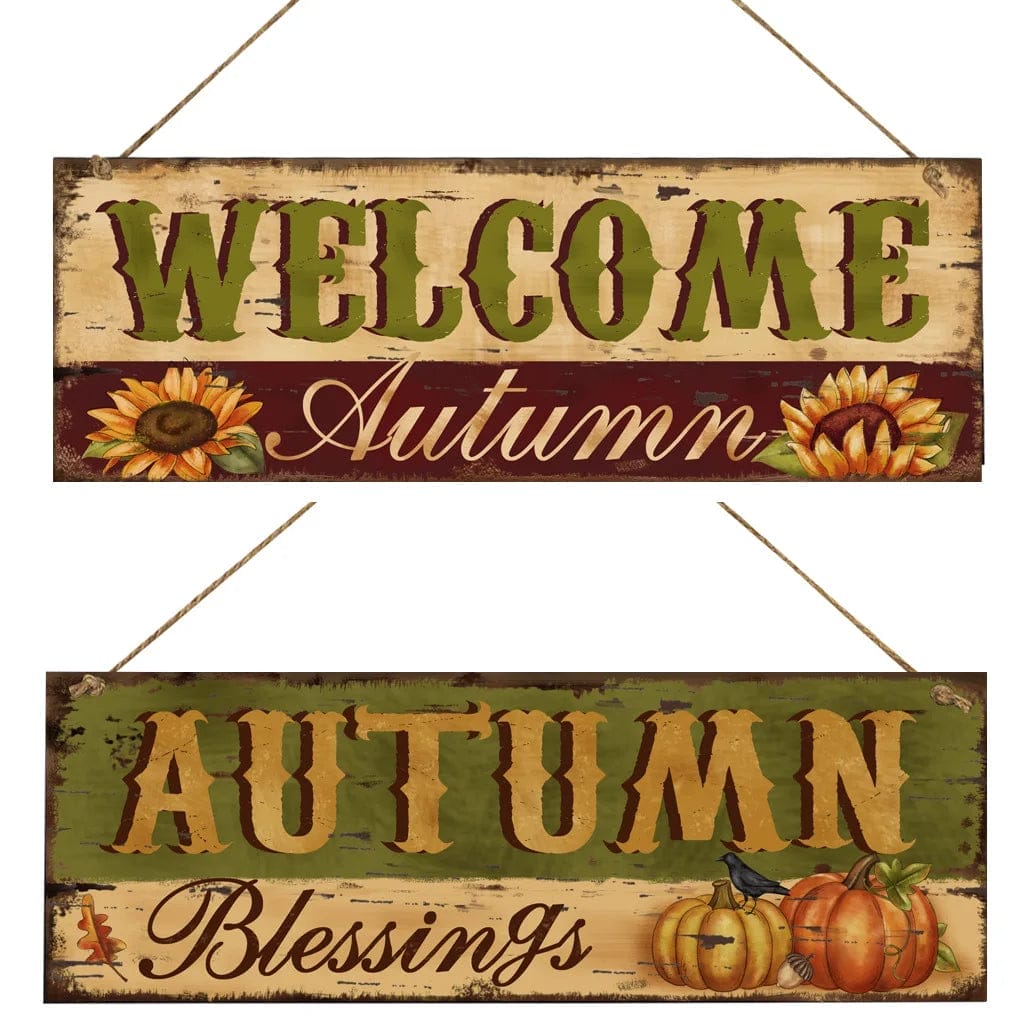
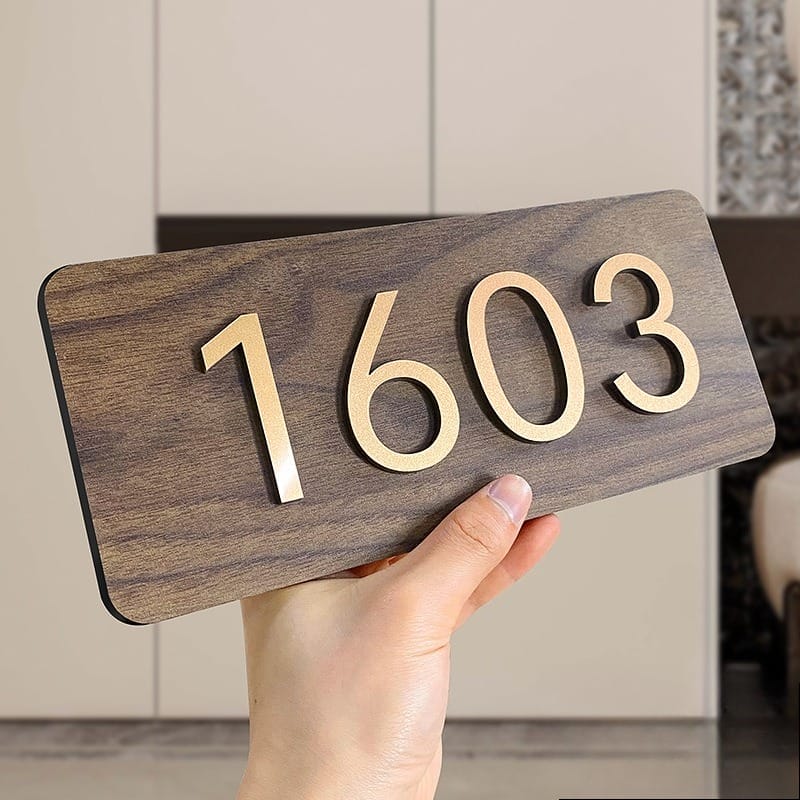
Select your wooden sign from common varieties like pine, cedar, or oak, ensuring it matches your intended display location’s aesthetic and environmental conditions.
You’ll need to measure your wall space carefully to accommodate your sign’s dimensions, factoring in both the visible face and any protruding hardware or frame elements.
Consider your wall’s structural capacity when choosing between lightweight pine signs (2-5 pounds) and heavier hardwood varieties (8-15 pounds), as this will determine your mounting hardware requirements.
Types of Wooden Signs
Before choosing mounting hardware, you’ll need to understand the distinct categories of wooden signs available in today’s market. The primary classifications include solid hardwood planks, engineered wood composites, and reclaimed barn wood.
Solid hardwood signs offer superior durability and authentic grain patterns, while engineered varieties provide enhanced stability against warping. Rustic wooden signs crafted from reclaimed materials feature natural weathering and character marks.
Each type presents unique mounting challenges: solid wood signs typically weigh more and require robust hardware, engineered panels need moisture-resistant mounting solutions, and reclaimed pieces often have irregular surfaces that demand specialized hanging techniques.
Considerations for Size and Weight
When determining the ideal mounting choice for your wooden sign, accurate measurements of both dimensions and mass are critical factors.
You’ll need to measure the sign’s length, width, and thickness to calculate its total size, ensuring proper hardware selection and wall placement.
For weight considerations, place your sign on a bathroom scale or use a hanging scale for precise measurement.
Signs under 10 pounds typically work well with picture hangers or keyhole brackets, while heavier pieces require wall anchors or attaching directly into wall studs.
Always factor in your sign’s weight distribution to prevent sagging or wall damage over time.
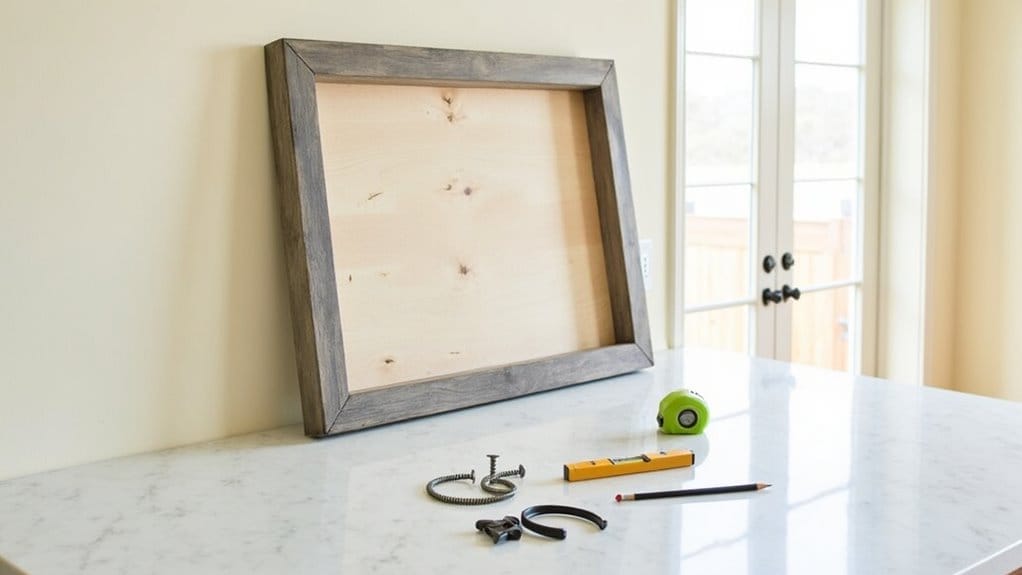
Tools and Materials Needed

The proper hanging of your wood sign requires specific tools based on its weight and mounting surface, including a drill, level, measuring tape, pencil, and appropriate anchors.
You’ll need wall-specific hardware – toggle bolts for drywall, masonry anchors for brick, or wood screws for studs – to guarantee secure mounting.
Consider having a stud finder, hammer, screwdrivers in various sizes, and safety equipment like protective eyewear ready before starting your installation.
Essential Tools for Hanging
Gathering the right tools and materials will guarantee a secure, professional installation of your wood sign.
You’ll need a power drill with drill bits, a level, measuring tape, pencil, and stud finder. For hardware, select mounting brackets, screws, or picture-hanging hooks rated for your sign’s weight. If you’re hanging on drywall, include wall anchors in your tool kit.
For heavier signs, you’ll want a helper, safety glasses, and work gloves.
Don’t forget a hammer for nail-based hanging methods or driving wall anchors. Keep all tools organized and within reach during installation to ascertain efficient workflow.
Materials for Different Surfaces (Brick, Wall, etc.)
Different mounting surfaces require specific hardware and mounting techniques to guarantee your wood sign stays securely in place.
For drywall, you’ll need wall anchors and screws rated for your sign’s weight.
On brick surfaces, use masonry anchors or concrete screws with a hammer drill for pre-drilling holes.
Wooden surfaces call for wood screws or lag bolts driven directly into studs.
For metal surfaces, self-tapping screws or toggle bolts work best.
Glass or tile requires specialized adhesive mounting strips or suction hooks.
Always match your mounting hardware’s weight capacity to your sign’s specifications and the surface material’s strength.
How to Hang a Wood Sign

Begin your wooden sign installation by carefully measuring and marking your desired mounting location with a level and pencil.
You’ll need to select appropriate mounting hardware based on your sign’s weight – use picture hangers or mounting hooks with nails for heavier pieces, while adhesive strips or command hooks work well for lightweight signs under 5 pounds.
For maximum stability and professional results, verify your mounting hardware is properly anchored into wall studs or use wall anchors when studs aren’t available.
Measuring and Marking the Spot
Before mounting your wooden sign, determine its best placement by measuring both the wall space and the sign’s dimensions. Mark the center point of your wall space and align it with the sign’s center for balanced positioning.
- Measure the sign’s width and height, then mark these dimensions on the wall using a level and pencil.
- Calculate and mark mounting points based on your sign’s hanging mechanism (D rings, sawtooth, or wire).
- Double-check all measurements and marks, ensuring they’re level and at the proper height for ideal viewing.
Use a measuring tape and level to confirm all marks are precise before proceeding with installation.
Using Hooks and Nails
Once you’ve marked your mounting points, selecting the appropriate hardware becomes your next critical step.
For lightweight signs under 5 pounds, use sawtooth hangers or D-rings with 4d finishing nails. Medium-weight signs require sturdy picture hooks rated for 10-20 pounds, while heavier pieces need wall anchors with mounting screws.
Position your hook or nail at a 45-degree upward angle for maximum support. Drive the nail into a wall stud whenever possible. If you’re working with drywall, install plastic anchors first.
Double-check that your hardware is level and securely fastened before hanging your wooden sign.
Adhesive Options for Lightweight Signs
For signs weighing less than 3 pounds, adhesive mounting solutions offer a drill-free alternative to traditional hardware. Choose from high-quality adhesive options that won’t damage your walls while providing secure mounting for lightweight wooden signs.
- Double-sided command strips support up to 3 pounds and allow easy repositioning – apply strips to back of the board for ideal weight distribution.
- Heavy-duty mounting tape provides strong adhesion for textured wood surfaces – guarantee 2-inch minimum coverage per pound of weight.
- Adhesive mounting squares work well on smooth-backed signs – use multiple squares spaced 6 inches apart for balanced support.
Picture Hangers for Added Support
Picture hangers provide reliable mechanical support for wooden signs weighing between 3-20 pounds. Choose D-ring hangers or sawtooth brackets for best weight distribution.
Install two D-rings on the back of your sign, positioning them at one-third points along the top edge for balanced support.
For signs under 10 pounds, sawtooth brackets work effectively when centered on the frame’s upper portion.
Confirm you’re using appropriate picture hooks in your wall – standard hooks support up to 20 pounds in drywall, while heavy-duty versions can handle up to 50 pounds when properly anchored into studs.
Always check manufacturer specifications for precise weight limits.
Frequently Asked Questions
How Long Should I Wait for Adhesive to Dry Before Hanging?
You’ll need to let adhesive cure for 24-48 hours for ideal bonding strength. Check your specific adhesive’s instructions, as drying times vary by product type, humidity levels, and substrate materials being bonded.
Can I Hang Wooden Signs on Textured or Uneven Walls?
You can hang signs on textured walls by using anchors and longer screws to guarantee proper penetration. For severe texturing, consider installing mounting blocks or spacers to create an even surface behind your sign.
What’s the Maximum Weight a Single Picture Hook Can Support?
You’ll find standard picture hooks can support 10-50 pounds, depending on the hook’s design and wall material. For heavier items, use multiple hooks or specialized heavy-duty hangers that can hold up to 100 pounds.
Should I Treat the Wood Sign Before Hanging It Outdoors?
You’ll need to seal your wooden sign with exterior-grade polyurethane or marine varnish to protect against moisture, UV rays, and weathering. Apply 2-3 coats, allowing proper drying time between applications.
How Do I Remove Wall Anchors Without Damaging the Wall?
You’ll need needle-nose pliers to grip the anchor’s lip. Insert a screwdriver behind the anchor and gently pull while twisting. If it’s stubborn, drill the anchor’s center to collapse it inward.
Conclusion
You’ve now mastered the essential techniques for hanging wooden signs with precision. Remember to select mounting hardware that’s compatible with your sign’s weight specifications and wall composition. Double-check your measurements, verify level alignment, and guarantee secure attachment points. For ideal results, utilize wall anchors for signs exceeding 10 pounds, and maintain a 30-degree hanging angle for enhanced stability and professional presentation.