We’ll guide you through how to make a wooden box with a lid using premium hardwoods like figured maple or walnut, and discuss when plywood is a better choice for box making. First, we’ll cut precise miters or dados for the box joints, ensuring perfect alignment and durability.
Next, we’ll install quality hardware such as mortise hinges and brass clasps, then sand all components to 180-grit before applying multiple thin coats of finish.
Proper interior lining with velvet or felt completes the project, while mastering advanced techniques significantly elevates your results.
Key Takeaways
- Plan the box dimensions carefully and sketch the design. This ensures proper clearance for hinges and a well-fitting lid.
- Cut the wood pieces to size using a miter saw, including the base, sides, and lid components.
- Create strong joints using finger joints or dovetails for corners, and cut dados for the bottom panel.
- Sand all components to 180 grit before assembly. Then, attach hinges and any additional hardware.
- Apply multiple thin coats of finish, like lacquer or oil, allowing proper drying time between applications.
Materials Selection: Choosing the Right Wood & Hardware

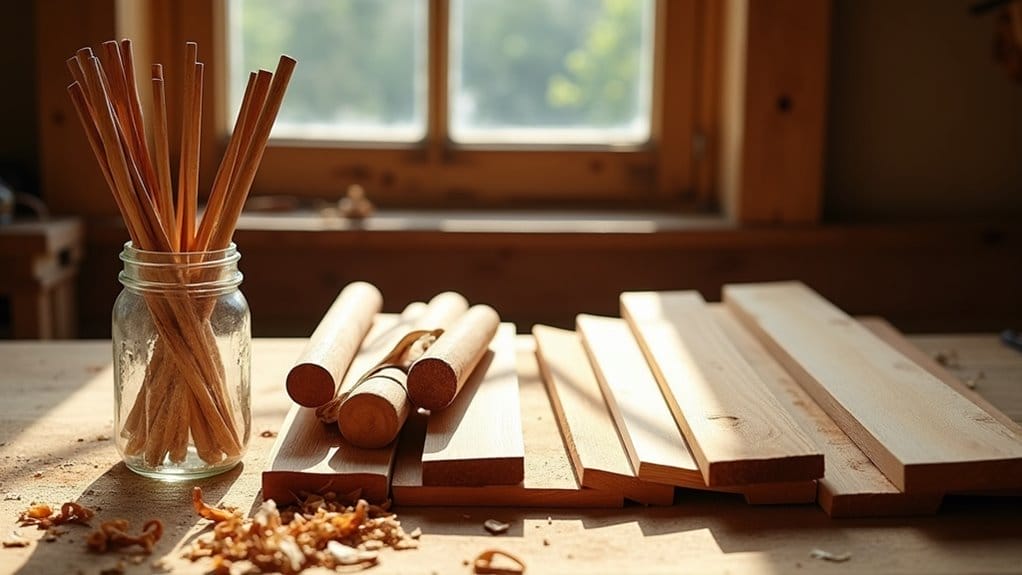
Let’s examine the essential materials needed to craft a wooden box. Start with common hardwoods like figured maple and walnut that offer both durability and aesthetic appeal.
Common Woods
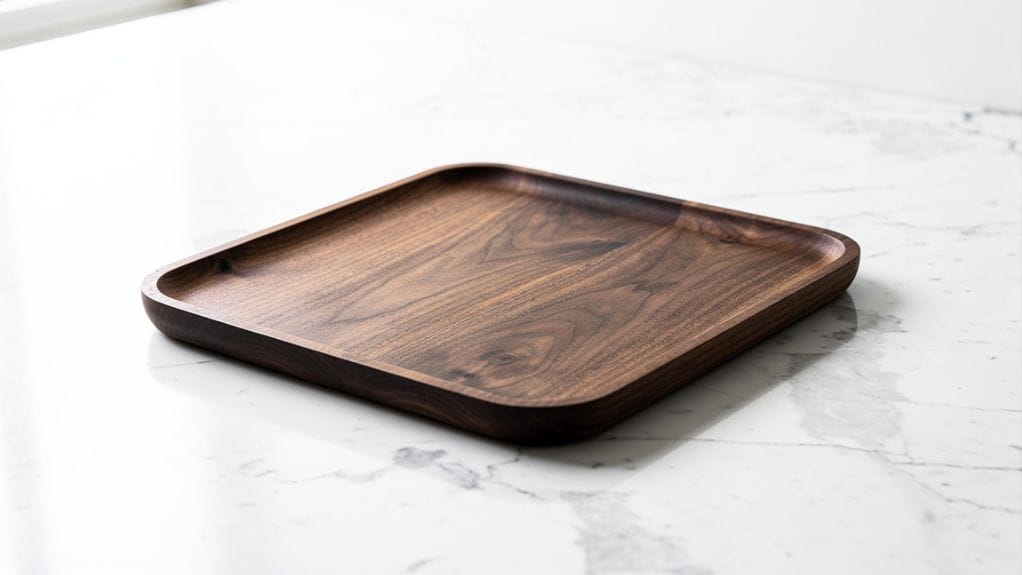
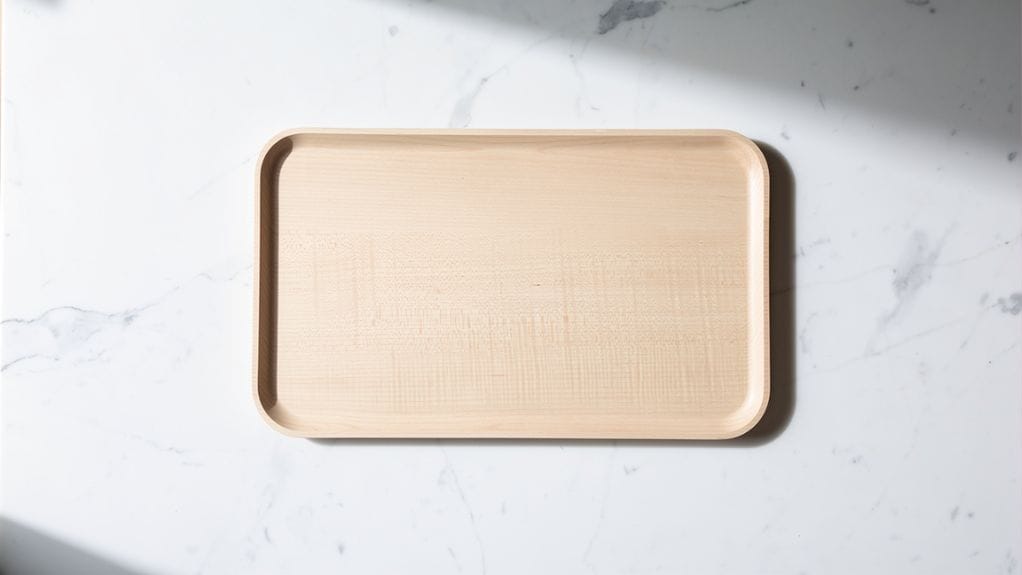
The selection of wood species forms the foundation of any successful box-making project. We’ll focus on dense hardwoods that offer superior durability and finishing characteristics. Figured maple stands out for its striking grain patterns, while walnut and oak provide excellent structural integrity.
If you need a stable substrate for veneering or linings, choose a high-quality plywood rather than a thin piece of wood that may cup.
| Wood Type | Properties | Best Use |
|---|---|---|
| Maple | Dense, figured grain | Main body, panels |
| Walnut | Dark, contrasting | Top, bottom panels |
| Oak | Durable, stable | Frame, structural |
| Pine | Lightweight, soft grain | Cabinets, trim, decorative |
When combining woods, we recommend pairing lighter maple with oversized walnut panels for dramatic contrast. These hardwoods also accept mortise hinges cleanly, ensuring smooth operation and professional results.
Hinges, Clasps, Magnets, and Lining Materials
Building on our wood selection, hardware components play an equally important role in determining your box’s functionality and aesthetics.
We recommend mortise hinges for their flush finish and seamless integration with figured maple or other hardwoods. For securing the lid, you’ll want to choose between traditional clasps in brass or stainless steel, or opt for discreet magnets that maintain a clean appearance.
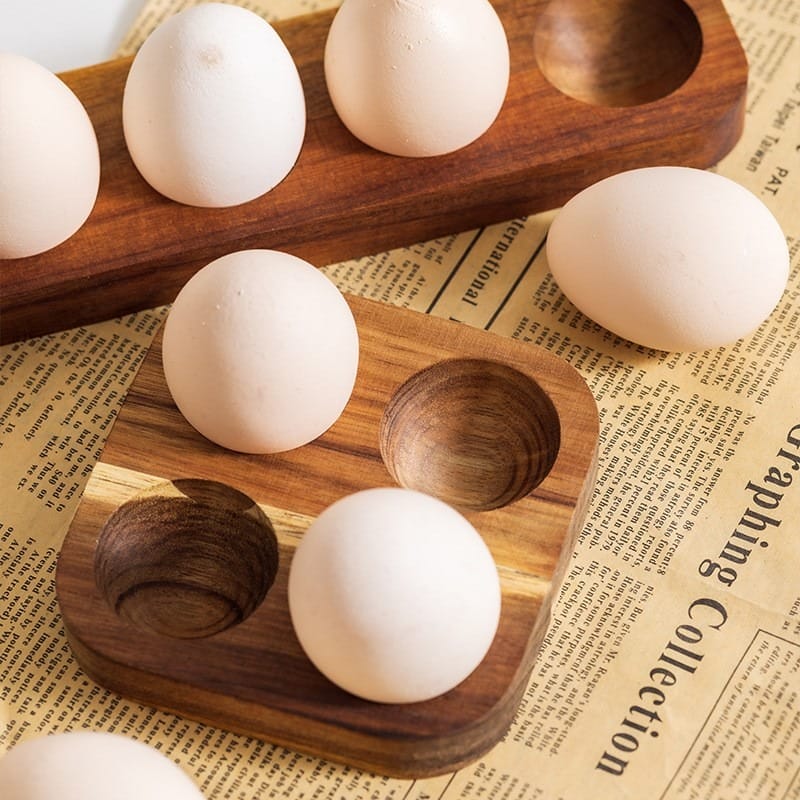
When it comes to interior protection, we’ll line the box with felt or specialized fabric. These lining materials not only enhance the visual appeal but also safeguard contents from moisture and temperature fluctuations while providing essential cushioning.
Design and Prototyping: Dimensions, Joinery & Samples

Creating a well-designed wooden box begins with meticulous planning of dimensions, joinery selection, and prototype testing.
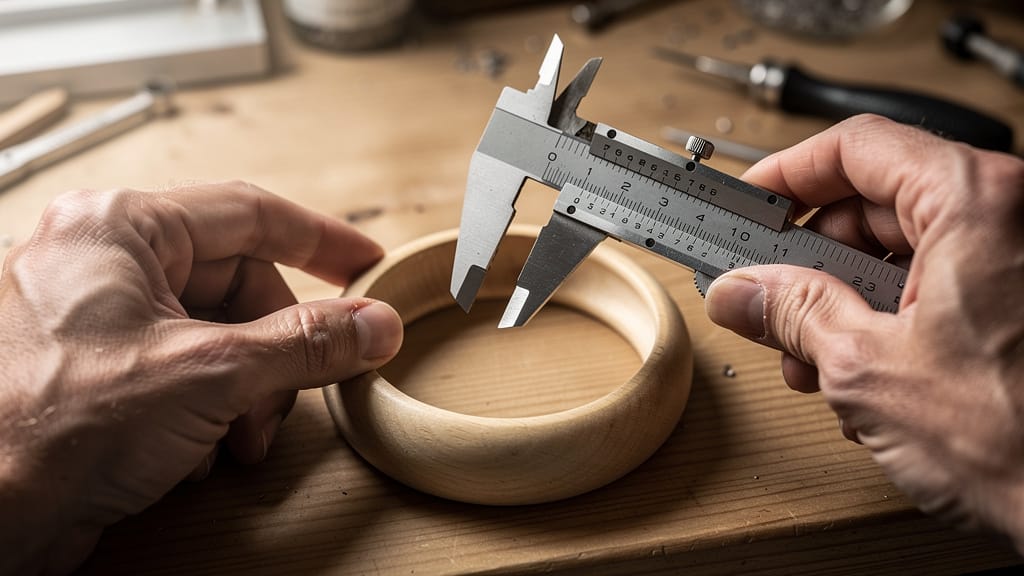
We’ll start by sketching our desired dimensions, ensuring the lid fits precisely while accounting for hinge clearance. For joinery, we’ll consider miter joints or dados based on the box’s intended use and aesthetic goals.
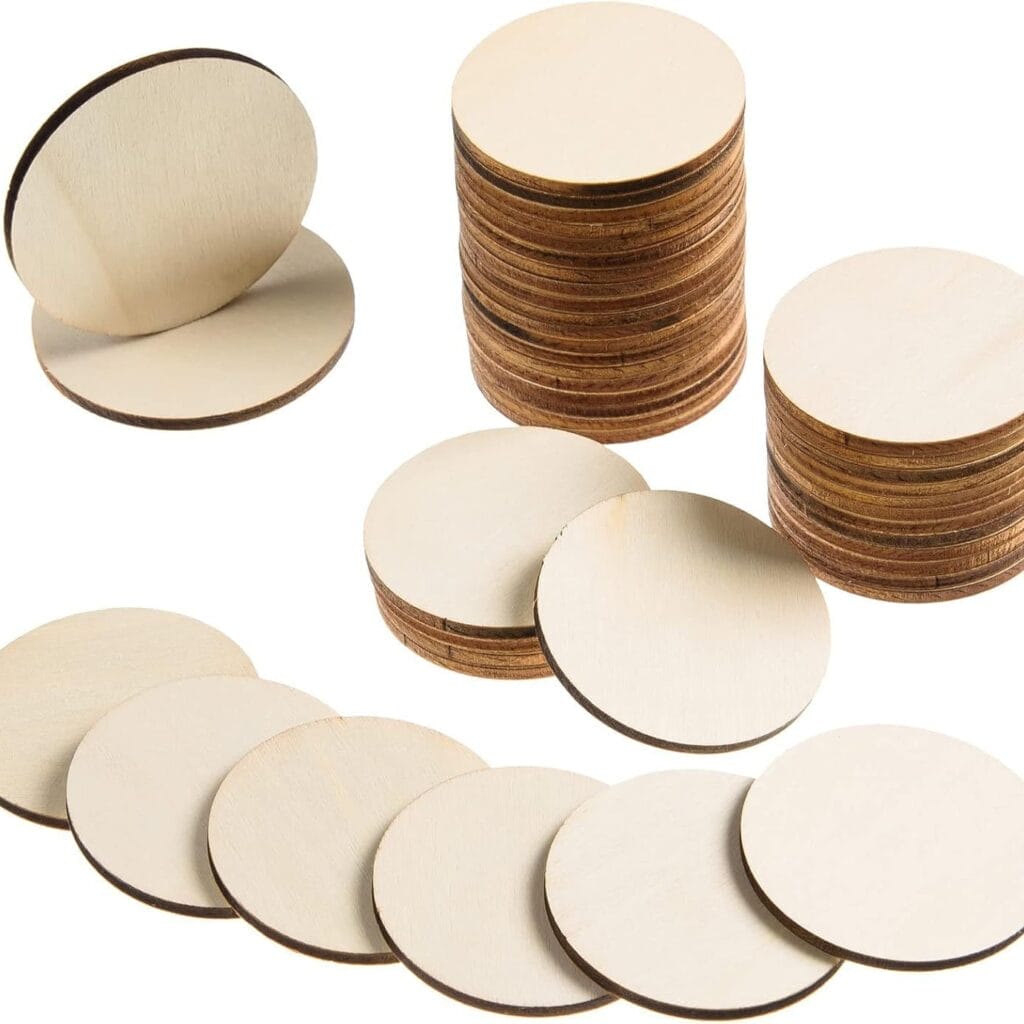
Before working with premium wood, we’ll build a prototype to verify our measurements and joinery choices.
Prototyping with basic materials allows us to test dimensions and joinery before committing to expensive wood for the final piece.
We’ll make sample cuts to test grain alignment and joint integrity. This critical step helps us anticipate challenges and refine details like edge treatments, ensuring our finished box meets both functional and visual standards.
Customization Services: How We Handle Custom Orders

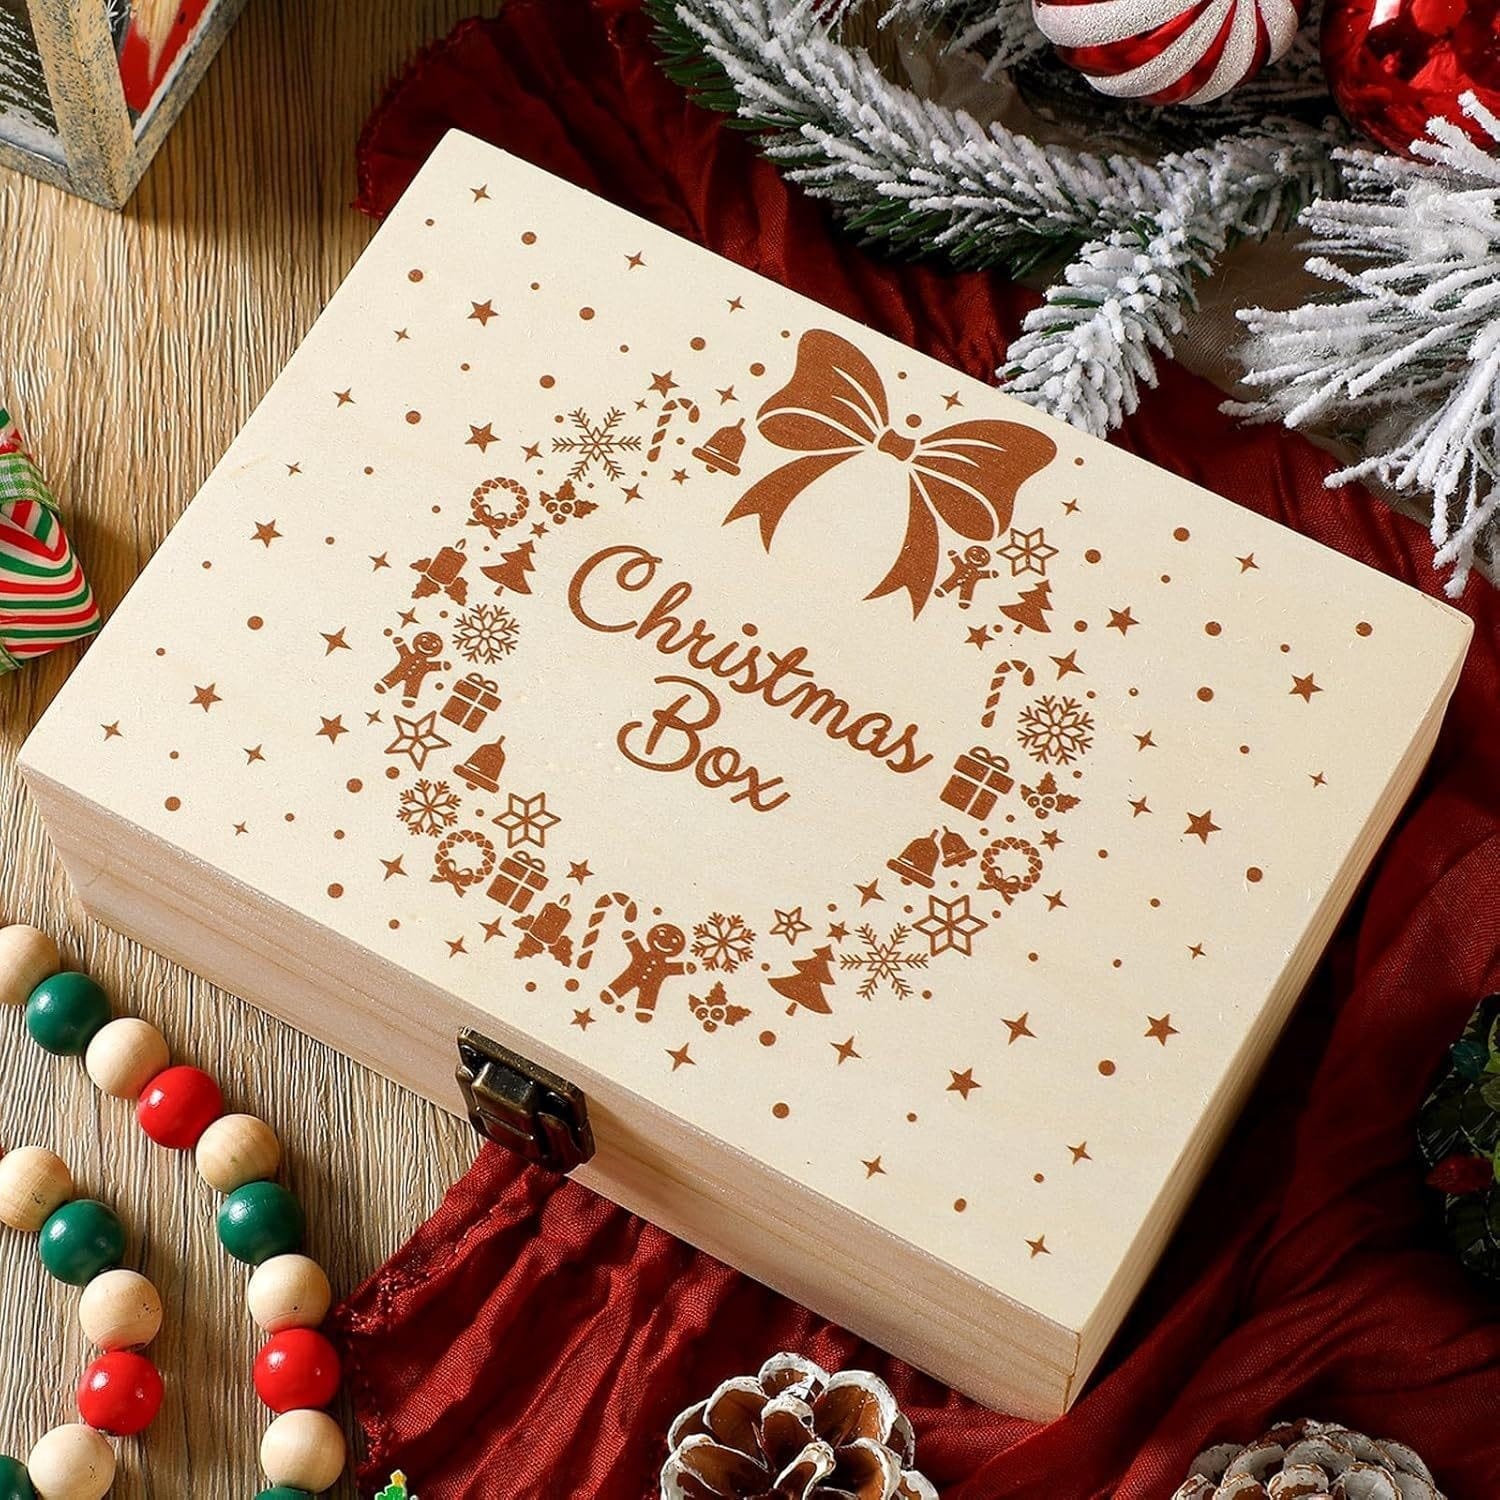
We’ll guide you through our thorough customization process, which includes selecting from multiple wood species, custom dimensions, intricate inlays, personalized engravings, interior linings, and hardware finishes.
Our consultation begins by determining your exact specifications, whether you’re seeking a minimalist keepsake box or an elaborate jewelry case with multiple compartments.
During production, we maintain strict quality control standards to guarantee every custom element—from the precise joinery to the final hardware installation—meets our exacting requirements and your unique vision.
Custom Options
When crafting your custom wooden box, you’ll find numerous ways to personalize the design according to your specific needs and preferences. Consider incorporating unique hardware or engraving to make it truly one-of-a-kind. If you’re looking for inspiration, a vintage wooden sewing box manufacturer can provide ideas on shapes and finishes that evoke a sense of nostalgia. Additionally, selecting the right type of wood can enhance not only the aesthetic appeal but also the durability of your custom piece.
We help you customize every detail to achieve the perfect balance of functionality and aesthetic value.
- Select your preferred dimensions and wood species, choosing from premium options like oak, walnut, or cherry.
- Add character through detailed inlays and engravings that reflect your personal style.
- Choose interior linings in felt or velvet to protect your valued items.
- Complete the look with hardware finishes in brass or stainless steel, ensuring hinges and fittings complement your chosen wood.
How to Make a Wooden Box With a Lid: A Workshop Flow

We begin our box-making process with careful stock selection and dimensioning of figured maple panels. This ensures grain patterns align perfectly across all components before cutting precise miters and dados.
Stock Preparation and Panel Cutting
Before diving into assembly, proper stock preparation and panel cutting establish the foundation for a well-crafted wooden box.
We’ll start by selecting figured maple for the box pieces, cutting them to size while maintaining continuous grain patterns.
Using our miter saw, we’ll cut the sides to precise lengths. For the top and bottom panels, we’ll resaw the walnut and plane it to the final thickness.
Next, we’ll set the table saw to cut quarter-inch dados three-eighths of an inch from the edges.
Finally, we’ll sand all components to 180 grit, ensuring ideal surface preparation for assembly and finishing.
Joinery Cutting and Assembly
Once the stock preparation is complete, setting up precise joinery becomes the critical next phase.
We’ll employ CNC routing for exact cuts in the lid and base components, ensuring perfect alignment.
Using our finger joint jig, we’ll create interlocking corners that combine strength with visual appeal.
For enhanced durability, we’ll utilize dovetail templates to cut these classic joints.
Before we assemble the box, we’ll sand all components to 180 grit, paying special attention to joint areas.
Careful measuring and setup of our joinery methods is essential – even small misalignments can compromise the final fit.
Each joint must mate perfectly for professional results.
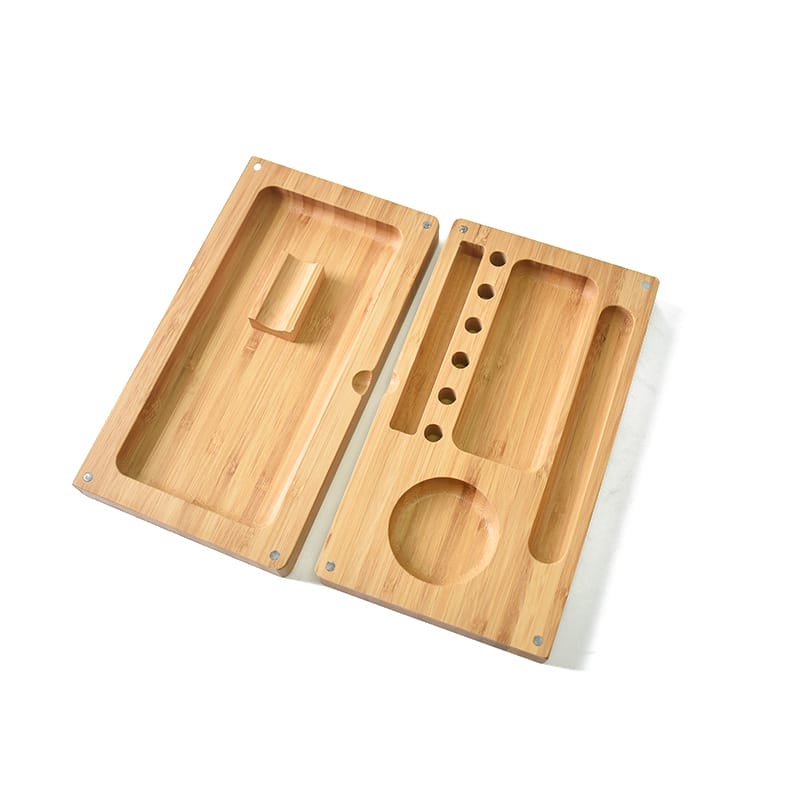
Lid Making
The lid construction begins after joinery completion, with precise measurements determining the success of your box’s functionality.
We’ll dimension the lift-off lid slightly smaller than the box’s internal measurements, ensuring smooth operation. For hinged designs, we’ll mark precise outlines using a marking knife before creating mortises with a trim router.
When fitting lift-off lids, we maintain consistent spacing around all edges.
For hinged versions, we’ll carefully position and mortise the hinges, ensuring proper alignment.
We’ll complete the woodworking process by installing magnetic closures, positioning them strategically for ideal holding power and seamless operation.
Sanding, Surface Finishing, and Interior Lining
Achieving a flawless finish starts with methodical sanding across all box surfaces.
We’ll progress from 180-grit to 220-grit sandpaper, ensuring a smooth foundation for the finishing process. Before applying any stain, we’ll test it on scrap wood to confirm the desired color.
Next, we’ll apply our chosen finish—whether lacquer, oil, or shellac—in even coats, adhering to manufacturer-specified drying times.
Multiple thin coats yield superior results to single thick applications. For the interior, we’ll carefully measure and cut felt or fabric to size, securing it with wood glue for a professional lining that protects contents and enhances aesthetics.
Quality Control Checkpoints and Common Defects to Watch
Throughout our box-making process, we’ll implement rigorous quality control checkpoints to catch potential defects before they compromise the final product.
When making a wooden box, we verify each step: material cuts must be precise, dado joints on the table saw require consistent depth checks, and miter joints need squareness validation before assembling.
We’ll sand surfaces to 180 grit before clamping to guarantee peak bonding. For the hinged lid, careful attention to hinge outlines prevents misalignment issues.
Common defects often stem from rushed preparation. Therefore, we maintain meticulous attention to sizing, smoothing, and fitting at every stage.
Packaging and Shipping: Protecting Boxes in Bulk

When shipping wooden boxes in bulk quantities, proper packaging techniques become essential for maintaining product integrity during transit.
We begin by selecting sturdy, corrugated boxes sized appropriately for wholesale shipping. This ensures they can withstand the pressures of stacking.
Next, we add protective cushioning using bubble wrap or foam inserts to prevent movement and damage. We’ve found that rust-resistant hardware components are vital for long-term quality.
For added security in bulk shipments, we implement shrink wrap to keep multiple boxes together.
Finally, we clearly label each package with contents and specific handling instructions for proper delivery care.
Conclusion
We’ve covered the essential elements of crafting a professional wooden box with a lid, from material selection through final shipping logistics. Our proven workflow guarantees precision joinery, structural integrity, and aesthetic appeal across both custom and production runs. In addition to standard offerings, we also specialize in creating bespoke designs tailored to individual client needs, ensuring that each project stands out. Our custom wooden keepsake boxes serve as perfect gifts or storage solutions, meticulously crafted to capture the essence of cherished memories. By combining tradition with innovation, we ensure that every piece not only meets but exceeds expectations.
FAQs
How to Make a Lidded Wooden Box?
We’ll cut the hardwood pieces, carve dados in the sides, align the miter joints with tape, then glue and clamp the assembly. After sanding to 180 grit, chamfering the edges, and installing mortise hinges, we’ll finish with shellac.
How to Make a Wooden Storage Box Out of Wood?
We’ll cut the hardwood panels to size, create dados for joinery, miter the corners, and attach them with wood glue. Then we’ll add hinges for the lid and finish with multiple coats of shellac.
How to Make a Box Homemade?
We’ll cut figured maple on the table saw, create precise dados for the panels, apply wood glue using painter’s tape, clamp the mitered joints, and sand thoroughly. Then we’ll install the hinges and finish the piece with shellac.