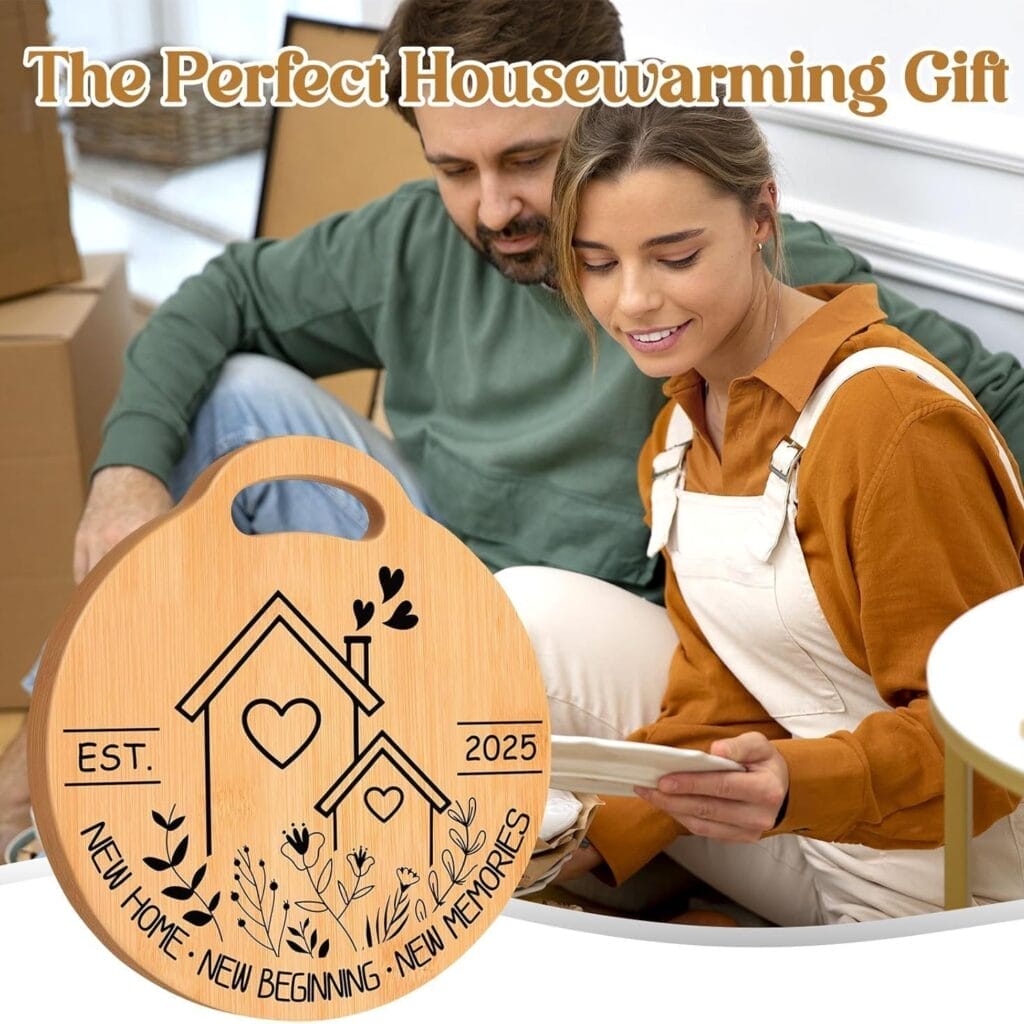
Think about wearing jewelry you made. This makes you very happy. Learning how to make wooden bracelets is a great way to show your style. This bangle bracelet craft is fun for all. It does not matter if you craft a lot. You will make a nice wooden bangle bracelet. Get your supplies ready now. Be ready to be creative. Make something special!
Key Takeaways
- Gather the right tools and materials. This includes hardwoods, saws, sandpaper, and sealants. This makes your crafting smooth.
- Shape your bangle using solid wood or the bentwood method. The bentwood method uses thin wood veneer strips. You can make a bangle without a lathe.
- Sand your bangle well. Use different grits of sandpaper. This makes the surface smooth and flawless.
- Decorate your bangle. You can paint, wrap with yarn, or add embellishments. This makes your bracelet unique.
- Seal and care for your finished bangle. This protects it from water and wear. It helps your bracelet last a long time.
Essential Materials and Tools for Your Bangle Bracelet Craft

You need the right supplies to start your bangle bracelet craft. Gathering everything before you begin makes the process smooth. This section gives you clear instructions on what to get.
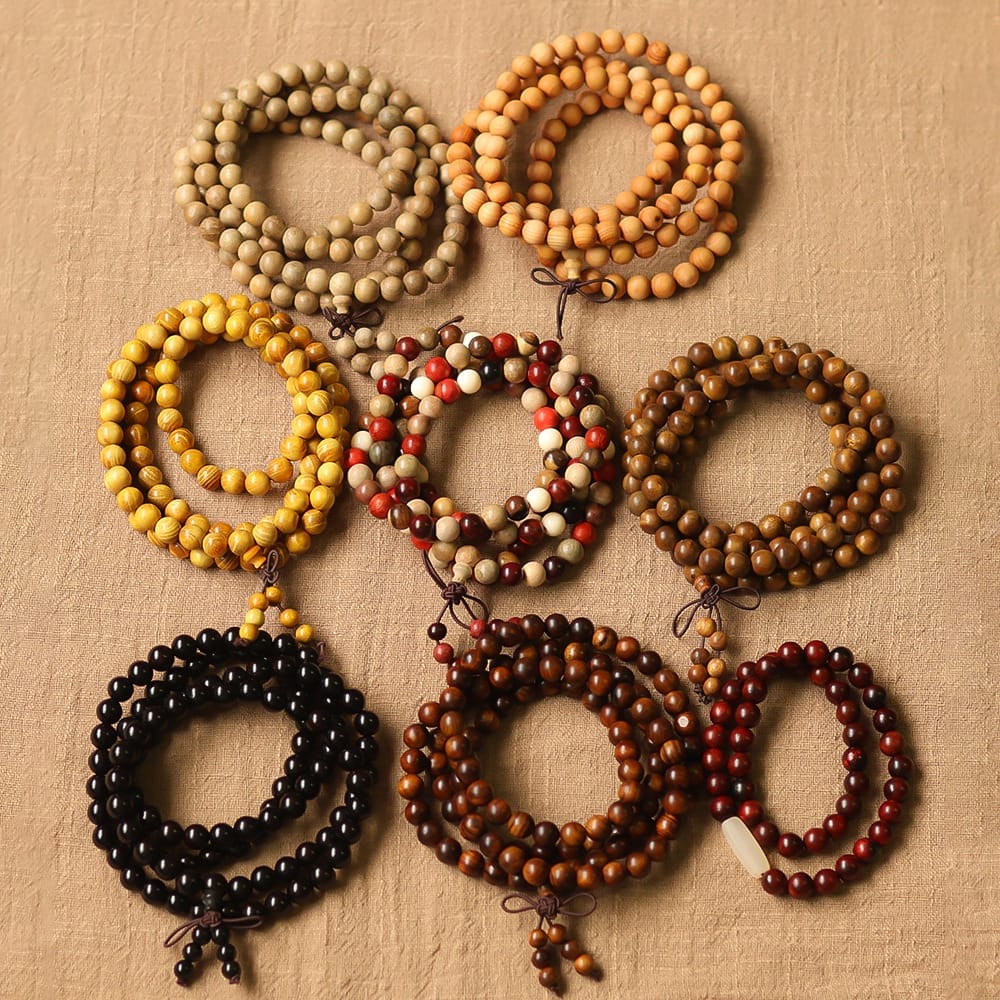
Choosing the Right Wood for Your Wooden Bangle
The type of wood you choose affects your bracelet’s look and feel. Hardwoods work best for durability.
- Oak is strong and has a beautiful grain.
- Walnut offers a rich, dark color.
- Cedar is lighter and has a pleasant scent.
You can also find unfinished wood bangles if you prefer to skip the initial shaping step. These are ready for sanding and decorating. These minimal geometric unfinished wooden bangles offer a versatile base for your creative projects. You can customize them with paint, stain, or other embellishments, allowing your personal style to shine through. Whether for yourself or as a thoughtful gift, these bangles are a canvas waiting for your artistic touch.
Tools for Cutting, Shaping, and Smoothing
You will need a few basic tools.
- A saw helps you cut your wood blank. A coping saw or a band saw works well.
- A rasp or file helps you shape the wood. You can create curves and smooth edges.
- Sandpaper is crucial for a smooth finish. Get various grits, from coarse to very fine. A bench sander can speed up this process.
- A chisel can help with detailed shaping.
Adhesives, Sealants, and Protective Finishes
These materials protect your wooden bangle.
- Wood glue is essential if you are layering wood.
- A sealant protects the wood from moisture. Polyurethane or a clear lacquer works well.
- Protective finishes give a nice sheen. They also add durability. You can achieve a glossy finish with these.
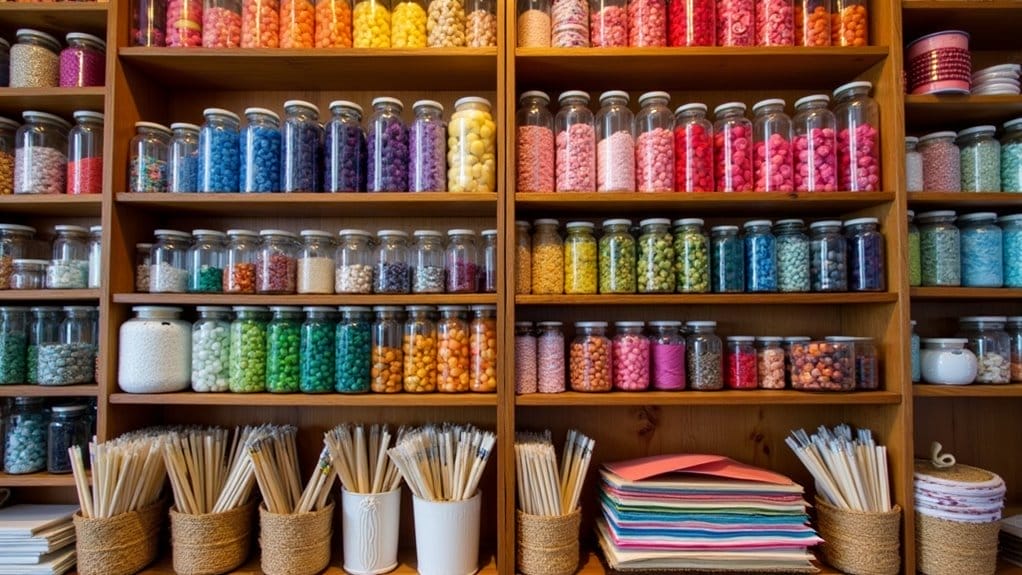
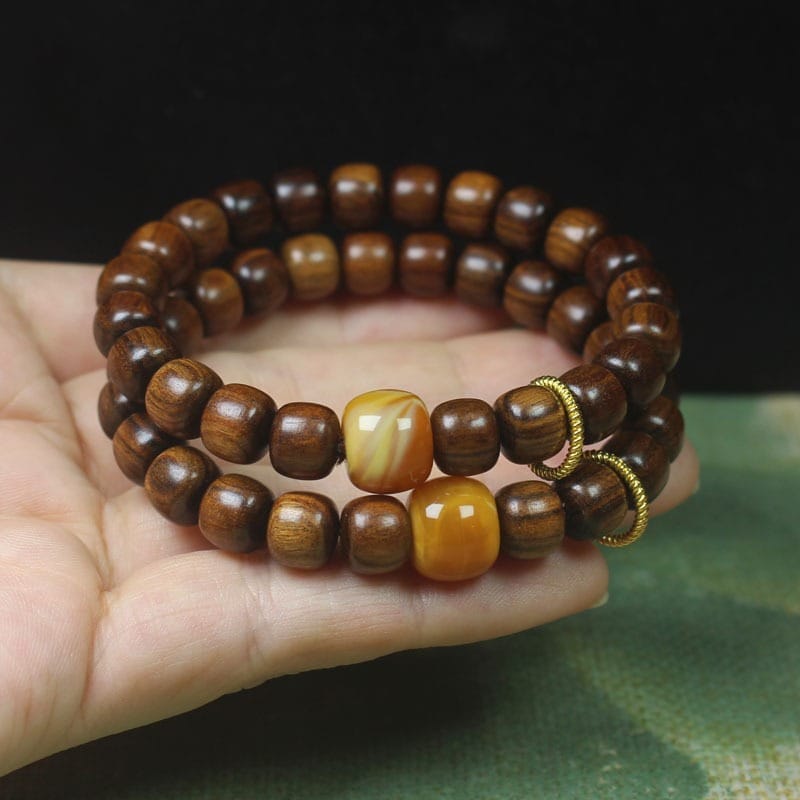
Decorative Elements for Personalizing
This is where you make your bracelet unique.
- Paints and stains add color. Choose acrylic paints for bright colors. Wood stains enhance the natural grain.
- Polishing compound helps bring out a high shine.
- You can add glitter or small beads. These make your wooden bracelet sparkle.
Preparing Your Wooden Bangle Base: Shaping and Forming

You now have your materials. It is time to create the core shape of your wooden bangle bracelet. This section gives you clear instructions for shaping your wood. You can choose from different methods. Consider experimenting with various techniques such as carving, sanding, or using a lathe to achieve the desired form. You can also explore wooden bead keychain bracelet options to complement your bangle and add a unique touch to your design. Remember to take your time and enjoy the creative process as you shape your piece. Once you have crafted your bangle, consider branching out into other projects, such as creating wholesale wooden bangle bracelets to share with friends or sell at local markets. This can further enhance your skills and allow you to experiment with different styles and finishes. Plus, having a range of unique bracelets can be a great addition to your collection or gift-giving options.
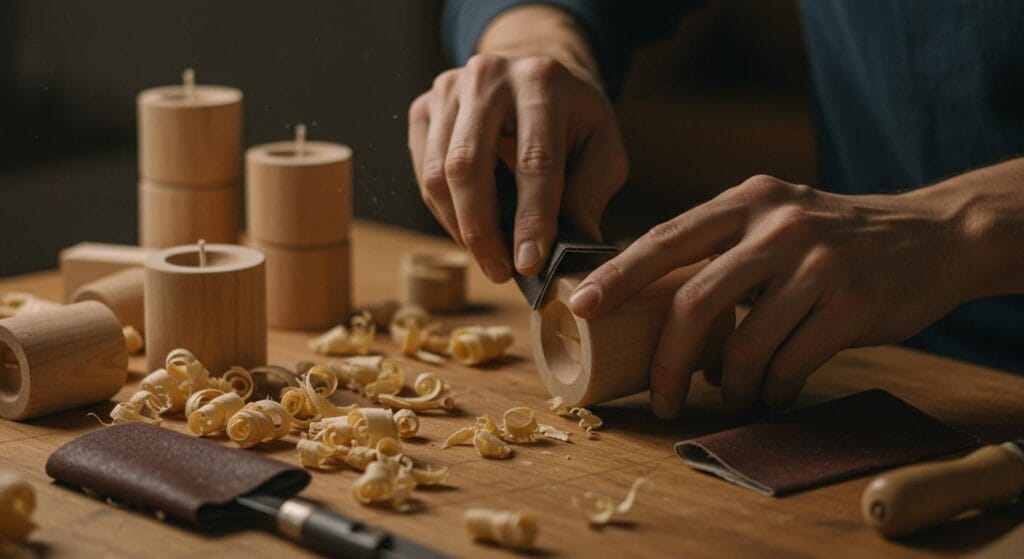
Cutting and Shaping Solid Wood Blanks
You can start with a solid block of wood. First, you need to cut the rough shape. Use a band saw or a coping saw for this. You will cut out a circle or an oval shape. This forms the basic outline of your bangle.
If you have a lathe, you can use it for precise shaping.
- Flattening: First, you flatten one side of your wood block.
- Rough Turning: Next, you attach the block to the lathe. You turn the outside to a rough circular shape.
- Parting Out the Inside: Then, you carefully carve out the inside of the bangle. This creates the opening for your wrist.
- Smoothing the Outside: Finally, you smooth the outside surface.
If you do not have a lathe, you can still shape your bangle. Use a rasp or a file to refine the shape. A chisel helps you create details and smooth curves. Work slowly and carefully. You want to achieve the desired thickness and roundness.
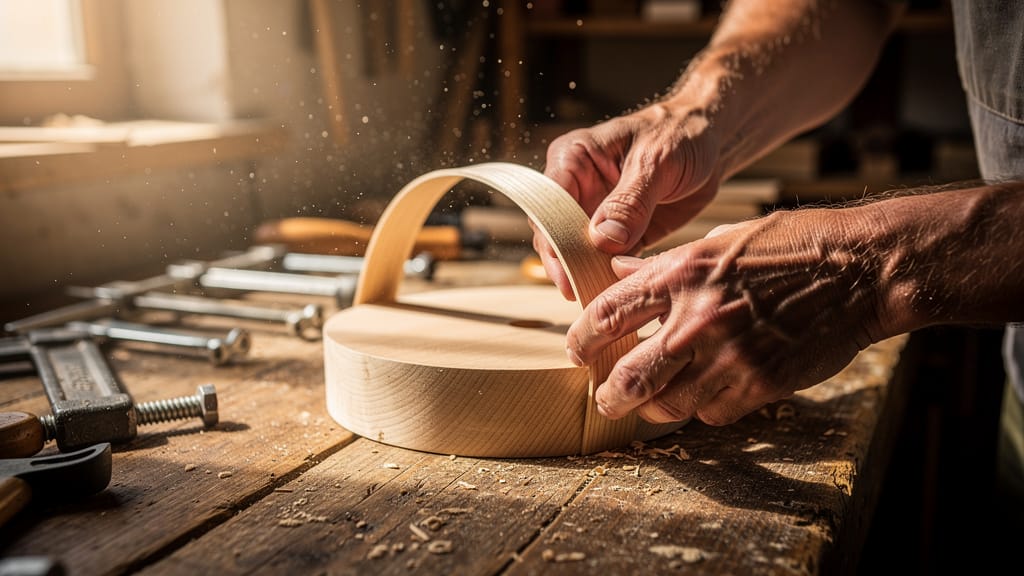
Bentwood Bangle Cuff Tutorial: Veneer Bending
This method is perfect for making wooden bracelets without a lathe. You will use thin wood veneer strips. This bangle cuff tutorial shows you how to bend them. colourful wooden bangles for fashion lovers can add a vibrant touch to any outfit. Experimenting with different colors and styles makes them a versatile accessory for both casual and formal occasions. With a little creativity, you can easily customize each piece to reflect your personal style.
- Prepare Veneer: Cut your veneer strips to the desired width and length.
- Make Pliable: You need to make the wood flexible. Soak the veneer strips in boiling water for about 30 minutes. Alternatively, you can steam them. This makes the wood easy to bend.
- Wrap and Form: Take the pliable veneer strip. Wrap it tightly around a circular former or a mold. A piece of PVC pipe or a sturdy jar works well.
- Secure: Use masking tape or clamps to hold the veneer firmly in place. You want to keep the shape while it dries.
- Dry: Let the bent wood dry completely. This can take 24 hours or even overnight. Making sure it is fully dry prevents it from losing its shape.
- Glue Layers: If you want a thicker bangle, you can layer multiple veneer strips. Apply wood glue between each layer. Press them together firmly around the former. Wipe away any excess glue.
Sanding for a Smooth, Flawless Finish
Sanding is a very important step. It makes your bangle smooth and comfortable to wear. You will use different grits of sandpaper.
- Start Coarse: Begin with a coarser grit sandpaper, like 80 or 100 grit. This removes any rough spots or tool marks.
- Progress Finer: Gradually move to finer grits. Use 150, then 220, and finally 320 or 400 grit sandpaper. Each step removes the scratches from the previous grit.
- Inside and Outside: Sand both the inside and outside surfaces of your bangle. Pay close attention to the edges. You want them to feel smooth against your skin.
- Bench Sander: A bench sander can speed up the process for the outside surfaces. Always wear safety glasses when using power tools.
- Dust Removal: After sanding, wipe the bangle clean with a cloth. Remove all wood dust. This prepares the surface for the next step.
Applying Base Coats and Primers
You need to prepare the wood surface for decoration. Applying a base coat or primer helps seal the wood grain. This creates a smooth canvas for painting or staining.
- Seal the Wood: A base coat helps prevent paint from soaking unevenly into the wood. It also makes your colors appear brighter.
- Apply Evenly: Apply a thin, evenly spread layer of primer or base coat. Use a brush or a clean cloth.
- Dry Time: Let the base coat dry completely. Check the product instructions for specific drying times. This ensures good adhesion for subsequent layers.
- Light Sanding: You can lightly sand the base coat with very fine sandpaper (600 grit) after it dries. This creates an even smoother surface. Then, wipe away any dust.
Decorating Your DIY Bangle Bracelets

You have shaped and prepared your wooden bangle. Now comes the most exciting part: decorating it! This is where you infuse your personality into your bangle bracelet craft. You can make your bangle bracelets truly unique.
Painting and Designing Your Wooden Bracelet
Painting offers endless possibilities for your wooden bracelet. You can transform its look completely.
- Choose Your Colors: Select acrylic paints for vibrant, opaque colors. Wood stains enhance the natural grain of the wood. You can also use a combination of both.
- Apply Base Colors: Paint your entire bangle with a base color. Apply thin, evenly spread coats. Let each coat dry before applying the next. This prevents streaks.
- Create Designs: Use small brushes to paint intricate patterns or abstract designs. Apply stencils for precise shapes and letters. Secure the stencil firmly with masking tape to prevent bleeding. Use painter’s tape to create crisp lines for geometric designs. Paint one section, let it dry, then remove the tape and apply new tape for the next section.
- Add Details: Use fine-tipped markers or paint pens for small details. You can draw tiny flowers, dots, or swirls.
- Achieve a Glossy Finish: After your paint dries, you can apply a clear, glossy sealant. This protects the paint and gives a professional look.
Layering and Gluing for Unique Patterns
Layering different materials adds depth and texture to your bangle. You can create intricate patterns.
- Wood Veneer Layers: Cut thin pieces of contrasting wood veneer. You can glue these onto your bangle in geometric shapes or stripes. Use wood glue and clamp them firmly until dry. Wipe away any excess glue immediately.
- Paper or Fabric: Cut decorative paper or fabric into strips or shapes. Apply a thin layer of craft glue to the back of the material. Press it tightly onto the bangle. Smooth out any air bubbles.
- Inlay Effects: For a more advanced technique, you can carve shallow depressions into the bangle. Then, glue contrasting wood pieces or even metal wire into these spaces. This creates a beautiful inlay design.
- Secure with Super Glue: For small, delicate pieces, super glue provides a strong, fast bond. Apply it sparingly.
Wrapping with Yarn or Fabric for Texture
Wrapping your bangle adds a soft, tactile element. It also allows for colorful designs.
Prepare Your Materials: Choose yarn, embroidery floss, or thin fabric strips. For a two-color wrap, cut two pieces of string per color. Each piece should be 6.5 feet long.
Start Wrapping:
- Tie the two pieces of string together with a double knot.
- Apply a small dot of glue to the inside of the bangle. Press the knot onto the glue.
- Begin wrapping one color tightly around the bangle. Keep the wraps close together.
- When you want to switch colors, tie the current color to the new color with a small knot. Tuck the knot neatly under the next few wraps.
- Continue wrapping until you cover the entire bangle.
- Finish by tying off the end with a knot. Secure it with a small amount of glue on the inside.
Patterned Wraps: You can create stripes, spirals, or even chevron patterns by alternating colors. Follow these instructions carefully for a neat finish.
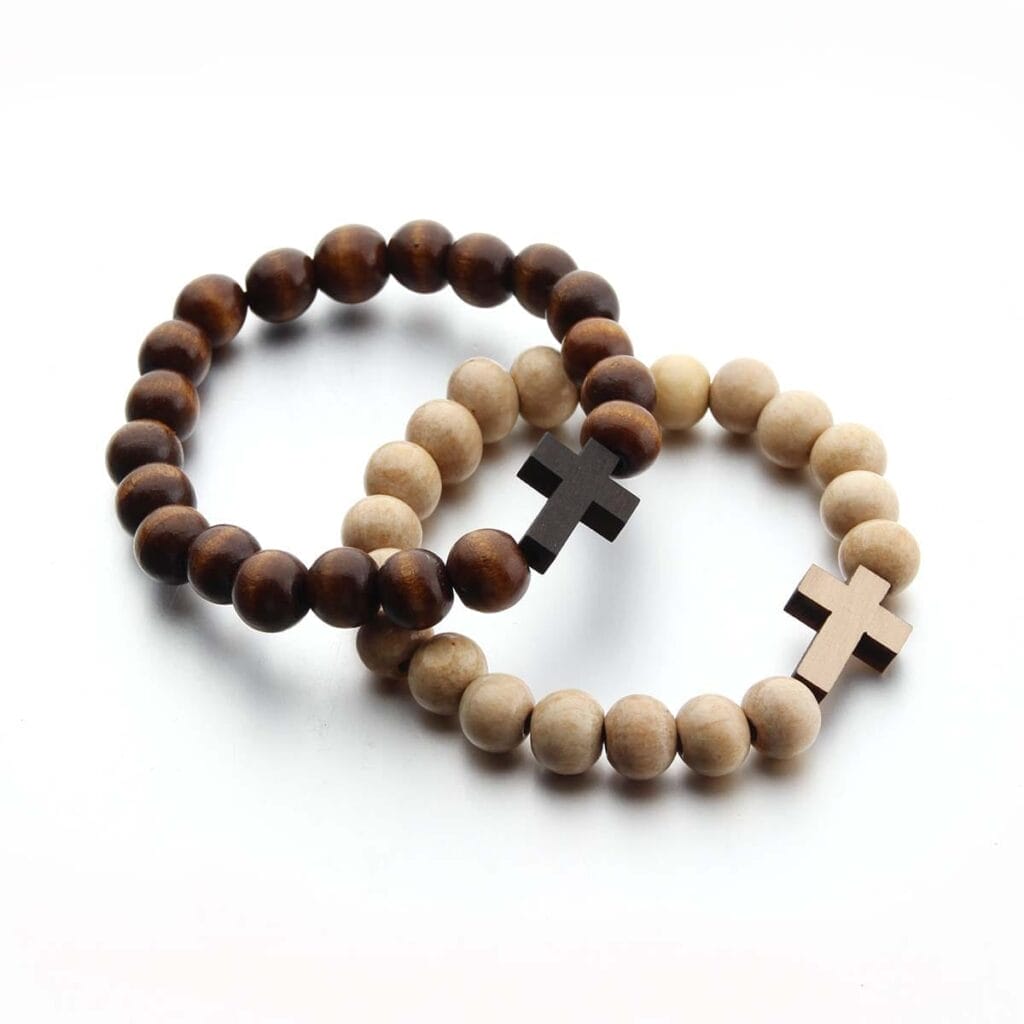
Adding Embellishments and Personal Touches
Embellishments make your diy bangle bracelets truly one-of-a-kind.
- Wood Dowel Inlays: Bore a small hole into each face of the bracelet. Use a drill bit slightly smaller than your dowel. Apply wood glue into the hole. Then, gently tap a contrasting wood dowel into place. Once dry, sand the dowel flush with the bangle surface.
- Beads and Charms: Attach small beads or charms using jump rings or thin wire. You can drill tiny pilot holes for secure attachment.
- Glitter and Resin: For a sparkling effect, apply a thin layer of craft glue to areas you want to glitter. Sprinkle glitter over the wet glue. Once dry, seal it with a clear resin or a glossy topcoat to prevent shedding.
- Engraving or Woodburning: If you have the tools, you can engrave or woodburn initials, dates, or small designs directly onto the wood. This adds a deeply personal touch.
- Polishing Compound: After all decorations and sealants are dry, you can use a polishing compound to bring out an extra shine. Apply it with a soft cloth and buff gently.
Finishing and Caring for Your Wooden Bangle Bracelet

You made a beautiful wooden bangle bracelet. Now, you must protect it. Good finishing makes it last. It also makes it look great.
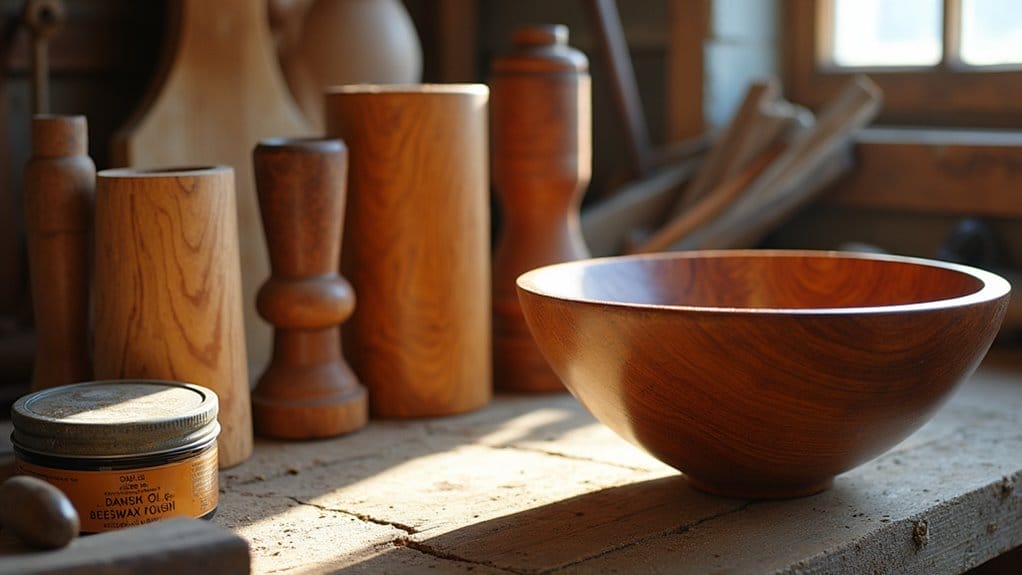
Sealing for Durability and Protection
Sealing your bracelet is key. It keeps wood safe from water. It stops wear. You have many sealants to pick.
- Oil Finishes: These oil finishes soak into wood. They feel natural and warm. Spread these evenly with a soft cloth. Follow the product instructions.
- Varnish or Lacquer: These make a hard layer. It sits on the surface. They can give a glossy finish. Put on thin coats. Let each coat dry fully. Then add the next.
- Epoxy Resin: For strong protection and high gloss, use clear epoxy resin. This makes a thick, waterproof layer.
Final Sanding and Polishing Steps
Even after sealing, you can make it better. This makes your bracelet look pro.
- Light Sanding: After sealant dries, sand lightly. Use very fine sandpaper. Try 600-grit or higher. You can also use fine wire wool. This makes it smooth. It removes small flaws.
- Clean Dust: Wipe off all dust. Use a clean, lint-free cloth.
- Polishing: Put a little polishing compound on the bracelet. Rub it firmly with a soft cloth. This makes it shine deeply. Keep rubbing until it looks how you want.
Applying Protective Coats and Drying
You must put on coats right. This makes the finish last.
- Thin Coats: Always put on thin coats. Spread them evenly. Thick coats can be sticky. They can be bumpy.
- Drying Time: Let each layer dry a long time. Check the product instructions. This is for good curing.
- Multiple Layers: Put on at least two or three coats. This gives good protection. You can add more for extra strength. Or for a deeper glossy look.
- Final Cure: Let the last coat cure fully. This might take 24 hours or more. Making sure it cures stops damage.
Maintaining Your Handmade Wooden Bangle
Your handmade bracelet needs care. This keeps it pretty for years.
- Avoid Water: Do not put your bracelet in water. Take it off before showering. Take it off before swimming.
- Clean Gently: Clean your bracelet with a soft cloth. Make sure it is dry. Use a slightly damp cloth for tough dirt. Dry it right away.
- Reapply Finish: Sometimes, you may need to add more finish. This makes it look new. It adds protection.
You will feel proud. You made your own handmade wooden bangle bracelets. Try new designs. Use different colors. Use new materials. Make your wooden bracelet special. Show your finished colorful bracelets. Crafting has many choices. You now know how to make wooden bracelets. You can keep creating.
FAQ
What kind of wood should I use for my wooden bangle?
You should use hardwoods like oak or walnut. They are strong and durable for your wooden bangle craft. You can also start with unfinished wood bangles for an easier tutorial. If you’re considering expanding your product line, wholesale wooden bangles for retailers can be a fantastic option. These bangles can be customized with various finishes or designs to appeal to a broader audience. Additionally, sourcing from sustainable suppliers can enhance your brand’s appeal and attract environmentally conscious consumers.
Can I make a wooden bracelet if I do not have a lathe?
Yes, you can! Use the bentwood method. Soak thin wood veneer strips in boiling water. Then, wrap them tightly around a circular former. This creates a beautiful bangle without a lathe.
How do I get a smooth, glossy finish on my wooden bracelet?
Sand your bangle with progressively finer grits. Then, apply a sealant. For extra shine, use a polishing compound after the finish dries. This gives a glossy look.
How long does the glue need to dry when making a bangle?
Wood glue usually needs to dry for at least 24 hours. For bentwood layers, let it dry overnight to ensure it sets firmly. Always check the specific instruction on your glue product.