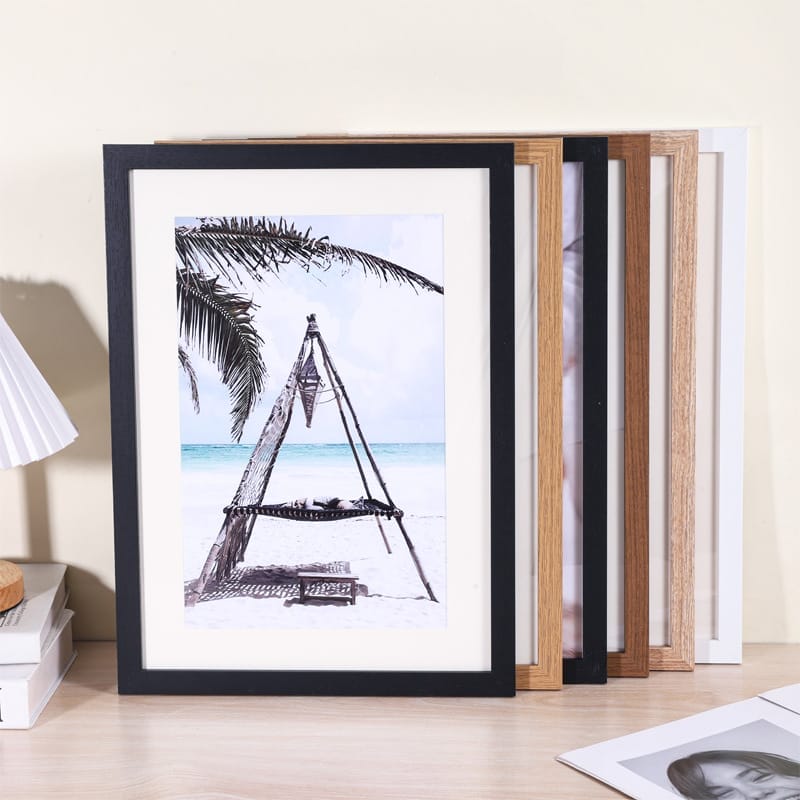
Ever watch one plywood box stay square and strong for years while another sags, chips, and looks tired after a single season on the shelf? When you look closer at how to build a wooden box with plywood, the difference is almost never luck. It comes down to smart choices about materials, joinery, and finish.
Many people assume any sheet of plywood and a few screws are enough. That works for a quick prototype, but not for a durable DIY wooden storage box that carries real product weight, ships safely, and still looks premium in a retail display. For brands, gift programs, or interior projects, weak construction can cost sales and damage trust in what sits inside the box.
This guide walks you through how to build a wooden box with plywood the way experienced manufacturers such as Qlychee Crafts do it every day. You’ll see practical DIY wooden box ideas, plywood box construction tips, and simple decisions that keep your box square, smooth, and long-lasting. Whether you are building one sample in your shop or checking how a supplier works, you get a clear, step‑by‑step view of what good looks like.
Key Takeaways: How to Build a Wooden Box with Plywood
- You match plywood thickness to the job, using thinner panels for sides and thicker material for the bottom so weight and strength stay in balance. This one choice already separates hobby pieces from serious storage. It also keeps freight and handling costs under control for large orders.
- You always reinforce corners when you expect heavy loads or frequent transport. Strong corners take the hits that boxes receive in warehouses, back rooms, and delivery trucks. Without them, even the best panels fail early.
- You treat surface preparation as a must‑have step, not a bonus. Sanding from about 120‑grit to 220‑grit gives finishes something clean and smooth to grip. That is how paint and clear coats stay stable instead of peeling.
- You pick joinery methods based on real use, from glue with brad nails for light boxes to rabbet joints for display crates and freight boxes. This keeps you from overbuilding light items or underbuilding serious storage.
Choosing the Right Plywood and Materials for Your Box
Before you think about how to build a wooden box with plywood, you decide exactly what the box must carry and how often it will move. That answer drives plywood choice more than anything else. The best plywood for box making is not always the thickest sheet; it is the sheet that gives enough strength without adding dead weight or extra cost.
Here is a simple guide you can use when planning beginner woodworking box projects or ordering samples from a supplier.
| Box Type | Recommended Thickness | Best For |
|---|---|---|
| Small or decorative boxes | 1/4″ sides, 1/2″ bottom | Shelving, gift boxes, retail display |
| Medium storage boxes | 1/2″ all panels | Craft stock, e-commerce packaging |
| Heavy-duty or transport use | 5/8″–3/4″ all panels | Toolboxes, shipping crates, wholesale orders |
Plywood beats particle board and MDF when boxes must move often. Those other boards are heavier and chip more easily at corners and screw holes, so a wooden crate DIY plan that works fine on a desk can fail in a warehouse. For business buyers, that turns into returns, breakage, and extra labor.
As many shop teachers say, “Choose your material based on the job, not just what is on sale.”
You also look at sourcing. Many retail and corporate clients now ask about FSC or PEFC marks, so Qlychee Crafts can work with certified sustainable timber as a standard option. This helps you meet your own brand promises while still getting stable, flat sheets that finish cleanly.
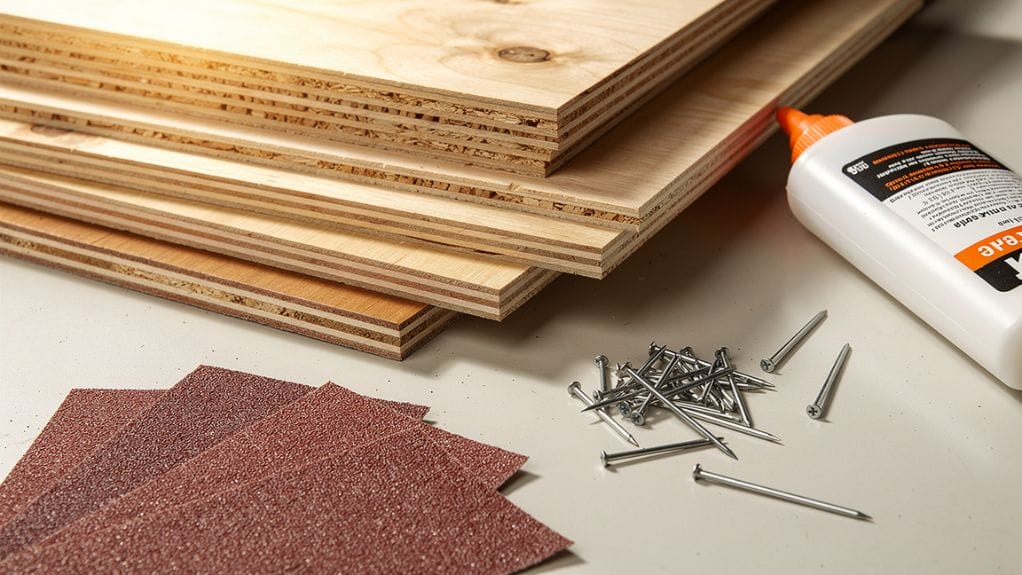
When you gather supplies for how to build a plywood box , a short list covers almost every design.
- You want a high‑quality wood glue because the glue line carries most of the load. Nails and screws mainly hold parts in place while the glue cures. Good glue also reduces squeaks and movement.
- You choose wire brads or coarse‑thread screws that match your plywood thickness. Short fasteners split less and stay inside thin panels, while longer ones reach deep into thick bottoms. Proper length gives you grip without sharp tips poking through.
- You keep an assortment of sandpaper on hand so you can shape, smooth, and then refine surfaces. Coarser sheets help you clean up cut edges, medium sheets make joints flush, and finer sheets prepare for finish. This simple habit gives even simple wooden box plans a professional feel.
- You stock primer and paint, or stain with a clear sealer, based on your target look. Painted boxes hide lower‑grade faces and help with brand colors, while stained boxes show the wood itself. Sealer is important in both cases because it protects from fingerprints and moisture.
- You may add felt pads for the base when boxes slide on shelves or glass. Pads keep noise down and stop scratches on furniture or retail fixtures. They also make large DIY plywood storage boxes easier to move when full.
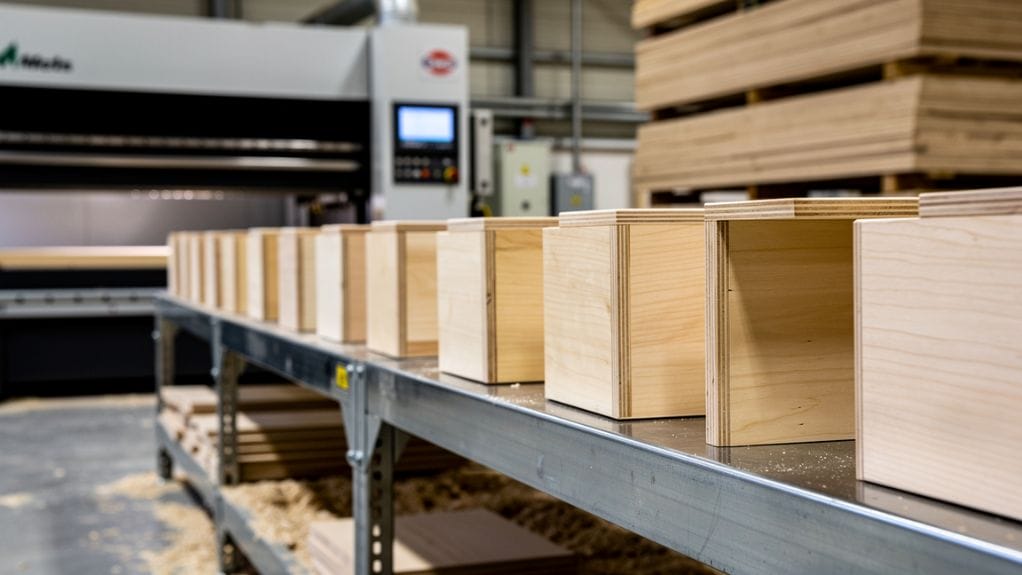
Pro tip from the factory floor: when you cut parts with CNC machines at Qlychee Crafts, every panel matches the drawing exactly, which makes assembly faster and joints tighter across hundreds of boxes.
How to Cut and Assemble Your Plywood Box Step by Step
Once you have the material sorted, the next part of learning how to build a wooden box with plywood is cutting accurate panels. Good cuts mean faster assembly and fewer gaps, which matters a lot for e‑commerce and retail packaging where photos and unboxing videos show every detail.
Calculating Panel Dimensions
You start with the outside width, height, and depth you need. If the box must slide into a cubby or shelf, you usually make it about one inch narrower and three-quarters of an inch shorter than the opening so it does not bind. This small gap gives room for paint, felt pads, and real‑world tolerances.
For simple butt‑joint wood box construction methods:
- The front and back panels use the full height and width.
- Side panels use the full height but a reduced width, which you find by subtracting the thickness of the front and back from the total depth.
- The bottom panel then matches the side‑panel width and the front‑panel width, so it drops neatly inside the frame.
This same logic works whether you build a small keepsake or figure out how to build a toy box out of plywood.
Cutting Tips
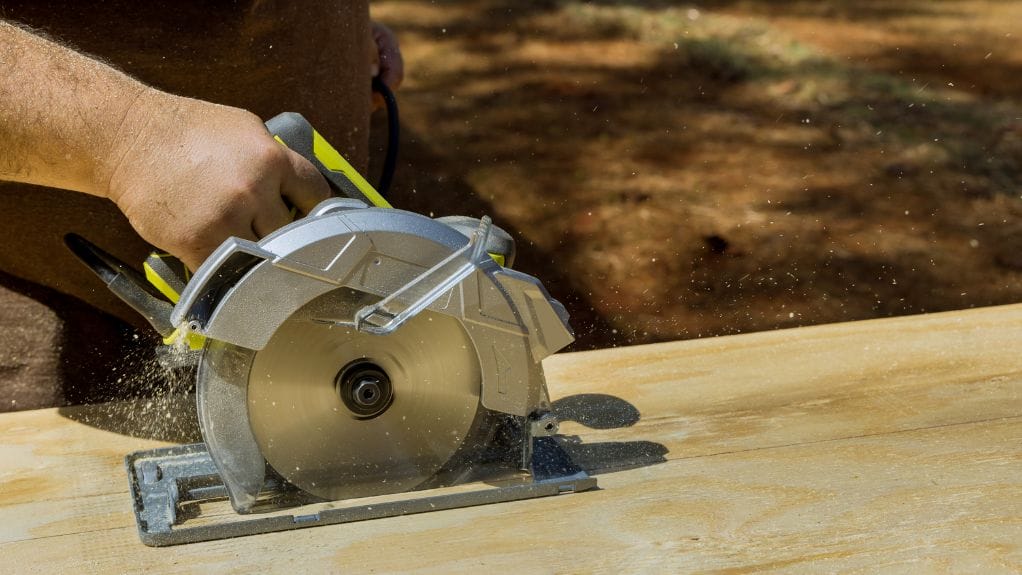
Before you turn on any saw, you double‑check measurements with a sharp pencil line and a trusted tape. Clean lines are easier to follow with the blade and give you square edges. Every error you catch here saves you from fighting gaps later in assembly.
As an old shop saying goes, “The saw only cuts as straight as you measure.”
- You use a table saw or a circular saw with a straight‑edge guide when you cut long panels. The guide keeps the blade from wandering so edges stay straight, which helps later when you glue and clamp. With accurate cuts, even a simple project feels like a factory piece.
- For high‑volume runs, you look to CNC cutting, such as the systems used at Qlychee Crafts. Computer control keeps each panel the same size and minimizes saw marks. That consistency pays off during assembly and reduces sanding time on large batches.
- You follow the old rule to measure twice and cut once every single time. Many poor‑fitting boxes start with one rushed cut that snowballs into shimming and rework. A short pause with the tape measure is cheaper than a wasted sheet.
Joinery Options by Use Case
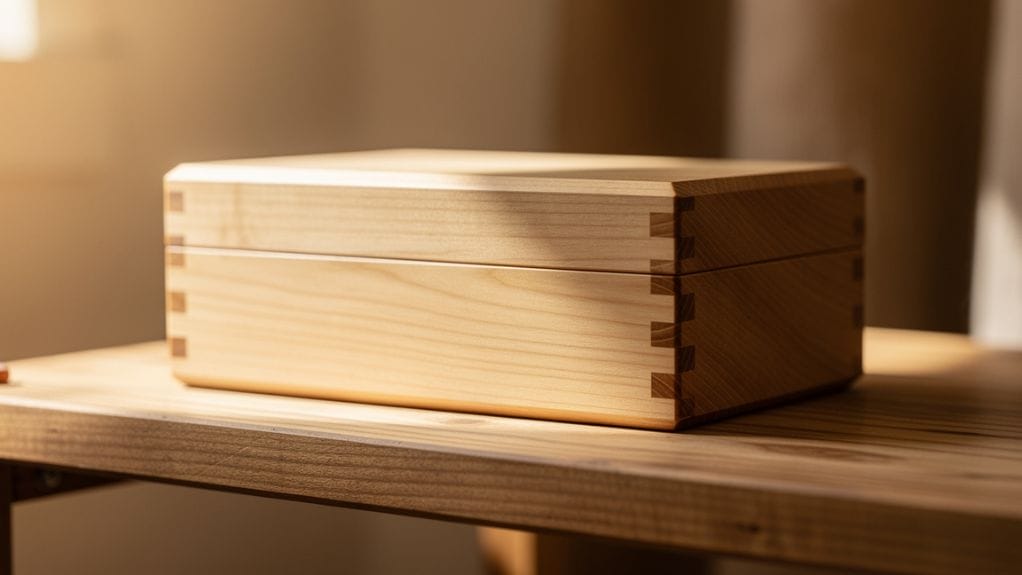
When you think about wooden box joinery techniques, you match the method to how the box will live. A light gift box on a shelf can rely on simple joints, while a crate that ships glassware across the country needs locked corners and extra glue surface.
- You use glue and brad nails when you build light DIY plywood storage boxes. Glue gives strength along the full joint line, while nails hold panels steady while the glue cures. This setup is quick, clean, and friendly for small workshops.
- You add internal wood bracing in the corners when weight goes up or the route gets rough. Slim sticks in each inside corner give more surface for glue and give screws solid material to bite into. This turns an ordinary box into a long‑term workhorse.
- You choose rabbet joints for high‑end retail or freight use. These joints use shallow steps cut into the panel edges so pieces overlap and lock together. With glue and fasteners, they resist racking and feel solid even after many moves.
- You consider precision and repeatability when you move past a handful of pieces. At that point, factory jigs and automated assembly, such as the process at Qlychee Crafts, deliver tighter joints with less labor per box.
Assembly Sequence

Before you start, you dry‑fit all panels on a flat surface and check that the edges line up. This short test tells you if any piece needs a trim. It also gives you a mental picture of how the box will come together.
- You spread a thin, even bead of wood glue along the edges that will touch. Too much glue creates squeeze‑out and more cleanup, while too little weakens the joint. A small brush or glue bottle tip helps you stay in control.
- You hold panels in place with clamps or strips of tape so they do not slide around. This support keeps corners square while you work. It also frees your hands to set nails or screws accurately.
- You fasten the side panels to the bottom panel first, since that base supports everything. Fasteners go from the sides into the edge of the bottom so the joint stays tight under load. You check for square after this step, since any error here spreads to the rest of the box.
- You attach the front and back panels next, tying the frame together. Fasteners pass through these faces into the edges of the sides and bottom, which locks the box into a rigid shell. Light taps or careful driving keep heads flush with the surface.
- You wipe away any glue squeeze‑out right away with a damp cloth. Clean joints take stain or paint better and save you from hard ridges once the glue dries. Then you let the box sit untouched for at least half an hour so the glue can set.
Professional Finishing Techniques that Make Your Box Last
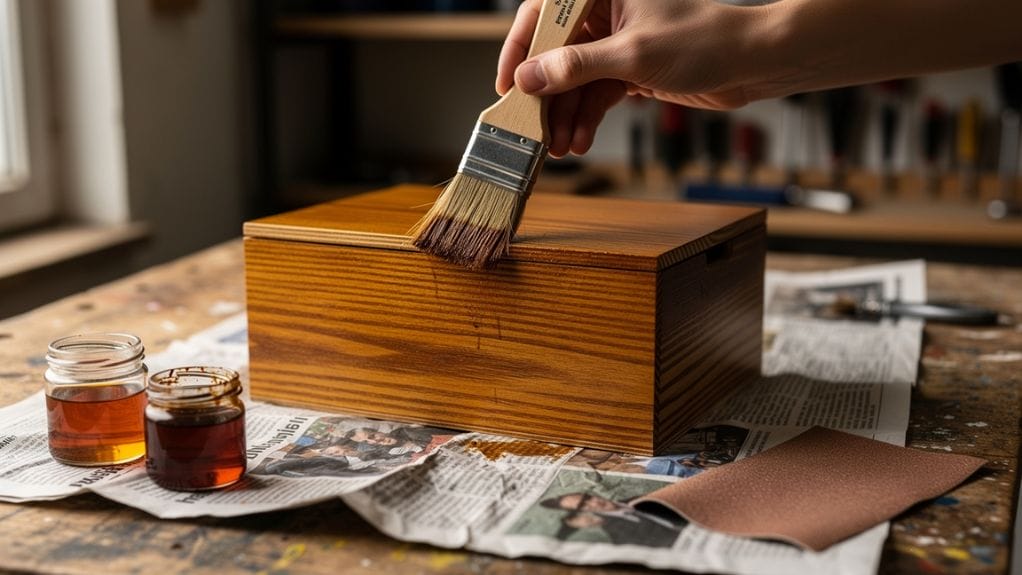
Finishing is where a plain plywood woodworking project turns into something you are proud to ship, display, or hand to a client. Even if you follow every step of how to build a wooden box with plywood, skipping good prep and finish can cut its life in half.
Why Surface Prep Is Non-Negotiable?
Skipping proper surface preparation is the fastest way to ruin hours of precision cutting and assembly. If you don’t treat the plywood surface before finishing, you aren’t just saving time—you’re inviting these common woodworking disasters:
- The “Sandpaper” Texture (Dust Contamination): If you don’t vacuum and wipe down the box, microscopic sawdust becomes trapped under the topcoat. Once the finish dries, the surface will feel like rough sandpaper rather than smooth wood. At this stage, the only fix is to sand the entire finish off and start over.
- Ugly Swirl Marks and Scratches: Any cross-grain scratches or leftover 80-grit marks are nearly invisible on raw wood. However, stain acts like a highlighter for mistakes. It will pool in those tiny grooves, creating dark, ugly “swirls” or “pigment traps” that scream “amateur build.”
- Catastrophic Edge Chipping: Plywood is made of thin layers. Leaving “dead-sharp” corners makes them incredibly fragile. Without a slight “edge-ease,” the veneer will catch on clothing, skin, or packing material, causing the layers to splinter and peel away, which is nearly impossible to repair cleanly.
- Finish Rejection and Peeling: Oils from your hands or leftover glue squeeze-out will prevent the finish from bonding to the wood cells. This leads to “fish-eyes” (tiny craters in the finish) or a topcoat that starts to flake and peel within weeks of use, leaving your box unprotected and unsightly.
Paint vs. Stain — When to Use Each
Choosing between paint and stain depends on your brand style, wood grade, and where the box will live. Both can protect well if applied over clean, sanded plywood. The goal is to match finish type to function.
- Paint works well when plywood has visible patches or when you want exact brand colors. You start with a primer coat, sand it very lightly once dry, then add two or three thin color coats. This gives an even skin that hides small defects and stands up to fingerprints in retail spaces.
- Stain is better when you like the natural grain and want a warmer feel. With plywood, you use a pre‑stain conditioner first so the color soaks in evenly instead of looking blotchy. After staining, you seal with polyurethane for a slightly warm tone or with clear polycrylic when you want the color to stay very close to raw wood.
Waterproofing for Functional or Outdoor Boxes:
Some boxes face kitchens, patios, or damp stock rooms where moisture is part of daily life. For those pieces, simple interior topcoats are not enough. You plan from the start for a tougher barrier.
- You pick finishes designed for wet conditions, such as spar urethane or marine varnish. These coatings stay flexible and resist peeling when wood moves a bit with humidity. Two or three thin coats, with light sanding between them, give strong protection.
- You seal inside corner joints when the box must hold plants, ice, or other damp contents. A thin bead of clear, aquarium‑safe silicone in the corners blocks water from seeping into the plywood core. This keeps edges from swelling or turning dark over time.
- You can also spec eco‑focused waterproof systems when you order from Qlychee Crafts. Factory spray lines apply even films and control drying conditions, which leads to repeatable results across every batch. That means your boxes arrive ready to go straight onto shelves.
Final Functional Touches
At the very end, you add small details that help with daily use. Felt pads on the bottom keep shelves scratch‑free and let staff slide boxes quietly during restocks. If your design includes a lid, you open and close each one several times to confirm it lines up, moves smoothly, and does not bind after finishing.
When to Build It Yourself vs. Partner with a Manufacturer
With all these steps, you now understand how to build a wooden box with plywood from raw sheet to finished piece. The next question is whether you should keep production in‑house or work with a specialist like Qlychee Crafts. The right choice depends on volume, timing, and how much customization you need.
DIY Is Great for:
When you only need a few samples or a limited run, building your own boxes makes sense. You can tweak dimensions, try new hardware, and test how customers react without big commitments. This approach also helps you understand the work involved before you order hundreds of units.
Manufacturing Partnerships Make Sense When:
As demand grows, time and repeatability begin to matter more than shop practice. That is when many retailers, e‑commerce brands, and corporate buyers look for a long‑term production partner.
- You look for outside help when you need dozens or hundreds of identical boxes with the same fit and finish on every piece. That level of consistency is hard to keep in a small workshop but standard on a production line. It also keeps returns low because customers get exactly what they expect.
- You turn to a manufacturer when your brand requires engraving, logo printing, fabric liners, or complex inserts. A full factory can cut, print, and assemble those add‑ons in one flow. That saves you from coordinating several vendors on your own.
- You benefit from flat‑pack or knock‑down designs once freight becomes a big cost. Boxes that ship as panels and assemble on site can cut shipping volume by more than half. This is especially helpful for overseas orders or bulky plywood box runs.
- You reach out for help when launch dates are tight and staff time is already full. A partner who builds boxes all day every day can meet those calendars more easily than a back‑room setup.
What Qlychee Crafts Offers Beyond DIY:
Qlychee Crafts focuses on plywood and solid‑wood boxes for brands that care about strength, finish, and responsible sourcing. When you move from how to make a simple plywood box in your shop to a national campaign, their process closes the gap.
- You get support from design sketches to packed cartons, including drawings, prototype samples, production, and final quality checks. That means one clear line of contact instead of juggling several suppliers.
- You benefit from CNC cutting, laser engraving, modern edge‑banding, and controlled spray rooms in one place. These tools keep edges clean, artwork sharp, and coatings even. Your boxes look ready for photography straight out of the carton.
- You can start with modest minimums for local campaigns and grow to global volumes later. Qlychee Crafts keeps the same care and checks on runs of one hundred pieces as on batches of many thousands. This lets your brand scale at its own pace.
- You can choose certified sustainable materials without hunting for them yourself. The sourcing team already works with FSC and PEFC boards, which helps you meet retailer and corporate standards.
Whether you are shaping a limited gift series or preparing a global roll‑out, Qlychee Crafts treats your plywood boxes with the same care, accuracy, and respect for detail.
Conclusion
Learning how to build a wooden box with plywood comes down to four main pillars. You start with the right materials, cut panels with care, choose strong joinery, and finish surfaces so they stay protected and good looking. Those same steps guide both a single sample on your bench and a full production run.
When you apply these ideas, even simple plywood box construction tips turn into selling points your customers notice. And if your plans outgrow what a small workshop can handle, Qlychee Crafts is ready to turn your tested design into reliable, scaled production. A box that holds up is not just a container; it is a clear statement about the quality of everything inside it.
FAQs
What Is the Best Plywood for Box Making?
For most boxes, many makers prefer Baltic birch because its core has few gaps and its faces sand smooth for stain or paint. Heavy‑duty or outdoor boxes often use hardwood‑faced plywood such as maple or oak for added strength. Qlychee Crafts works with high‑grade, sustainably certified options so you get strong panels and a solid story for your buyers. when considering the best wood types for planter boxes, it’s essential to evaluate durability and weather resistance. Some makers suggest using cedar for its natural rot resistance, while others might opt for teak for its unparalleled longevity in outdoor conditions. Ultimately, the choice of wood can significantly impact both the functionality and aesthetic appeal of the finished product.
How Thick Should Plywood Be for a Storage Box?
Light storage boxes can use 1/4 inch for sides and at least 1/2 inch for the bottom so it does not sag. When you expect heavy loads or rough handling, you step up to 5/8 or 3/4 inch panels all around. In every case, you match thickness to both weight and frequency of use.
How Do I Make a Plywood Box with a Hinged Lid?
You build the box body first, following the same steps used for a standard open‑top design. Then you cut a lid panel that matches the top opening and fasten it to the back with a piano hinge or sturdy strap hinges. A simple latch on the front keeps the lid closed, and for branded, retail‑ready wooden box with lid DIY projects, Qlychee Crafts can integrate engraving, lining, and hardware in one process. For those interested in learning how to build a wooden box for craft or storage purposes, selecting high-quality materials is essential for durability. Additionally, customizing the box with colors and finishes can enhance its aesthetic appeal, making it a perfect gift or personal keepsake. Don’t forget to sand the edges and surfaces thoroughly for a polished look and feel.