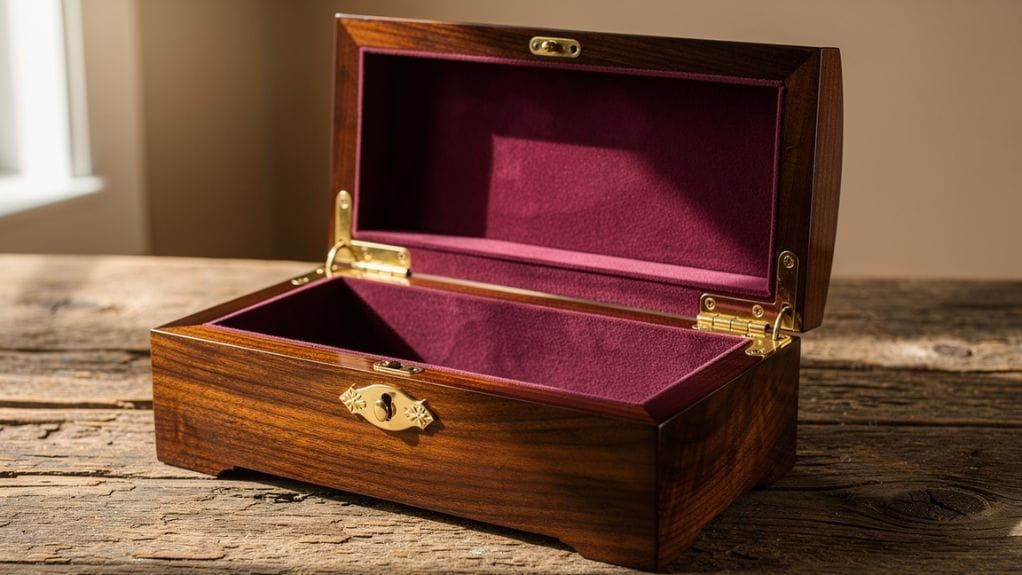
Picture a small walnut box on a shelf, corners tight, grain flowing around the sides, lid opening with a soft whisper. That is the standard many people have in mind when they think about how to make a wooden keepsake box or a handmade wooden memory box that feels ready for a storefront or a gift table. It looks simple, yet every clean line on that box comes from careful choices.
For retail buyers, e‑commerce brands, and DIY retailers, the quality of a wooden box is more than a craft detail. It shapes first impressions, unboxing videos, and how long a piece stays in use instead of in a drawer. Whether you sell jewelry, stationery, or corporate gifts, a solid box can quietly raise the perceived value of everything inside it.
This guide walks you through the full build, from wooden keepsake box plans and wood choice to joinery, sanding, finish, hardware, and lining. You also see where a factory partner such as Qlychee Crafts fits once you move from one box on a bench to steady wholesale demand. By the end, you will know both how to build a sample yourself and how to speak the right language when you brief a supplier.
Key Takeaways: How to Make a Wooden Keepsake Box
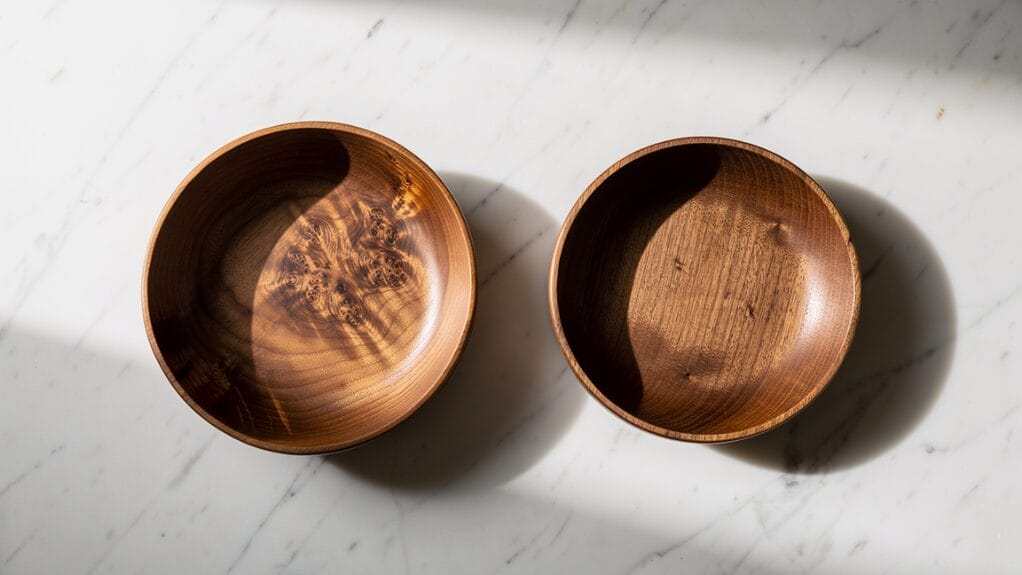
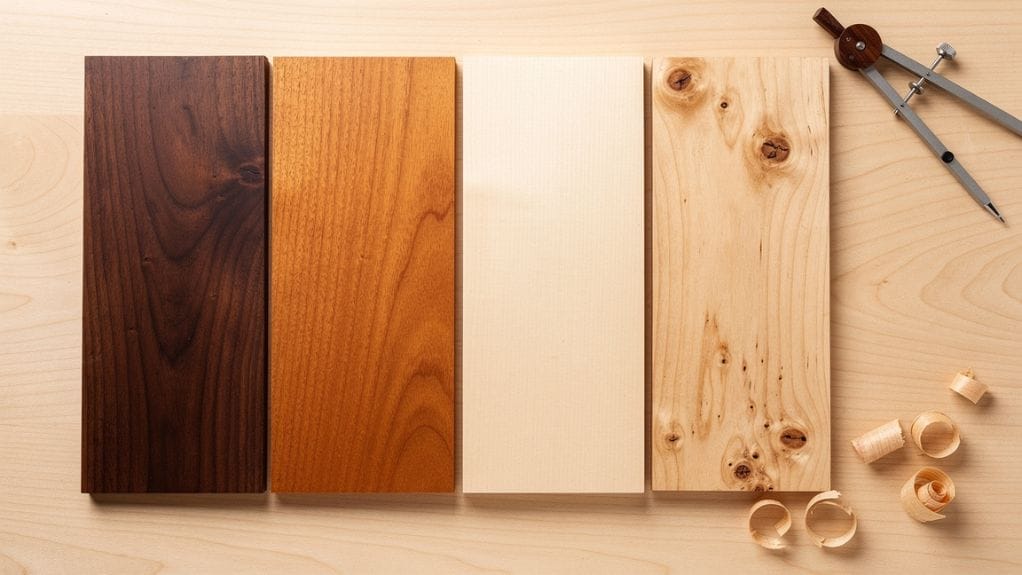
- Choosing the right wood species shapes durability, style, and price tier. Walnut, cherry, maple, and pine each send a different message on your shelf. When you plan how to make a wooden keepsake box, this is one of your first business choices.
- Your choice of joinery affects both strength and style. Miter, dovetail, box joint, and even butt joints can all work when used well. Strong, neat corners signal quality to customers before they touch the lid.
- A steady sanding sequence with 120, 180, and 220 grit makes wood feel smooth and ready for finish. Eco‑minded oil or wax systems help you meet safety rules and green promises at the same time. Care at this stage cuts down on returns and complaints.
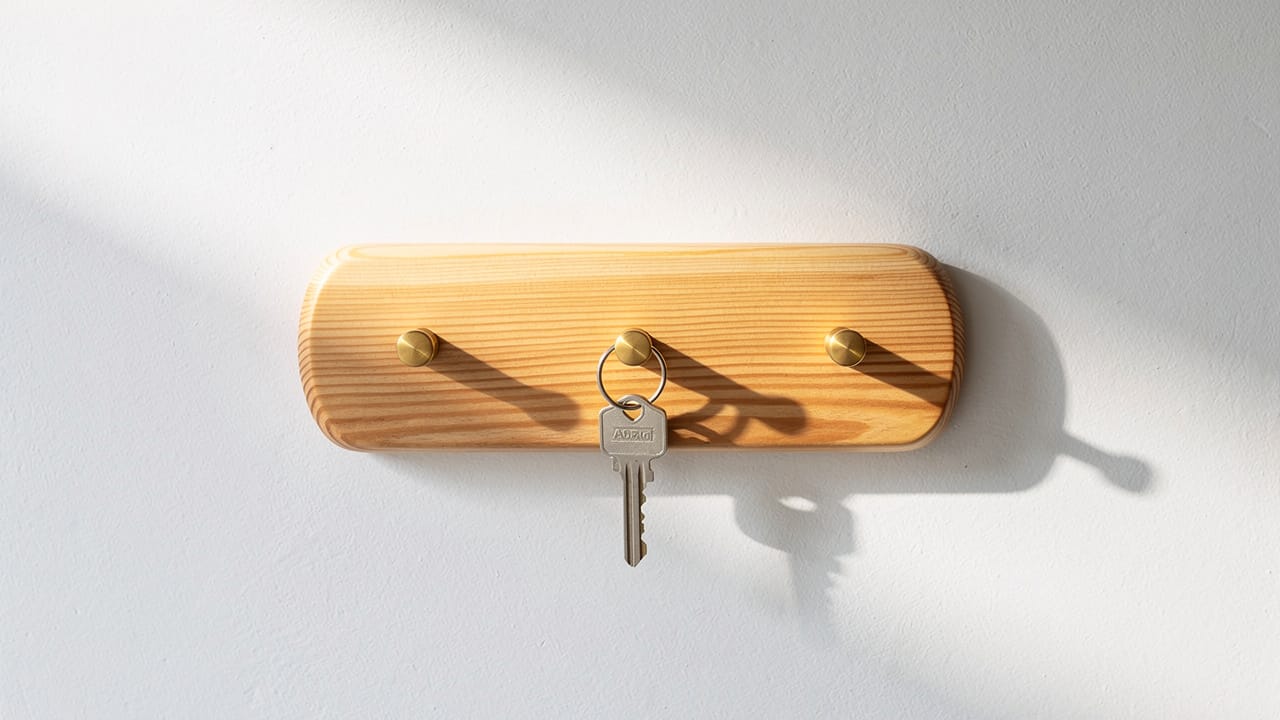
- Clean hardware work on hinges and latches turns a plain wood box into a premium keepsake box with lid woodworking project. A lid that sits straight and closes with one finger feels reliable and worth higher pricing.
- When volume grows, a partner such as Qlychee Crafts handles CNC cutting, engraving, lining, and finishing for you. You keep design control while they protect consistency, timelines, and eco standards across every box in a shipment.
Planning Your Wooden Keepsake Box: Design, Dimensions, and Wood Selection
Good planning turns guesswork into clear wooden keepsake box plans you can repeat or scale. Before you cut any board, you decide the purpose, size, style, and wood species. These choices guide not only how to make a wooden keepsake box that looks good, but also how it fits your market and margin.
Define the Intended Use First
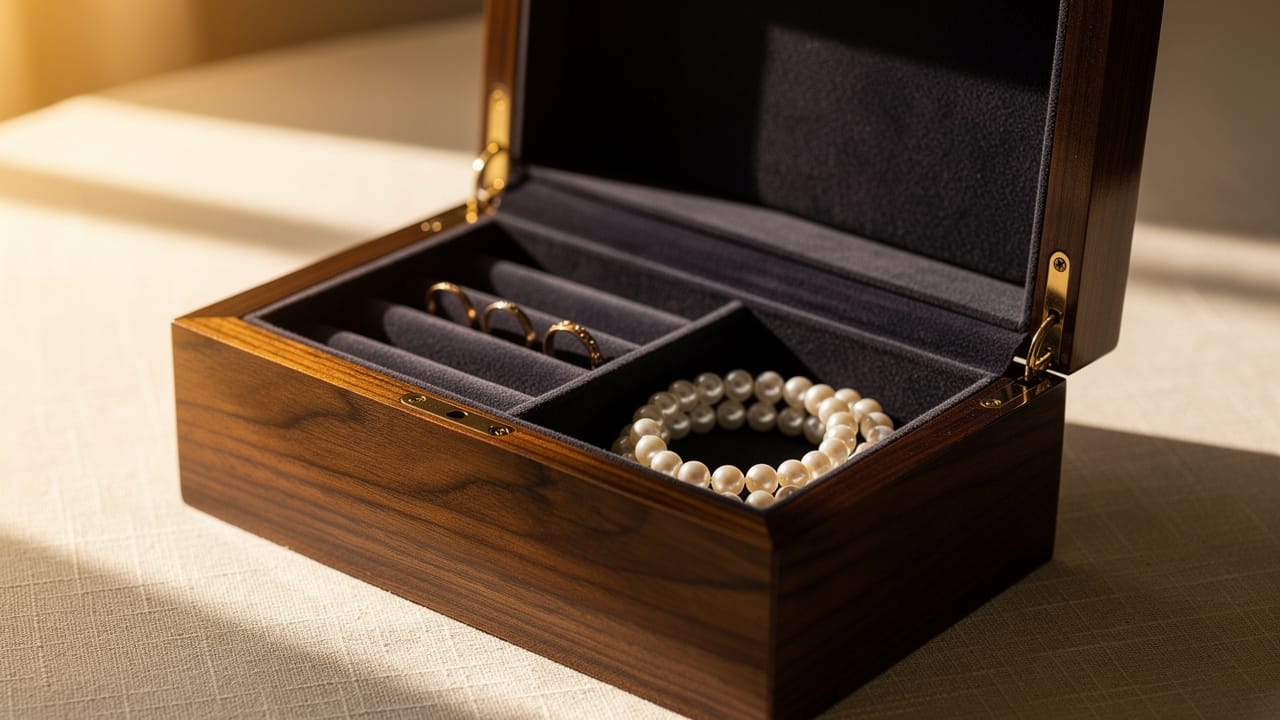
Start by deciding what the box will hold. Jewelry needs shallow trays and small spaces, while letters, photos, or flat corporate gifts need more length and width. Common contents include:
- Rings, necklaces, and watches
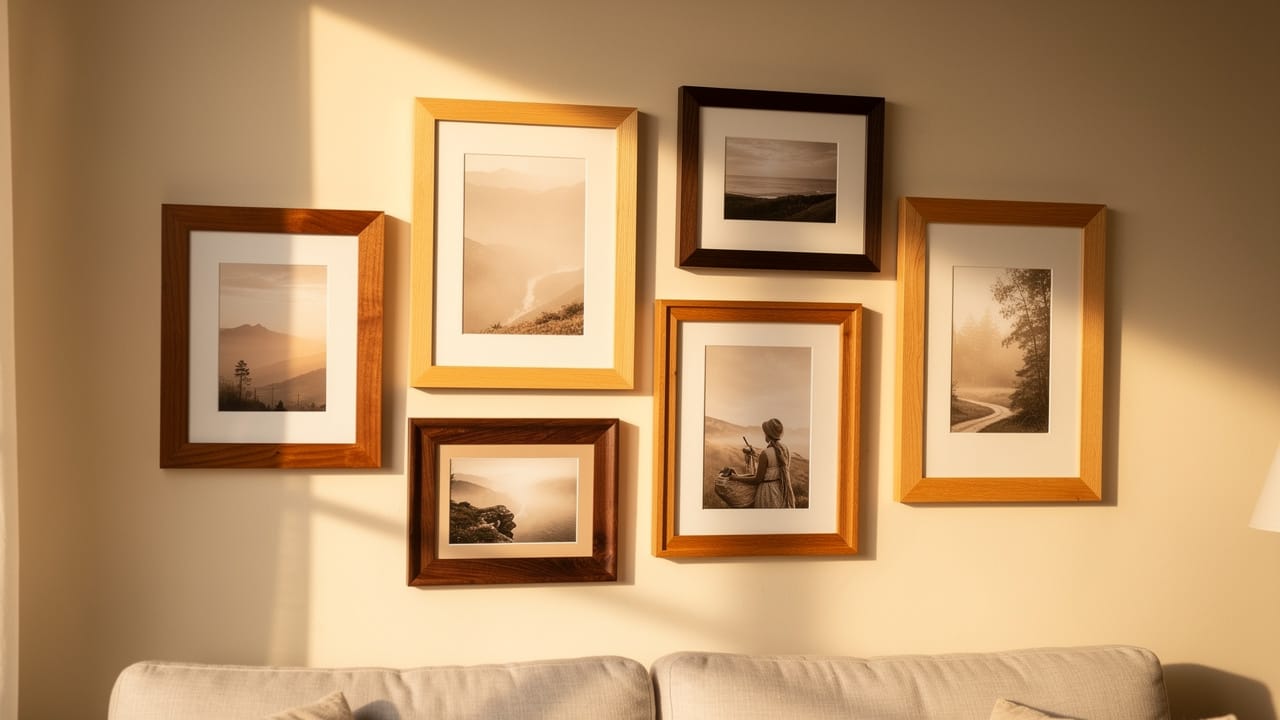
- Letters, postcards, and photos
- Card decks, stationery sets, and pens
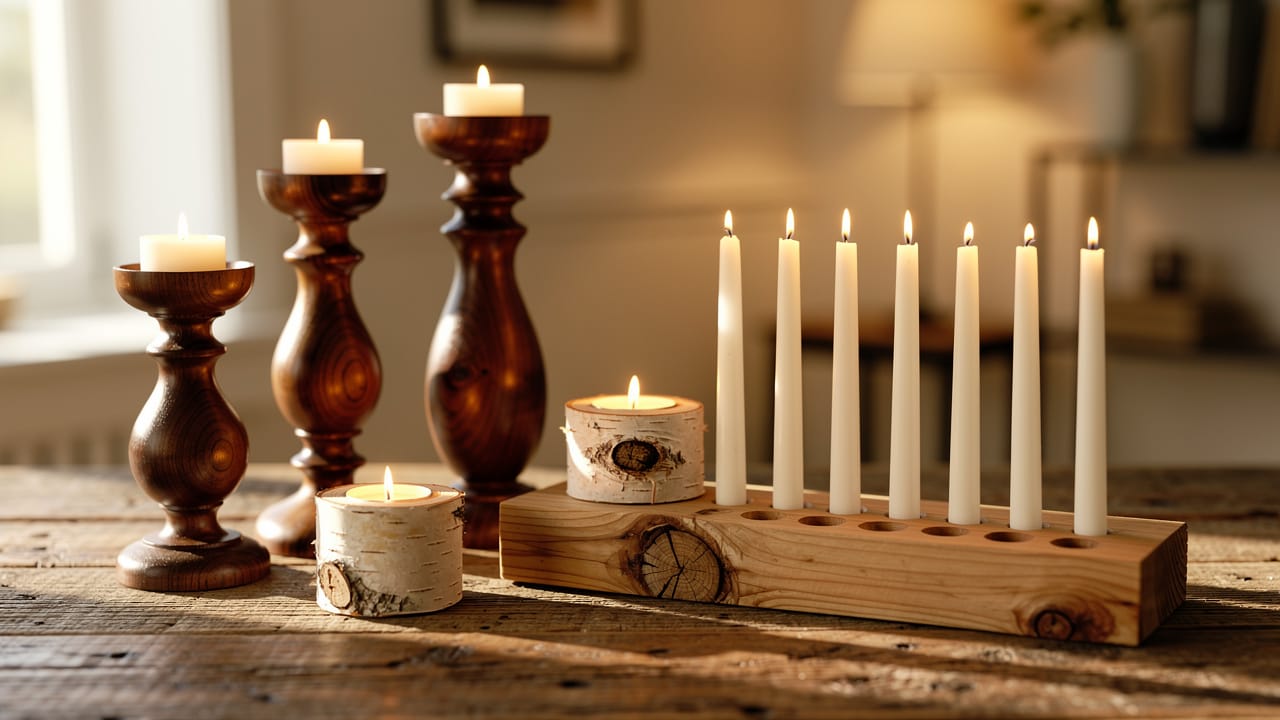
- Gift sets with candles, soaps, or small accessories
A flexible outside size for many uses is 8 inches by 6 inches, with wall thickness around 7⁄16 to 1⁄2 inch so common hinges fit well. When you sketch your wooden keepsake box plans, remember that thicker walls shrink the inside more than new builders expect. Clear use and size targets make ordering or cutting stock much easier.
Aesthetic Alignment Matters for Your Market
Style has to match what your buyers already like or hope for, and research on developing assistive technology to support memory-focused products shows how deeply personal design choices affect emotional resonance with users.
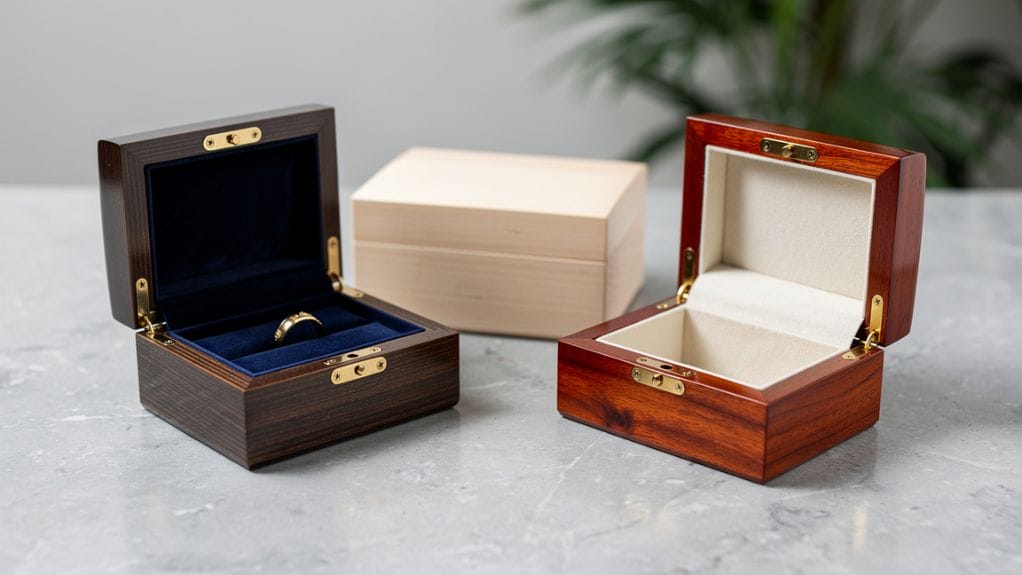
A clean modern look often means dark walnut, tight miter joints, and simple brushed brass hardware that sits flush. A rustic or artisanal line may lean on knotty pine, visible box joints, and aged clasps that feel handmade. For a luxury heirloom piece, many brands choose cherry or maple with dovetail joinery and soft velvet lining so the box feels like part of the gift, not just packaging.
Keeping a simple style guide for your brand helps here. Note preferred:
- Wood tones (dark, medium, light)
- Hardware colors (brass, black, silver)
- Edge style (sharp, slightly eased, rounded)
- Lining materials (velvet, felt, PU)
That way, every decorative wooden storage box you produce feels like it belongs to the same family.
Wood Species Comparison Table
Different woods speak to different price points and markets, even when the design is the same. Hardwoods tend to feel heavier and more refined, while softwoods are easier on cost and tools. This quick table helps you sort options for your next wood box woodworking project.
| Species | Characteristics | Best For |
|---|---|---|
| Walnut | Dark rich grain, strong and dent resistant, needs sharp tools and pilot holes | High-end retail boxes, ring and watch packaging, premium gift sets |
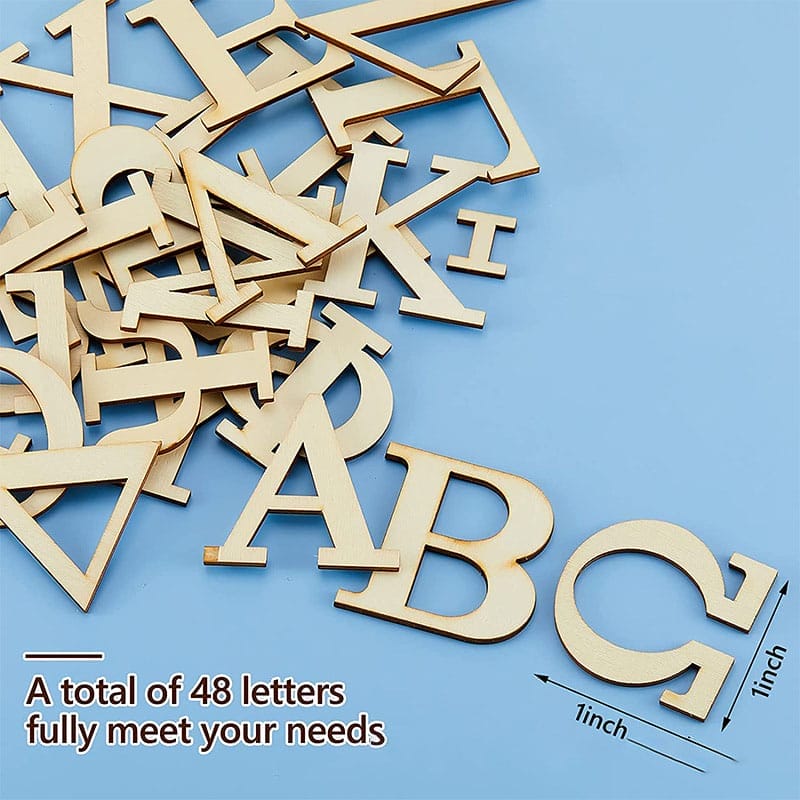
| Cherry / Maple | Warm or light tones, fine grain, take engraving very well | Heirloom pieces, personalized boxes, corporate branding with logos |
| Pine | Light weight, easy to cut and sand, accepts paint and stain well | Budget lines, starter DIY kits, painted or themed wooden memory box DIY runs |
| Plywood | Multi-layered strength, resists warping/shrinking, smooth surface for veneers | Laser-cut precision boxes, industrial storage, large-scale production prototypes |
For Wholesale Buyers
If you buy or produce at scale, standard choices save time and money. Using one or two standard sizes across a line lets you reuse the same inserts, lids, and hardware, which keeps lead times shorter. Locking in two main woods, such as pine for entry-level and walnut or maple for premium, also simplifies stocking and pricing.
When you work with Qlychee Crafts, you can request FSC or PEFC certified timber so you stay in line with eco rules in the US and abroad while still hitting your target margin. Clear specs on size, wood, and finish help their team quote and produce quickly.
Essential Tools, Materials, and Safety Equipment
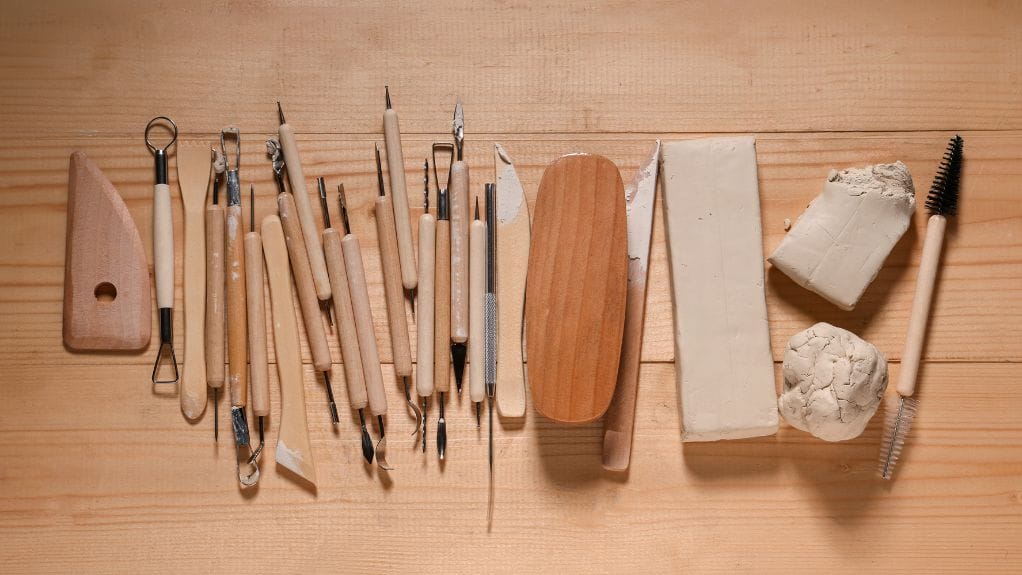
To move from a sketch to a real box, you need a focused set of tools and supplies. You can build your first sample in a modest shop, but serious engraving and finishing gear can cost more than many small brands expect. That is one reason some sellers learn how to make a wooden keepsake box for design insight, then let a partner such as Qlychee Crafts handle volume production.
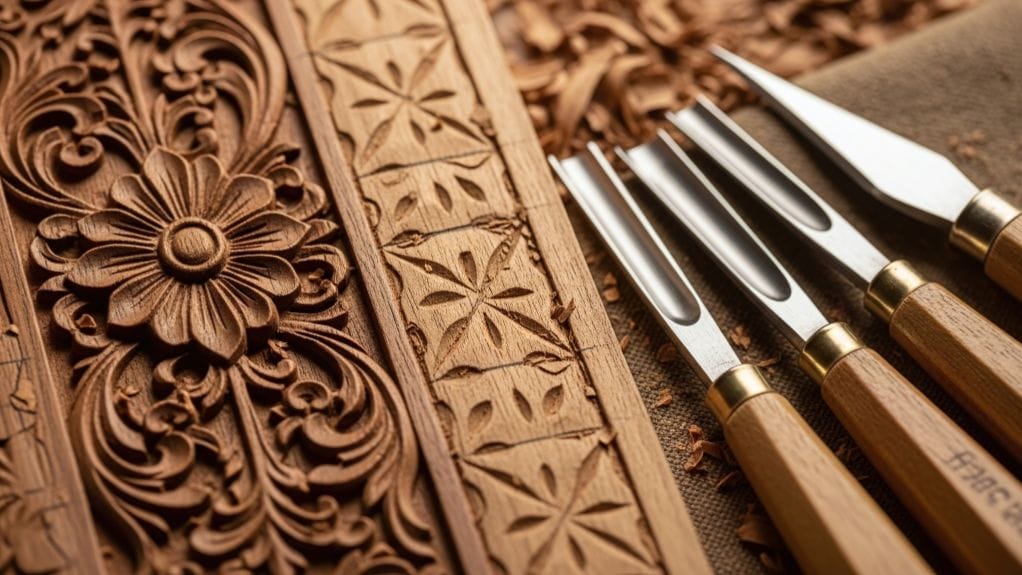
Cutting Tools
Your cutting tools decide how clean and repeatable your parts will be. A table saw or miter saw gives you accurate straight cuts and reliable 45‑degree miters for neat corners. If you are just starting, a good handsaw with a miter box can still give square cuts as long as you take your time. Whatever you use, keep blades sharp so hardwoods like walnut do not burn or chip.
Assembly Tools
During assembly, you need strong pressure and small, neat holes for hardware. Helpful tools include:
- A band clamp or strap clamp to wrap around all four sides so glue joints pull tight at once
- A drill with small bits for pilot holes in hardwoods so screws do not split the grain
- A light tack hammer to seat the tiny nails that often come with decorative hasps without denting the lid
Small upgrades, such as a good quality square and accurate drill bits, pay off quickly in straighter boxes and cleaner hardware work.
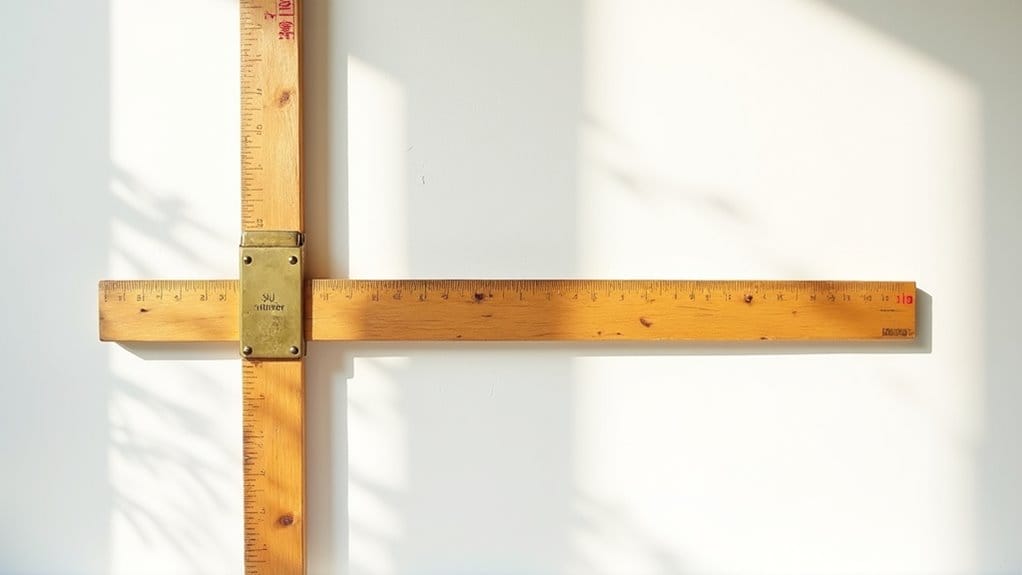
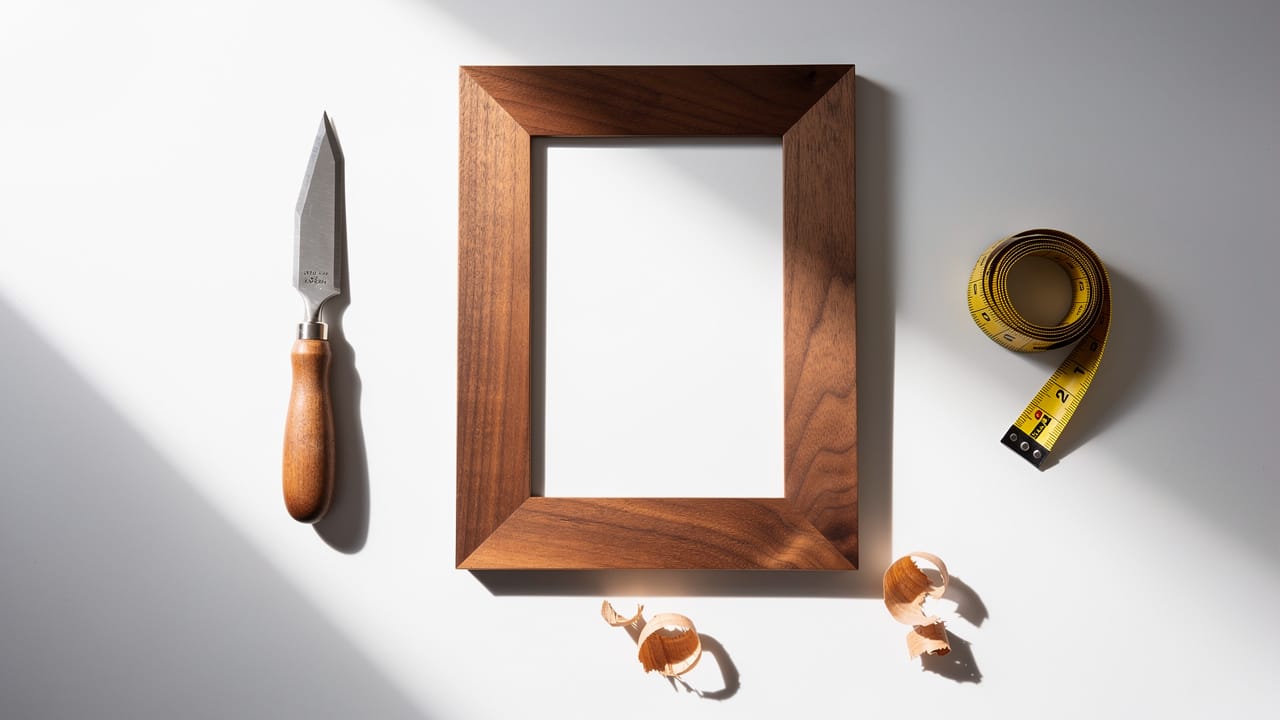
Measuring and Marking
Accurate marks are the quiet heart of woodworking box joinery techniques. A tape measure and combination square help you keep sides equal and corners at true right angles. A sharp pencil works for most cuts, while a marking knife scores the fibers for extra crisp lines. When you repeat the same size many times, these habits keep your whole batch consistent.
Finishing Supplies
You also need a small kit for the later sanding and finishing steps:
- Sandpaper in 120, 180, and 220 grit
- A tack cloth or a clean microfiber cloth
- Your chosen finish: tung oil, boiled linseed oil, clear polyurethane, or low VOC wood wax oil
Low-VOC oil‑wax systems similar to those used by Qlychee Crafts help align your shop with eco promises and indoor air standards while giving an attractive, natural look.
Safety Equipment Checklist
Good safety habits protect both you and your team if you work in a shared shop. They also lower the risk of delays and injuries that can slow down orders.
- ✅ Safety goggles or glasses keep chips and dust out of your eyes. Put them on before any saw, drill, or sander starts up. Clear sight also helps you follow lines and keep cuts straight.
- ✅ Hearing protection, such as earmuffs or foam plugs, protects your ears from long hours around saws. Noise damage adds up slowly, so short sessions still matter.
- ✅ A dust mask or respirator keeps fine particles out of your lungs when you sand or cut. Different woods and finishes release dust that you do not want to breathe.
- ✅ Gloves help when you carry rough boards or wipe on finishes. You should not wear them near moving blades, but they are helpful at the bench and keep finish off your skin.
- ✅ From a B2B perspective, large tools such as CNC routers, spray booths, and laser engravers also bring training and safety costs. When you reach higher volume, it can make more sense to let a factory such as Qlychee Crafts run these steps. You then focus on design, branding, and sales instead of managing heavy equipment.
Cutting, Joinery, and Box Assembly: The Core Build Process
This stage is where flat boards turn into a real box. Strong joinery and square parts mean lids fit, hinges line up, and your keepsake box can handle years on a dresser or desk. As you learn how to make a wooden keepsake box, you also learn the core woodworking box joinery techniques that separate hobby builds from retail‑grade products.
Joinery Methods: Choosing the Right Corner Joint
Corner joints do most of the work in any box. Different methods have different looks and strength levels, so you can match them to each product line.
- Miter joints give smooth corners where the grain seems to flow around the box. You cut each end at forty‑five degrees and bring them together so no end grain shows. This style fits modern gift boxes and is a common choice that Qlychee Crafts uses for retail‑focused lines.
- Box or finger joints interlock like small square teeth along each corner. They offer a lot of glue surface, which makes them strong even on softwoods such as pine. The pattern also looks handcrafted and suits rustic or artisanal designs.
- Dovetail joints lock together with sloped shapes that resist pulling apart. They are harder to cut but signal heirloom quality and hand skill. Many brands reserve them for top-tier boxes with higher price points.
- Butt joints are the simplest method, where one board meets the face of another. On their own they are weaker and show end grain, so you often add glue plus pin nails or screws. They can still work well on a beginner build or a painted box.
| Joint Type | Visual Appeal | Strength Level | Production Difficulty | Best Use Case |
|---|---|---|---|---|
| Miter | Clean, seamless “waterfall” grain | Moderate (requires reinforcement) | Medium | Jewelry boxes, luxury retail packaging |
| Box / Finger | Geometric, rhythmic pattern | High (max glue surface) | Low to Medium | Tool boxes, rustic crates, heavy-duty storage |
| Dovetail | Premium, traditional craftsmanship | Very High (mechanical lock) | High | Heirloom furniture, high-end gift sets |
| Butt | Simple, utilitarian | Low (needs fasteners) | Very Low | Painted boxes, DIY kits, shipping crates |
Step-by-Step Cutting Process
Before glue touches wood, you want every side flat, square, and the same size. Care here makes the rest of the build smoother.
- Mill your lumber so it is flat, square, and a steady thickness between seven-sixteenths and one-half inch. This range works well with most small hinge screws. It also keeps the box light enough for shipping while still feeling solid in the hand.
- Set your saw blade to the right angle for your chosen joint and lock the fence for length. Cut the long sides first, then the short sides, checking that the height of every piece matches. Use scrap pieces for test cuts so you do not waste good stock.
- Do a dry fit with all four sides taped or held together without glue. Measure both diagonals inside the rectangle and compare them. When they match, you know the frame is square and ready for glue.
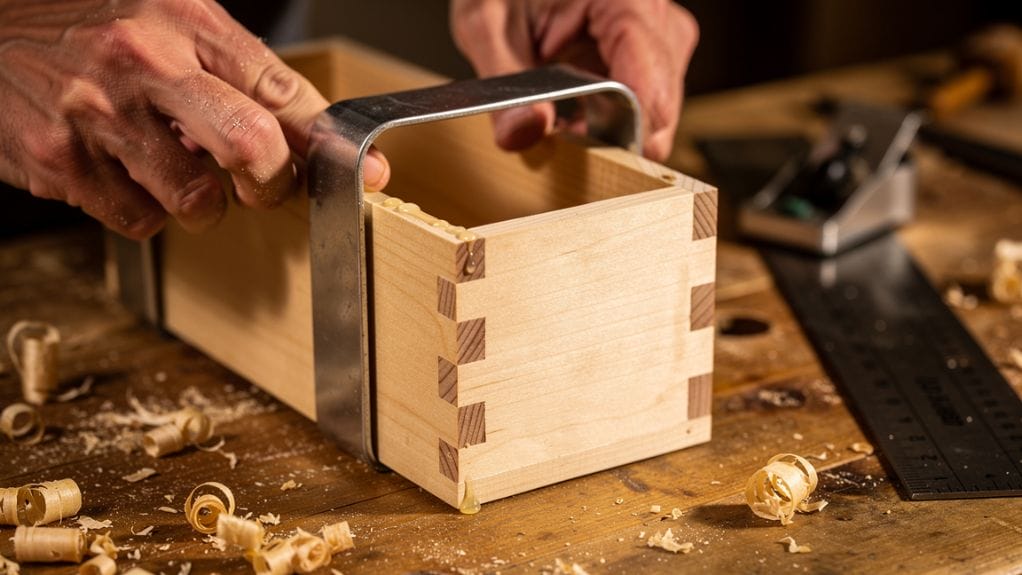
Gluing and Clamping
Glue turns those cut pieces into one solid frame. Even pressure and good cleanup are the main skills you need here.
- Lay the pieces out in order and brush a thin, even layer of wood glue on each mating face. You want full coverage with no bare spots, but you also want to avoid thick puddles that run everywhere. A small brush, finger, or glue roller keeps things under control.
- Bring the corners together and fit your band clamp or strap clamp around the box. Tighten slowly, watching the corners so one side does not slip past another. Once the clamp is snug, check the diagonals again and adjust while the glue is still wet.
- Wipe away glue squeeze‑out on both inside and outside edges with a damp cloth. This small step saves a lot of sanding later, since dried glue does not take stain or finish well. After cleaning up, leave the box clamped for twelve to twenty‑four hours so the glue can reach full strength.
Gap Remedy
Small gaps can happen even when you work with care. You can hide many of them by mixing fine sawdust from your cuts with a little wood glue and pressing the paste into the gap. Once it dries, sand it level, and it will blend with the grain very well.
In factory work, Qlychee Crafts adds quality checks at this stage and even sands to 180 grit before clamping so glue bonds well and surfaces stay smooth for later finishing.
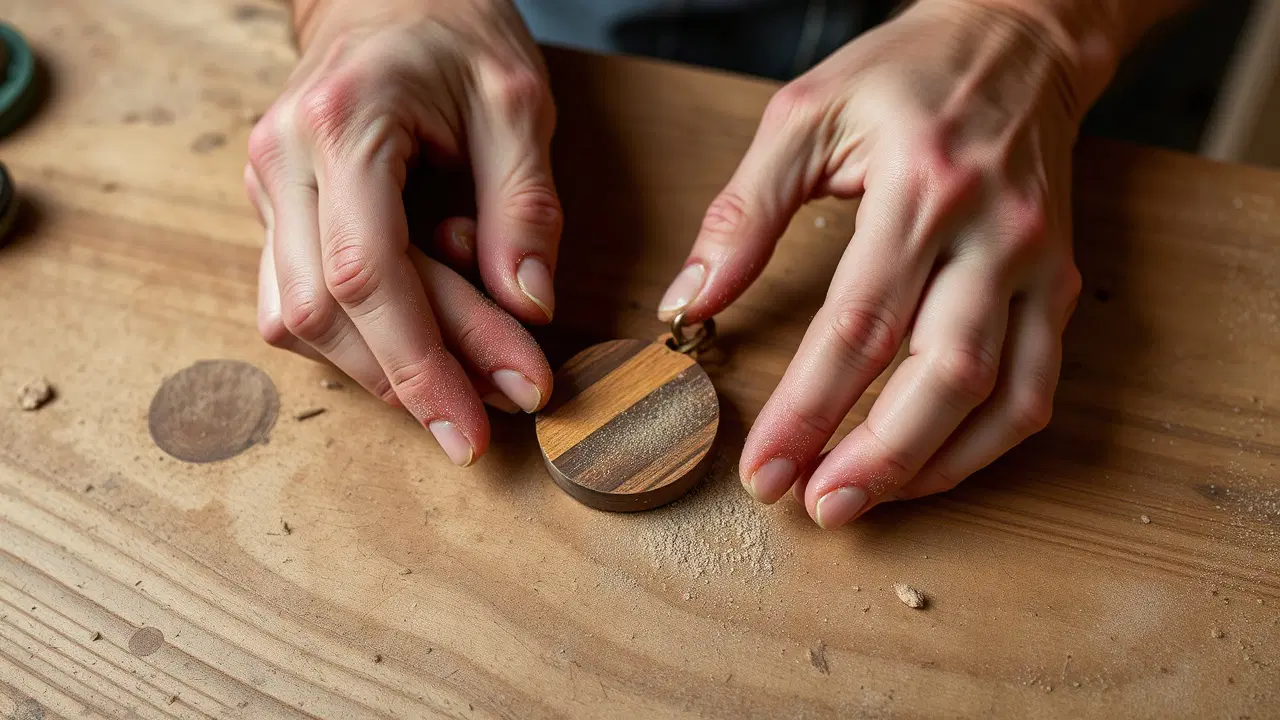
Sanding, Finishing, Hardware Installation, and Interior Lining
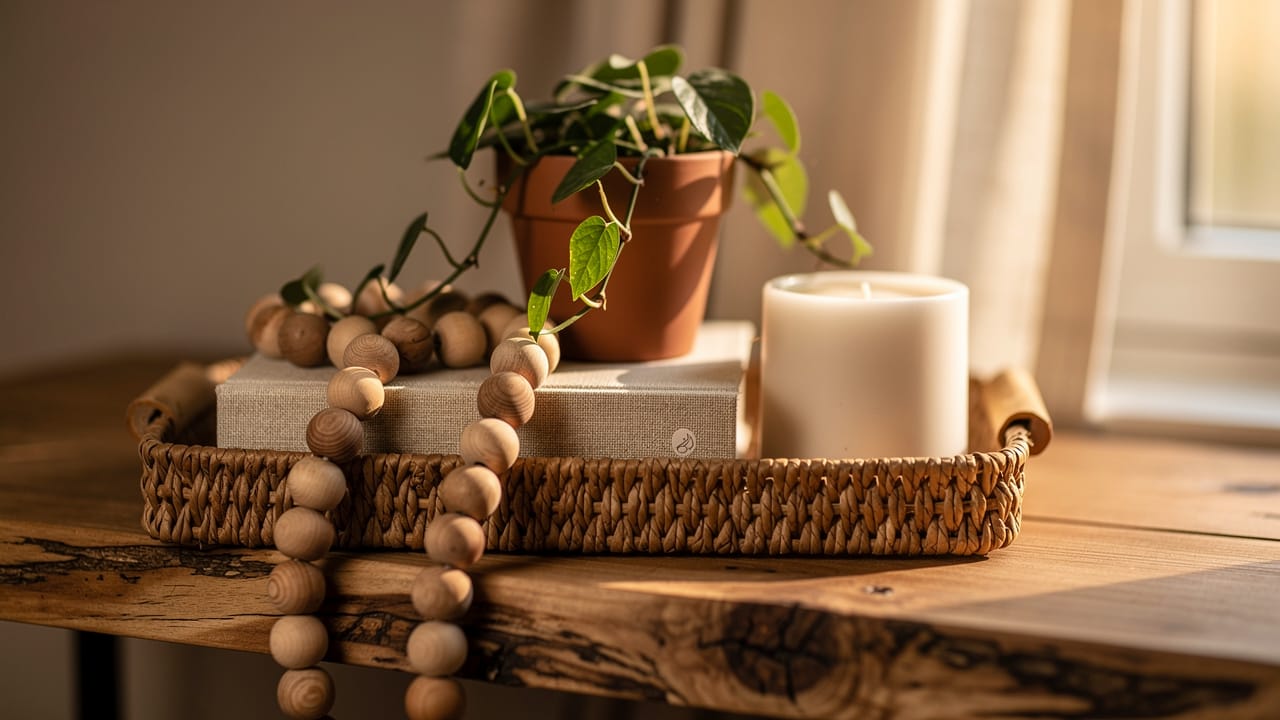
Now you turn a rough box into a product that feels ready for a shelf or gift set. Sanding, finish, hardware, and lining turn basic carpentry into a decorative wooden storage box that shoppers want to pick up. For anyone who studies how to make a wooden keepsake box, this phase often changes a decent build into a standout result and is key in keepsake box with lid woodworking work.
Sanding Progression
Rushing sanding is one of the fastest ways to cheapen a nice box. A steady path through grits gives you a smooth touch and a clean look.
- Start with 120-grit on all outside and inside faces, including the lid. This removes tool marks, and any dried glue you missed earlier. Sand with the grain so you do not cut lines across it.
- Move to 180-grit once the box feels even under your hand. This grit takes out the scratches left by the first pass. Work every surface so the sheen stays even.
- Finish with 220-grit for a silky feel that takes finish well. Some makers like to wipe the box with a damp cloth to raise the grain, then sand again lightly with 220. This extra pass gives very smooth results with water‑based finishes.
- Clean all dust with a vacuum and then a tack cloth so no fine particles remain. Dust left on the surface will show up as bumps once the finish dries. Good prep here pays off in a clean final coat.
Finish Selection
The finish you choose affects color, feel, and how the box handles wear. It also matters for indoor air rules and eco-claims on your product pages.
- Penetrating oils such as tung oil or boiled linseed oil soak into the fibers and bring out the natural grain. They give a soft matte look that works well on walnut and cherry. Many buyers like the warm, hand‑rubbed feel these finishes create.
- Clear film finishes such as polyurethane or lacquer sit on top of the wood and add strong wear and moisture resistance. They range from matte to high gloss, so you can match them to brand style. Thin coats with light sanding between them give a smooth, even shell.
- Low-VOC wood wax oil systems, similar to those used by Qlychee Crafts, protect wood while keeping a natural look. They help brands meet eco standards without a heavy smell or long cure times. For many retail and wholesale lines, this path balances beauty, safety, and speed.
Hardware Installation
Thoughtful hardware work makes a small wooden box with a hinged lid feel precise instead of fussy. You handle hinges first, then any latch or hasp.
- Place the lid on the box body and align the edges so they sit flush. Mark hinge spots the same distance from each end on both the lid and back edge of the box. Light pencil marks guide your drill and keep things even.
- Pre‑drill pilot holes in hardwoods with a bit slightly smaller than the screw core. This keeps the grain from splitting and helps the screws pull straight. In softer woods, you can often drive screws by hand with care.
- Hold each hinge in place and drive the screws by hand or with a drill set to low speed. Check that the knuckles line up and the lid opens and closes without binding. If something shifts, loosen the screws and adjust before tightening again.
- For a hasp or latch, find the center on the front edge of the lid and attach the main part there. Close the lid and let the moving part show you where the catch needs to sit on the box front. Once you fix the catch, open and close the box several times to confirm smooth action.
Keeping wall thickness around 7⁄16 to 1⁄2 inch, a standard followed by Qlychee Crafts, helps hinges and screws bite well without breaking through.
Interior Lining Options
The inside feel of a box matters just as much as the outside, and a cultural memory semiotics framework suggests that material choices in heritage and keepsake objects carry layered symbolic meaning that influences how people value and preserve them. Soft linings protect jewelry, watches, or keepsakes and add a sense of care.
Common options include:
- Thin felt sheets glued to the base for light cushioning
- Plush velvet for premium jewelry boxes and heirloom pieces
- Clean PU lining for a modern look that is easy to wipe
If you work with Qlychee Crafts, you can order boxes with felt, velvet, or PU already installed, along with custom dividers or ring slots, which saves hours of cutting and gluing on every run.
Scaling from DIY to Wholesale: When to Partner With a Manufacturer Like Qlychee Crafts
Hand-building a first sample teaches you a lot about how to make a wooden keepsake box that fits your brand. At some point, though, time, space, and tool limits make it hard to keep up with orders. That is when it helps to think of your process more like a product line than a one‑off project.
The Scaling Problem
Making one or two boxes in your shop is personal and satisfying. Making fifty or five hundred boxes the same way is slow, tiring, and often uneven. Common issues are:
- Corners that vary from box to box
- Finish color or sheen that shifts between batches
- Hardware lines that are not perfectly straight
- Shipping damage if packaging is not tested and refined
All of this eats into the profit that a custom wooden keepsake box should bring your business and can stretch your lead times.
Qlychee Crafts Manufacturing Solution
Qlychee Crafts focuses on factory‑direct wood box production so you do not have to build that system yourself. They use CNC cutting for parts that match every time, laser engraving for names, dates, and logos from your vector files, and automated spray finishing with low VOC coatings for smooth, repeatable surfaces. Their line also includes precision edge banding and accurate milling, so hinges, stops, and clasps all sit right without stress.
Customization stays wide even at higher volume. You can choose solid walnut, cherry, or maple, or ask for FSC or PEFC certified timber when you need strong eco claims. Inside, you can specify velvet, felt, or PU linings, different dividers, and many hinge and clasp types to fit jewelry, watches, cards, or gift sets. Personalization runs from deep carving to sharp laser marks and printed graphics on lids or inside panels.
On the business side, partners report clear gains. A boutique jeweler using Qlychee Crafts engraved boxes saw about a twelve percent rise in average ticket size. An e‑commerce brand selling a ring box gift bundle saw around a twenty percent lift in conversions during peak proposal season. A large corporate gifting project recorded no transit damage claims thanks to thoughtful packaging and stable build quality. If you run an online shop, manage a retail chain, or buy for corporate gifts, a steady line of boxes from Qlychee Crafts lets you focus energy on product mix and marketing.
Conclusion
Learning how to make a wooden keepsake box by hand gives you a clear sense of what quality really means. You plan the design, pick the right wood, choose strong joinery, glue and clamp with care, then move through measured sanding, safe finishing, and careful hardware work. The result can be a handmade wooden memory box that feels ready for gifting or for your own store shelf.
The same standards apply whether you build one box at a bench or order thousands for a catalog. Thoughtful wood choice, tight joints, smooth finish, and neat lining are what separate a simple container from a long‑lasting keepsake or high‑converting gift box. When your demand grows past what a small shop can handle, Qlychee Crafts steps in with factory‑direct production, sustainable materials, and pre‑lined, custom‑ready boxes. You keep control of brand and design while gaining a reliable partner from the first sample through international shipping.
FAQs
What Is the Best Wood for a DIY Keepsake Box?
For most makers, hardwoods such as walnut, cherry, or maple give the best mix of strength and beauty. Walnut offers dark, rich grain, while cherry and maple engrave very cleanly. Pine works well for a budget‑friendly DIY wooden memory box build, especially if you plan to paint or stain it.
What Joinery Method Is Best for a Beginner Woodworking Box Project?
If you are starting your first beginner woodworking box project, miter joints give a clean look with tools many shops already have. You just need a saw that holds a steady forty‑five‑degree angle and a good band clamp. Simple butt joints are even easier and can work fine when you back them up with glue and small pin nails.
How Do You Get a Smooth Finish on a Wooden Keepsake Box?
For a smooth finish, sand in stages with 120, 180, and 220 grit, always moving with the grain. Remove all dust with a vacuum and tack cloth before you touch any finish. Then apply several thin coats of oil, wax, or clear topcoat, sanding very lightly between coats with fine paper for the best feel.
Can You Order Custom Wooden Keepsake Boxes Wholesale from Qlychee Crafts?
Yes, Qlychee Crafts offers custom wooden keepsake box production for wholesale and corporate orders. You can choose wood species, size, lining, hardware, and style of engraving or printing so the box matches your brand. Their team also helps with design, sampling, quality checks, packaging, and global logistics, which makes scaling much smoother for your business.