In the world of crafting, bookmarks serve as more than mere placeholders; they are personal expressions of creativity and style. For those in the B2B sector of wholesale and customizable wooden crafts, designing and producing laser-cut wooden bookmarks can be a lucrative venture. This guide will walk you through the design process of wooden bookmarks, tips for creating unique designs, and how to adapt these bookmarks for various occasions.
Key Takeaways
- Customization is Key: Wooden bookmarks can be personalized for various occasions, making them ideal for gifts or promotional items.
- Utilize Software Tools: Use design programs that support vector graphics to create and manage your laser-cut projects efficiently.
- Layer Management: Organizing your design into cut and engrave layers can enhance efficiency and quality.
Understanding the Basics of Bookmark Design

Before diving into the specifics of design, it’s essential to understand the fundamental dimensions and aesthetics of bookmarks. Standard bookmarks typically measure 2 inches wide by 6 inches tall, making them the perfect size for most books.
Why Choose Wooden Bookmarks?
Wooden bookmarks are not only durable but also offer a tactile experience that paper bookmarks cannot match. Their solid texture provides a satisfying weight and feel, making the reading experience more engaging. They can be engraved with intricate designs, personalized with names, quotes, or meaningful symbols, adding a unique and lasting touch. This customization capability makes wooden bookmarks excellent gifts for special occasions like birthdays, holidays, or corporate events.
Additionally, wooden bookmarks can serve as promotional items for businesses, combining practicality with branding opportunities. Their sturdy nature ensures longevity, making them keepsakes rather than disposable items. The natural grain and warmth of wood also add an aesthetic value that appeals to eco-conscious consumers looking for sustainable alternatives to plastic or paper. Given their versatility and elegance, wooden bookmarks are ideal for teachers who want to encourage reading, students who want personalized study aids, and book lovers who appreciate craftsmanship and style.
Getting Started with Laser Cutting Design Software

Using design and layout software that integrates well with laser cutters is essential for creating precise and visually appealing wooden bookmarks. Such software allows you to create, edit, and manipulate vector graphics, giving you full control over your design process.
Step 1: Setting Up Your Template
- Create a New Document: Begin by setting your workspace to match the dimensions of your bookmark, typically 2 inches wide by 6 inches tall. This ensures your design fits perfectly within the physical size of the bookmark.
- Round the Corners: For a polished and user-friendly finish, round the corners of your bookmark by about 0.25 inches. Rounded corners not only enhance the visual appeal but also prevent sharp edges that can snag or damage book pages.
Step 2: Designing Your Bookmark
When designing your bookmark, consider graphic elements and text that will resonate with your intended audience and theme. Here are some important aspects:
- Graphics: Choose images related to the theme or occasion, such as skeletons, trees, pumpkins for Halloween, snowflakes or gifts for Christmas, or autumn leaves for fall. Symbols and motifs can make your bookmark visually striking and relevant.
- Text: Including a catchy phrase, motivational quote, or personalized message adds character to your bookmark. For example, a Halloween-themed bookmark might feature a phrase like “Dead tired, but still reading,” adding humor and personality.
Tips for Sourcing Graphics
You can create your own graphics using vector drawing tools or source them from online platforms offering free or premium images. When selecting graphics, ensure they are available in formats compatible with your design software—ideally PNG or SVG files—to maintain high quality during cutting and engraving.
Step 3: Assembling Your Design
- Import Graphics: Bring your chosen graphic elements into your design workspace. If elements are grouped together, ungroup them to allow for individual adjustments.
- Arrange Elements: Position images and text creatively within the bookmark area. For example, placing a skeleton reading behind a tree adds depth and storytelling to your design, especially fitting for seasonal themes.
- Group and Offset: Group all design elements once positioned correctly. Apply an inward offset to create space for attaching a string or ribbon, which can be threaded through a hole at the top of the bookmark.
Step 4: Layer Management
Effective layer management in your design software lets you differentiate between operations that require cutting and those that involve engraving:
- Cut Layer: Assign this layer to parts of the design that will be fully cut through the material, such as the outline of the bookmark or cut-out shapes.
- Engrave Layer: Use a separate layer for engraved details like text, shading, or intricate patterns that only etch the surface.
Suggested Settings Example
- Cutting Settings: Use moderate to high power with slower speed to ensure clean cuts through wood or acrylic (e.g., speed at 250 mm/s with 100% power).
- Engraving Settings: Apply lower power with faster speed for detailed surface engravings (e.g., speed at 3000 mm/s with 30% power).
Step 5: Finalizing Your Design
Once you have arranged all elements and properly organized your layers, it’s important to carefully prepare your design for production to ensure the best results.
- Preview Your Design: Utilize the preview function available in your design or laser control software to simulate how the cutting and engraving will be executed. This step allows you to identify any potential issues such as overlapping lines, missed details, or incorrect layer assignments before starting the actual process.
- Optimize for Efficiency: Review your design to eliminate any unnecessary elements that do not contribute to the final appearance. Simplifying paths and removing redundant lines can reduce the laser head’s travel time, which not only speeds up the production but also minimizes wear on the machine and conserves energy.
- Check Line Settings: Ensure that cut lines and engraving areas are correctly assigned with appropriate power and speed settings based on your material type and thickness. This helps avoid mistakes such as overburning or incomplete cuts.
Step 6: Exporting and Cutting
After thoroughly verifying your design and settings, export the file in a format compatible with your laser cutter—commonly used formats include SVG, DXF, or AI depending on the machine requirements.
Before starting the cutting process:
- Double-check that your file includes all necessary layers and that no critical elements are missing.
- Confirm that the dimensions correspond precisely to your physical material size.
- Adjust parameters such as power, speed, and frequency according to your laser cutter’s specifications and the material you’re working with.
Finally, load your material securely into the laser cutter, upload your design file, and begin the cutting and engraving process. Monitor the operation closely during its initial stages to ensure everything is running smoothly. Once completed, carefully remove your finished bookmark and perform any post-processing needed, such as sanding edges or adding finishing touches.
Following these steps will help you produce high-quality, customized wooden bookmarks with clean cuts and detailed engravings tailored to your creative vision.
Conclusion
Designing your own DIY laser-cut wooden bookmarks opens up a world of creative possibilities. Not only can you personalize these bookmarks for yourself or your customers, but you can also experiment with different themes and designs for various occasions.
FAQs
What are the best materials for laser-cut bookmarks?
While wood is a popular choice for its durability and aesthetic appeal, other materials like acrylic or cardstock can also be used. However, wood often provides a premium feel.
Can I use my own designs for bookmarks?
Absolutely! If you have graphic design skills, you can create your own designs using software like Adobe Illustrator or Canva, and then import them into LightBurn for cutting.
How do I maintain the quality of my laser-cut bookmarks?
To maintain their quality, store your wooden bookmarks in a cool, dry place. If they get dirty, gently wipe them with a damp cloth.
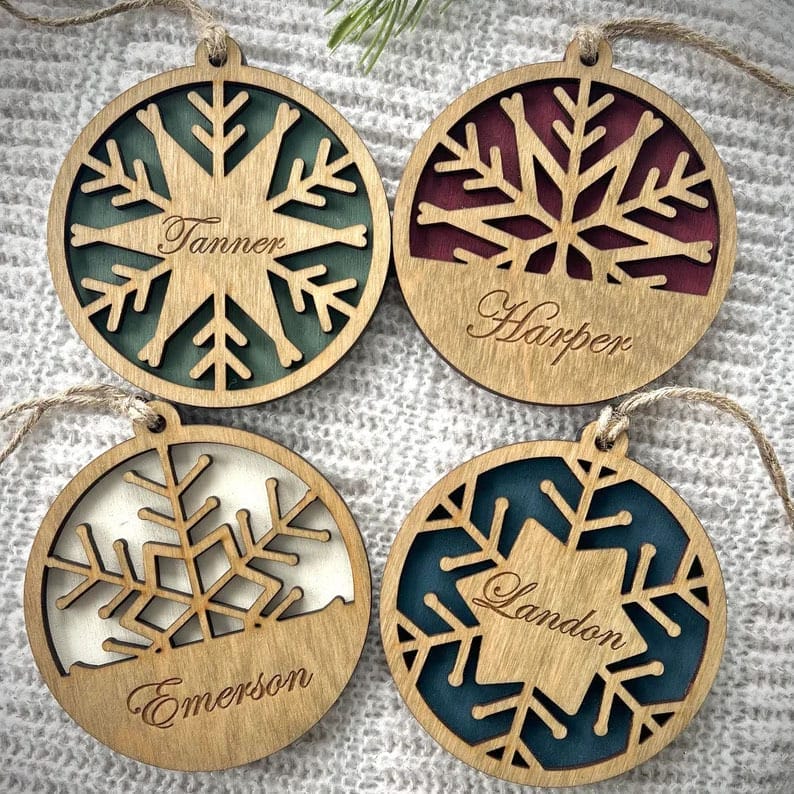
What other uses can I have for laser-cut designs?
Beyond bookmarks, laser-cut designs can be adapted for a variety of products, including coasters, ornaments, and even promotional items for businesses.